If you’re craving a snack that’s both tasty and healthy, you’ve found it! Crispy Baked Falafel is packed with flavor and nutrition. Using simple ingredients like chickpeas, fresh herbs, and spices, I’ll show you how to make these crunchy delights. Say goodbye to greasy alternatives, and join me to create a dish that’s easy to prepare and perfect for any meal. Are you ready to dive in? Let’s get started!
Ingredients
Main Ingredients for Crispy Baked Falafel
– 2 cups canned chickpeas
– Fresh herbs: parsley and cilantro
– Key spices: cumin and coriander
To make crispy baked falafel, start with the main ingredients. The base is 2 cups of canned chickpeas. They give falafel a wonderful texture. Fresh herbs like parsley and cilantro add bright flavors. Using both gives a fresh taste. Spices are key too. Ground cumin and coriander bring warmth and depth. They create a balance that makes falafel special.
Additional Ingredients
– Aromatics: onion and garlic
– Binding ingredients: tahini and breadcrumbs
– Optional: olive oil for drizzling
Next, we have additional ingredients. Aromatics like onion and garlic make the falafel smell great. They add a savory note that enhances the dish. Binding ingredients are also important. Tahini helps hold everything together. Breadcrumbs add crunch and structure. If you want a golden and crispy finish, drizzle olive oil on top. It helps the falafel bake evenly and get that perfect crunch.
Step-by-Step Instructions
Preparation Steps
1. Preheat your oven to 400°F (200°C).
2. Line a baking sheet with parchment paper. This helps prevent sticking and ensures even cooking.
3. In a food processor, add the drained chickpeas, chopped onion, minced garlic, parsley, cilantro, cumin, coriander, baking powder, salt, black pepper, lemon juice, and tahini.
4. Pulse the mixture. You want it well combined but still chunky, like a paste.
Forming the Falafel
1. Transfer the mixture to a mixing bowl.
2. Fold in the breadcrumbs. If it feels wet, add more breadcrumbs until it holds together.
3. Use your hands to shape the mixture into small balls or patties, about the size of golf balls.
4. Place them evenly on the prepared baking sheet.
Baking the Falafel
1. Drizzle a good amount of olive oil over the falafel balls. This helps them get crispy.
2. Bake in the oven for about 20 minutes. Flip them halfway through for even browning.
3. Look for a golden brown color and a crispy outside.
4. Let the falafel cool for a few minutes before serving. This enhances their flavor and texture.
Tips & Tricks
Achieving a Crispy Texture
To make your falafel crispy, olive oil plays a key role. It adds flavor and helps create a golden crust. I suggest drizzling olive oil on top of your falafel before baking. This not only enhances the taste but also promotes even cooking.
Baking techniques matter too. Preheat your oven to 400°F (200°C) for the best results. Use parchment paper on your baking sheet to prevent sticking. This will help the falafel stay intact and crisp up nicely.
Adjusting the breadcrumbs is also important. If your mixture feels too wet, add more breadcrumbs until it holds together. If you want extra crunch, consider using panko breadcrumbs. They give a delightful texture that enhances the overall experience.
Serving Suggestions
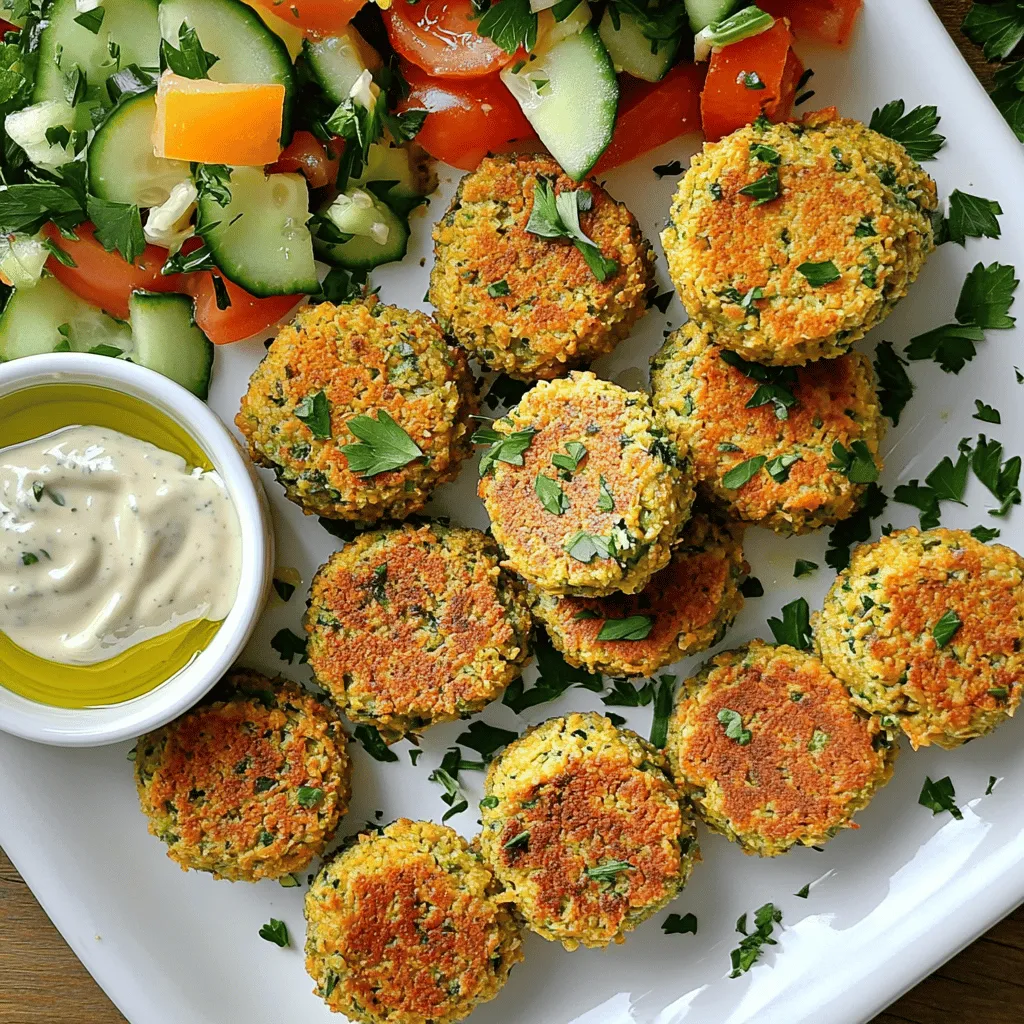
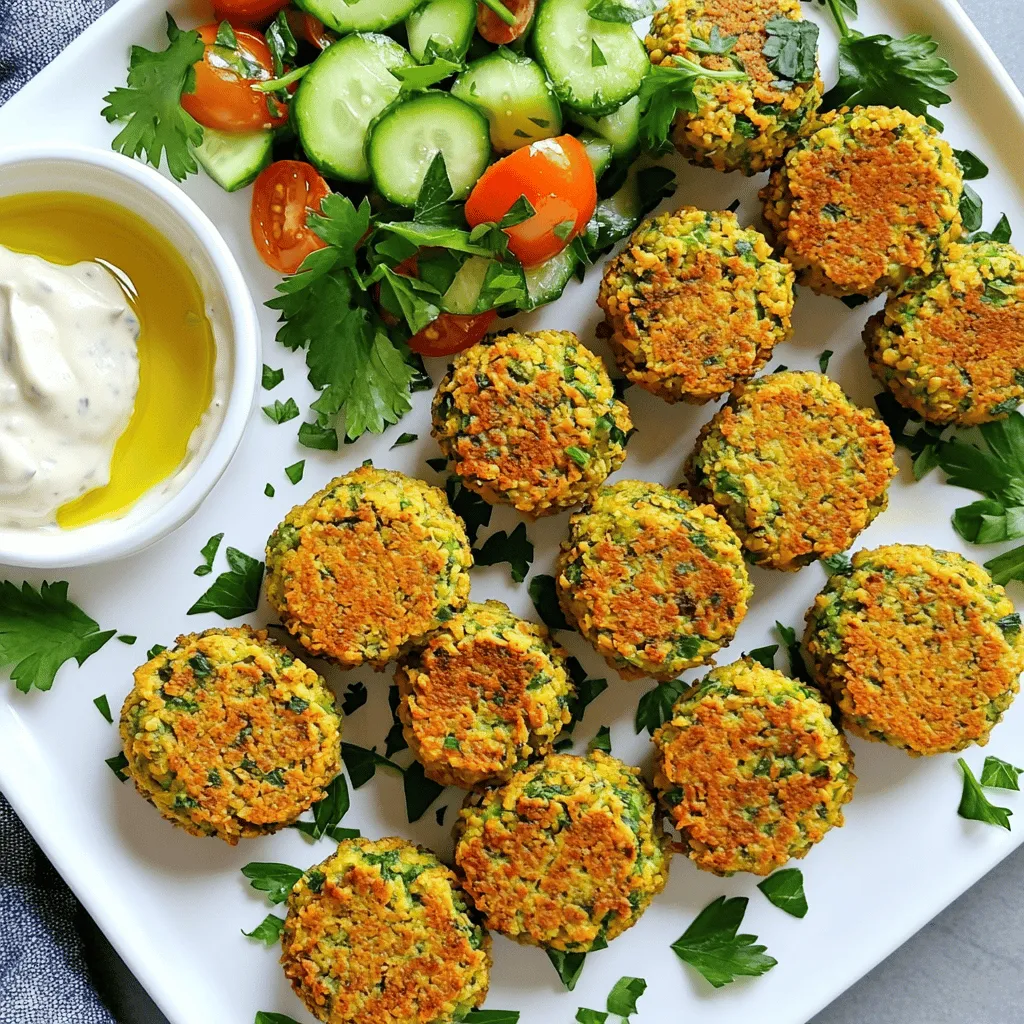
For a beautiful presentation, arrange your crispy baked falafel on a colorful platter. Pair it with a creamy tahini sauce and a fresh cucumber-tomato salad. This adds both flavor and visual appeal.
You might also want to serve it with warm pita bread. Add a side of hummus or tzatziki for a fun dip. These flavors complement the falafel well and make for a tasty meal.
Common Mistakes to Avoid
One common mistake is not achieving the right consistency. If your falafel falls apart during baking, it may be too wet. Always ensure your mixture holds together well. Adjust breadcrumbs as needed to fix this.
Another mistake is overcrowding the baking sheet. Give each falafel space to bake evenly. This helps them crisp up nicely. Flip them halfway through baking for even browning.
Finally, don’t skip the cooling step. Let the falafel cool for a few minutes after baking. This enhances their flavor and texture, making your dish even more delightful.
Variations
Flavor Variations
You can make falafel even more exciting by adding spices. Try mixing in smoked paprika for a warm, smoky flavor. If you want a brighter taste, add some zest from a lemon. You might also enjoy using fresh herbs like mint or dill for a fresh twist. Each region has its own spin, so feel free to experiment!
Dietary Alternatives
For those who need gluten-free options, you can swap breadcrumbs with ground oats or almond flour. Both work well and keep the falafel together. If you want to make it vegan, just skip the tahini or use sunflower seed butter instead. This way, everyone can enjoy these tasty bites!
Cooking Methods
While baking gives falafel a nice crunch, you can try air frying them for a quicker option. Air-frying uses less oil and cooks them evenly. You can also pan-fry them in a little oil for golden-brown goodness. Just make sure to keep an eye on them so they don’t burn.
Storage Info
Refrigeration Guidelines
To store leftover falafel, place them in an airtight container. This helps keep them fresh. If you have sauce, store it separately. Leftover falafel stays tasty for about three to four days in the fridge.
Freezing Tips
For freezing, let the falafel cool completely first. Then, space them on a baking sheet and freeze until solid. Once frozen, transfer them to a freezer bag. This way, they won’t stick together. To reheat, bake them directly from the freezer. Heat at 375°F (190°C) for about 15-20 minutes until warm and crispy.
Shelf Life
In the fridge, your leftover falafel will last about three to four days. If frozen, they can last up to three months. Just remember to seal them well to avoid freezer burn. Enjoy your crispy baked falafel whenever you want with these easy storage tips.
FAQs
What can I serve with crispy baked falafel?
Crispy baked falafel pairs well with many sides. You can serve it with:
– Hummus for a creamy dip
– Tahini sauce for added flavor
– Tzatziki sauce for a cool touch
– Fresh salads like cucumber-tomato salad
– Pita bread for a classic wrap
These options enhance the meal and add fresh tastes.
How do I make falafel extra crispy?
To achieve extra crispy falafel, follow these tips:
– Use panko breadcrumbs instead of regular ones. They add more crunch.
– Drizzle olive oil generously over the falafel before baking. This helps with browning.
– Bake at 400°F (200°C) for the best crispiness. Flip them halfway for even cooking.
These small changes can make a big difference in texture.
Can I use dried chickpeas instead of canned?
Yes, you can use dried chickpeas! Here’s how:
– Soak 1 cup of dried chickpeas overnight in water. This softens them.
– Drain and rinse the chickpeas before using them in the recipe.
– Cook them in boiling water for about 1 hour until tender.
Using dried chickpeas gives a fresher taste but takes more time.
Baked falafel is easy and fun to make. By using canned chickpeas, fresh herbs, and key spices like cumin, you create a tasty dish. Follow the steps for perfect shapes, timing, and crunch. Remember to use olive oil and adjust breadcrumbs for crispiness. Play with flavors and storage tips to maximize your enjoyment. With this guide, you can make falafel that delights and satisfies. Now, you’re ready to impress friends and family with your delicious creation!


