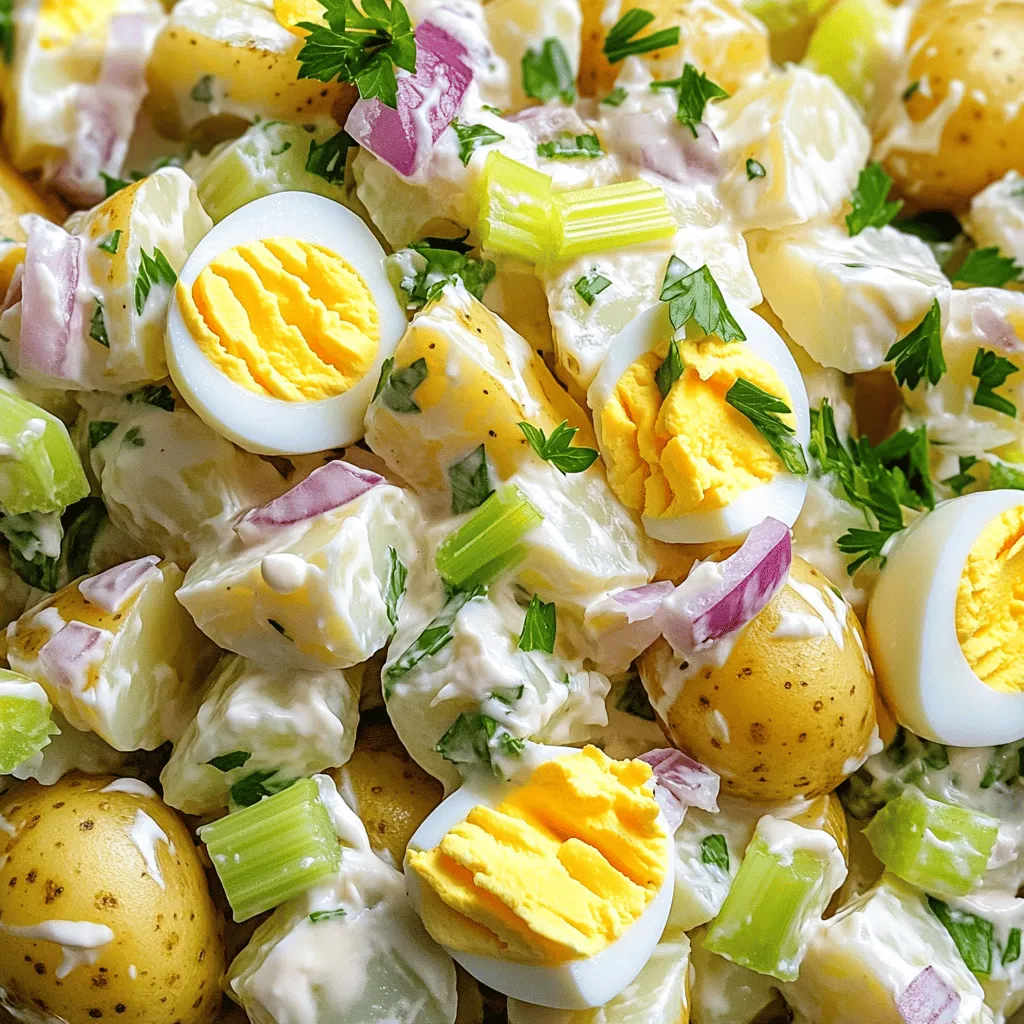
Classic potato salad is a must-have at every gathering. It’s creamy, flavorful, and oh-so-satisfying. Whether you’re hosting a barbecue or enjoying a picnic, this dish never fails to impress. In this post, I’ll guide you through a simple recipe and share tips to make your potato salad truly shine. Get ready to dive into the delicious world of classic potato salad and elevate your next meal!
Ingredients
Main Ingredients for Classic Potato Salad
To make a great potato salad, you need a few key items:
– 2 pounds baby potatoes, halved
– 1 cup creamy mayonnaise
– 2 tablespoons Dijon mustard for a tangy kick
– 1 tablespoon apple cider vinegar for brightness
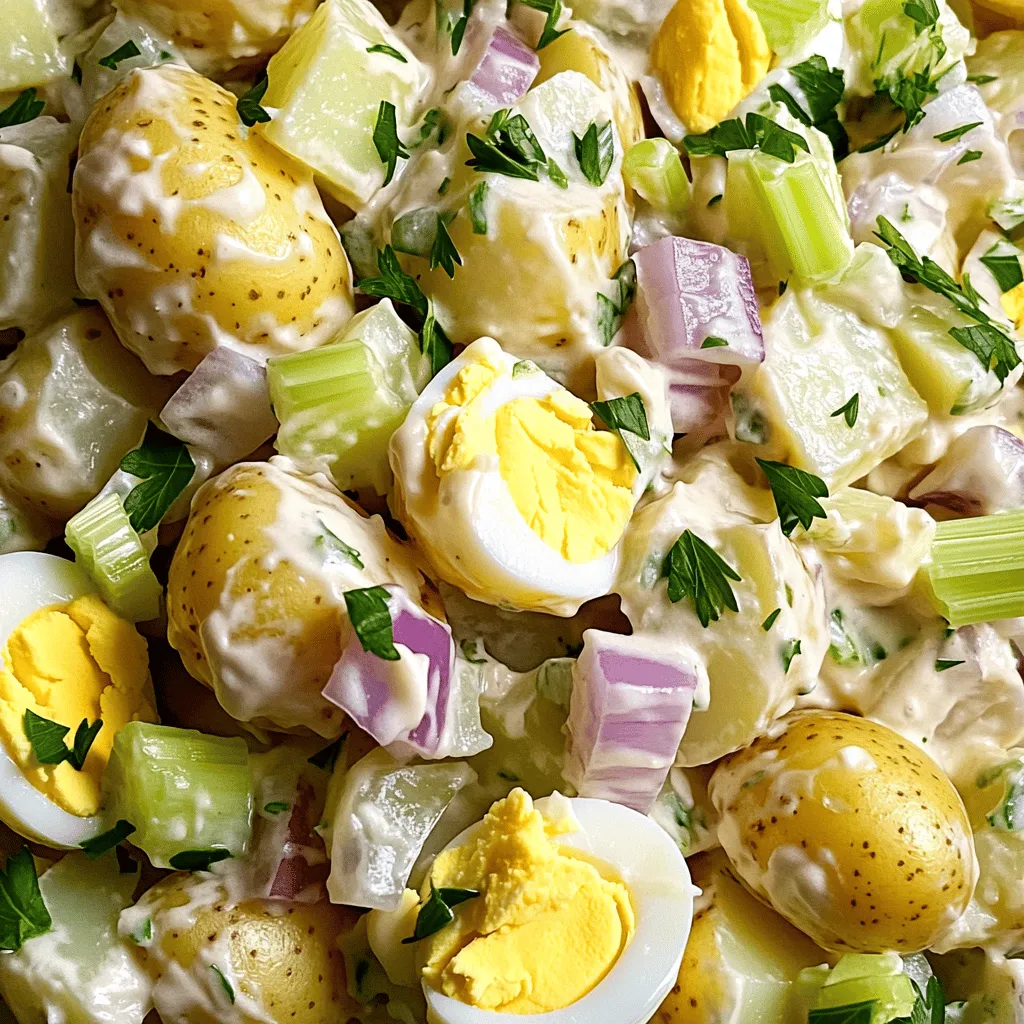
Baby potatoes are best since they stay firm and add a lovely texture. The creamy mayonnaise makes it rich, while the Dijon mustard adds a nice zing. Apple cider vinegar brightens up the flavors.
Additional Ingredients
Next, we add some crunch and flavor with:
– 1 small red onion, finely chopped
– 3 stalks celery, diced for crunch
– 4 hard-boiled eggs, chopped
– 1 teaspoon garlic powder for depth of flavor
– Salt and pepper to taste
The red onion and celery give a nice bite. Hard-boiled eggs add creaminess, while garlic powder enhances the taste. Don’t forget to season with salt and pepper!
Optional Garnishes
For a splash of color and freshness, consider:
– Fresh parsley, finely chopped, for garnish
– Paprika for color
Chopped parsley brightens the dish, while paprika adds a pop of color. These garnishes make your potato salad look as good as it tastes.
Step-by-Step Instructions
Preparing the Potatoes
To start, take 2 pounds of halved baby potatoes and put them in a large pot. Fill the pot with cold water until the potatoes are just covered. Add a pinch of salt to the water. Then, heat it on medium-high until it boils.
Once boiling, lower the heat to medium-low. Let the potatoes simmer for 10 to 15 minutes. Check if they are fork-tender but still firm. After cooking, drain the potatoes and let them cool completely. This step is key to keeping the salad fresh and tasty.
Making the Dressing
Next, grab a mixing bowl. In it, combine 1 cup of creamy mayonnaise, 2 tablespoons of Dijon mustard, and 1 tablespoon of apple cider vinegar. This mix gives the salad a bright flavor. Add 1 teaspoon of garlic powder and a sprinkle of salt and pepper. Whisk or stir until it’s smooth and well blended. This dressing ties all the flavors together.
Combining Ingredients
Now, it’s time to mix everything. Once the potatoes have cooled, add them to the bowl with the dressing. Also, include 1 small finely chopped red onion, 3 diced celery stalks, and 4 chopped hard-boiled eggs.
Gently fold the mixture until all pieces are covered in the creamy dressing. Be careful not to mash the potatoes. Taste the salad and adjust the seasoning with more salt and pepper if needed. Cover the bowl and chill it for at least 1 hour. This helps the flavors blend well.
When serving, give the salad a gentle stir and garnish with fresh parsley. Enjoy your creamy, classic potato salad!
Tips & Tricks
How to Get Creamy Potato Salad
To make creamy potato salad, chilling is key. I chill the salad for at least one hour. This helps the flavors blend. It also cools the salad to the right serving temperature. For mayonnaise, choose a high-quality brand. A richer mayo makes a big difference. Look for one with a smooth texture and good taste.
Preventing Potatoes from Getting Mushy
Cooking time is very important. Boil the potatoes for 10-15 minutes. Test them with a fork; they should be tender but firm. If you overcook them, they will turn mushy. For the best texture, use baby potatoes. They hold their shape well and taste great.
Enhancing Flavor
To boost flavor, season wisely. I suggest adding garlic powder, salt, and pepper. You can also mix in some fresh herbs like dill or chives. For extra depth, consider adding diced pickles or relish. These add a nice crunch and tang. If you want a twist, try adding crispy bacon bits. This gives a delightful umami flavor.
Variations
Classic vs. Modern Additions
You can mix things up with your potato salad. One fun twist is adding bacon. The crispy bacon gives a nice umami flavor. Just cook it until crispy, then crumble it into your salad. This adds a savory bite that everyone loves.
Another modern change is using Greek yogurt instead of mayonnaise. Greek yogurt makes the salad lighter and adds a nice tang. It also packs in extra protein. You can use half yogurt and half mayonnaise for the best of both worlds.
Dietary Modifications
If you’re looking for vegan options, try using plant-based mayo. Many brands now make tasty mayo without eggs. This keeps your salad creamy while meeting vegan needs. You can enjoy all the flavor without animal products.
For gluten-free diets, classic potato salad is often safe. Just make sure all your ingredients are gluten-free. Most potatoes, mayo, and veggies are naturally gluten-free. Always check labels to be sure.
Serving Suggestions
Potato salad pairs well with many dishes. It goes great with grilled meats like burgers or chicken. It also works as a side for barbecues and picnics. You can serve it in a large bowl or individual cups for fun.
For gatherings, get creative! Use lettuce leaves as cups for serving. You can also top your salad with fresh herbs like dill or chives. This adds color and flavor, making it even more appealing.
Storage Info
Best Practices for Storing Potato Salad
Potato salad stays fresh in the fridge for about three to five days. Store it in an airtight container. This keeps it cold and prevents it from absorbing other odors in your fridge. If you want to freeze potato salad, it’s best not to. The texture can change when thawed, making it less tasty.
Reheating Guidelines
You should not reheat potato salad. It is best served cold or at room temperature. If you have leftovers, stir the salad gently before serving. This helps mix the flavors again and makes it look nice.
Signs of Spoilage
To tell if potato salad has gone bad, check for off smells or a change in color. If it smells sour or looks slimy, it’s time to toss it. Always use safe food handling practices. Wash your hands before touching the salad and keep it covered in the fridge.
FAQs
Can I make Classic Potato Salad ahead of time?
Yes, you can make Classic Potato Salad in advance. I recommend making it up to two days before serving. This allows the flavors to mix well. Just keep it in the fridge until you are ready to serve.
What type of potatoes is best for potato salad?
For potato salad, I prefer waxy potatoes like baby potatoes or red potatoes. They hold their shape well and stay firm. Starchy potatoes, like Russets, can break down and become mushy. Waxy potatoes give a nice texture to the salad.
How do I prevent discoloration in potatoes?
To stop potatoes from turning brown, soak them in cold water. You can also add a bit of lemon juice or vinegar to the water. This helps keep their bright color and freshness. Make sure to drain and dry them before mixing them into the salad.
What to do if the salad is too dry?
If your potato salad seems too dry, you can add more dressing. Mix in extra mayonnaise or a splash of apple cider vinegar. You can also add a little bit of yogurt for creaminess. Start with a small amount and mix well until it reaches your desired creaminess.
In summary, this guide covers all you need to make tasty potato salad. We discussed main ingredients like baby potatoes and mayonnaise, plus crunchy add-ins. You learned how to prepare, dress, and combine everything for a creamy dish. I shared tips for preventing mushiness and suggested fun variations to try. Storing and reheating your salad is also key for freshness. Don’t forget, knowing when it’s gone bad keeps you safe. With these tips, you can create potato salad that everyone loves. Enjoy your cooking adventure!


