Skip to content
About
Contact
Cookie Policy
Copyright Policy
Disclaimer
Search
Home
Dinner
Appetizer
Desserts
Drinks
About
Contact
Privacy Policy
Toggle Menu
Home
/
Dinner
- Page 8
Dinner
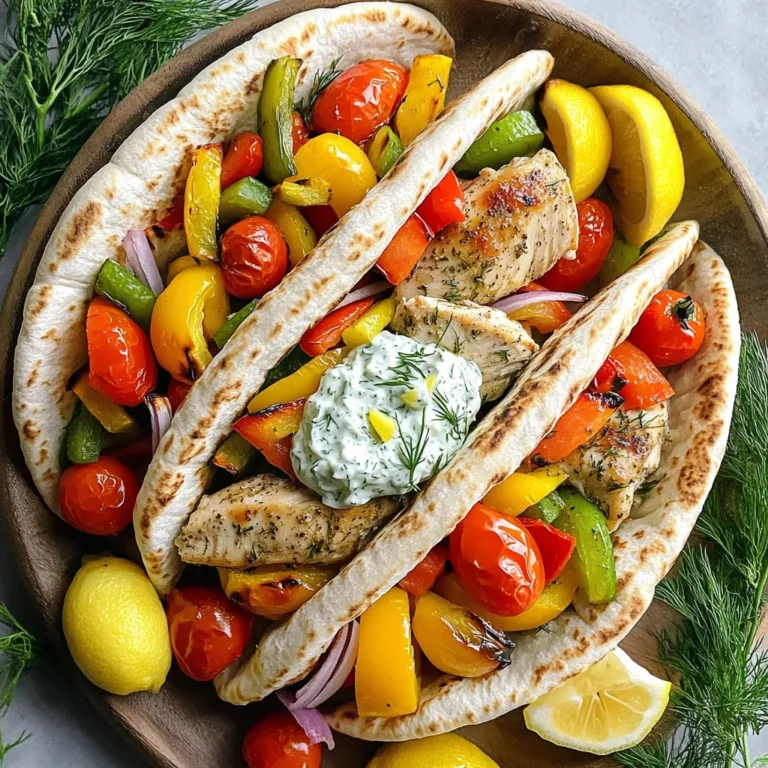
Sheet-Pan Greek Chicken Pita Pockets Delight
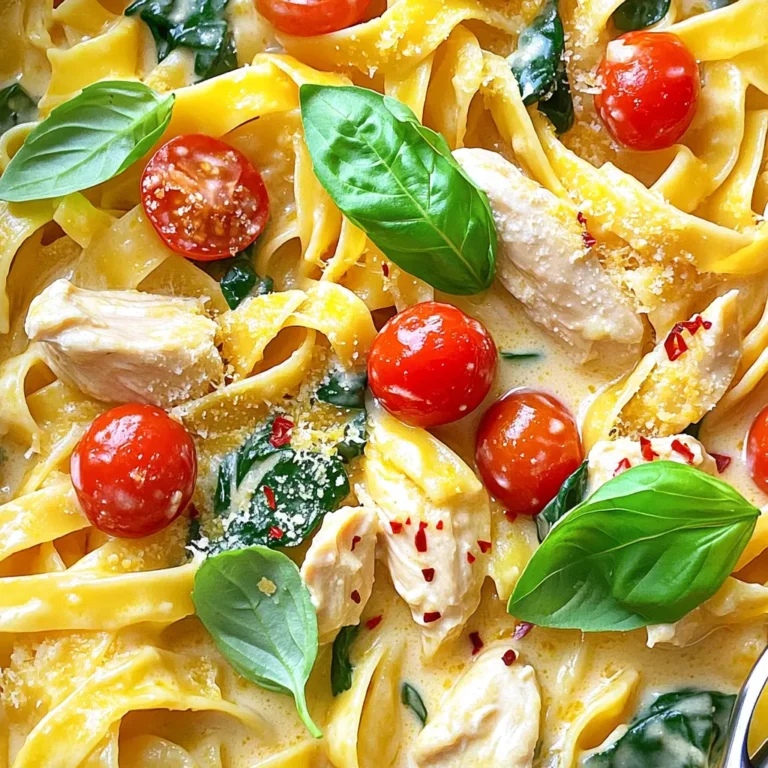
Instant Pot Creamy Tuscan Chicken Pasta Delight
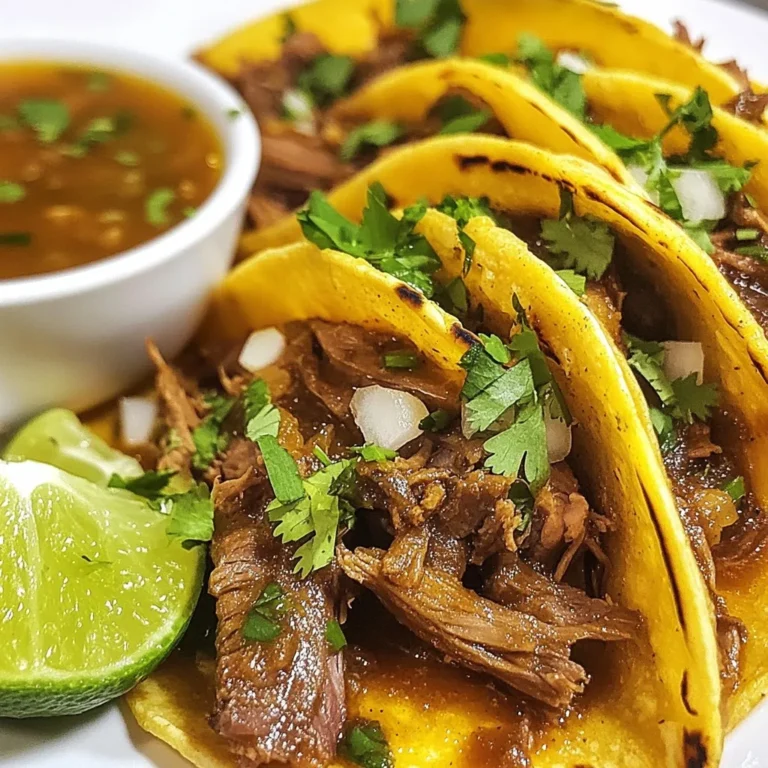
Classic Birria Tacos Tempting Flavorful Recipe
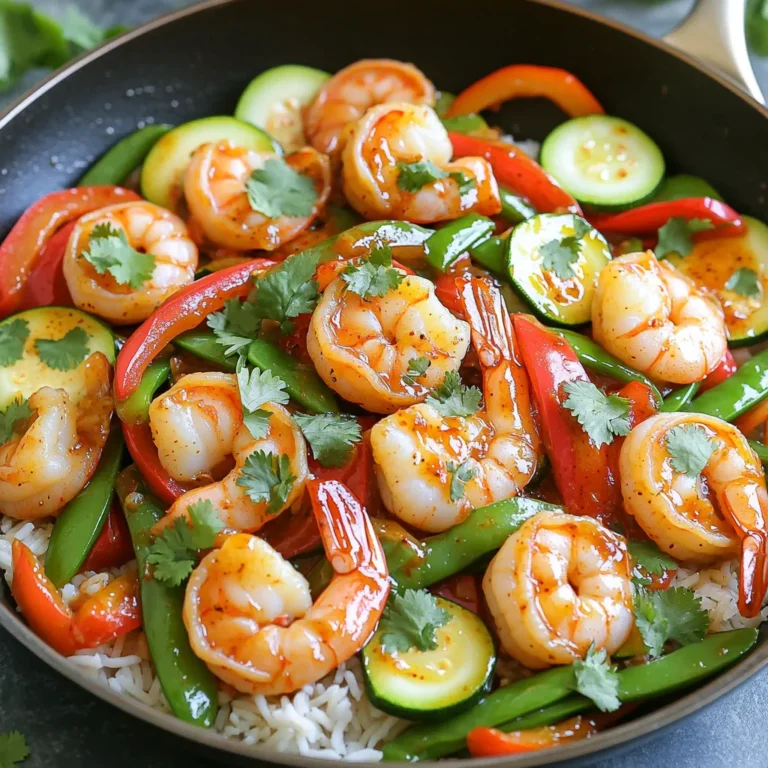
Minute Chili Garlic Shrimp Stir-Fry Quick and Easy Meal
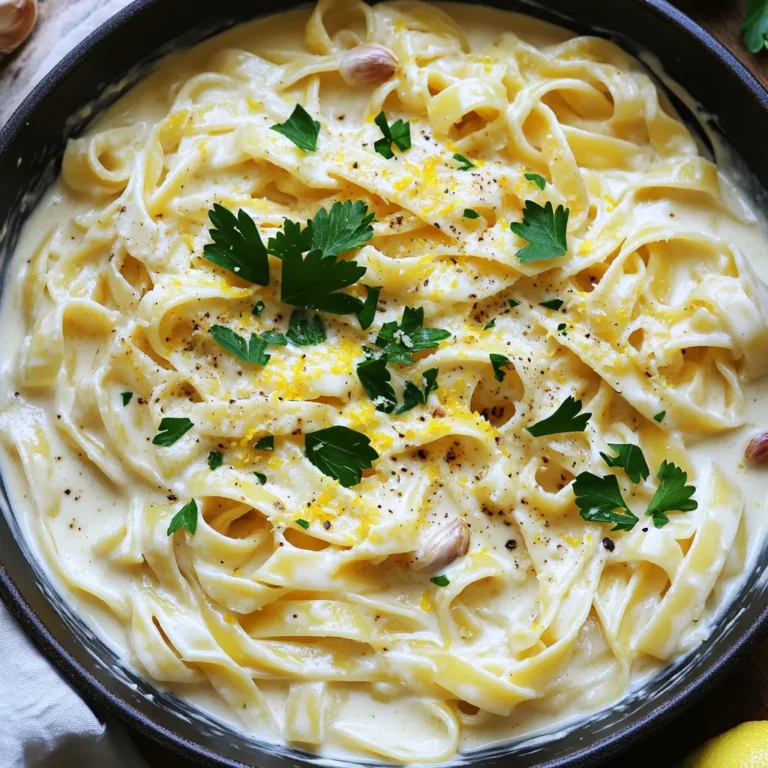
One-Pot Creamy Roasted Garlic Alfredo Pasta Delight
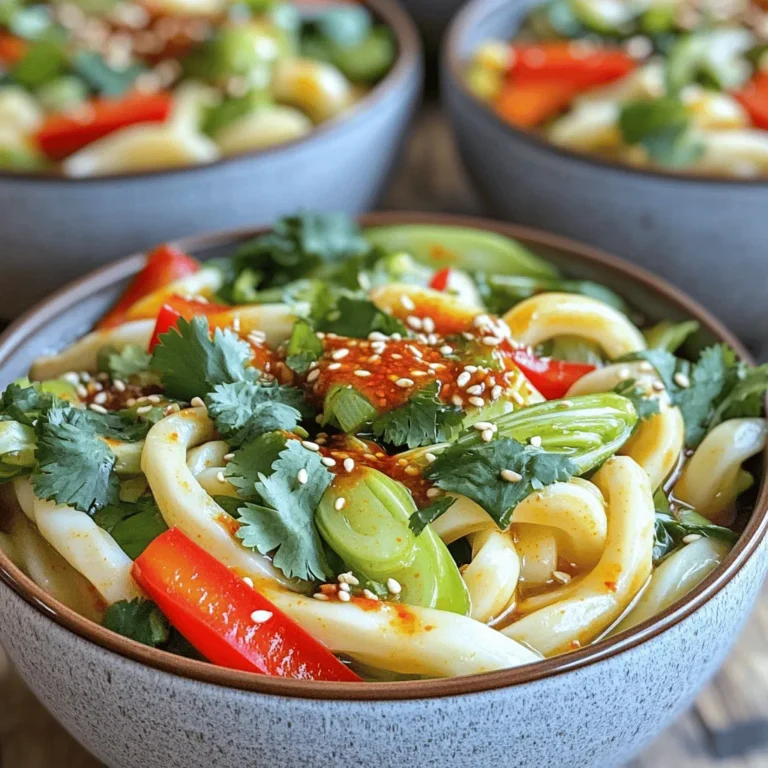
Spicy Chili Crisp Udon Flavorful and Fun Dish
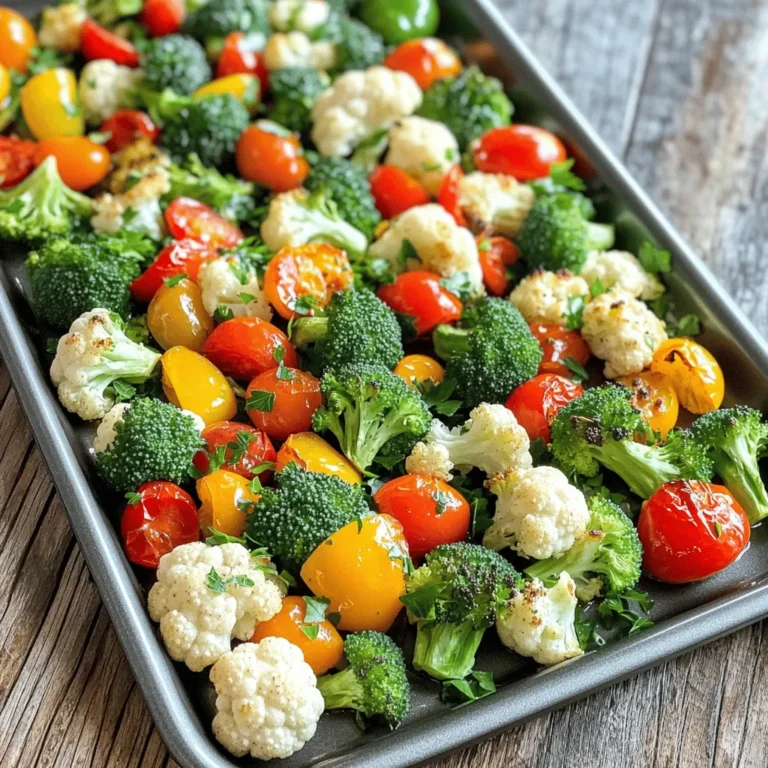
Sheet Pan Garlic Butter Veggie Medley Delight
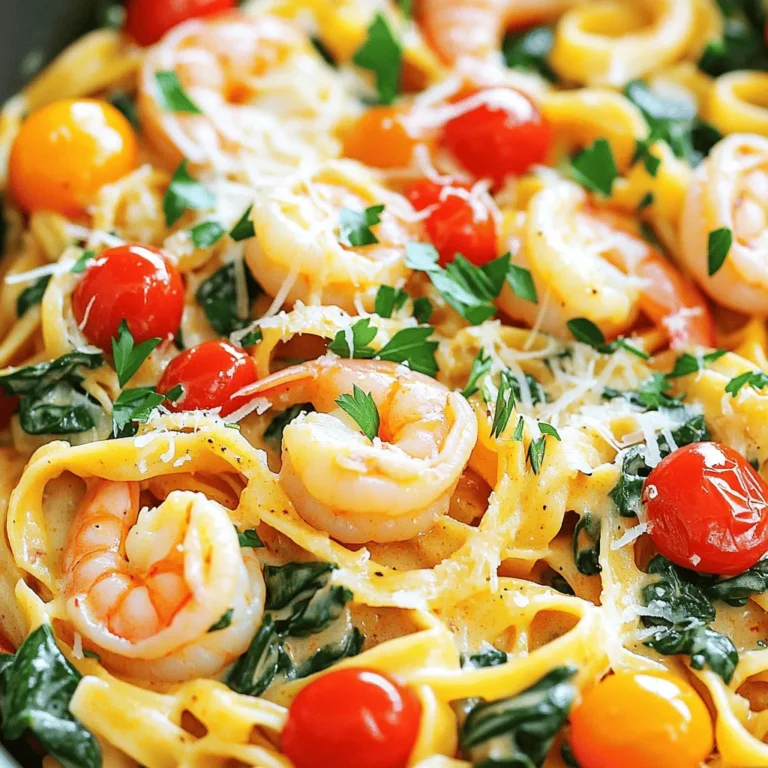
One Pot Creamy Cajun Shrimp Linguine Delight
Teriyaki Salmon Rice Bowls Flavorful and Simple Recipe
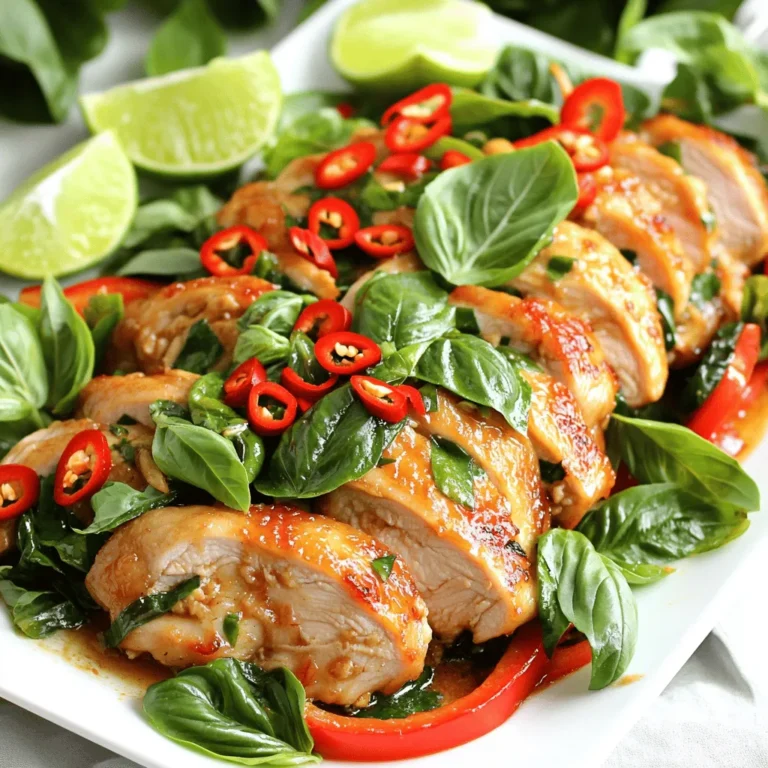
Spicy Thai Basil Chicken Flavor-Packed Dinner Recipe
Page navigation
Previous Page
Previous
1
…
6
7
8
9
10
…
53
Next Page
Next
Home
Dinner
Appetizer
Desserts
Drinks
About
Contact
Privacy Policy
Toggle Menu Close
Search for:
Search