Skip to content
About
Contact
Cookie Policy
Copyright Policy
Disclaimer
Search
Home
Dinner
Appetizer
Desserts
Drinks
About
Contact
Privacy Policy
Toggle Menu
Home
/
Dinner
- Page 53
Dinner
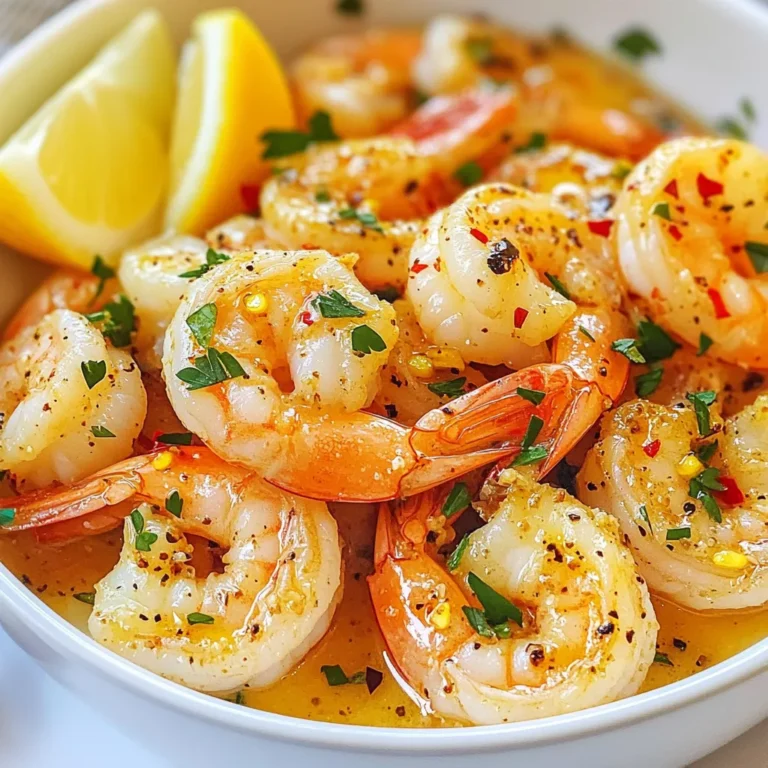
Spicy Garlic Butter Shrimp Tasty and Quick Dinner Dish
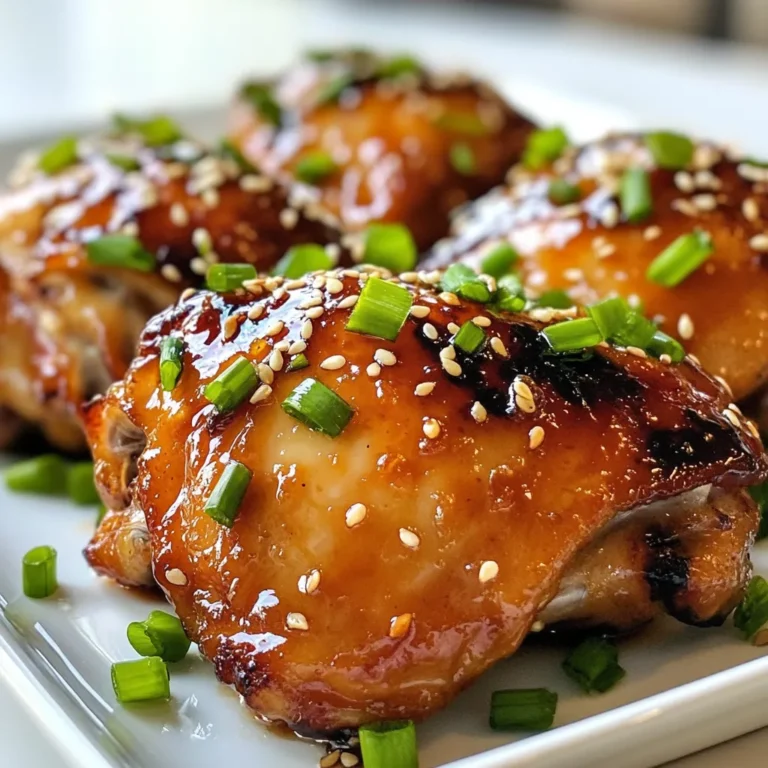
Maple Soy Glazed Chicken Thighs Flavorful Dinner Idea
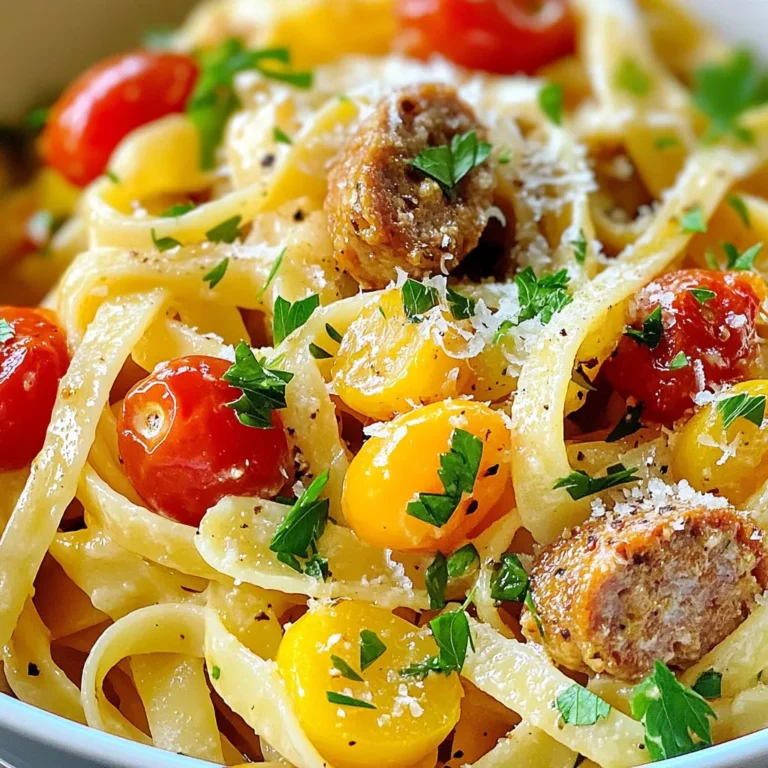
Creamy Cajun Turkey Sausage Pasta Simple and Flavorful
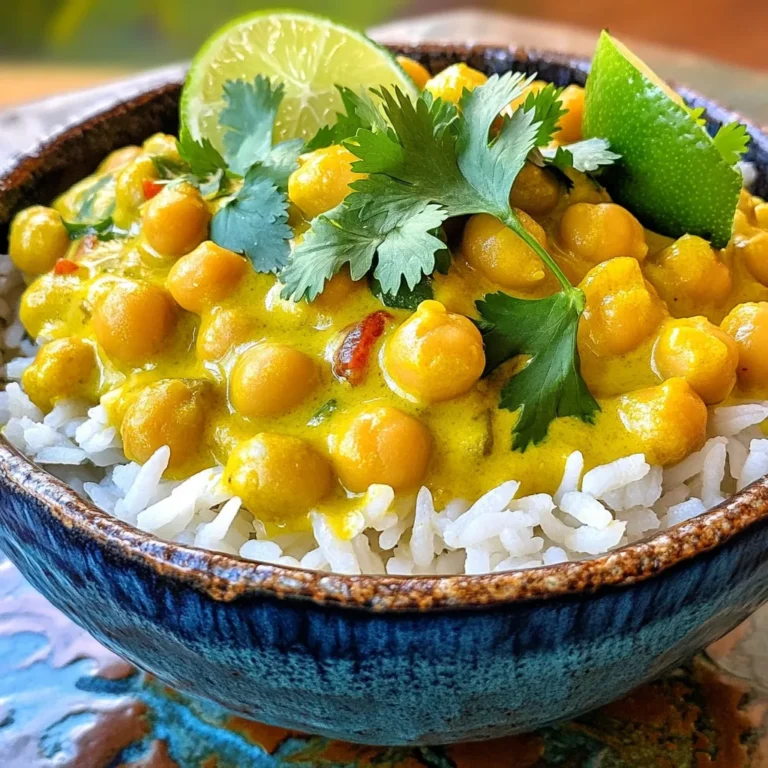
Coconut Curry Chickpeas Simple and Flavorful Recipe
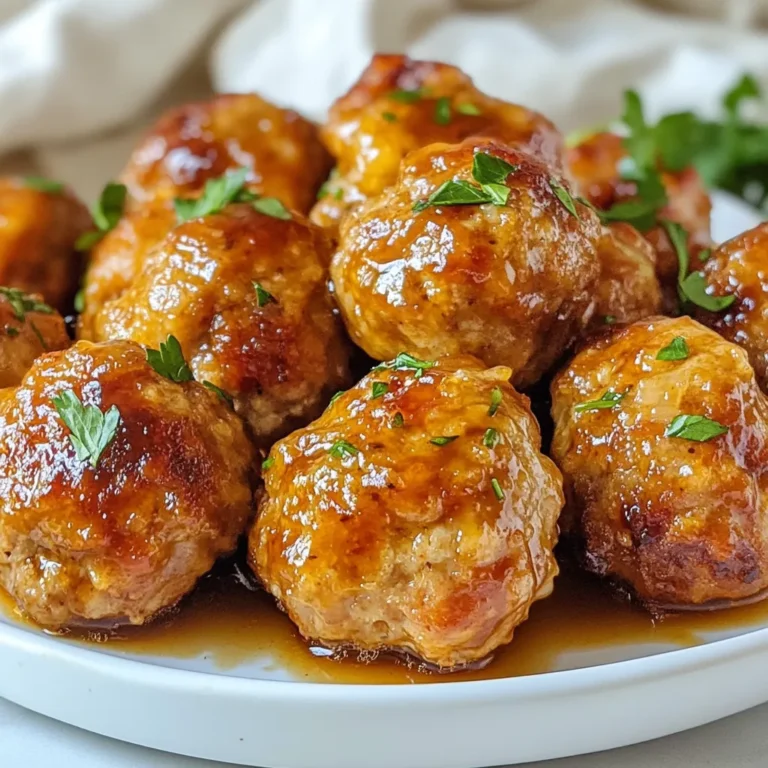
Honey Garlic Turkey Meatballs Joyful and Easy Recipe
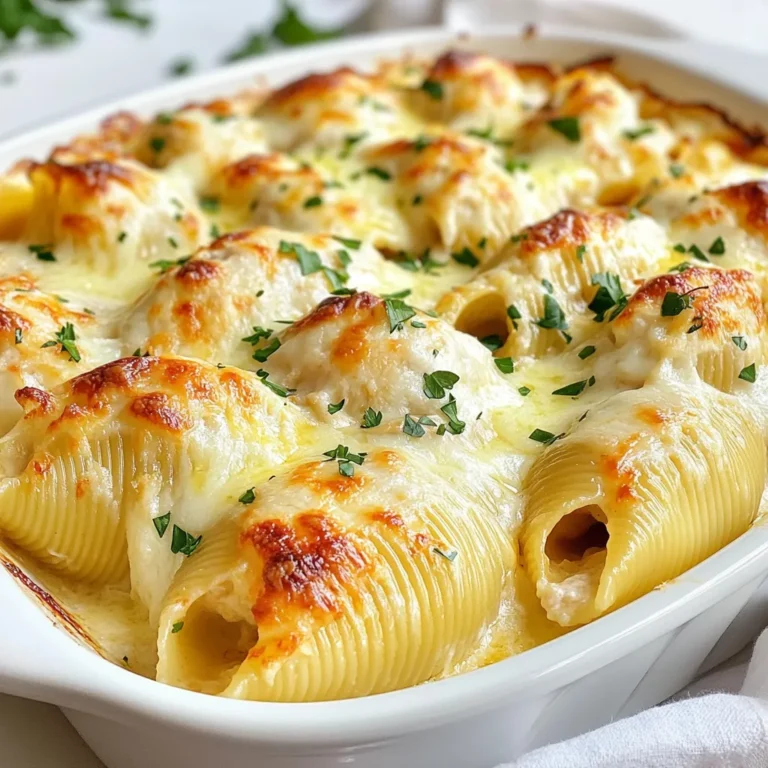
Savory Chicken Alfredo Stuffed Shells Simple Recipe
Chipotle Sweet Potato Chili Flavorful Comfort Meal
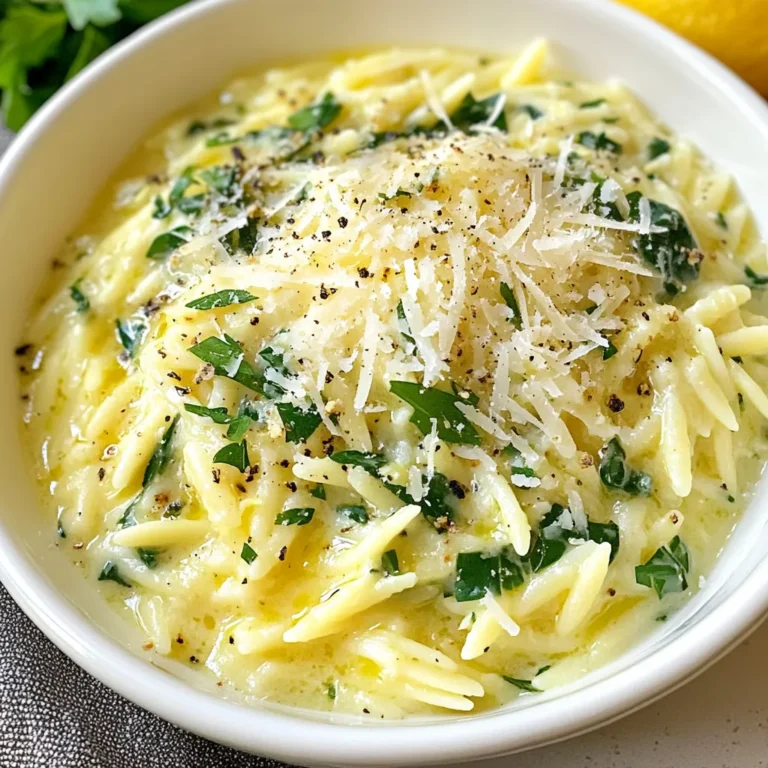
Creamy Lemon Garlic Orzo Satisfying and Easy Recipe
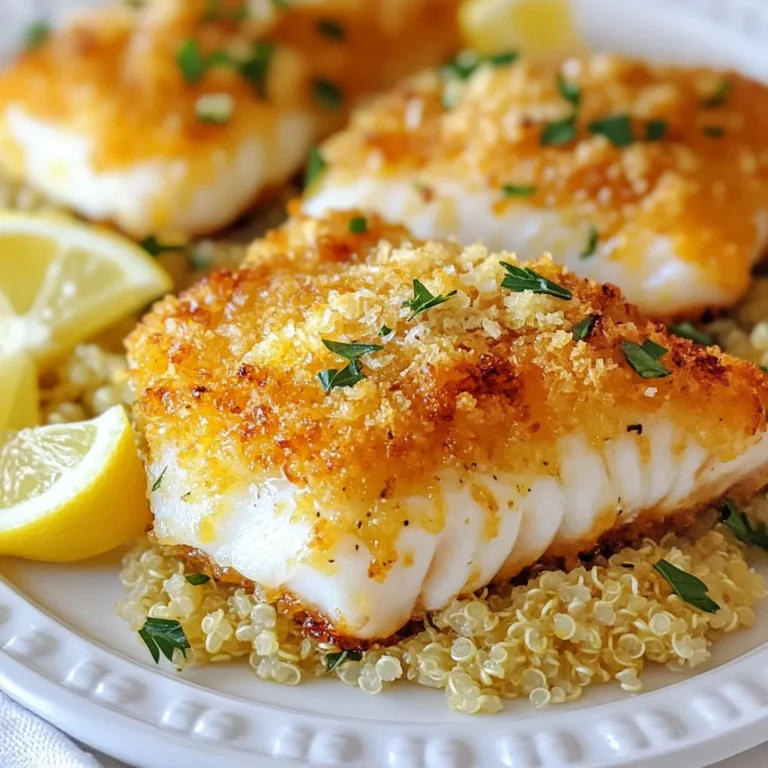
Parmesan Crusted Cod Flavorful and Easy Recipe
Page navigation
Previous Page
Previous
1
…
51
52
53
Home
Dinner
Appetizer
Desserts
Drinks
About
Contact
Privacy Policy
Toggle Menu Close
Search for:
Search