Skip to content
About
Contact
Cookie Policy
Copyright Policy
Disclaimer
Search
Home
Dinner
Appetizer
Desserts
Drinks
About
Contact
Privacy Policy
Toggle Menu
Home
/
Dinner
- Page 51
Dinner
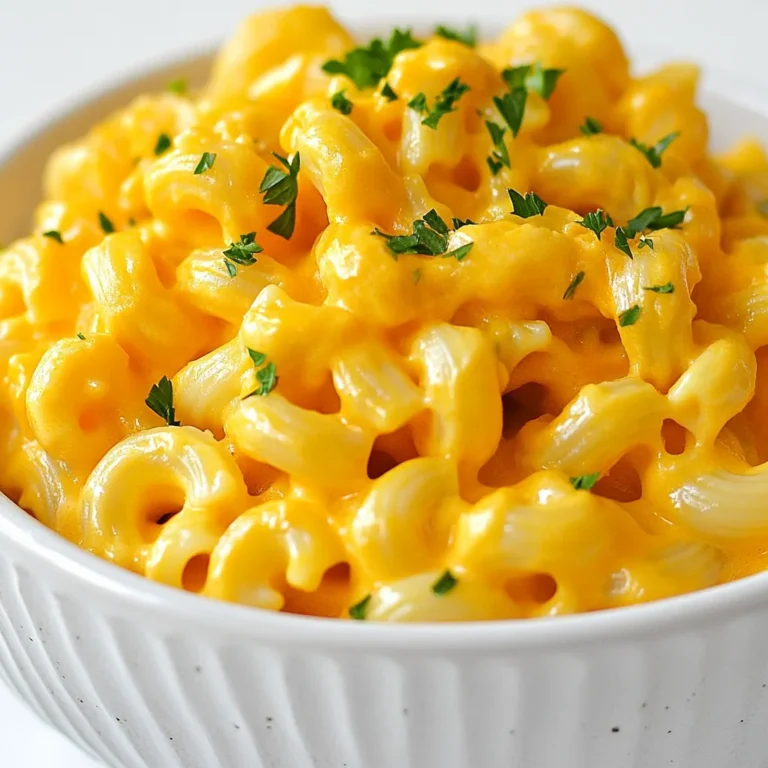
Butternut Squash Mac and Cheese Creamy Comfort Food
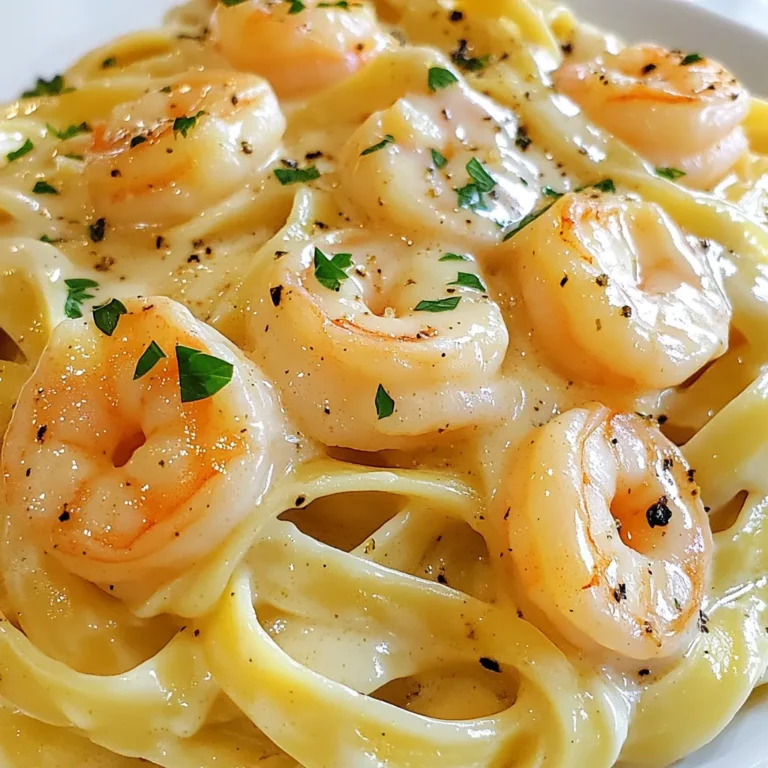
Creamy Garlic Shrimp Alfredo Simple and Tasty Dish
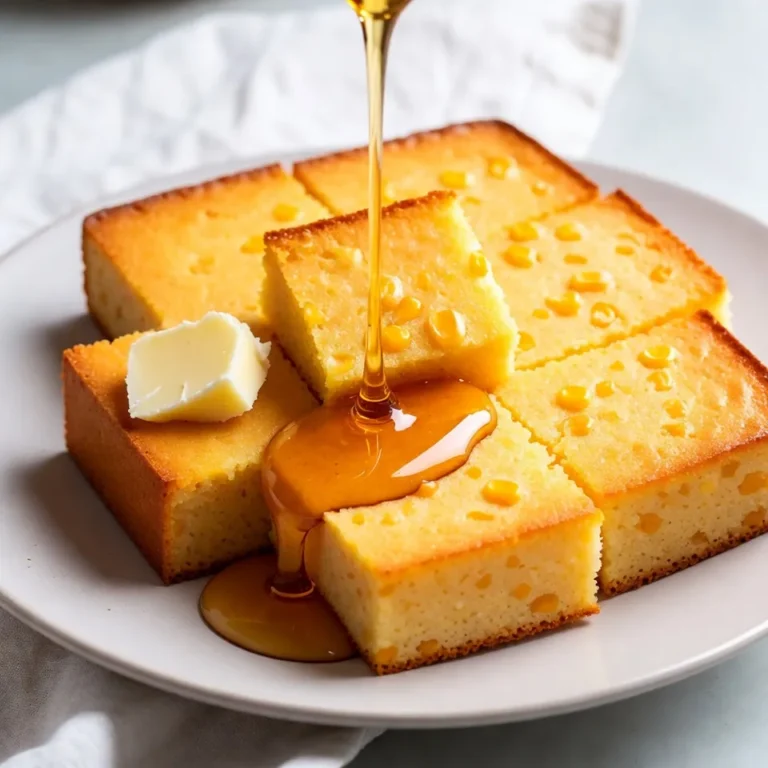
Honey Butter Cornbread Delightful and Easy Recipe
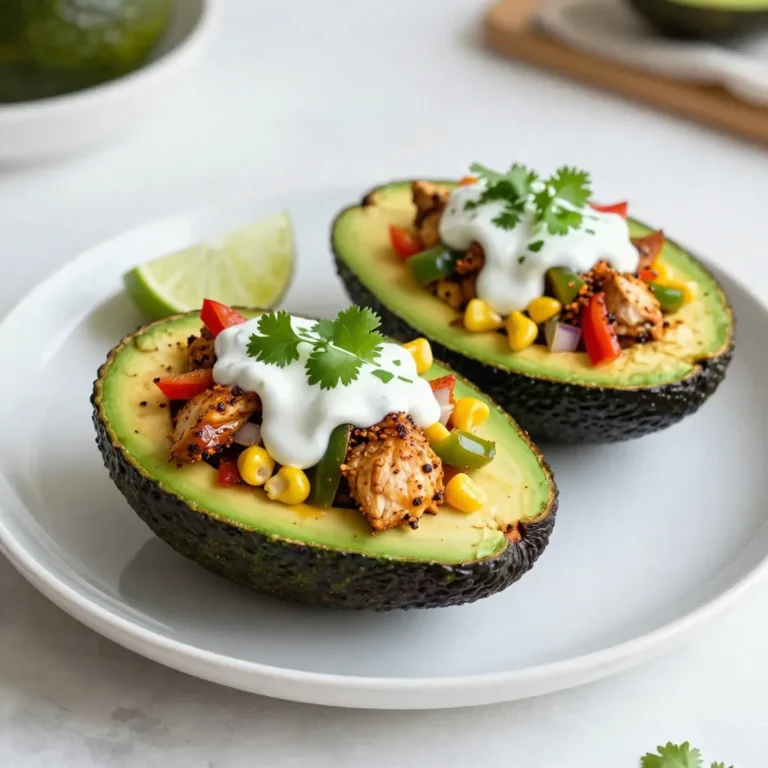
Cajun Chicken Stuffed Avocados Flavorful Fresh Dish
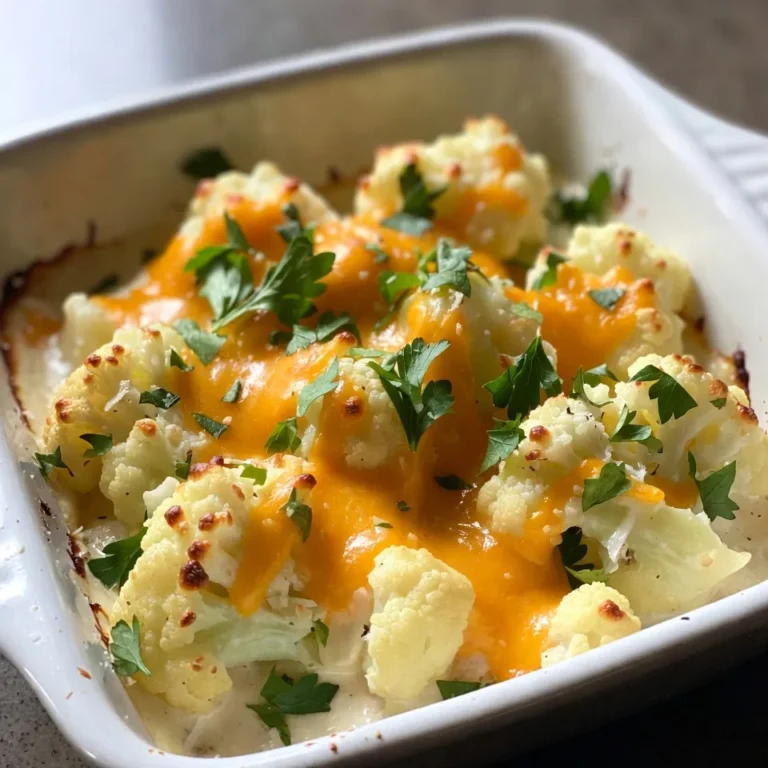
Cheesy Cauliflower Au Gratin Creamy and Flavorful Dish
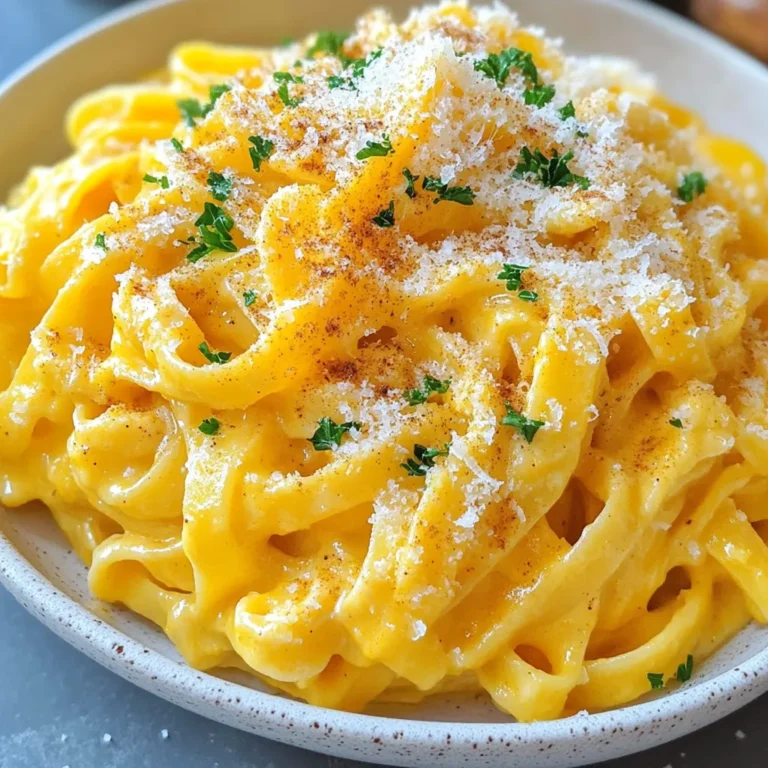
Creamy Pumpkin Alfredo Pasta Delightfully Simple Dish
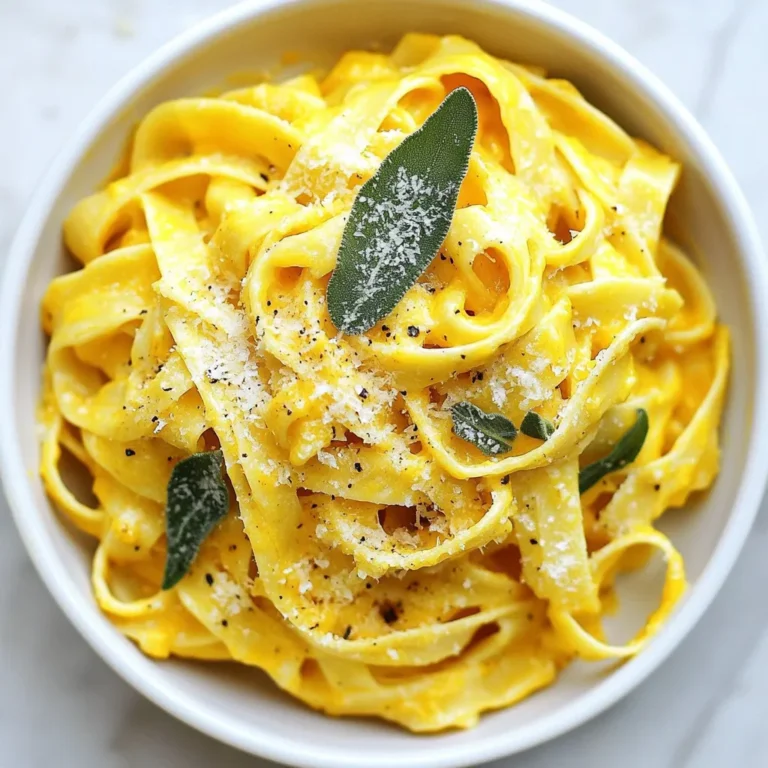
Creamy Pumpkin Sage Pasta Flavorful and Simple Recipe
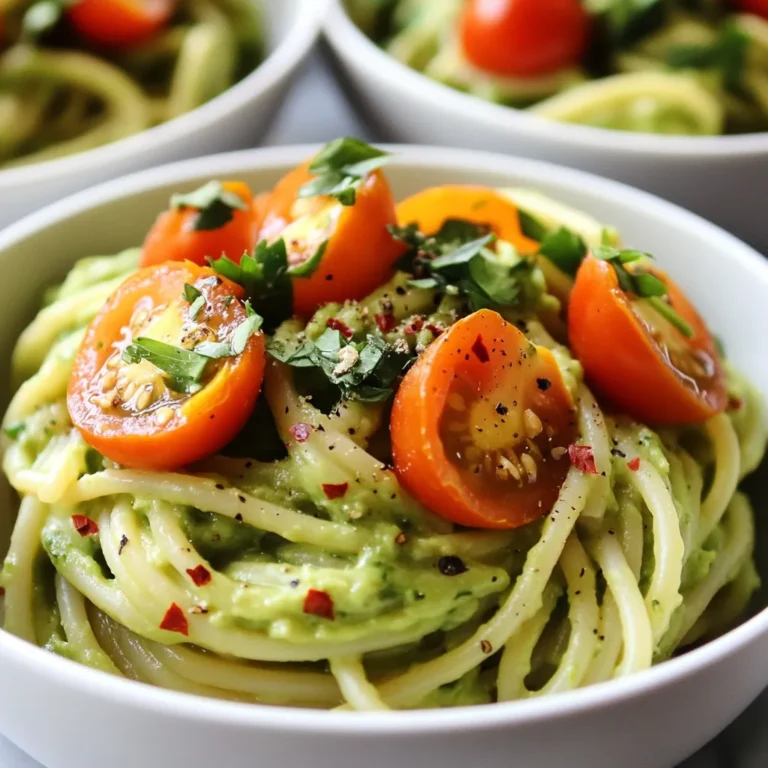
Creamy Avocado Cilantro Pasta Easy and Delicious Meal
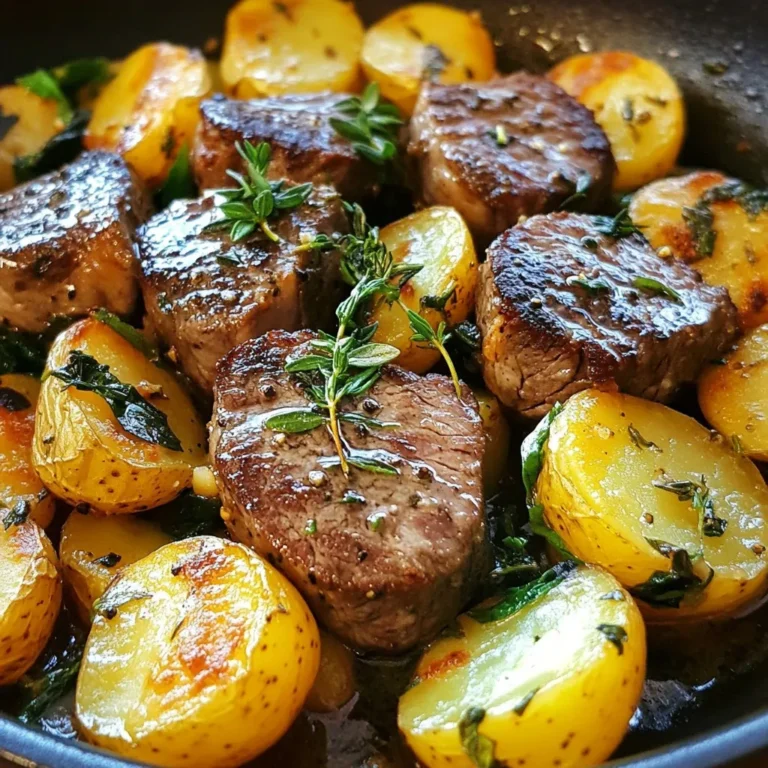
Garlic Butter Steak & Potatoes Skillet Delight
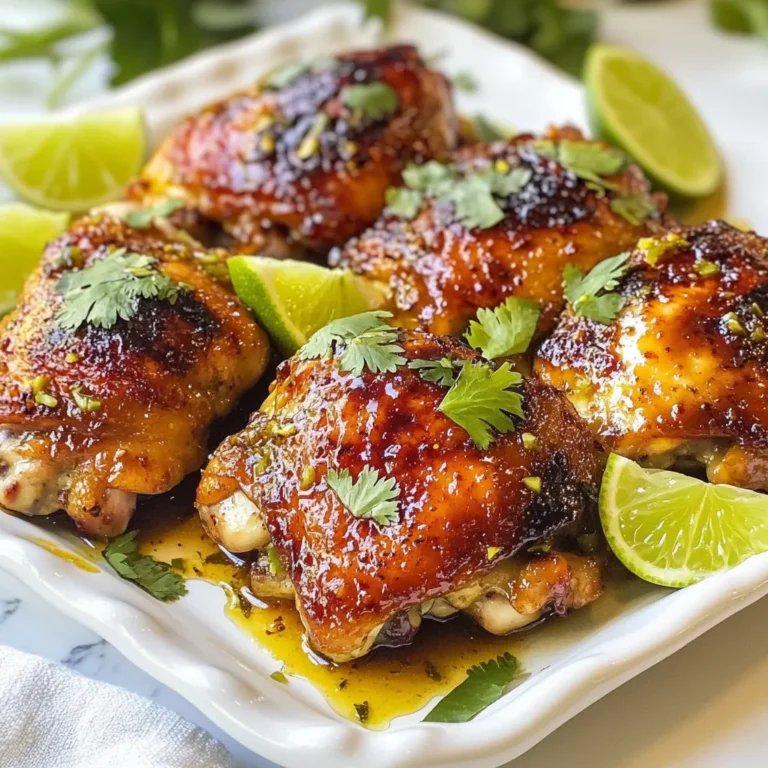
Honey Lime Chicken Thighs Irresistible Flavor Dish
Page navigation
Previous Page
Previous
1
…
49
50
51
52
53
Next Page
Next
Home
Dinner
Appetizer
Desserts
Drinks
About
Contact
Privacy Policy
Toggle Menu Close
Search for:
Search