Skip to content
About
Contact
Cookie Policy
Copyright Policy
Disclaimer
Search
Home
Dinner
Appetizer
Desserts
Drinks
About
Contact
Privacy Policy
Toggle Menu
Home
/
Dinner
- Page 5
Dinner
Lemon Garlic Shrimp with Zoodles Sheet Pan Delight
Sheet Pan Gnocchi Primavera Fresh and Flavorful Feast
Honey Garlic Salmon Bowls Quick and Tasty Meal
Sheet-Pan Sweet Chili Glazed Chicken Thighs Delight
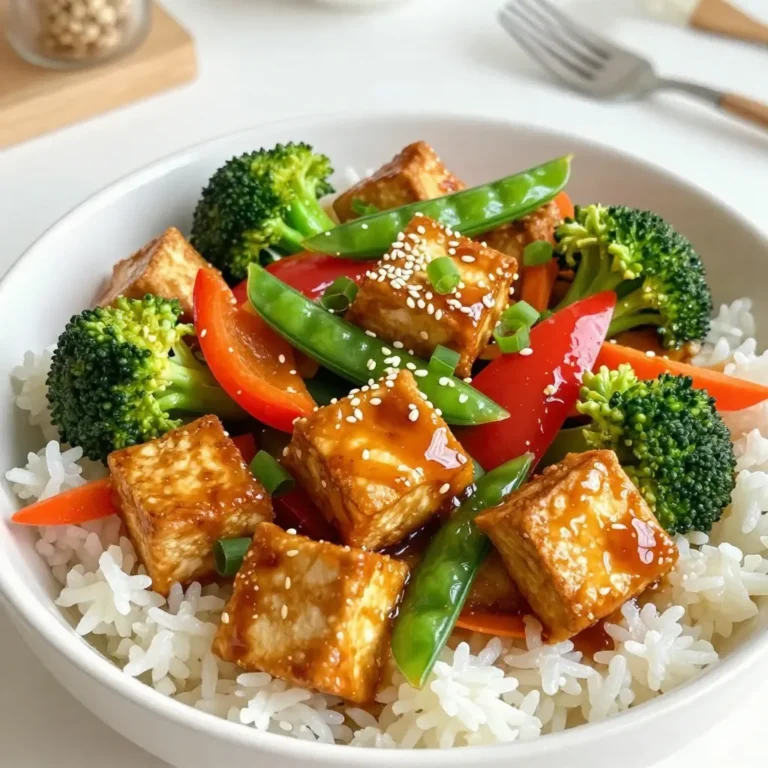
Teriyaki Tofu Stir Fry Quick and Simple Recipe
TikTok Baked Feta Pasta Simple and Delicious Recipe
Instant Pot Buffalo Chicken Mac and Cheese Delight
One-Pan Lemon Rosemary Chicken Gnocchi Recipe Delight
Slow Cooker Creamy Tuscan Chickpea Soup Recipe
Spicy Cajun Chicken Tacos Flavorful and Simple Meal
Page navigation
Previous Page
Previous
1
…
3
4
5
6
7
…
53
Next Page
Next
Home
Dinner
Appetizer
Desserts
Drinks
About
Contact
Privacy Policy
Toggle Menu Close
Search for:
Search