Skip to content
About
Contact
Cookie Policy
Copyright Policy
Disclaimer
Search
Home
Dinner
Appetizer
Desserts
Drinks
About
Contact
Privacy Policy
Toggle Menu
Home
/
Dinner
- Page 49
Dinner
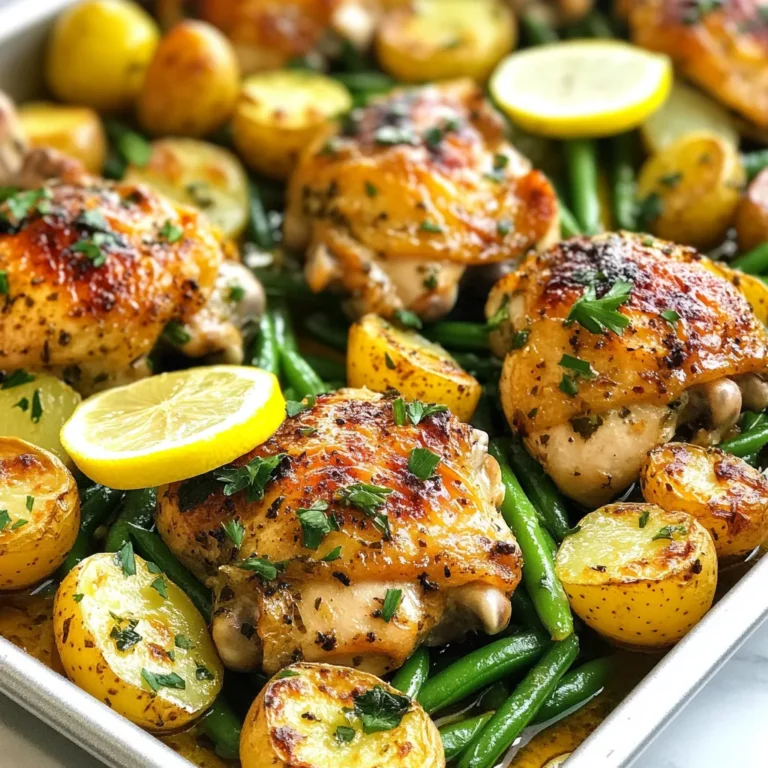
Sheet Pan Lemon Garlic Chicken Delight Recipe
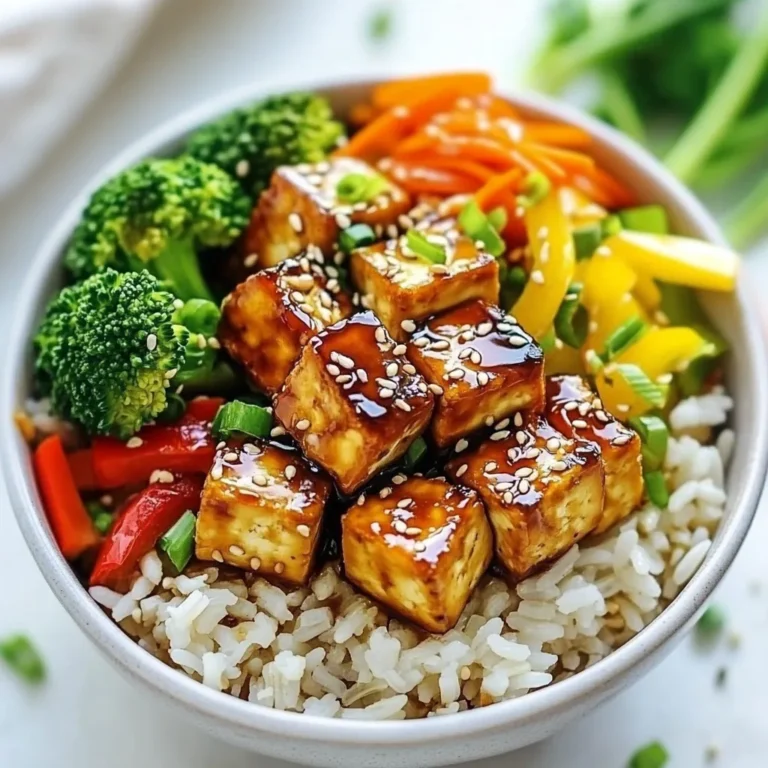
Teriyaki Tofu Rice Bowls Simple and Flavorful Dish
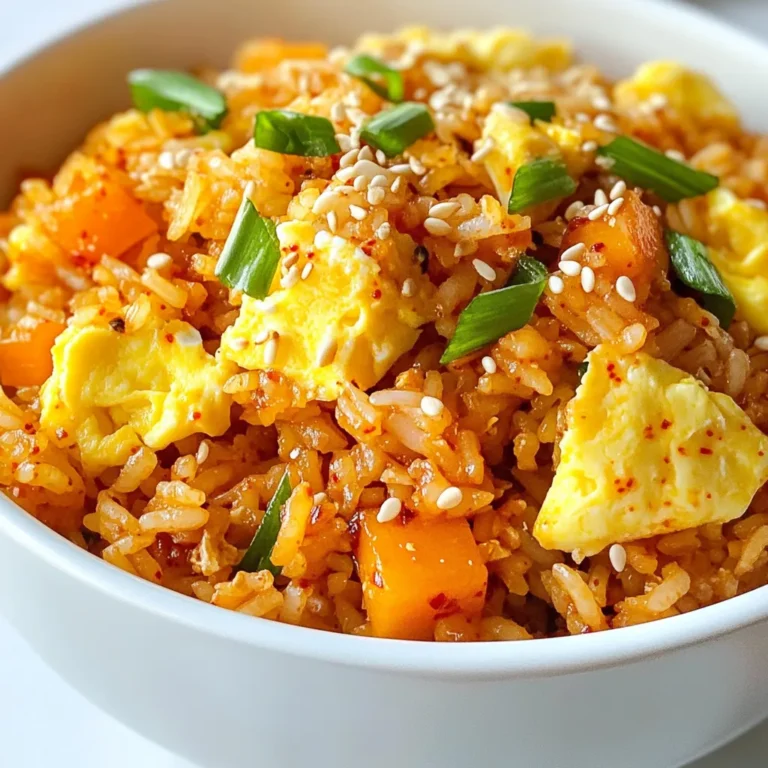
Spicy Kimchi Fried Rice Savory and Flavorful Meal
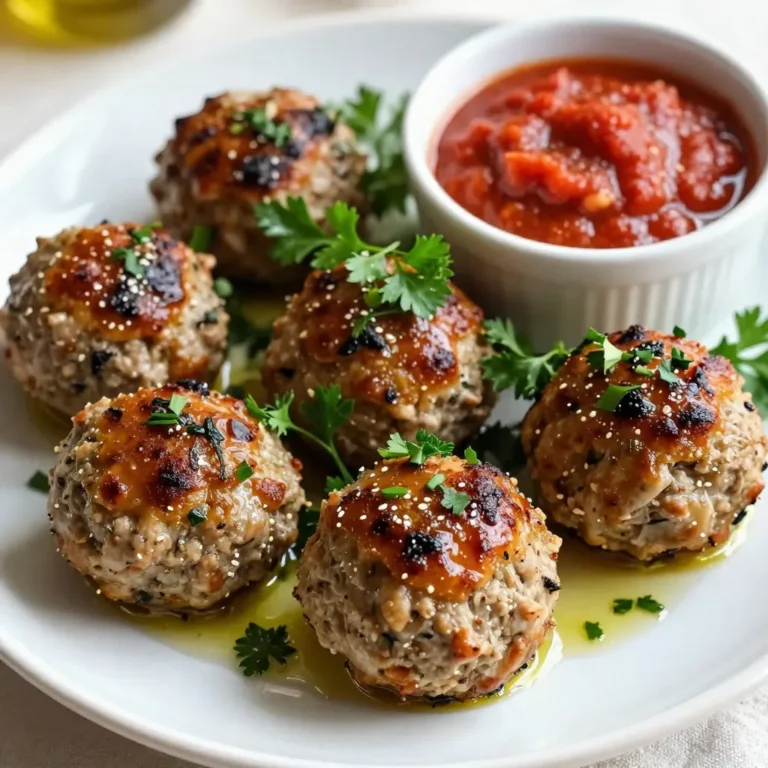
Garlic Herb Turkey Meatballs Tasty and Simple Recipe
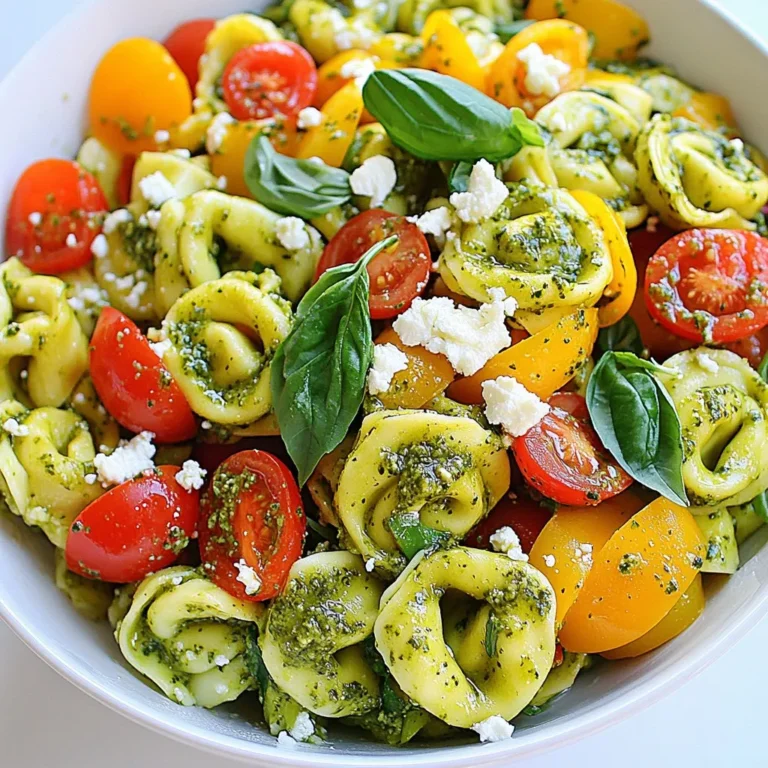
Pesto Tortellini Pasta Salad Fresh and Flavorful Dish
Teriyaki Chicken Meatballs Flavorful and Simple Recipe
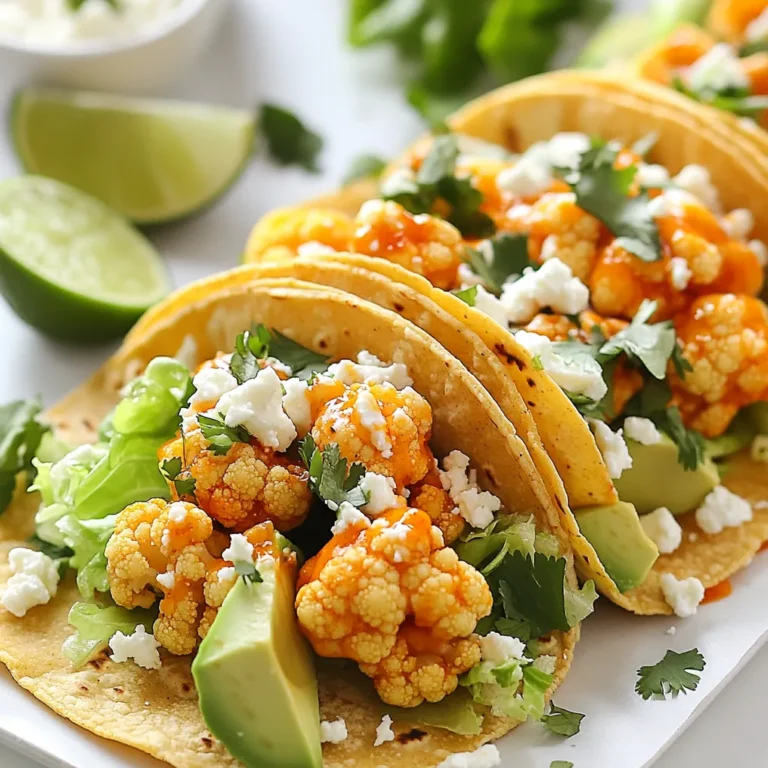
Savory Buffalo Cauliflower Tacos Easy Flavorful Meal
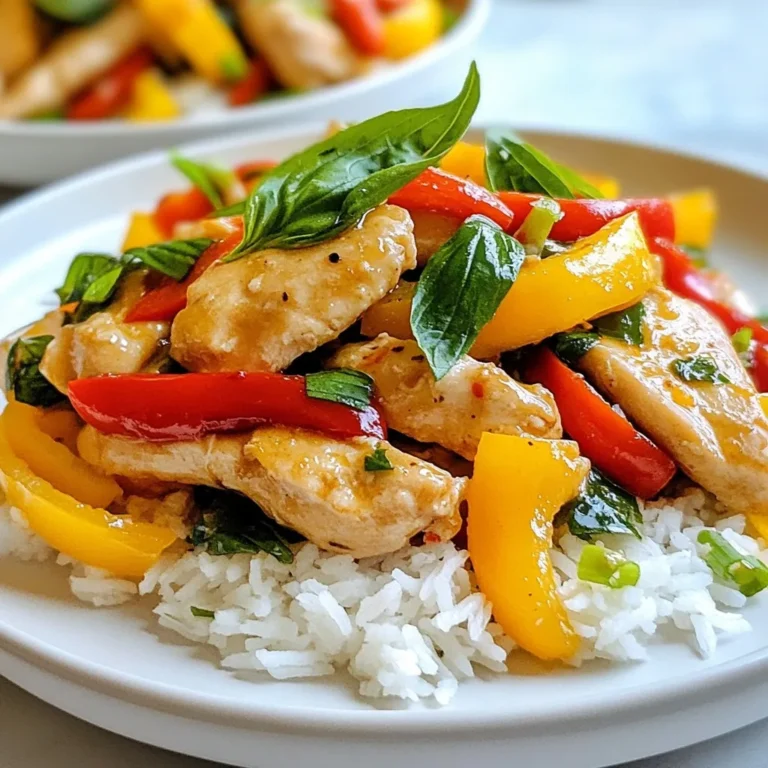
Thai Basil Chicken Stir Fry Flavorful Dinner Delight
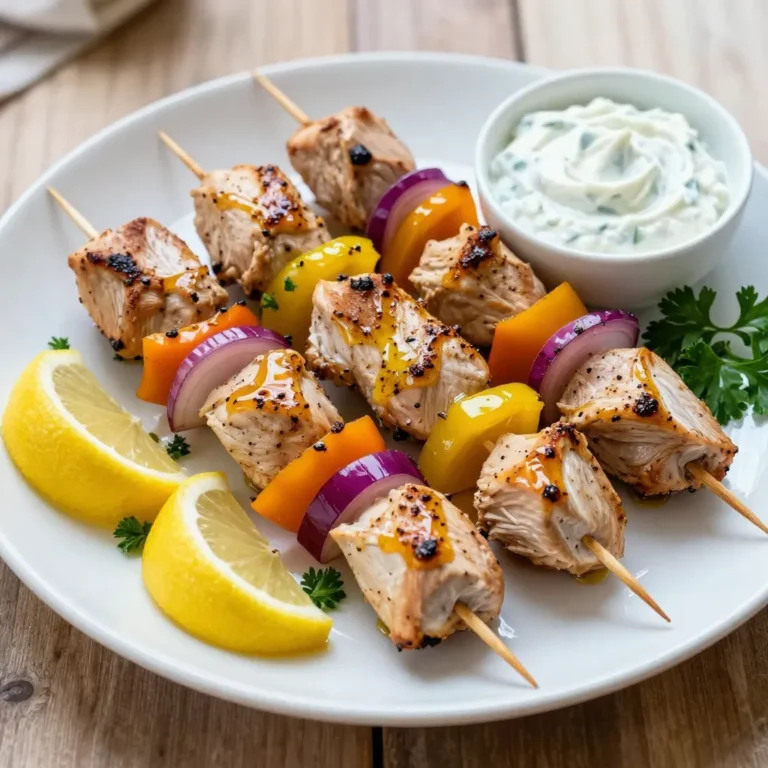
Greek Chicken Kabobs Flavorful and Easy to Make
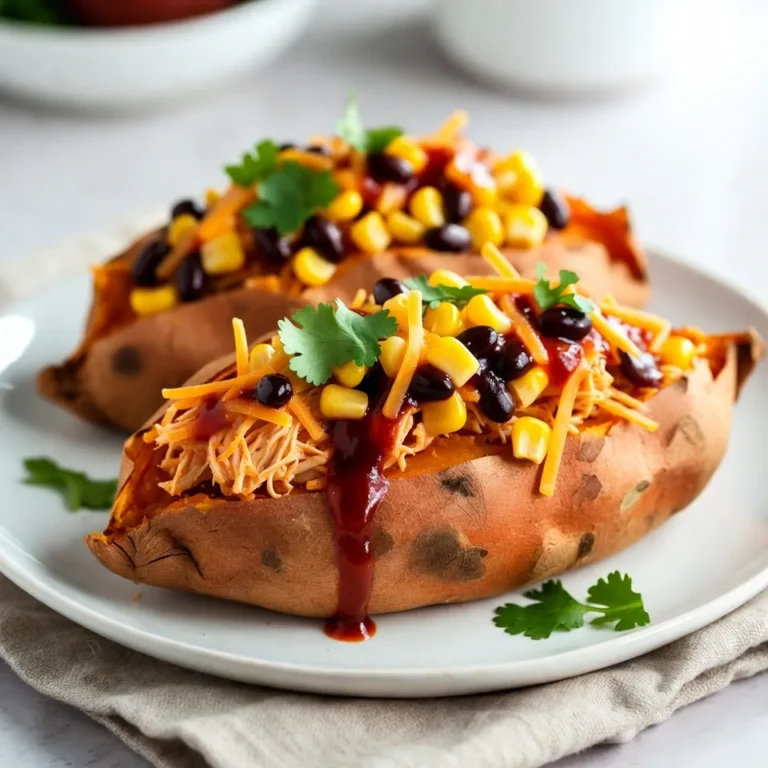
BBQ Chicken Stuffed Sweet Potatoes Tasty and Simple
Page navigation
Previous Page
Previous
1
…
47
48
49
50
51
…
53
Next Page
Next
Home
Dinner
Appetizer
Desserts
Drinks
About
Contact
Privacy Policy
Toggle Menu Close
Search for:
Search