Skip to content
About
Contact
Cookie Policy
Copyright Policy
Disclaimer
Search
Home
Dinner
Appetizer
Desserts
Drinks
About
Contact
Privacy Policy
Toggle Menu
Home
/
Dinner
- Page 47
Dinner
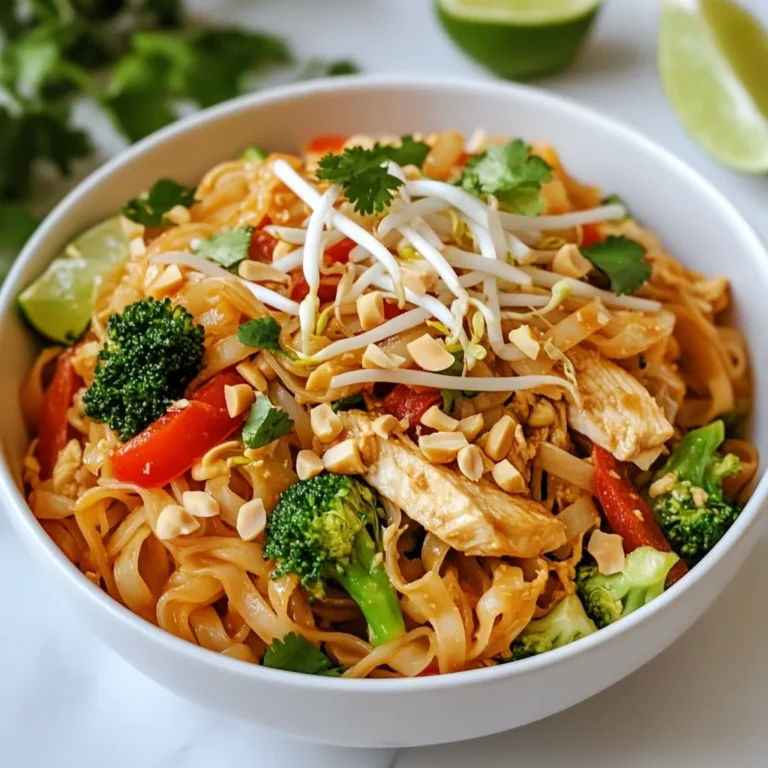
Healthy Chicken Pad Thai Flavorful and Nutritious Meal
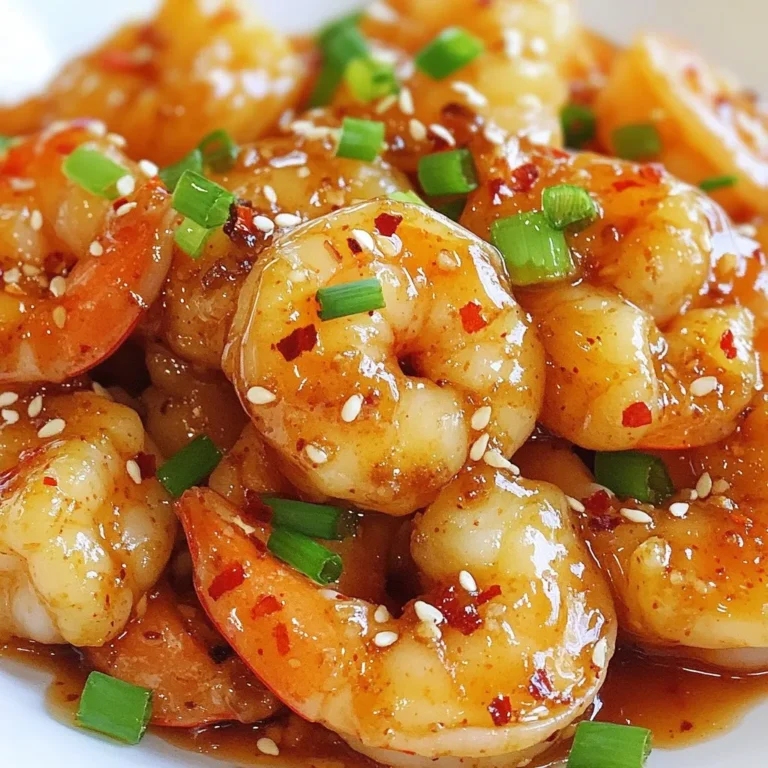
Spicy Honey Garlic Shrimp Quick and Flavorful Recipe
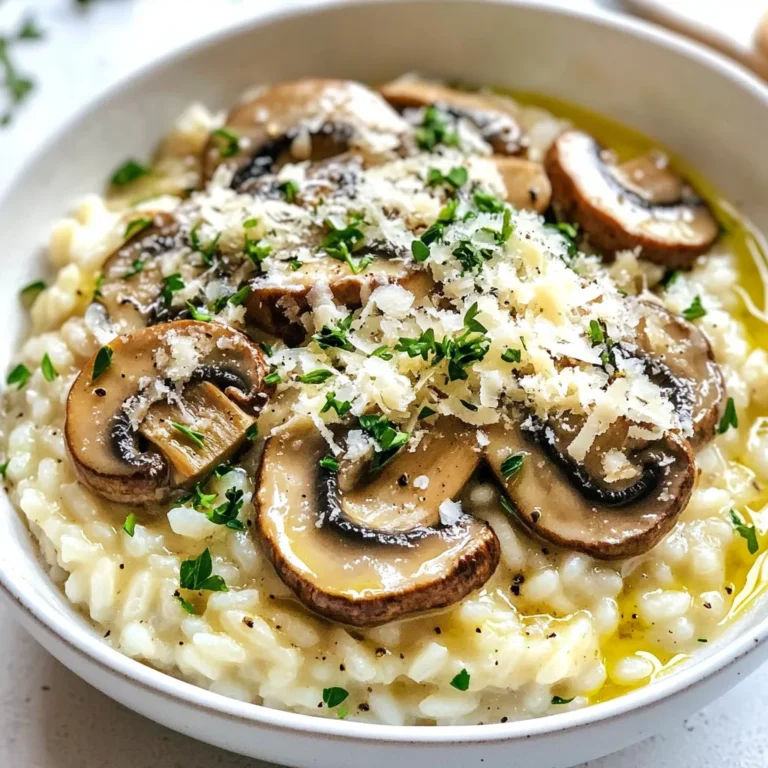
Creamy Mushroom Risotto Delightful and Simple Recipe
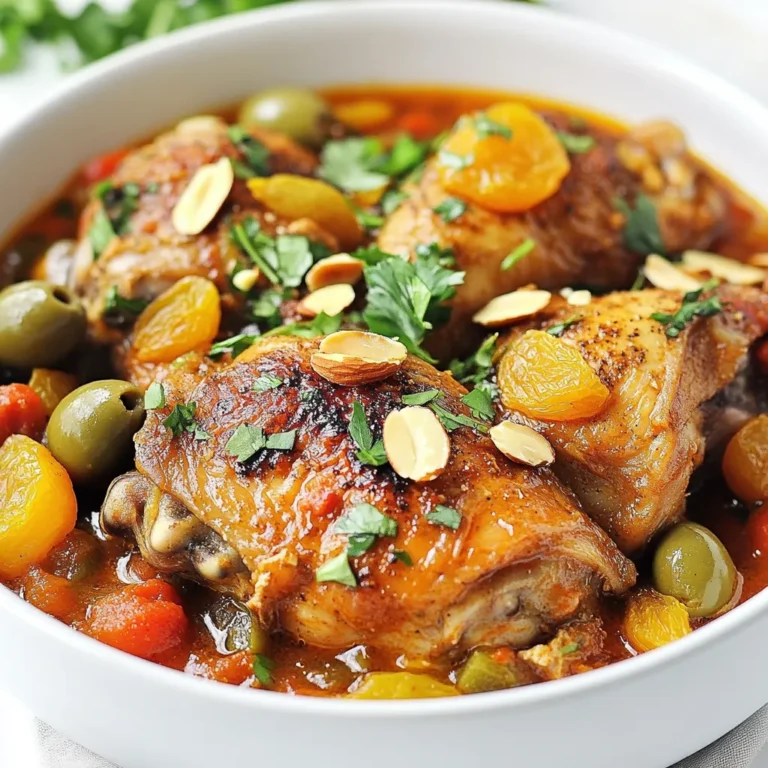
Moroccan Chicken Tagine Flavorful and Easy Recipe
Garlic Herb Shrimp and Grits Savory Comfort Food
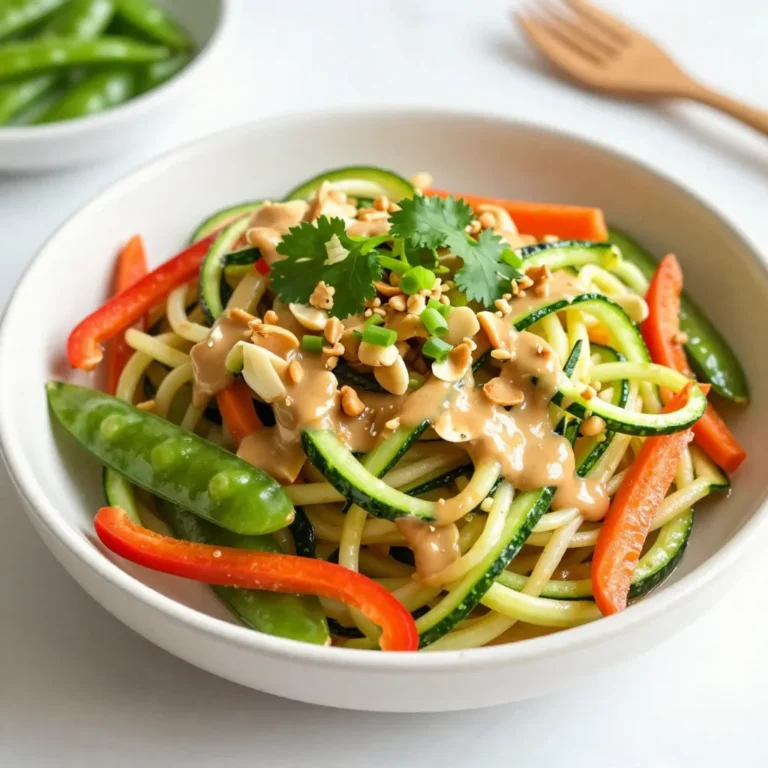
Spicy Peanut Zoodles Flavorful and Easy Weeknight Meal
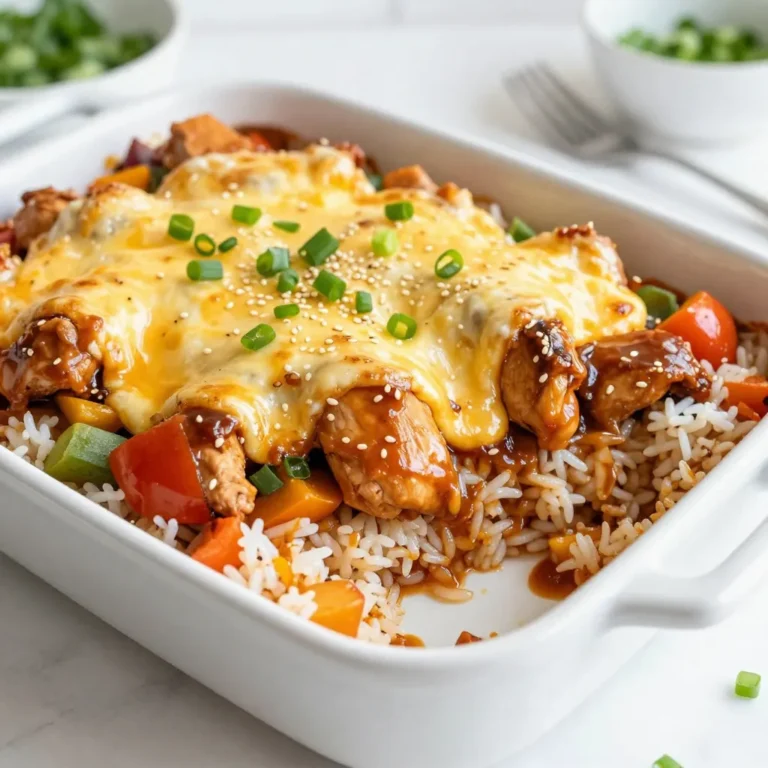
Teriyaki Chicken Rice Casserole Easy and Flavorful Dish
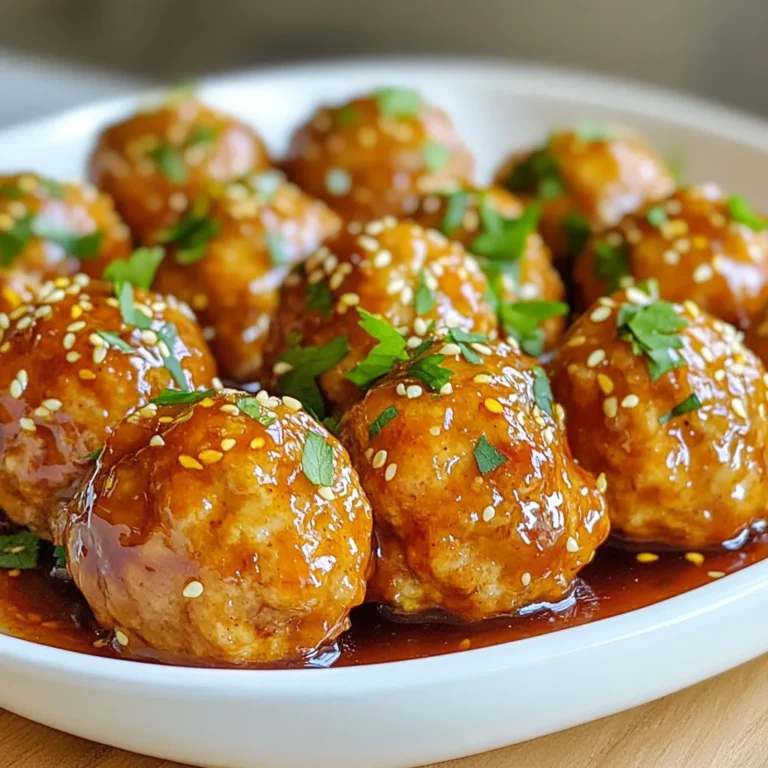
Honey Garlic Turkey Meatballs Savory and Easy Recipe
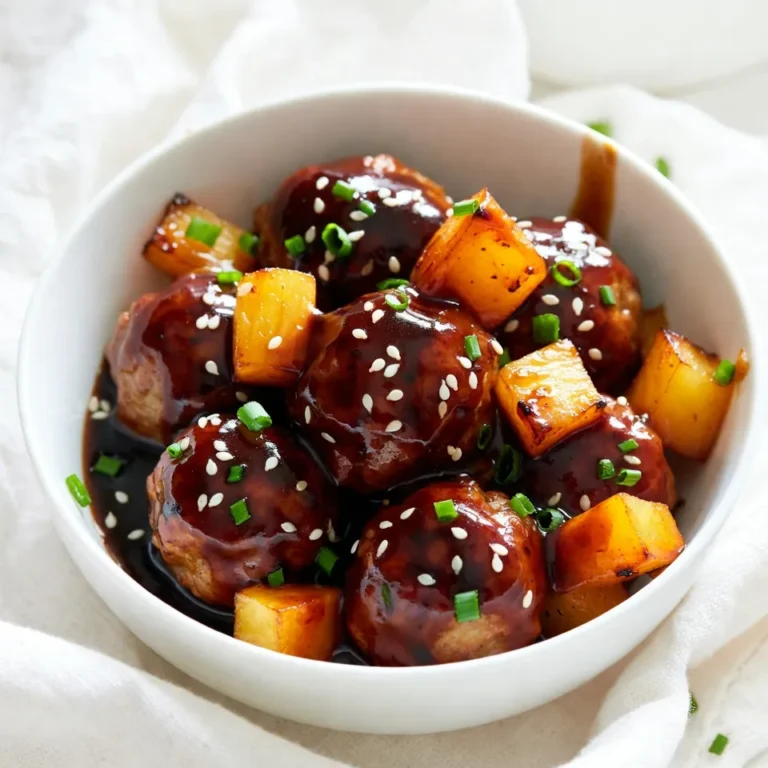
Pineapple Teriyaki Meatballs Tasty and Easy Recipe
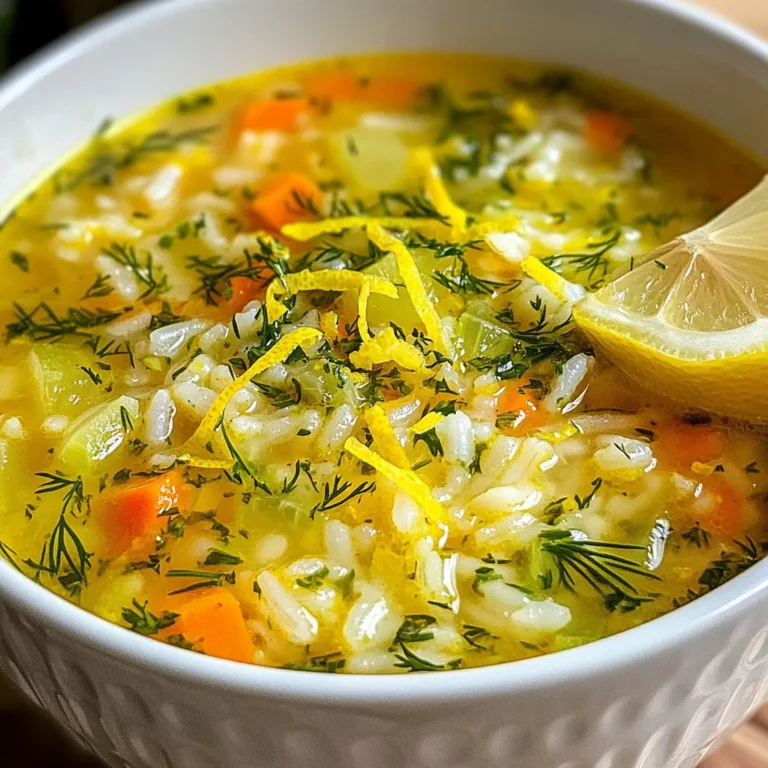
Greek Lemon Rice Soup Hearty and Flavorful Recipe
Page navigation
Previous Page
Previous
1
…
45
46
47
48
49
…
53
Next Page
Next
Home
Dinner
Appetizer
Desserts
Drinks
About
Contact
Privacy Policy
Toggle Menu Close
Search for:
Search