Skip to content
About
Contact
Cookie Policy
Copyright Policy
Disclaimer
Search
Home
Dinner
Appetizer
Desserts
Drinks
About
Contact
Privacy Policy
Toggle Menu
Home
/
Dinner
- Page 40
Dinner
Spinach Feta Stuffed Salmon Delightfully Tasty Meal
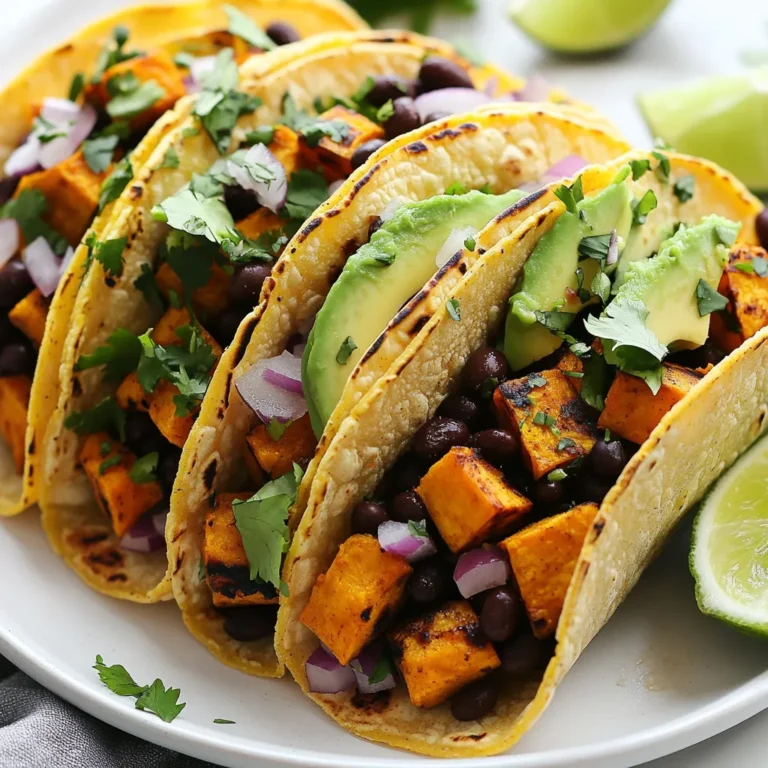
Sweet Potato Black Bean Tacos Flavorful and Easy Meal
Teriyaki Meatball Rice Bowls Flavorful and Easy Meal
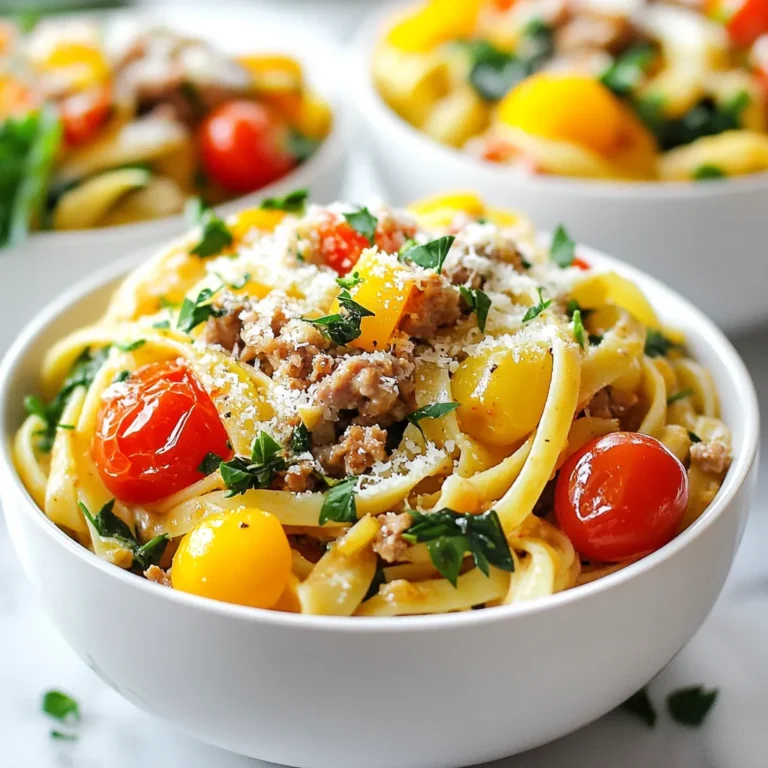
Cajun Turkey Pasta Flavorful and Simple Delight
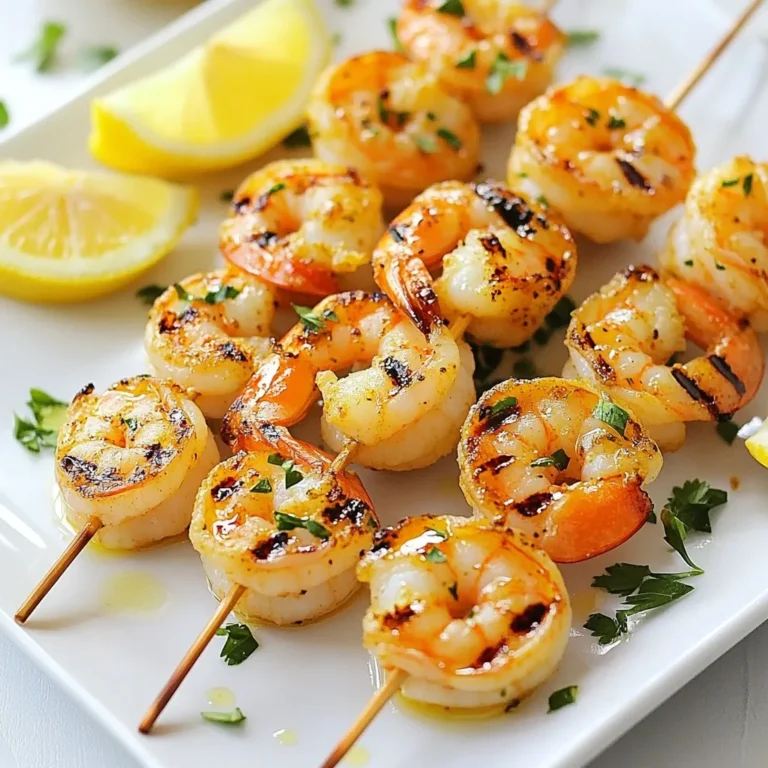
Lemon Herb Grilled Shrimp Flavorful and Easy Recipe
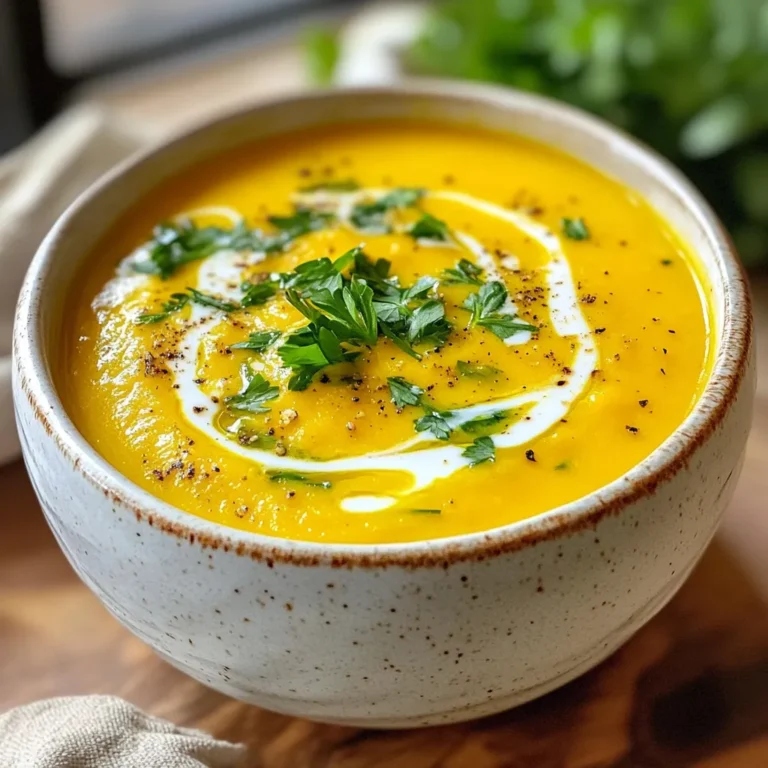
Roasted Garlic Pumpkin Soup Just Perfect for Fall
Cranberry Pecan Chicken Salad Fresh and Flavorful Recipe
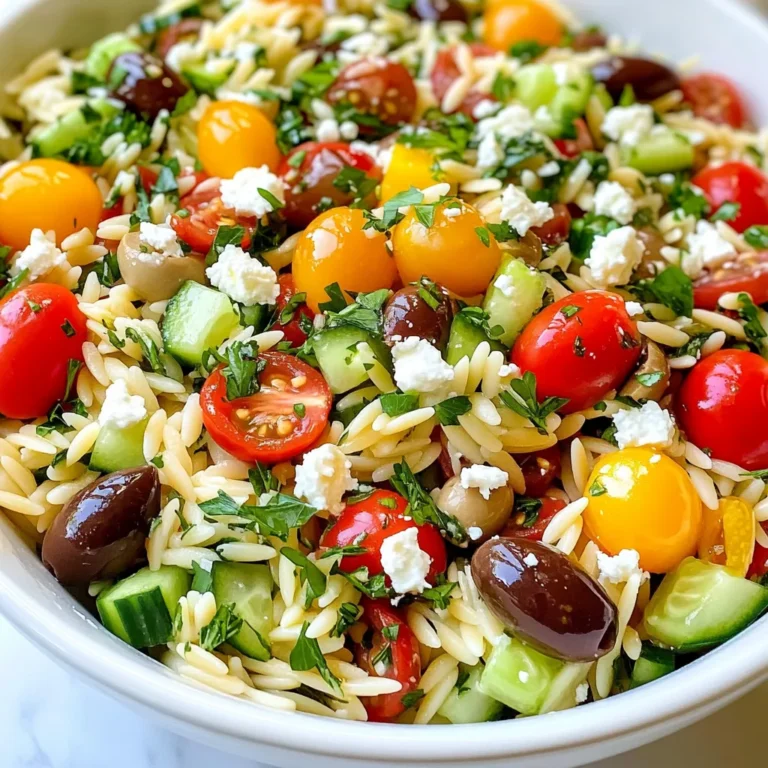
Greek Orzo Salad with Feta Vibrant Flavor Boost
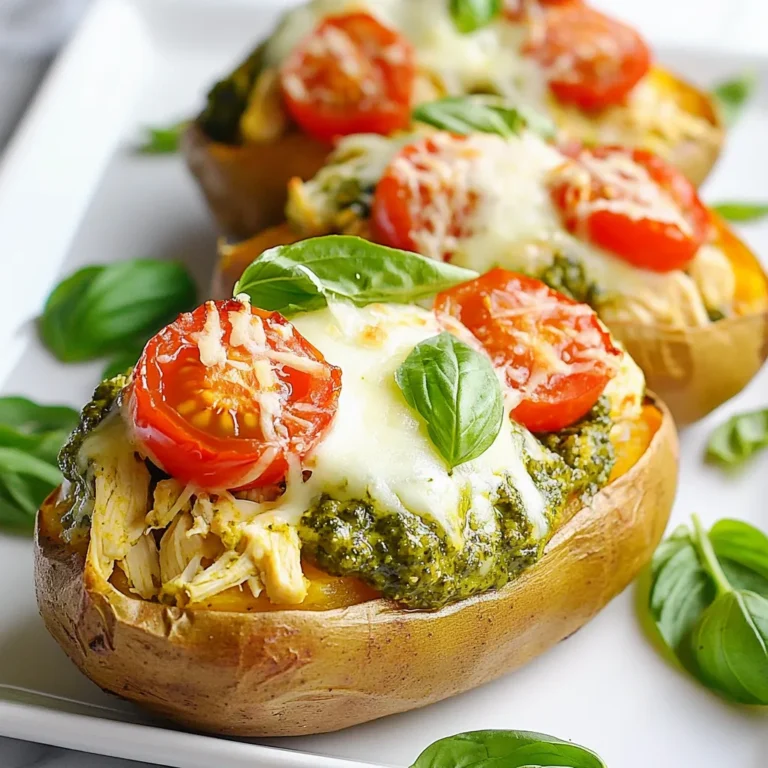
Pesto Chicken Stuffed Sweet Potatoes Flavor Boost
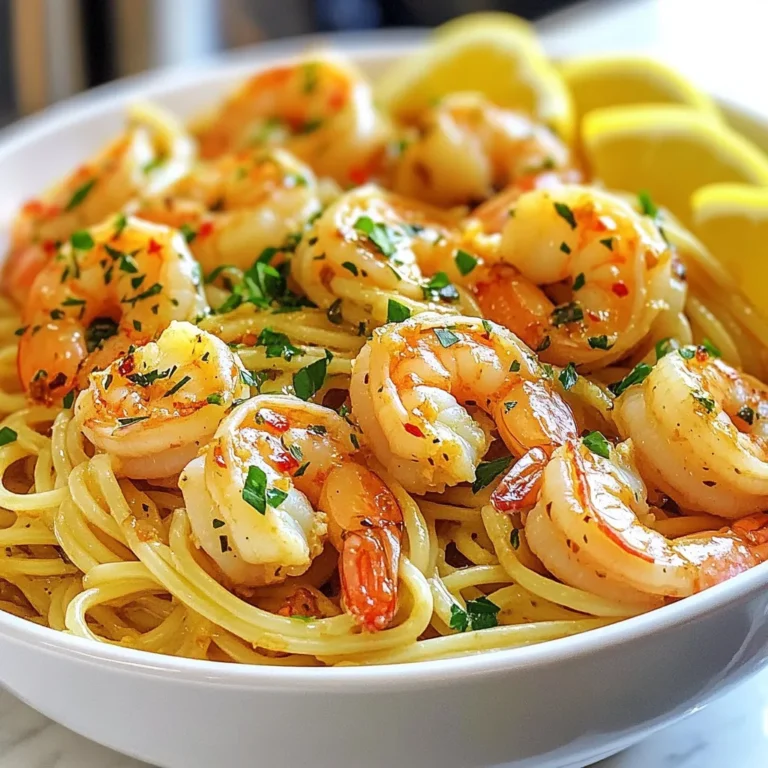
Garlic Butter Shrimp Scampi Easy and Flavorful Dish
Page navigation
Previous Page
Previous
1
…
38
39
40
41
42
…
46
Next Page
Next
Home
Dinner
Appetizer
Desserts
Drinks
About
Contact
Privacy Policy
Toggle Menu Close
Search for:
Search