Skip to content
About
Contact
Cookie Policy
Copyright Policy
Disclaimer
Search
Home
Dinner
Appetizer
Desserts
Drinks
About
Contact
Privacy Policy
Toggle Menu
Home
/
Dinner
- Page 4
Dinner
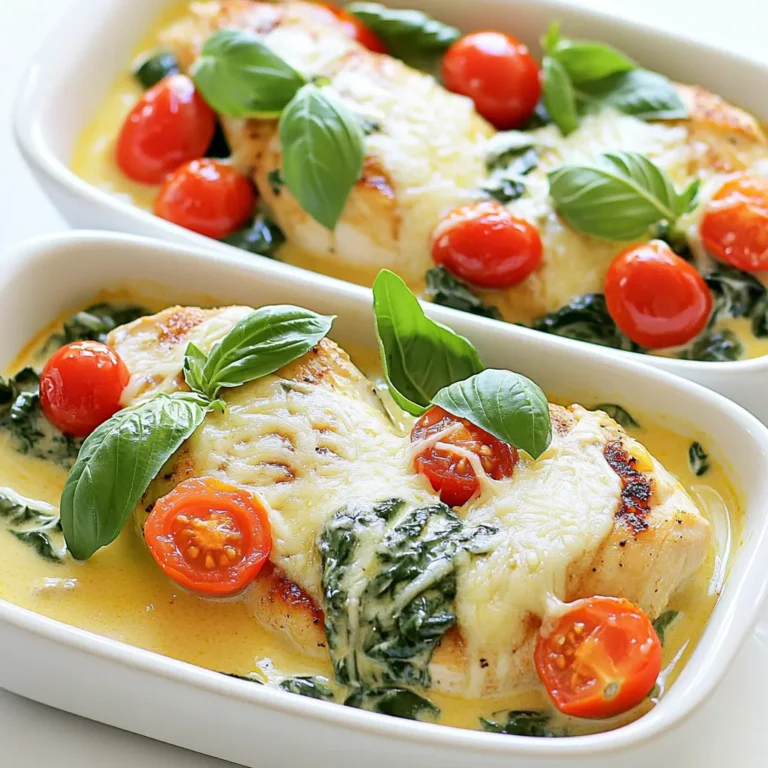
Slow Cooker Creamy Tuscan Chicken Simple Delight
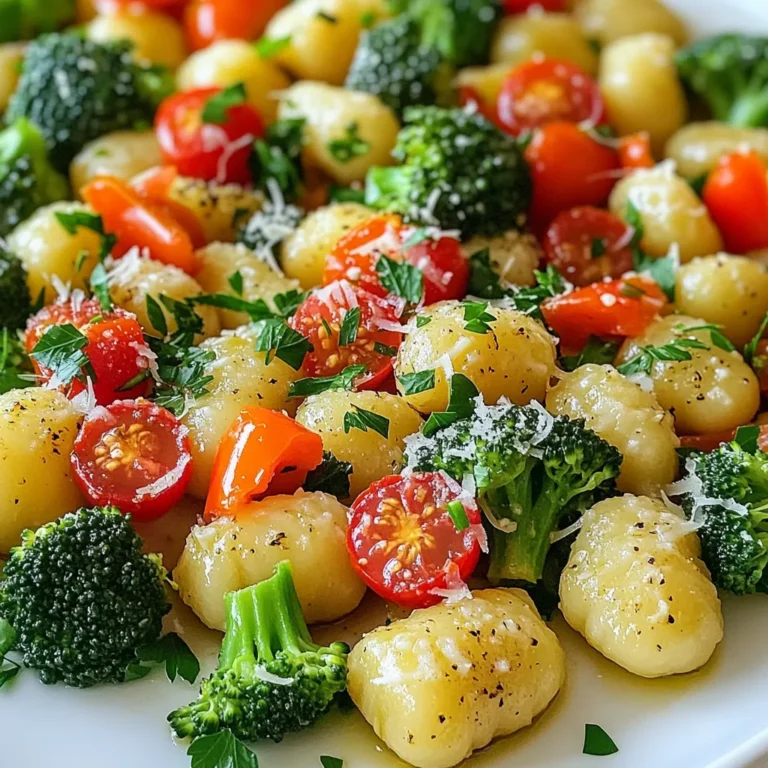
Sheet Pan Garlic Parmesan Gnocchi & Veggies Delight
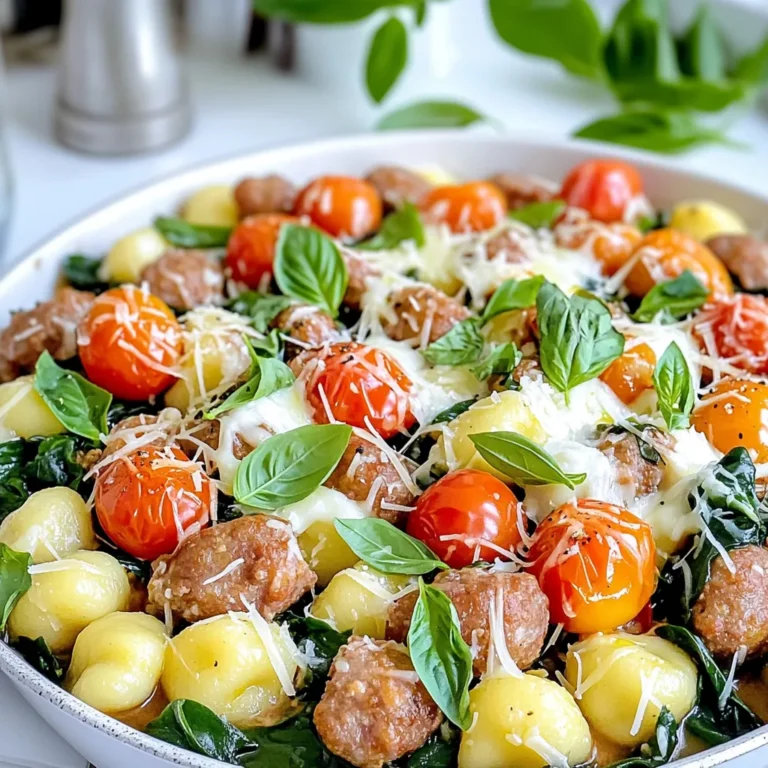
Cheesy Sausage Gnocchi One Pan Delightful Recipe
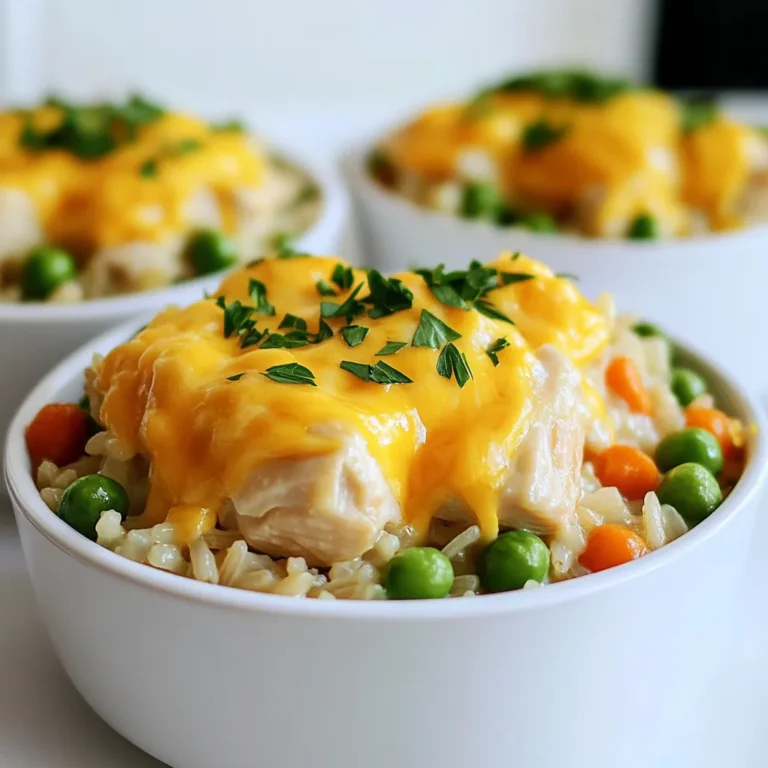
Savory Chicken & Rice Casserole Slow Cooker Recipe
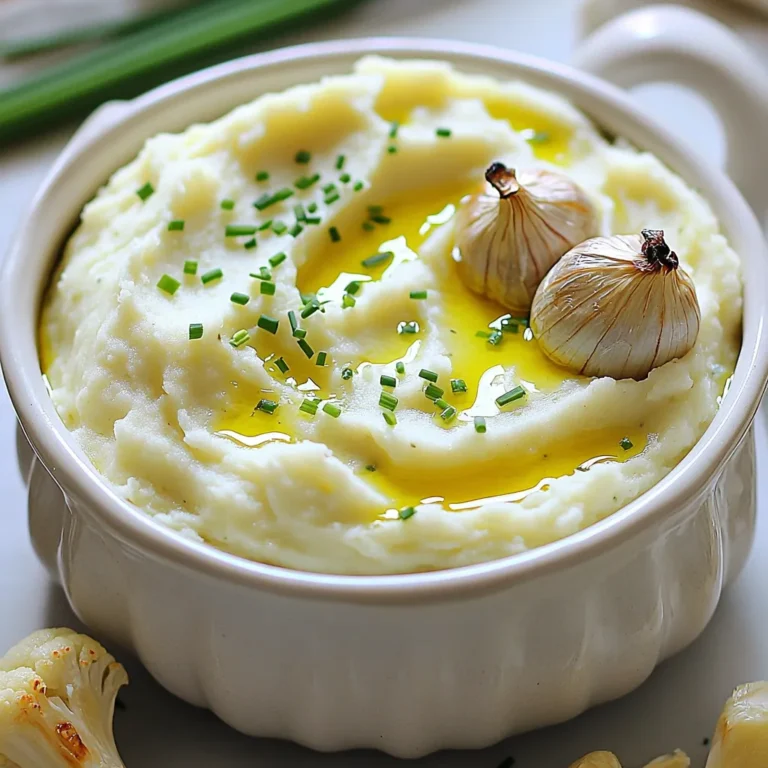
Roasted Garlic Cauliflower Mash Creamy and Flavorful Dish
Slow Cooker Broccoli Cheddar Soup Delightful Recipe
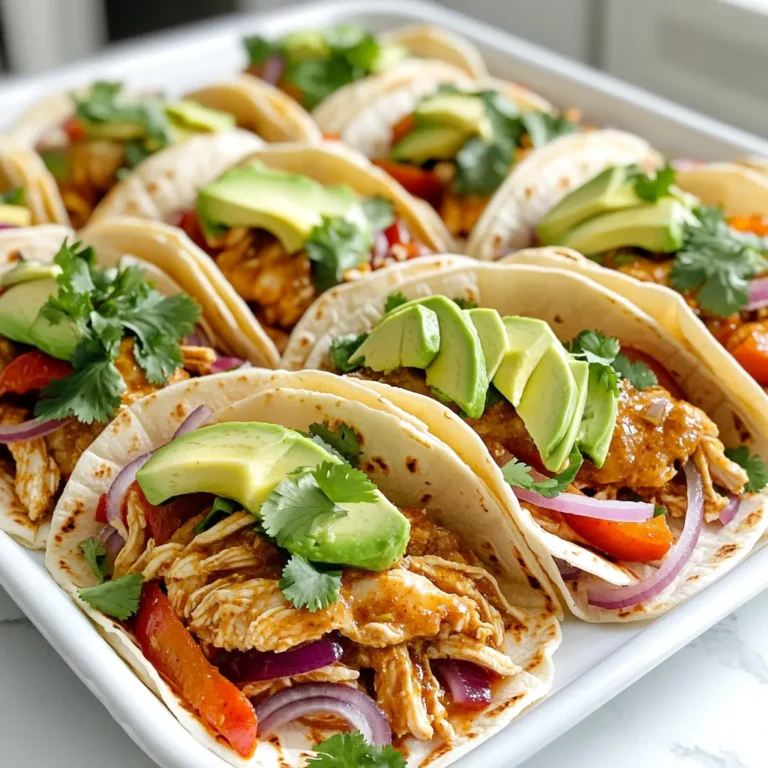
Sheet Pan Chili Lime Chicken Tacos Flavorful Dish
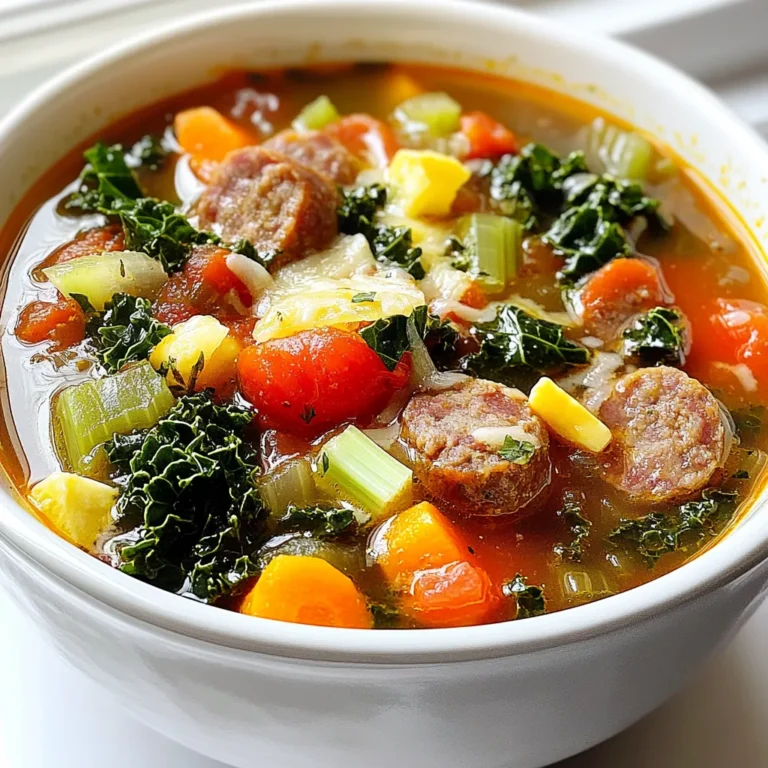
Tuscan Sausage Soup Hearty and Flavorful Classic
Wild Rice Salad with Apples and Pecans Delightful Dish
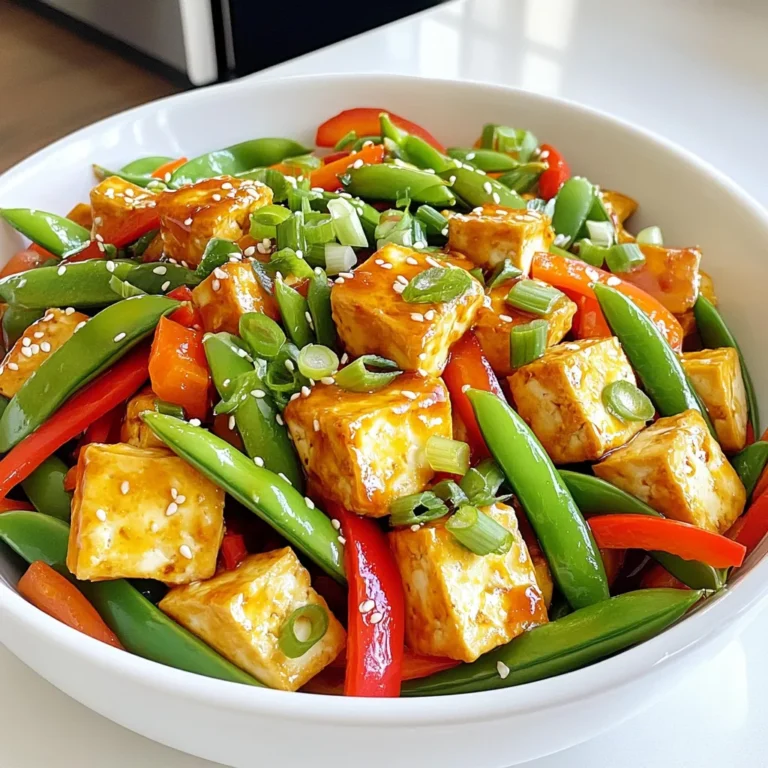
Spicy Garlic Tofu Stir Fry Flavorful and Easy Recipe
Page navigation
Previous Page
Previous
1
2
3
4
5
6
…
53
Next Page
Next
Home
Dinner
Appetizer
Desserts
Drinks
About
Contact
Privacy Policy
Toggle Menu Close
Search for:
Search