Skip to content
About
Contact
Cookie Policy
Copyright Policy
Disclaimer
Search
Home
Dinner
Appetizer
Desserts
Drinks
About
Contact
Privacy Policy
Toggle Menu
Home
/
Dinner
- Page 3
Dinner
Lemon Artichoke Chicken Pasta Quick and Flavorful Dish
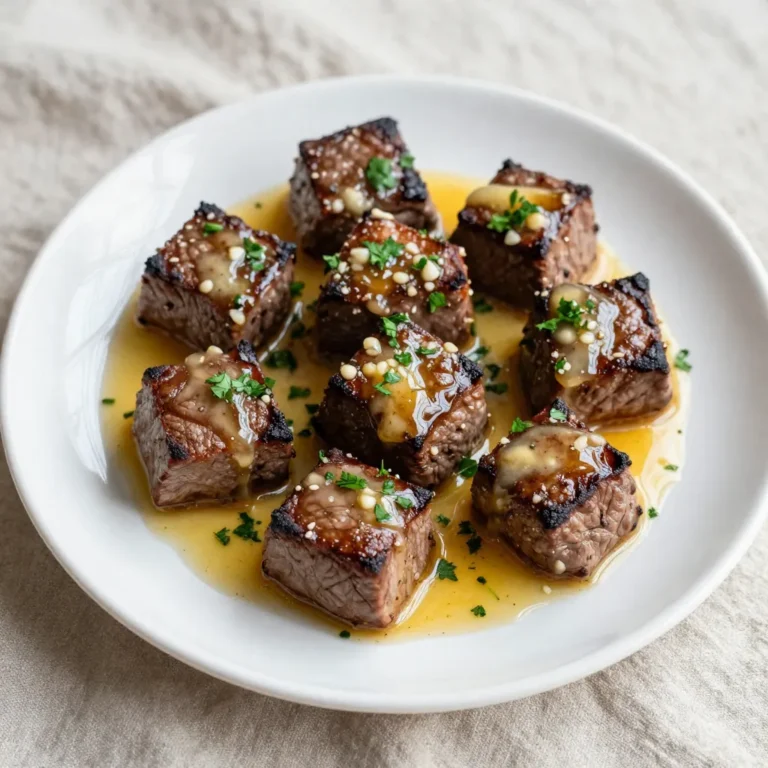
Garlic Butter Steak Bites Flavorful and Easy Recipe
Parmesan Herb Turkey Cutlets Crispy and Flavorful Dish
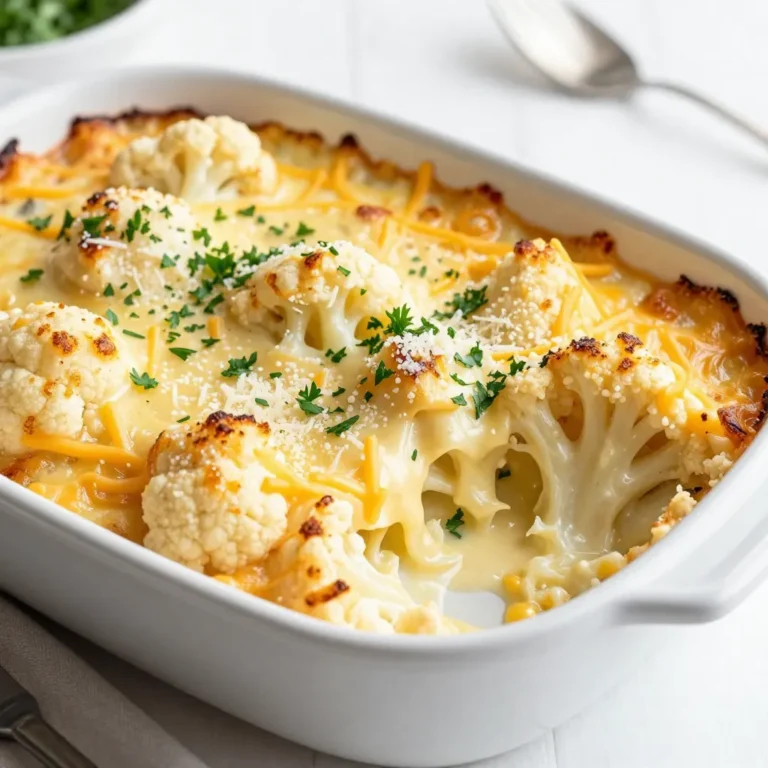
Cheesy Cauliflower Au Gratin Irresistible Comfort Dish
Chipotle Lime Shrimp Bowls Flavorful and Easy Recipe
Brown Sugar Garlic Chicken Easy and Tasty Recipe
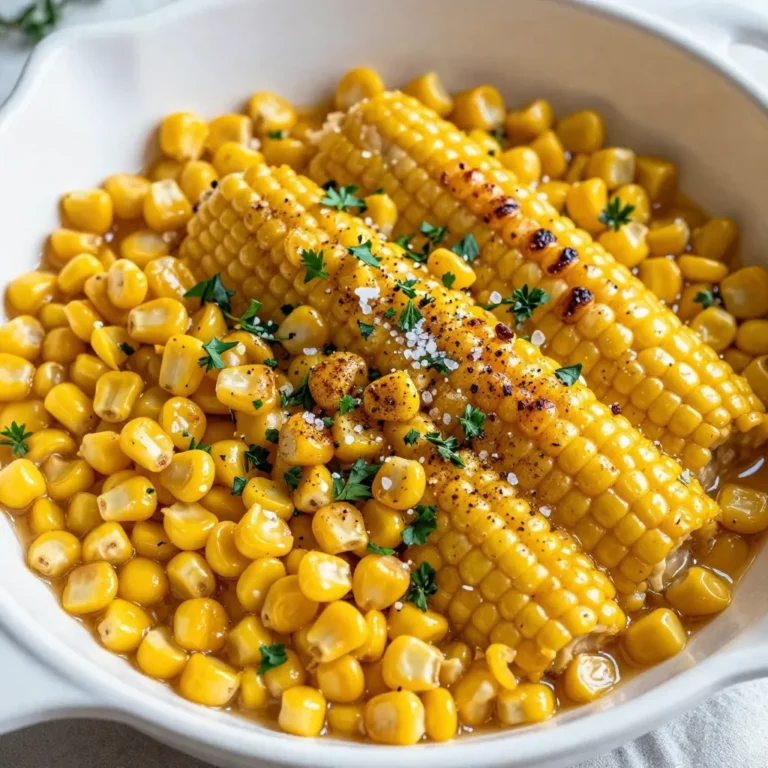
Honey Butter Skillet Corn Delicious Side Dish Recipe
Garlic Butter Mushroom Risotto Savory and Comforting Dish
Cheesy Spinach Stuffed Shells Delicious and Simple Dish
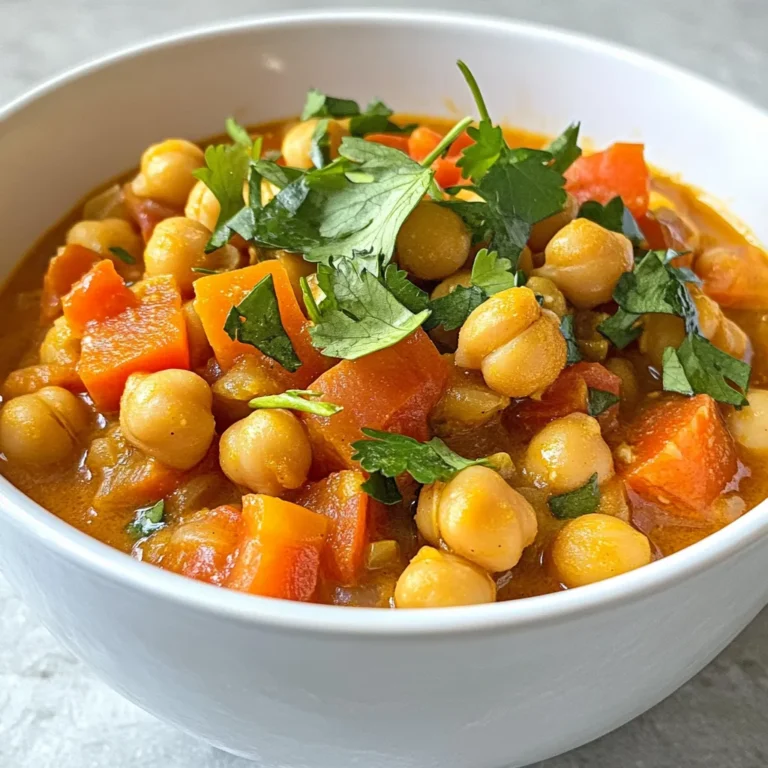
Moroccan Chickpea Stew Flavorful and Healthy Recipe
Page navigation
Previous Page
Previous
1
2
3
4
5
…
53
Next Page
Next
Home
Dinner
Appetizer
Desserts
Drinks
About
Contact
Privacy Policy
Toggle Menu Close
Search for:
Search