Skip to content
About
Contact
Cookie Policy
Copyright Policy
Disclaimer
Search
Home
Dinner
Appetizer
Desserts
Drinks
About
Contact
Privacy Policy
Toggle Menu
Home
/
Dinner
- Page 19
Dinner
Sweet Potato Black Bean Chili Hearty and Flavorful Dish
Creamy Garlic White Bean Stew Hearty Dinner Delight
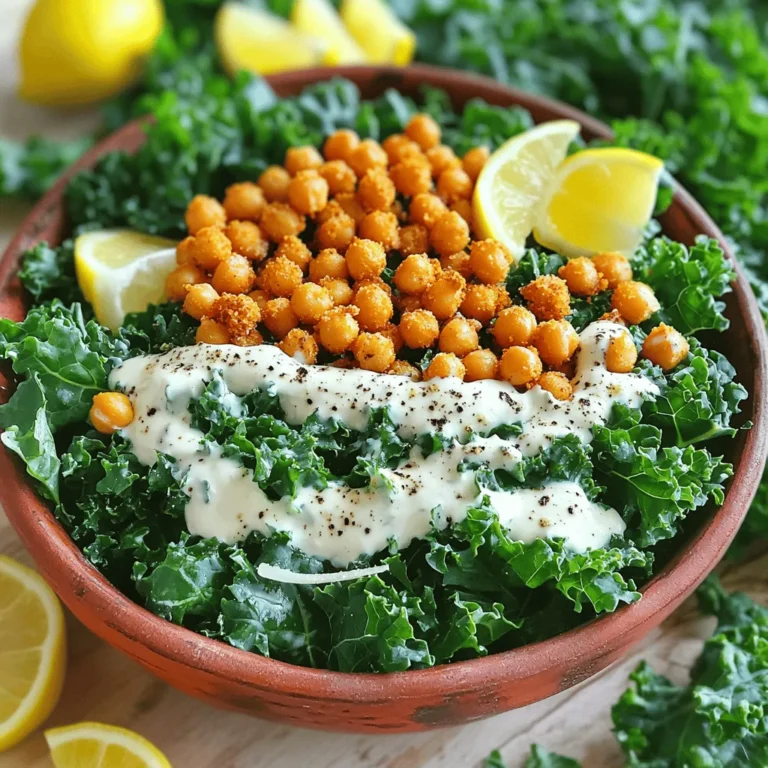
Kale Caesar Salad with Crispy Chickpeas Delight
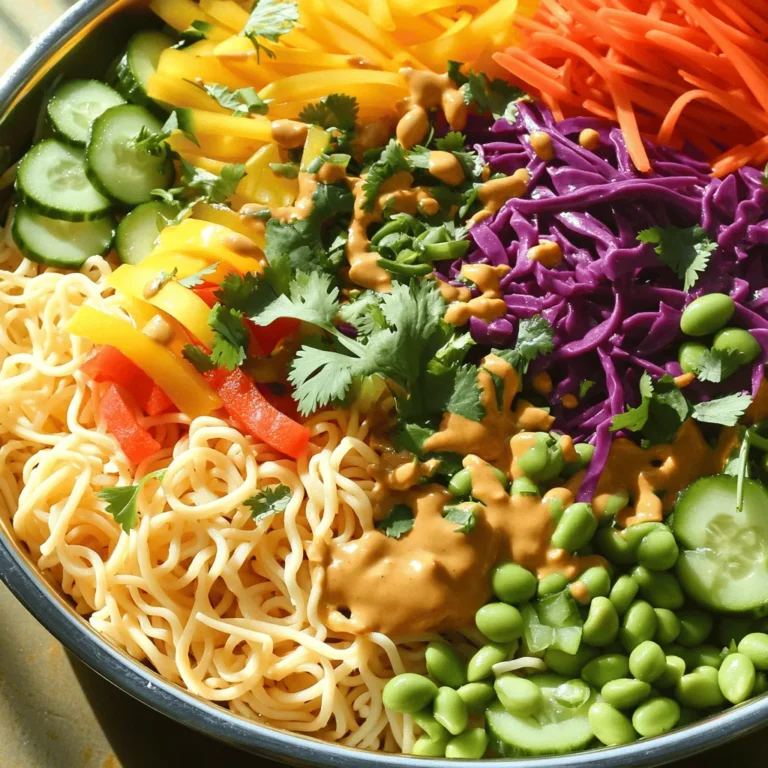
Rainbow Thai Peanut Noodle Salad Fresh and Flavorful Dish
Creamy Feta Pasta Salad Simple and Flavorful Dish
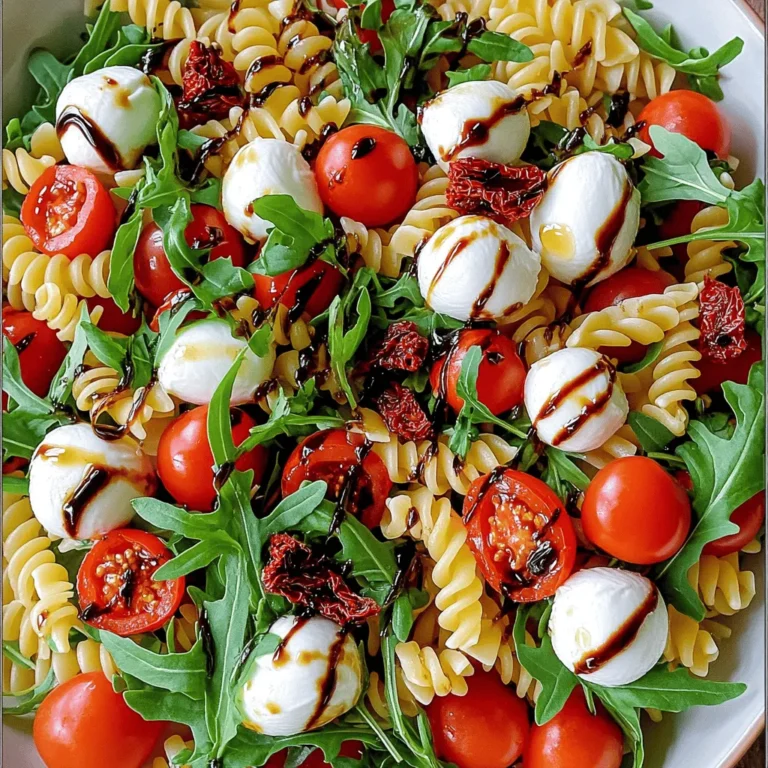
Caprese Pasta Salad Fresh and Flavorful Recipe
Cajun Shrimp Alfredo Creamy Flavorful Dinner Delight
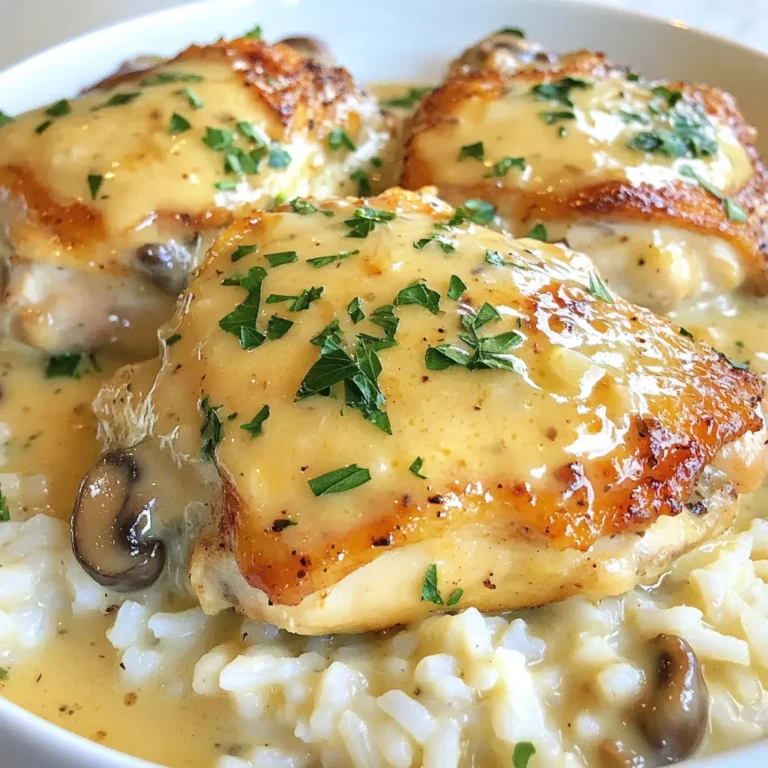
Creamy Mushroom Chicken Thighs Rich and Easy Recipe
Honey Garlic Butter Shrimp Tasty and Simple Recipe
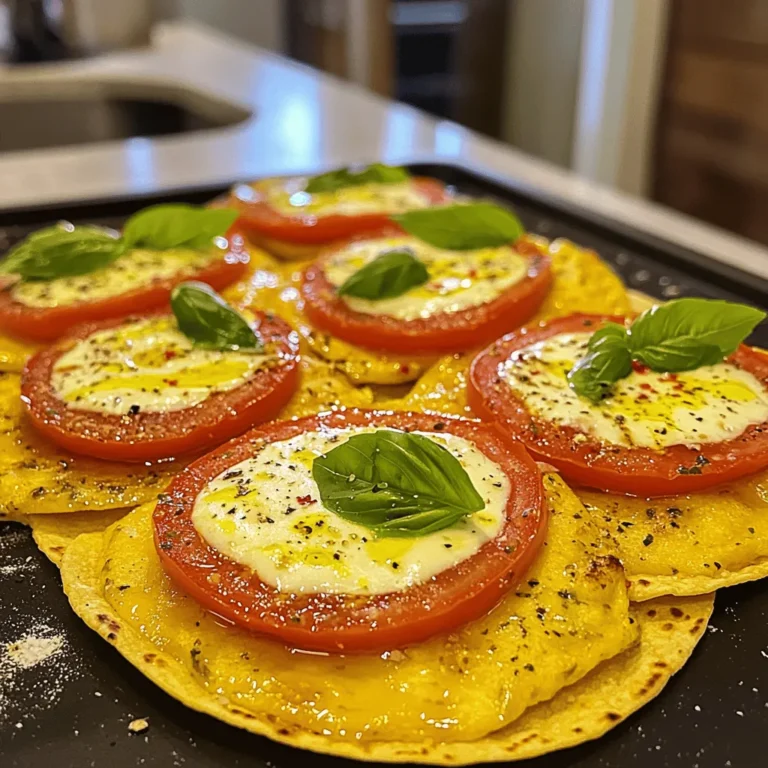
Margherita Tortilla Pizza Tasty and Easy Recipe
Page navigation
Previous Page
Previous
1
…
17
18
19
20
21
…
46
Next Page
Next
Home
Dinner
Appetizer
Desserts
Drinks
About
Contact
Privacy Policy
Toggle Menu Close
Search for:
Search

. You’ll find all the details to make this delicious dish! This blog covered how to make delicious Sweet Potato Black Bean Chili. We explored ingredients, cooking steps, and tips for the best flavor. You can easily change this recipe to fit your taste. Try different veggies or beans to create new dishes. Remember to store leftovers properly and heat them right for maximum flavor. Enjoy your cooking and share this hearty chili with family and friends. It’s tasty, healthy, and satisfying!](https://dishtreats.com/wp-content/uploads/2025/07/29cb1591-b5b7-4cc4-a611-b282edbacc0b-768x768.webp)


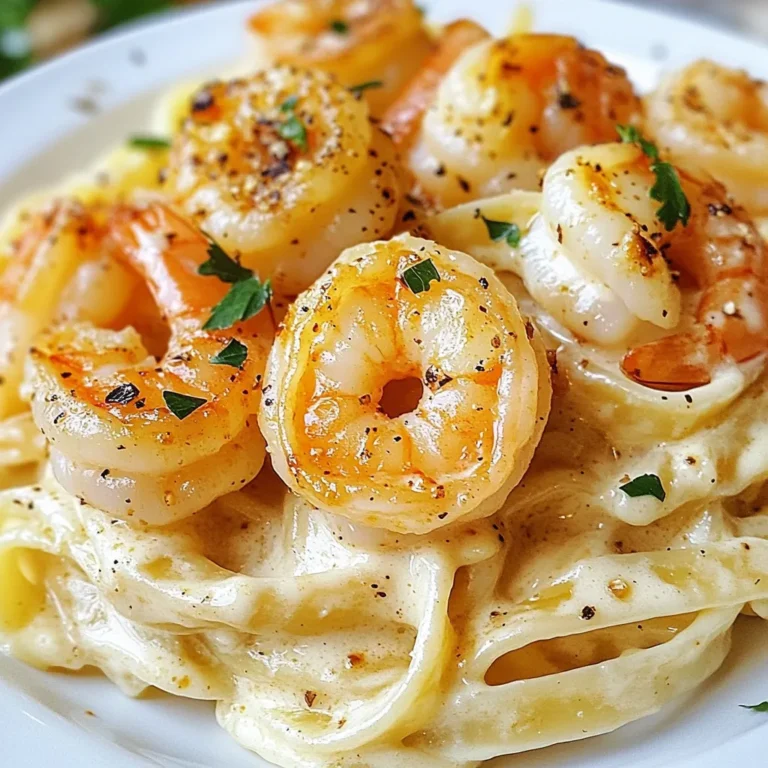
 for all the details! How can I ensure my shrimp don't overcook? To avoid overcooking shrimp, watch the color. When they turn pink, they are close to done. Cook for about 2-3 minutes on each side. Remove them from heat as soon as they are opaque. This helps keep them tender and juicy. Can I use frozen shrimp for this recipe? Yes, you can use frozen shrimp. Just thaw them first. Place them in cold water for about 15-20 minutes. Pat them dry before cooking. This ensures they cook evenly and absorb the sauce well. What can I substitute for soy sauce? If you need a substitute for soy sauce, try coconut aminos. It has a similar flavor and is often gluten-free. You can also use tamari for a gluten-free option. Both choices will still give you that umami taste. How to make the dish gluten-free? To make this dish gluten-free, use tamari instead of soy sauce. Ensure that all other ingredients, like butter and honey, are also gluten-free. This way, you can enjoy the same great flavor without gluten. What side dishes pair well with honey garlic butter shrimp? Honey garlic butter shrimp tastes great with rice or quinoa. You can also serve it with steamed veggies or a fresh salad. These sides balance the rich flavors of the dish, making a perfect meal. Can this recipe be scaled up for larger servings? Yes, you can easily scale up this recipe. Just double or triple the ingredients based on how many servings you need. Make sure your skillet is large enough, or use two pans to cook everything evenly. This keeps the shrimp from overcrowding and helps them cook well. This blog post offered a complete guide on making honey garlic butter shrimp. We explored each ingredient's role and shared cooking tips to ensure success. I highlighted variations and storage advice for leftovers. In conclusion, with fresh shrimp and the right techniques, you can create a flavorful dish. Explore your options and enjoy your culinary journey. Trust me, this recipe is worth trying!](https://dishtreats.com/wp-content/uploads/2025/07/4796c05b-30f7-4441-b7cb-ba0299151dfe-768x768.webp)