Skip to content
About
Contact
Cookie Policy
Copyright Policy
Disclaimer
Search
Home
Dinner
Appetizer
Desserts
Drinks
About
Contact
Privacy Policy
Toggle Menu
Home
/
Dinner
- Page 14
Dinner
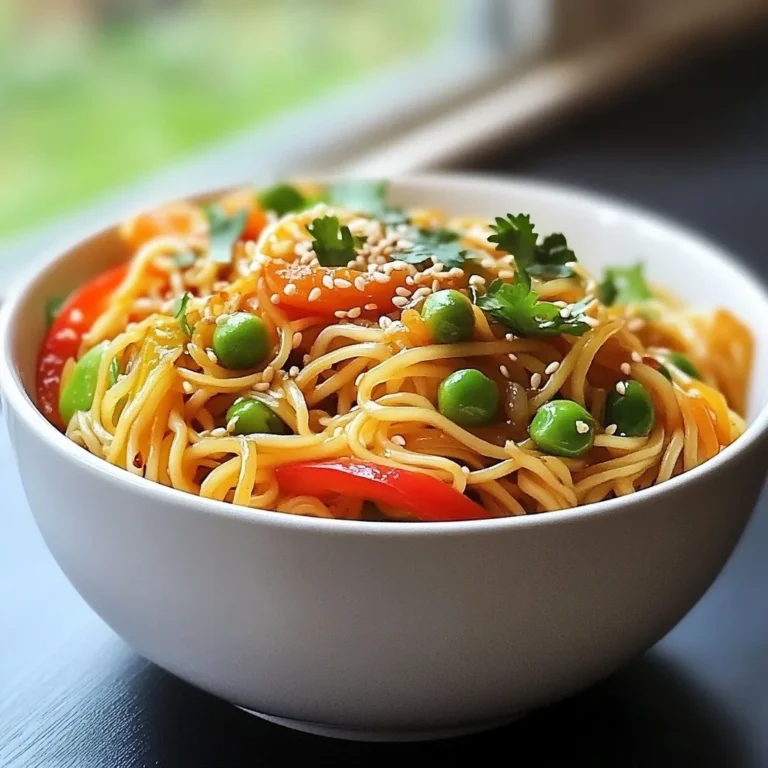
Spicy Sesame Noodles Flavorful and Easy Recipe Guide
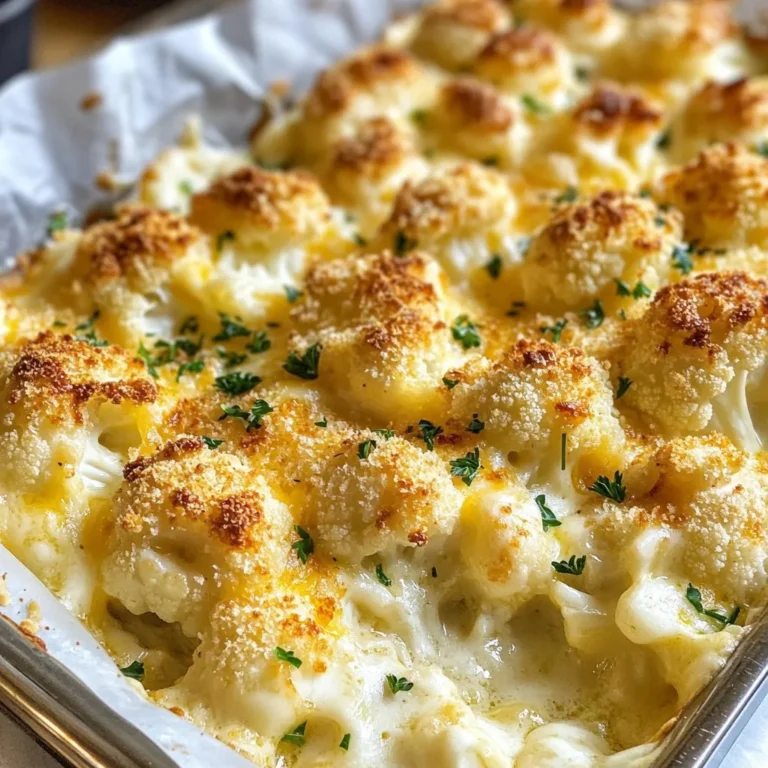
Cheesy Cauliflower Au Gratin Easy Comfort Food Dish
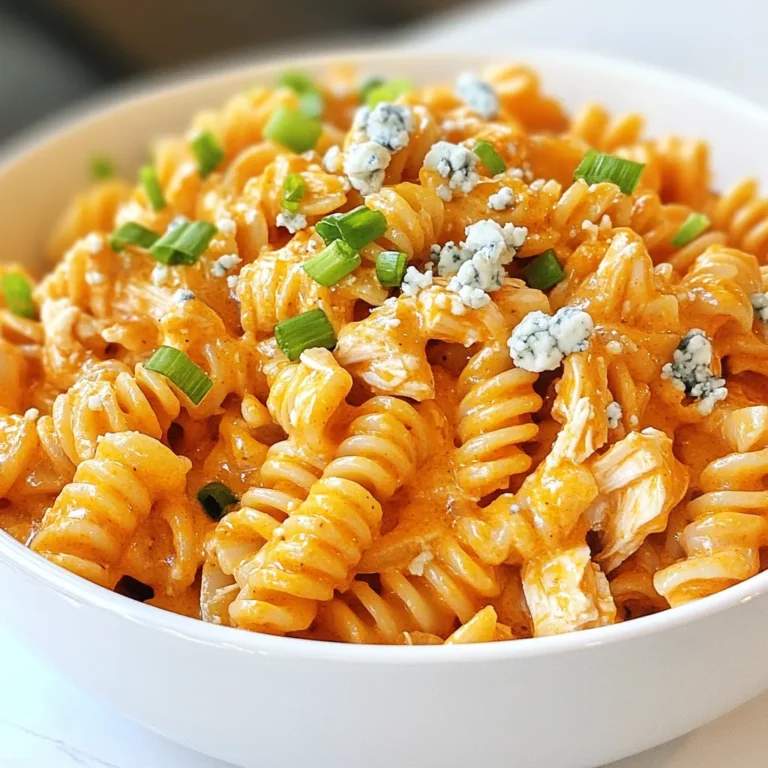
Creamy Buffalo Chicken Pasta Flavorful and Easy Dish
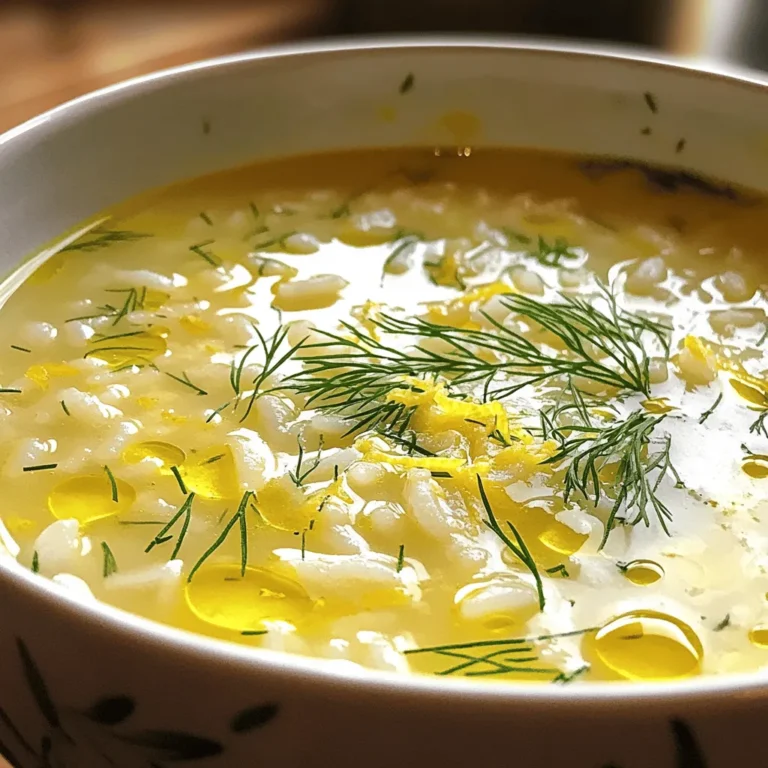
Greek Lemon Rice Soup Comforting and Flavorful Recipe
Spicy Gochujang Noodles Quick and Flavorful Dish
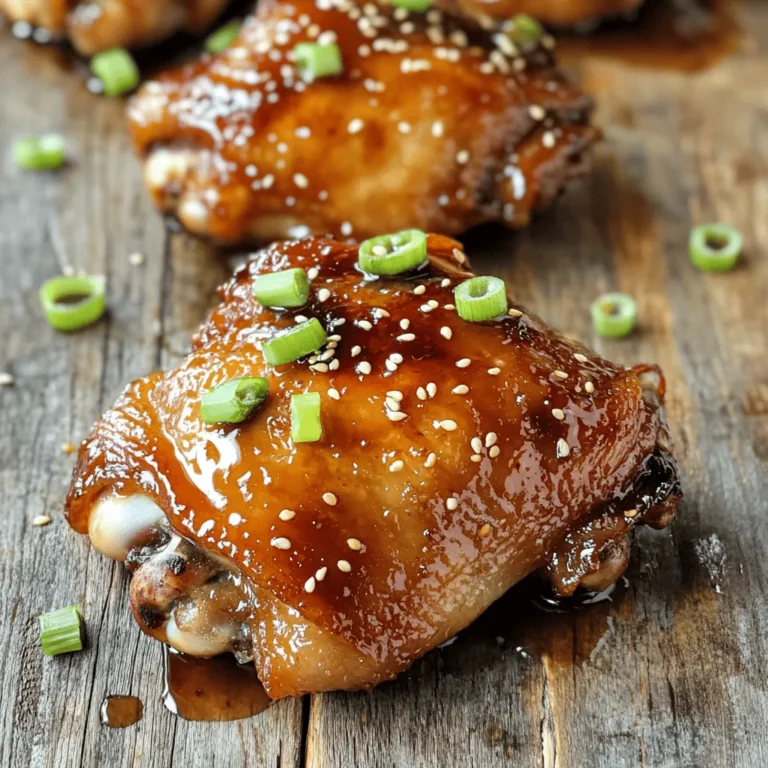
Honey Soy Garlic Chicken Thighs Flavorful Dinner Dish
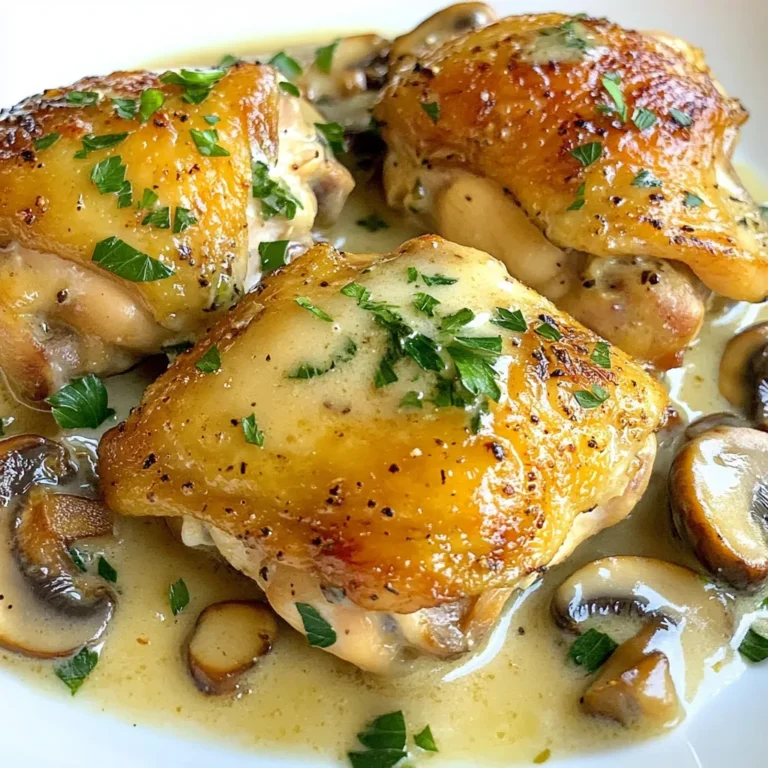
Creamy Mushroom Chicken Thighs Flavorful Dinner Idea
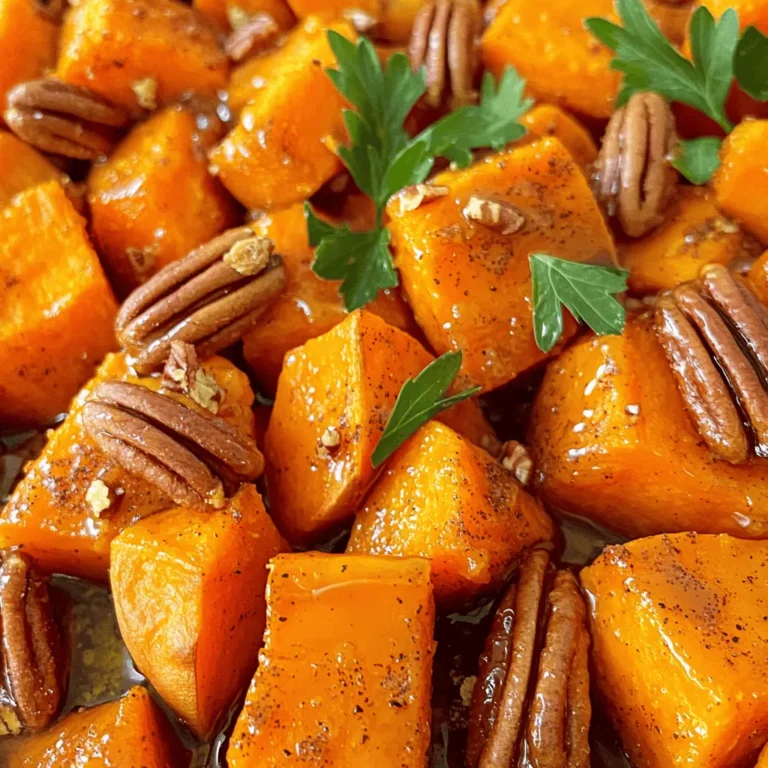
Maple Cinnamon Roasted Sweet Potatoes Tasty Side Dish
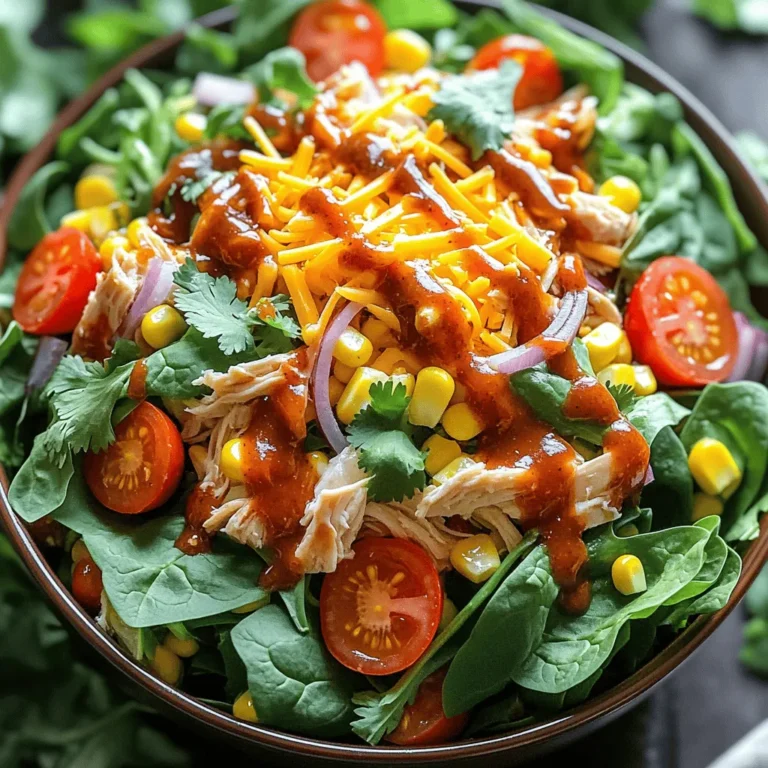
BBQ Ranch Chicken Salad Flavorful and Fresh Meal
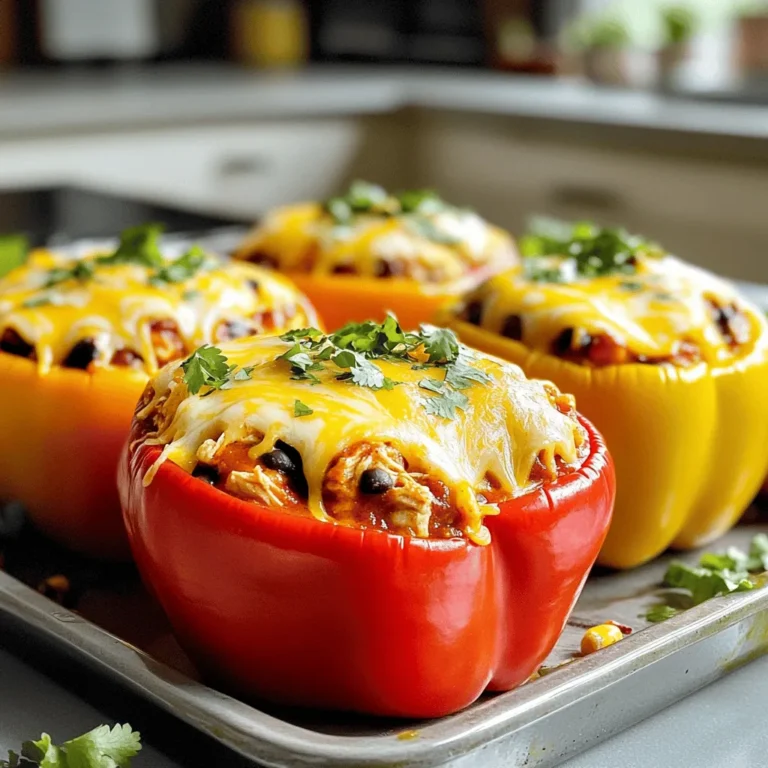
Chicken Enchilada Stuffed Peppers Tasty and Simple Meal
Page navigation
Previous Page
Previous
1
…
12
13
14
15
16
…
46
Next Page
Next
Home
Dinner
Appetizer
Desserts
Drinks
About
Contact
Privacy Policy
Toggle Menu Close
Search for:
Search