Skip to content
About
Contact
Cookie Policy
Copyright Policy
Disclaimer
Search
Home
Dinner
Appetizer
Desserts
Drinks
About
Contact
Privacy Policy
Toggle Menu
Home
/
Dinner
- Page 13
Dinner
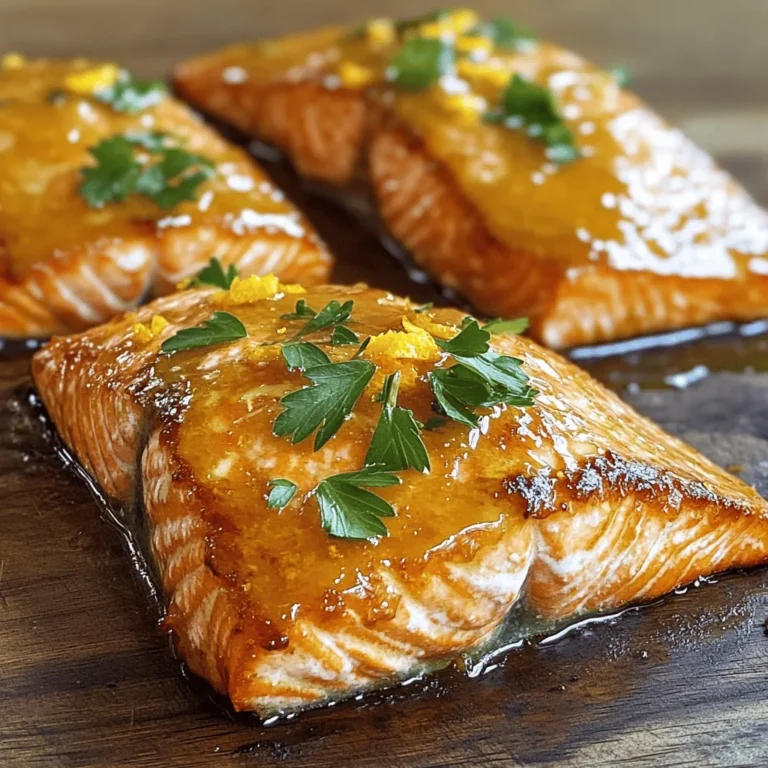
Honey Orange Glazed Salmon Savory and Flavorful Dish
BBQ Cauliflower Tacos Flavorful and Easy Recipe
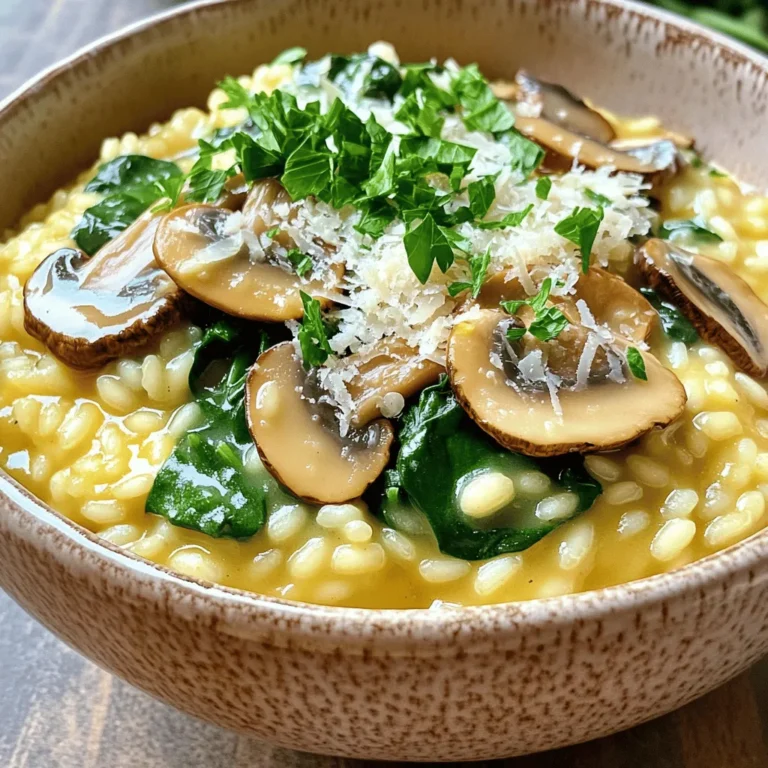
Creamy Mushroom Risotto Comforting and Simple Dish
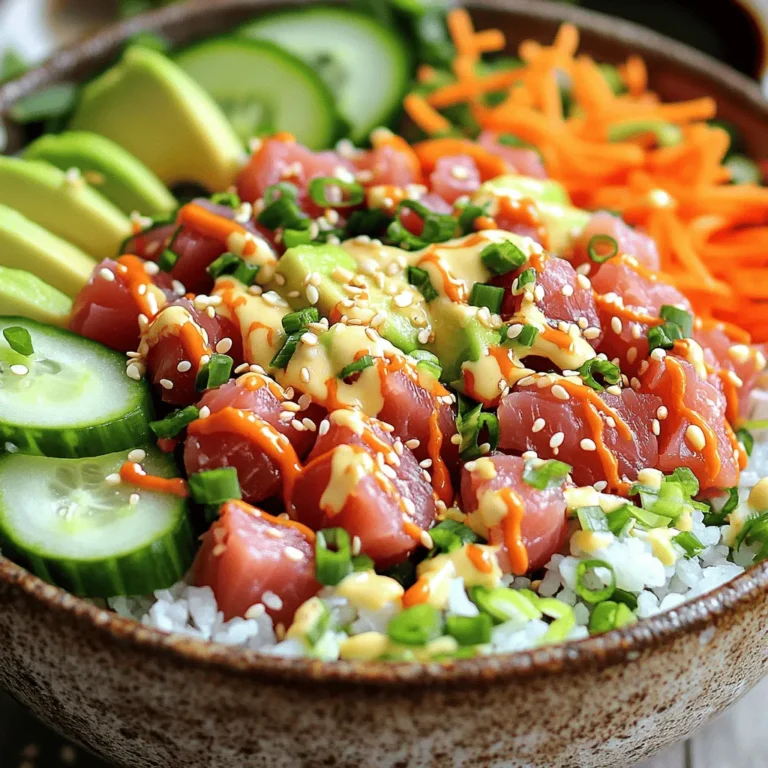
Spicy Tuna Sushi Bowls Simple and Flavorful Delight
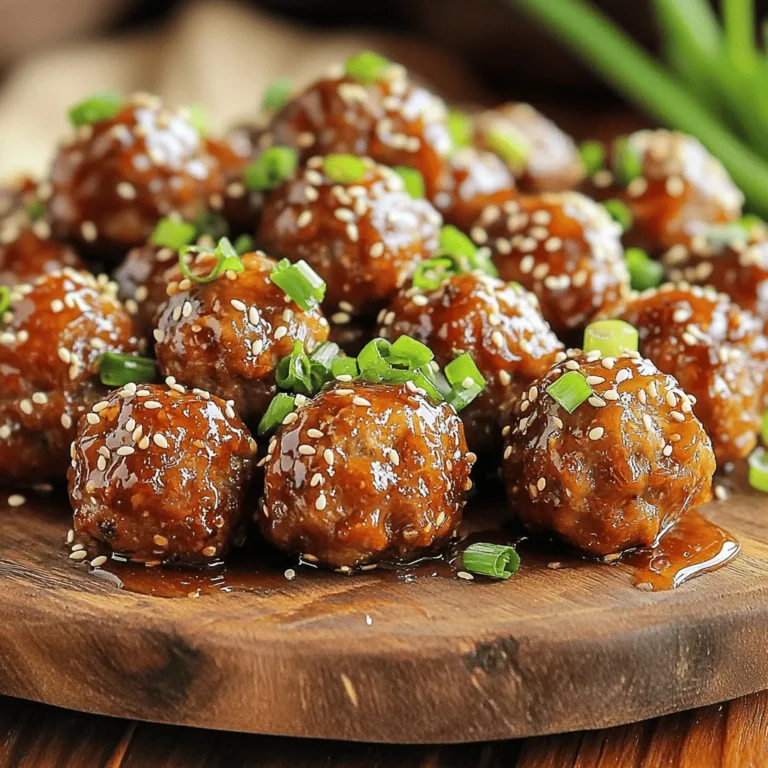
Sticky Honey Garlic Meatballs Tasty and Easy Recipe
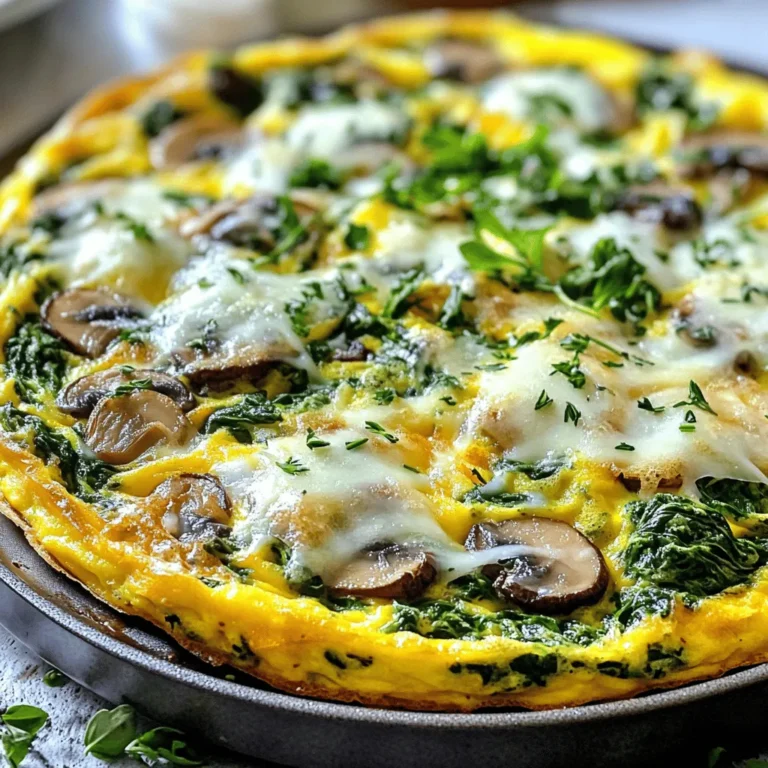
Spinach Mushroom Frittata Simple and Healthy Meal
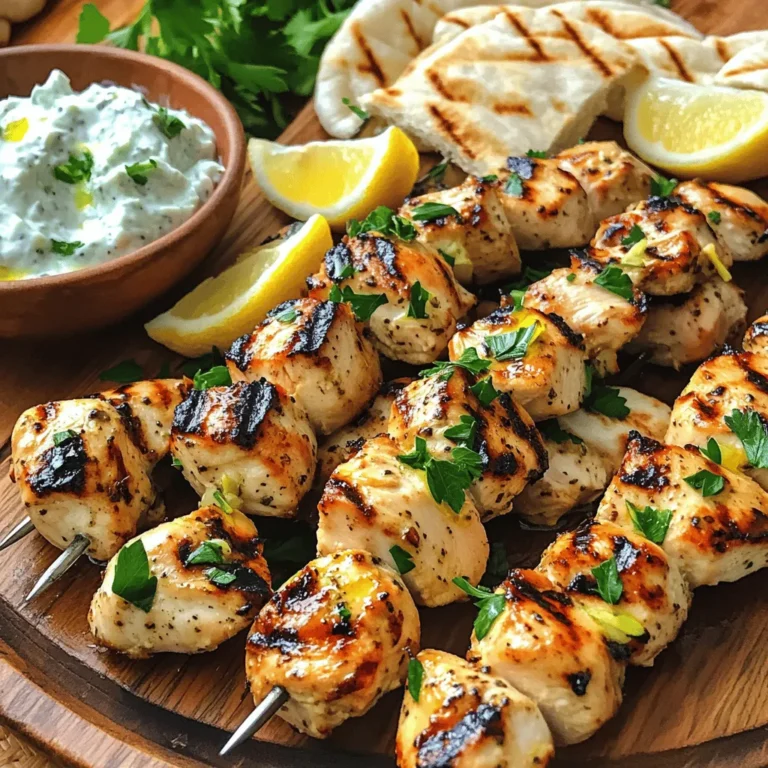
Greek Chicken Souvlaki Skewers Flavorful and Easy Recipe
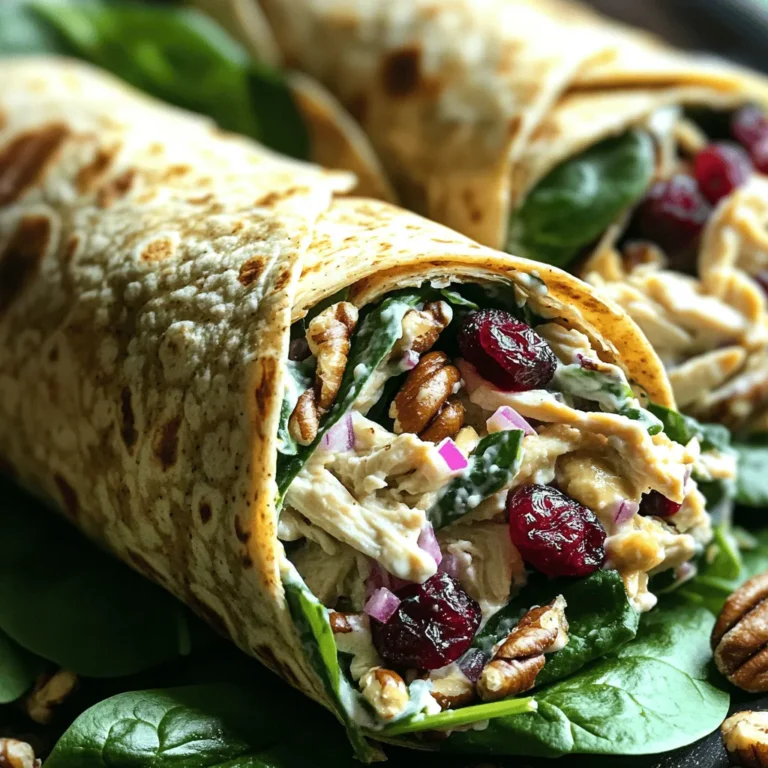
Cranberry Pecan Chicken Salad Wraps Quick and Easy Meal
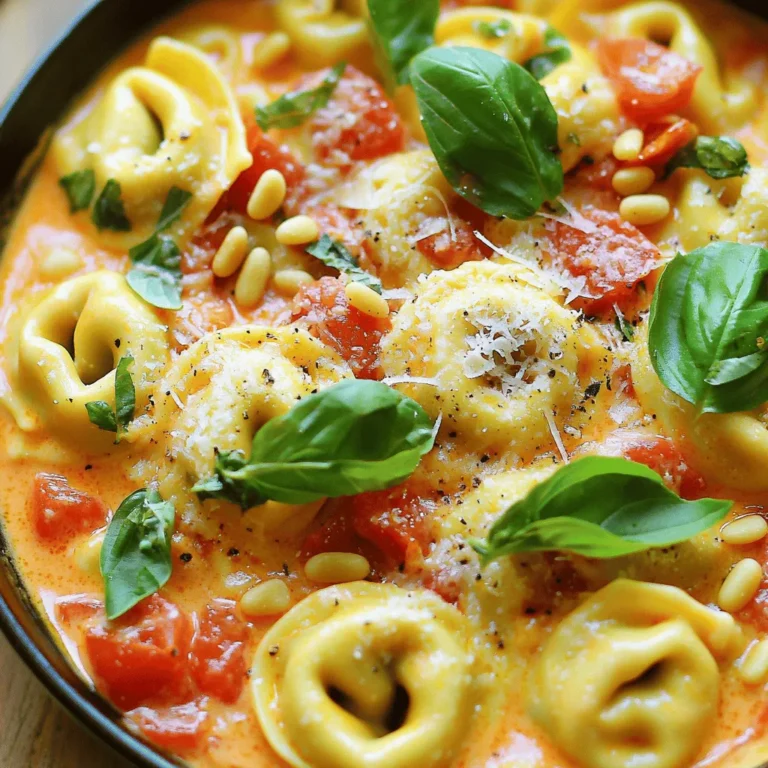
Creamy Tomato Basil Tortellini Delightful and Simple
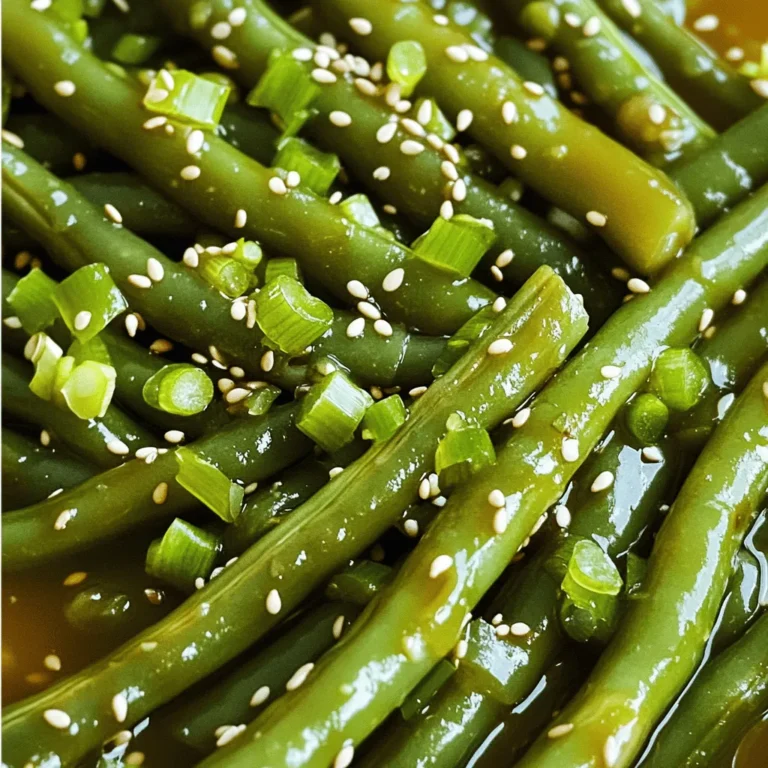
Sweet Soy Garlic Green Beans Flavorful and Easy Dish
Page navigation
Previous Page
Previous
1
…
11
12
13
14
15
…
46
Next Page
Next
Home
Dinner
Appetizer
Desserts
Drinks
About
Contact
Privacy Policy
Toggle Menu Close
Search for:
Search