Skip to content
About
Contact
Cookie Policy
Copyright Policy
Disclaimer
Search
Home
Dinner
Appetizer
Desserts
Drinks
About
Contact
Privacy Policy
Toggle Menu
Home
/
Dinner
- Page 12
Dinner
Lemon Dill Salmon Cakes Flavorful and Easy Recipe
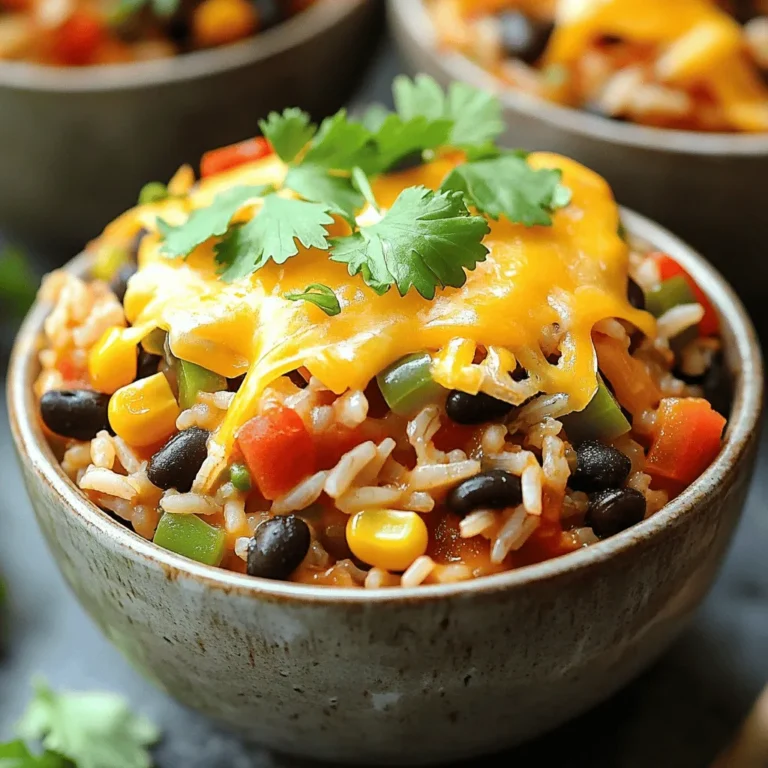
One-Pot Mexican Rice Casserole Flavorful Family Meal
Creamy Broccoli Cheddar Soup Flavorful Comfort Dish
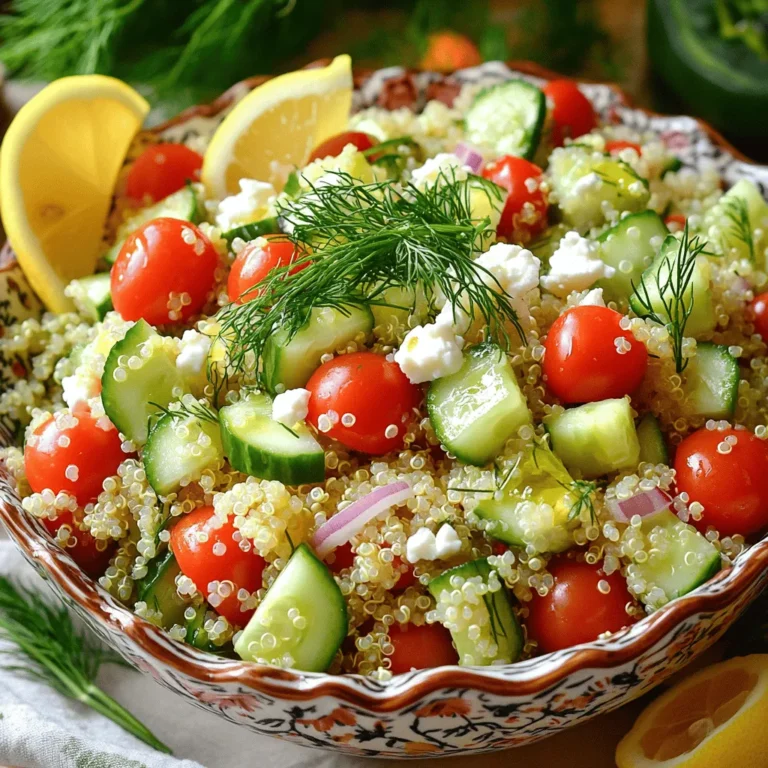
Lemon Dill Quinoa Salad Refreshing and Healthy Dish
Honey Lime Chicken Kebabs Flavorful and Easy Recipe
Roasted Tomato Basil Soup Comforting and Flavorful Meal
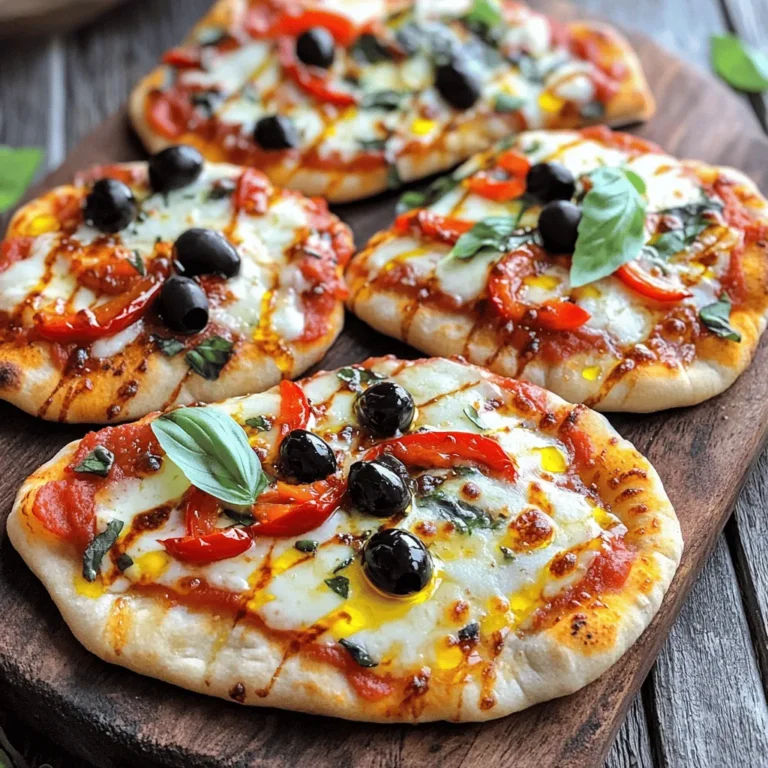
Chili Garlic Naan Pizza Flavorful and Simple Recipe
Creamy Garlic Butter Brussels Sprouts Irresistible Dish
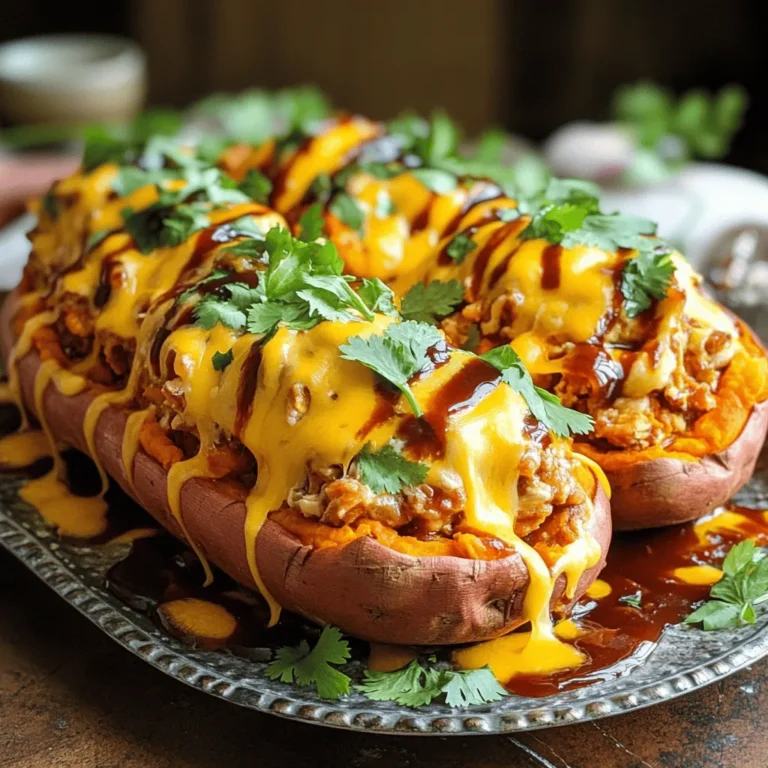
BBQ Chicken Stuffed Sweet Potatoes Delightful Recipe
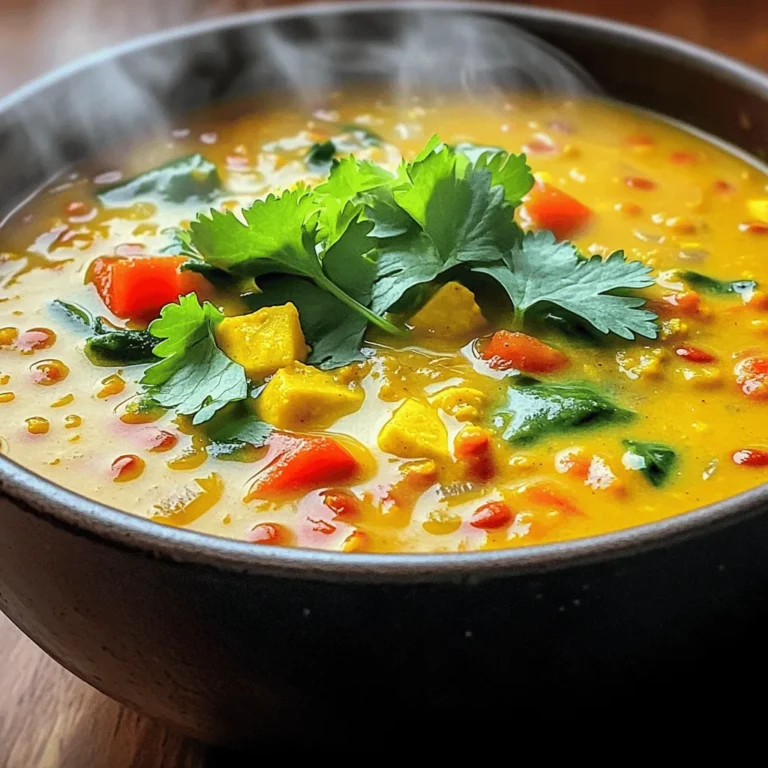
Coconut Curry Lentil Soup Flavorful and Nourishing Dish
Page navigation
Previous Page
Previous
1
…
10
11
12
13
14
…
46
Next Page
Next
Home
Dinner
Appetizer
Desserts
Drinks
About
Contact
Privacy Policy
Toggle Menu Close
Search for:
Search