Skip to content
About
Contact
Cookie Policy
Copyright Policy
Disclaimer
Search
Home
Dinner
Appetizer
Desserts
Drinks
About
Contact
Privacy Policy
Toggle Menu
Home
/
Dinner
Dinner
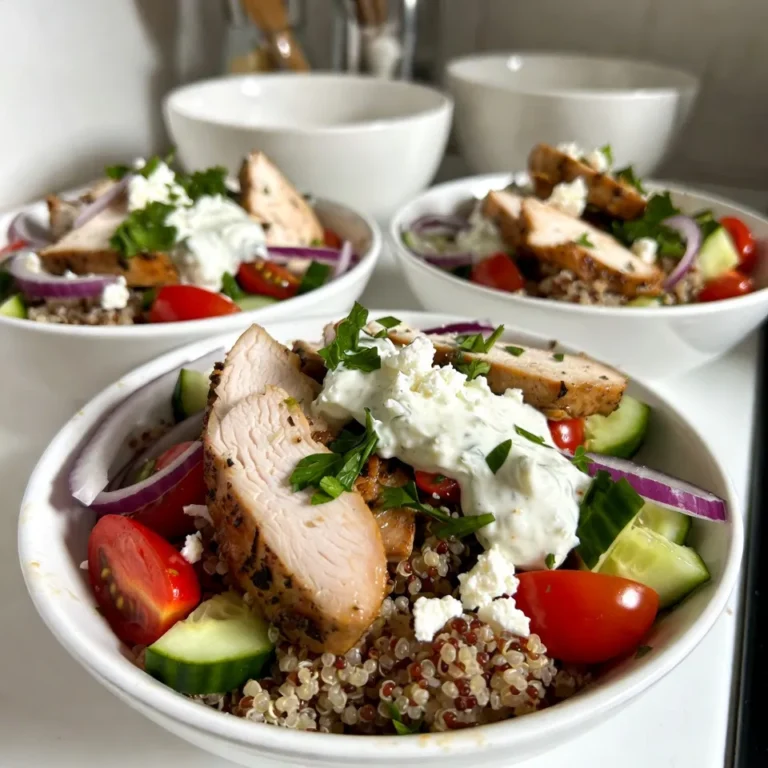
Greek Chicken Gyro Bowls Flavorful and Simple Recipe
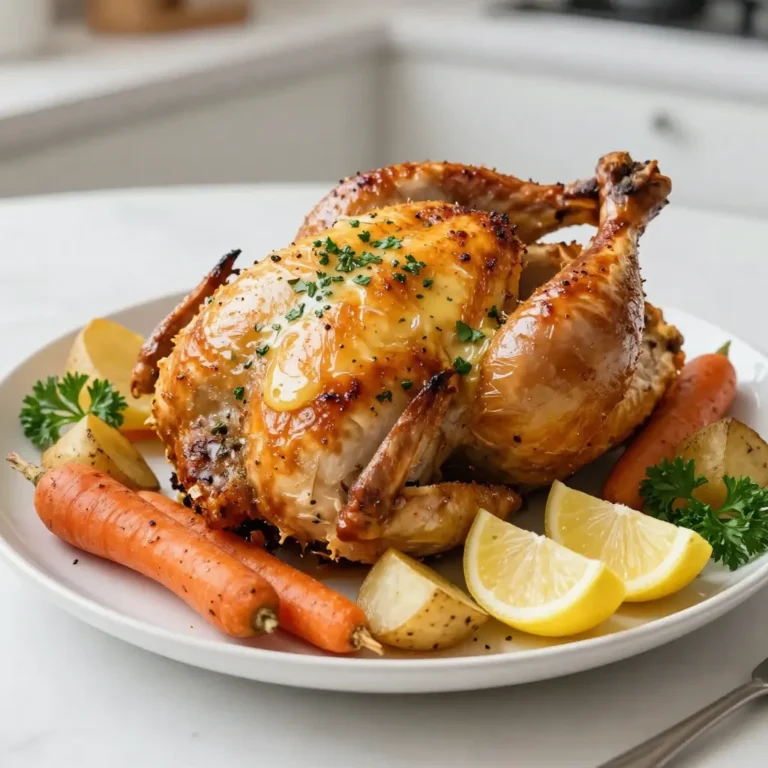
Garlic Herb Butter Roasted Chicken Savory and Juicy
Cajun Alfredo Shrimp Pasta Flavorful Family Feast
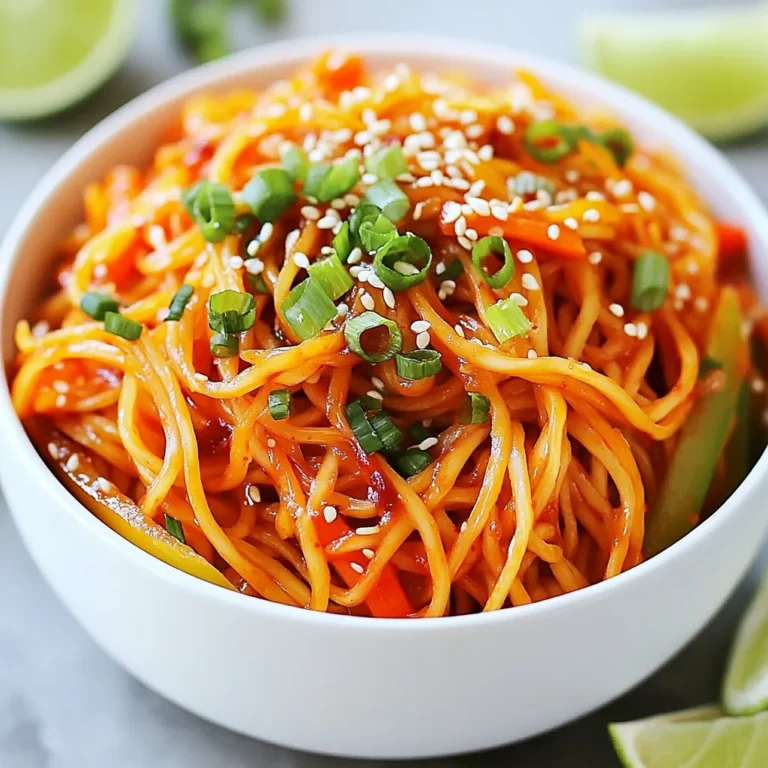
Spicy Korean Gochujang Noodles Quick and Easy Recipe
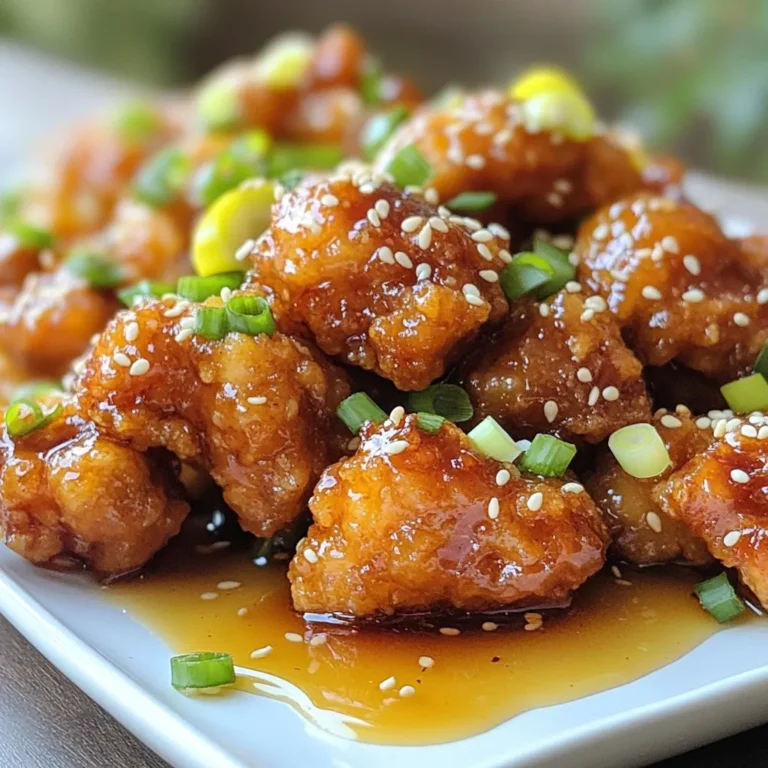
Crispy Honey Chicken Simple and Tasty Recipe Guide
Creamy Coconut Chickpea Curry Flavorful and Easy Meal
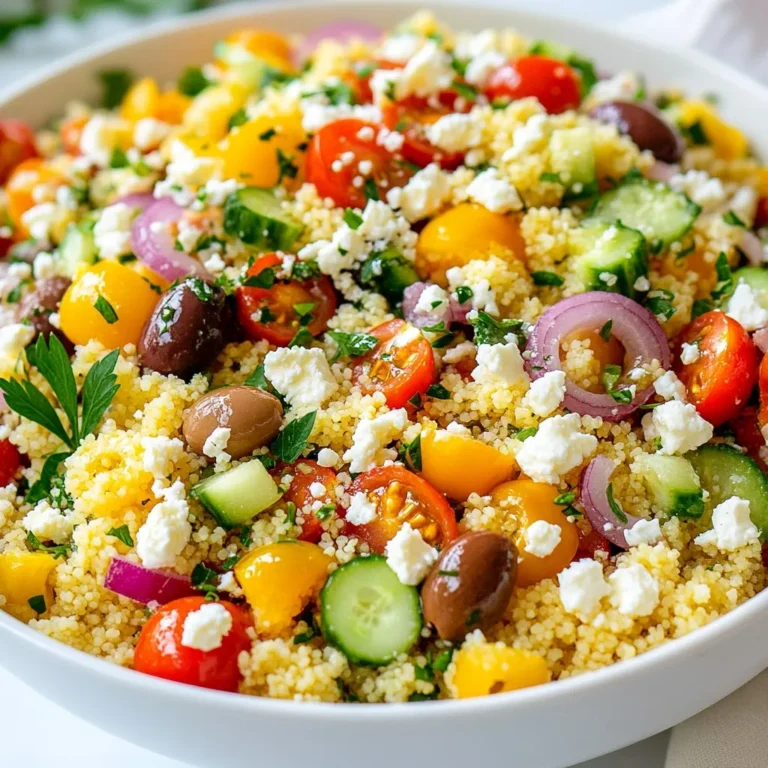
Mediterranean Couscous Salad Fresh and Flavorful Dish
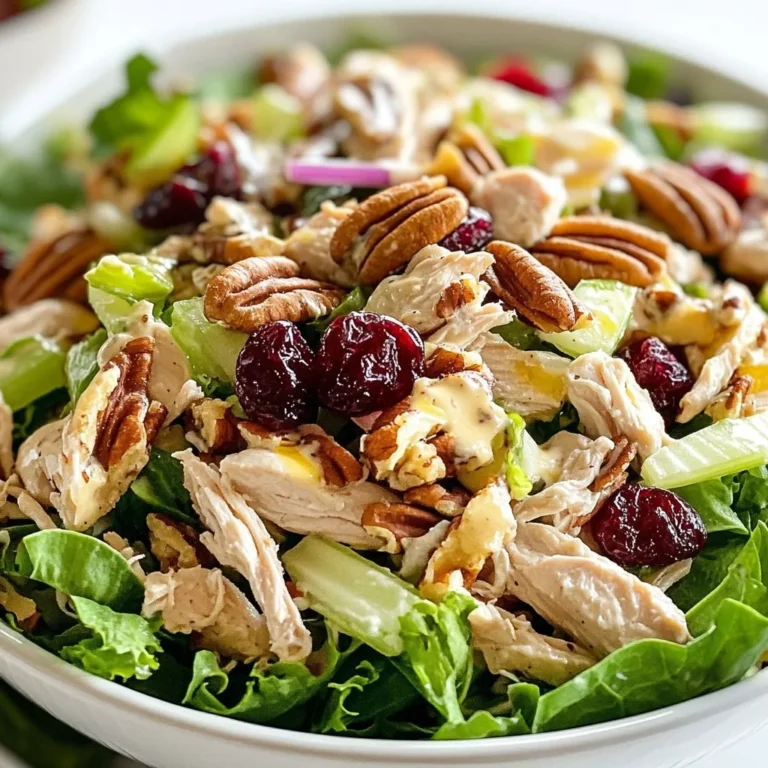
Cranberry Pecan Chicken Salad Fresh and Flavorful Recipe
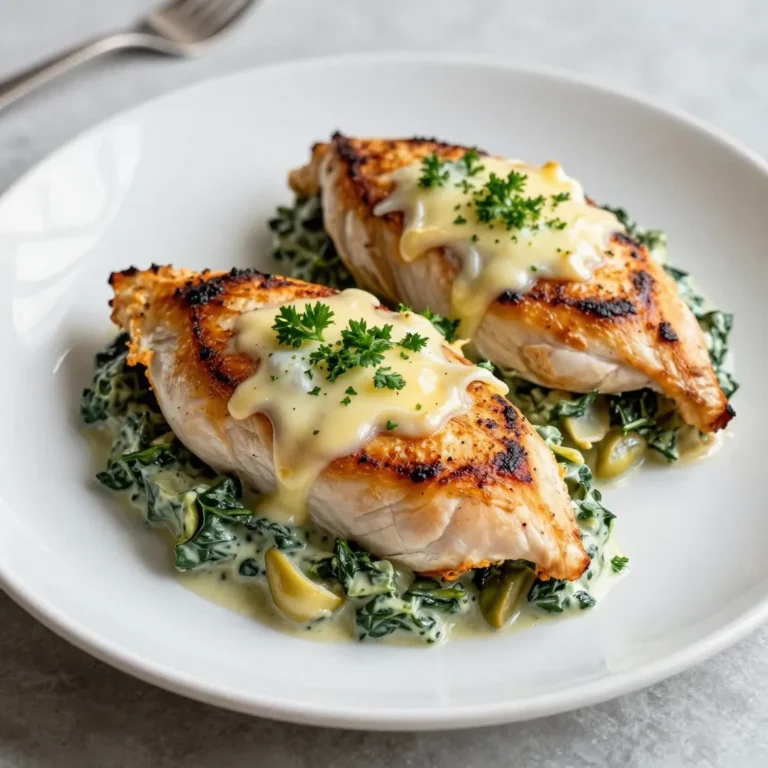
Creamy Spinach Artichoke Stuffed Chicken Delight
Coconut Lime Chicken Soup Flavorful and Refreshing Dish
Page navigation
1
2
3
…
50
Next Page
Next
Home
Dinner
Appetizer
Desserts
Drinks
About
Contact
Privacy Policy
Toggle Menu Close
Search for:
Search