Skip to content
About
Contact
Cookie Policy
Copyright Policy
Disclaimer
Search
Home
Dinner
Appetizer
Desserts
Drinks
About
Contact
Privacy Policy
Toggle Menu
Home
/
Desserts
- Page 8
Desserts
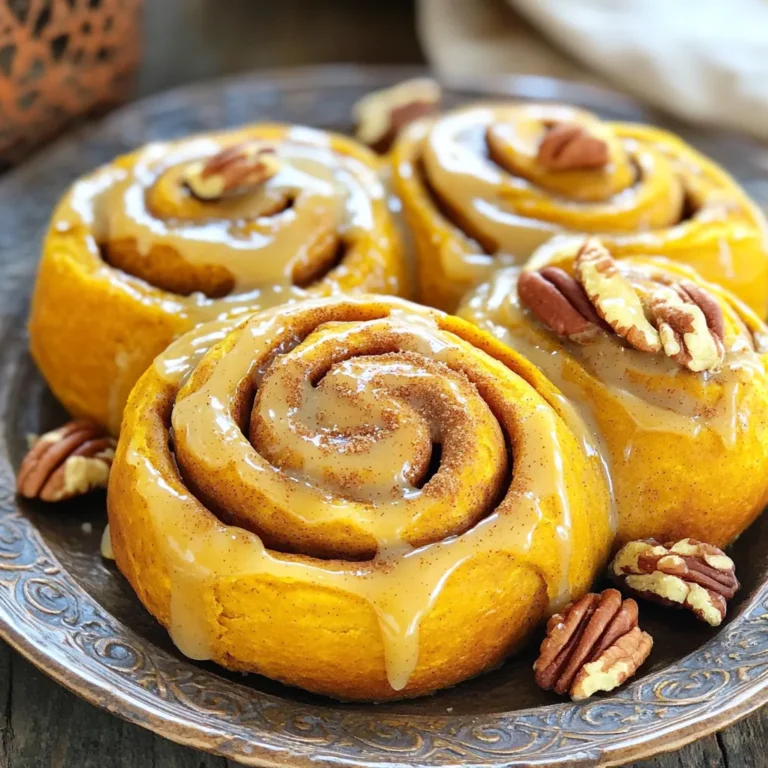
Pumpkin Cinnamon Rolls with Brown Butter Bliss
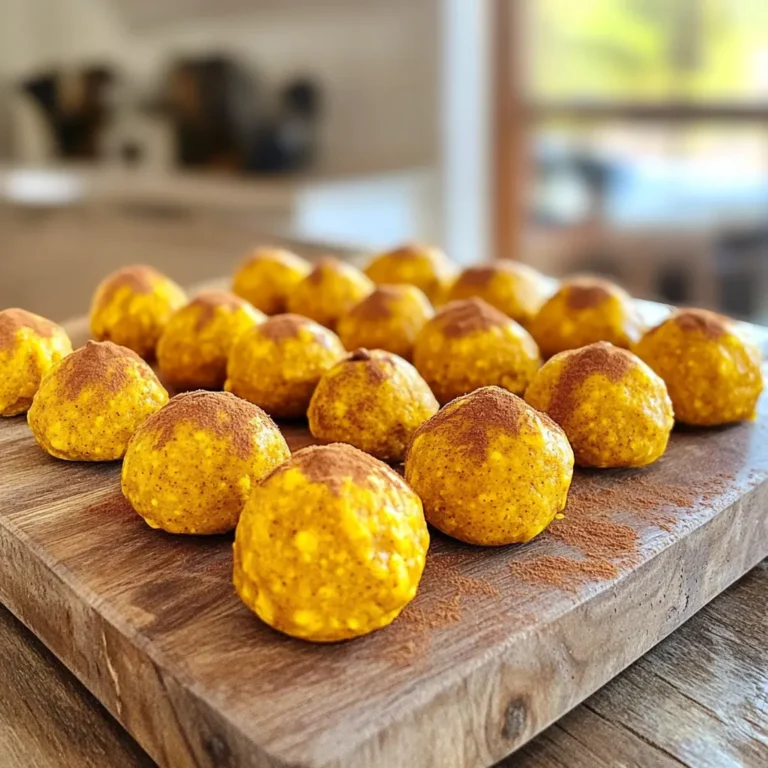
Pumpkin Protein Bites with Oats Simple and Tasty Snack
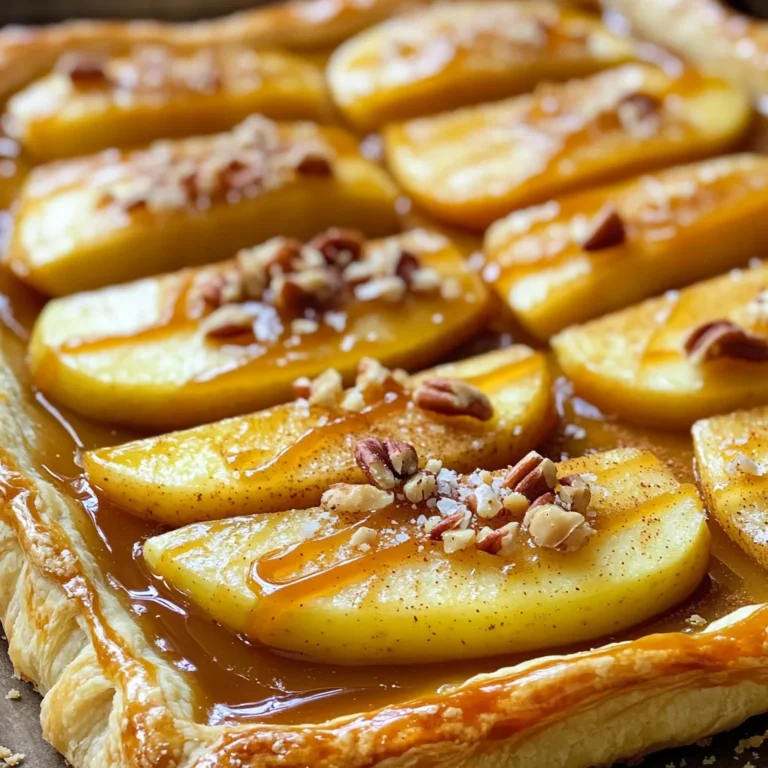
Caramel Apple Puff Pastry Tart Irresistible Delight
Oven-Baked Cinnamon Sugar Churro Cookies Delight
Cozy Gingerbread Oatmeal Bake Comforting Winter Treat
Peanut Butter Chocolate Chip Energy Bars Recipe
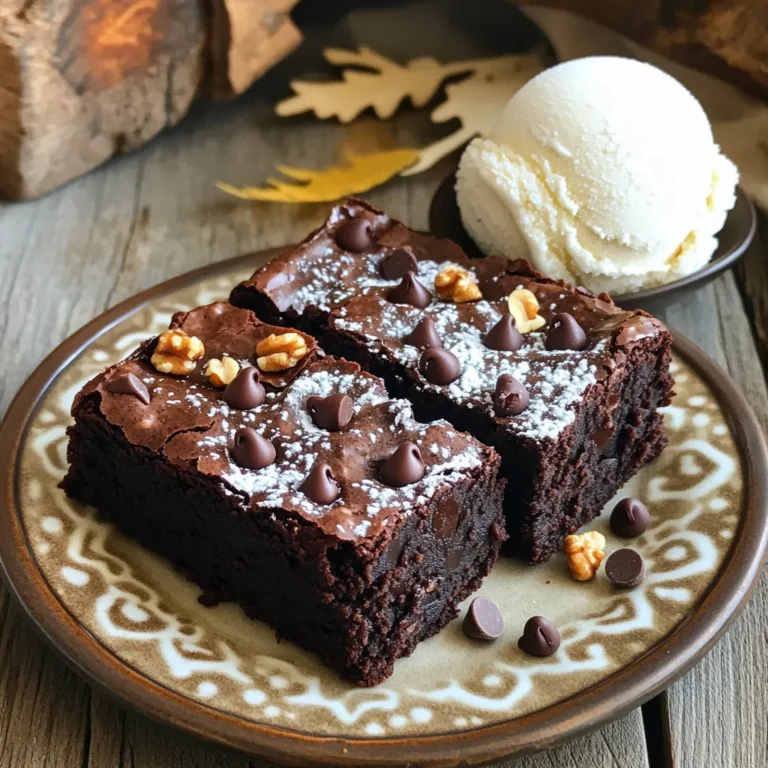
Chocolate Fudge Brownies Decadent and Rich Delight
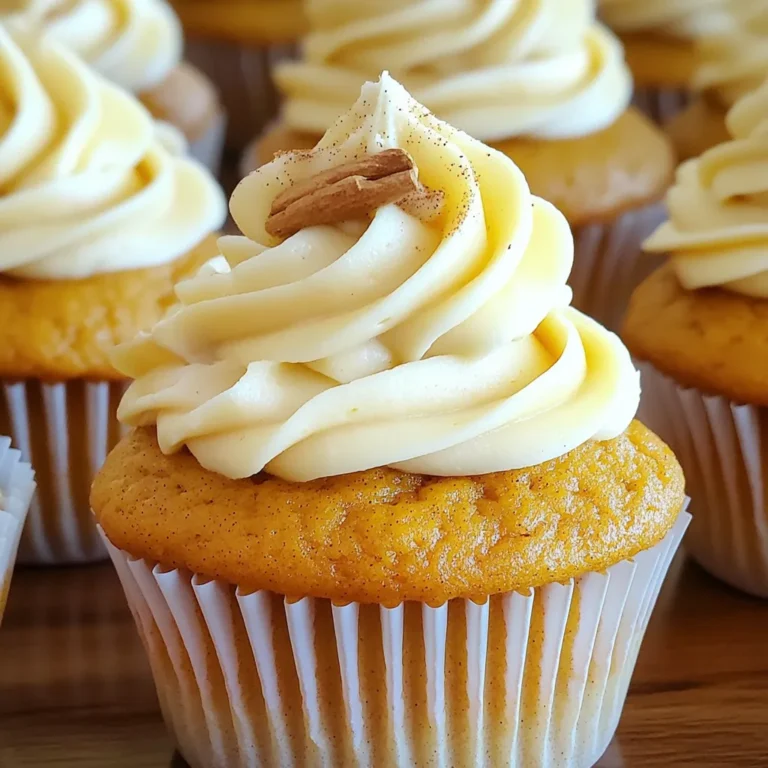
Pumpkin Cream Cheese Cupcakes Delightful Fall Treat
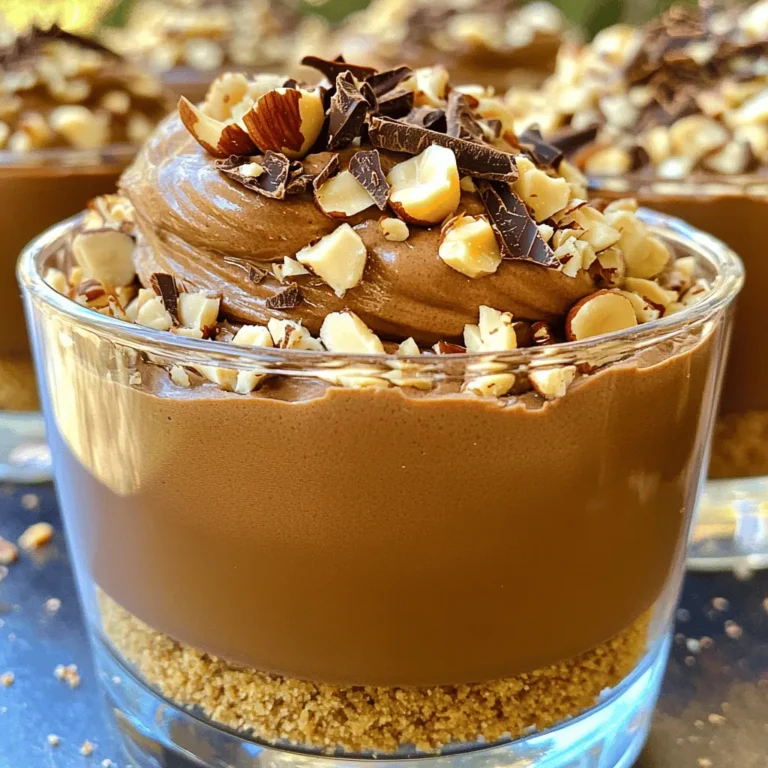
No Bake Chocolate Hazelnut Mousse Cups Delightful Treat
Coconut Mango Chia Pudding Fresh and Healthy Treat
Page navigation
Previous Page
Previous
1
…
6
7
8
9
10
…
34
Next Page
Next
Home
Dinner
Appetizer
Desserts
Drinks
About
Contact
Privacy Policy
Toggle Menu Close
Search for:
Search