Skip to content
About
Contact
Cookie Policy
Copyright Policy
Disclaimer
Search
Home
Dinner
Appetizer
Desserts
Drinks
About
Contact
Privacy Policy
Toggle Menu
Home
/
Desserts
- Page 7
Desserts
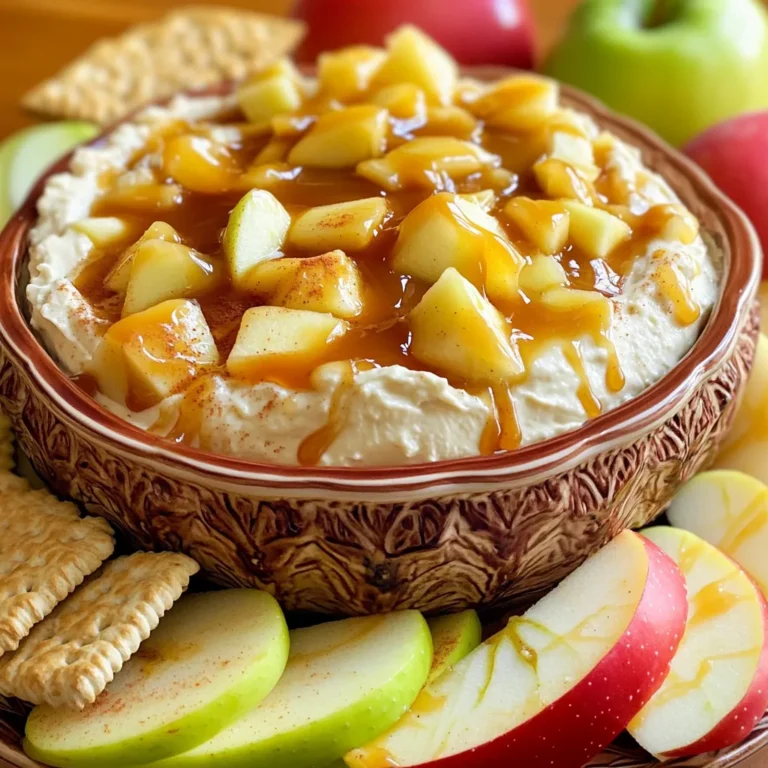
Caramel Apple Cream Cheese Dip Luscious and Simple Snack
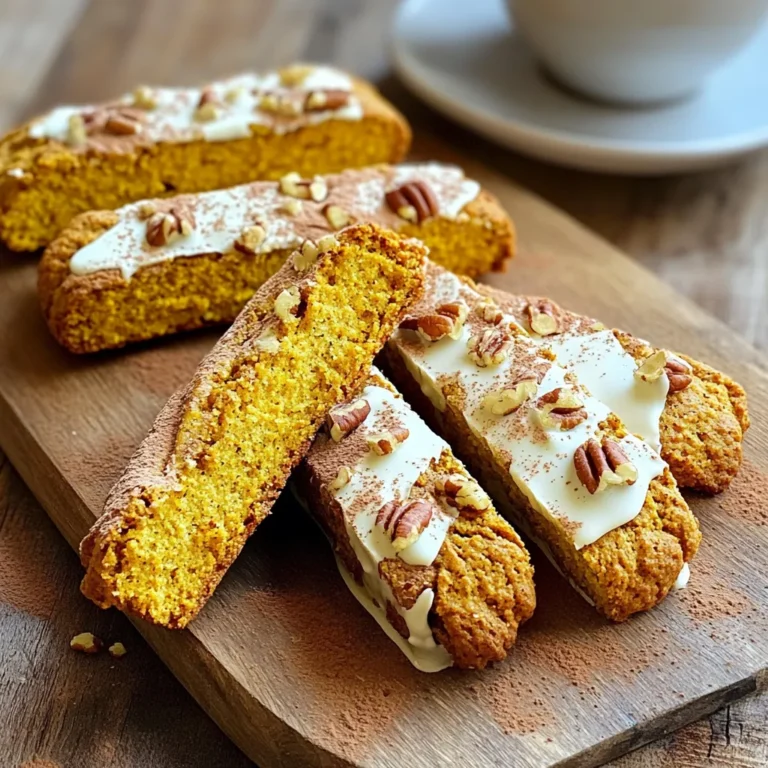
Pumpkin Biscotti Delightful Treat for Any Occasion
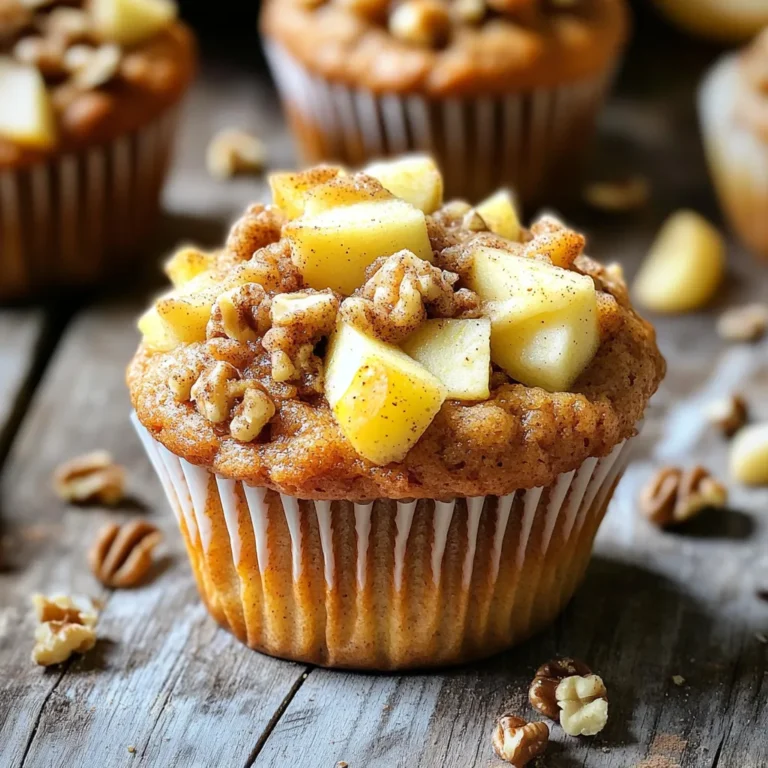
Apple Cinnamon Streusel Muffins Flavorful Morning Treat
Strawberry Banana Protein Pancakes Easy and Tasty Recipe
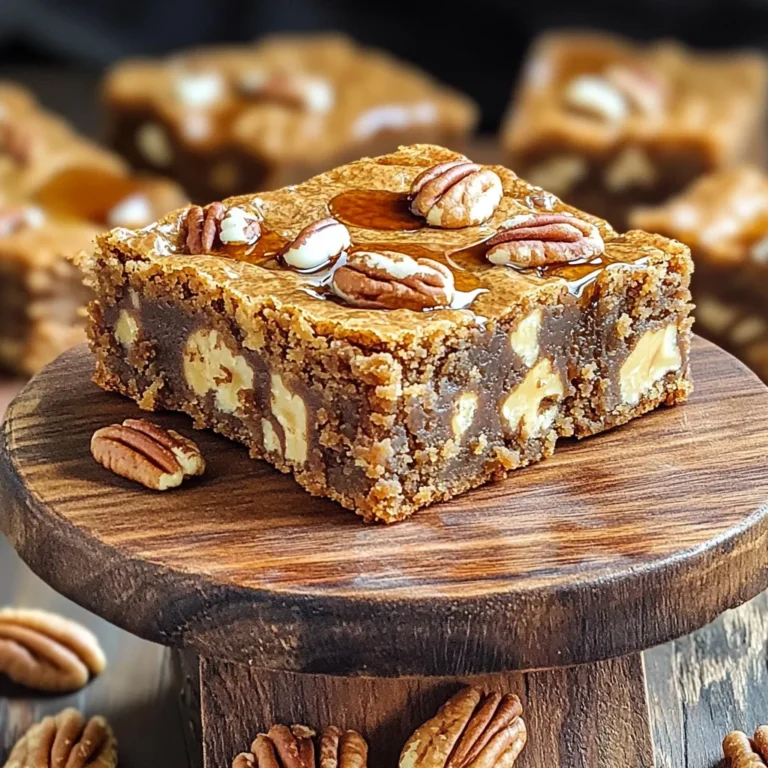
Maple Brown Butter Pecan Blondies Delightful Treat
Apple Crisp Skillet with Vanilla Ice Cream Delight
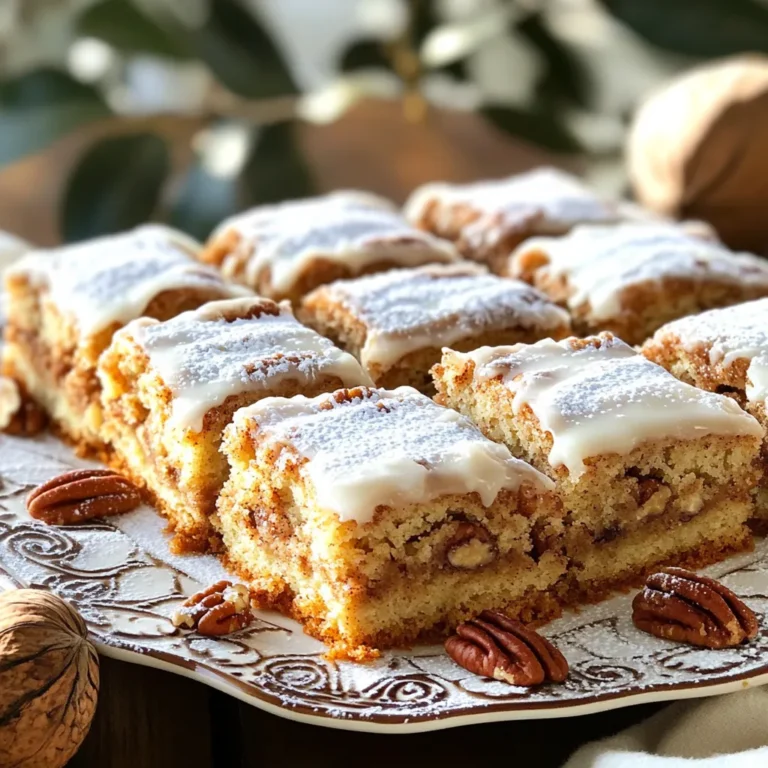
Bakery-Style Cinnamon Pecan Coffee Cake Delight
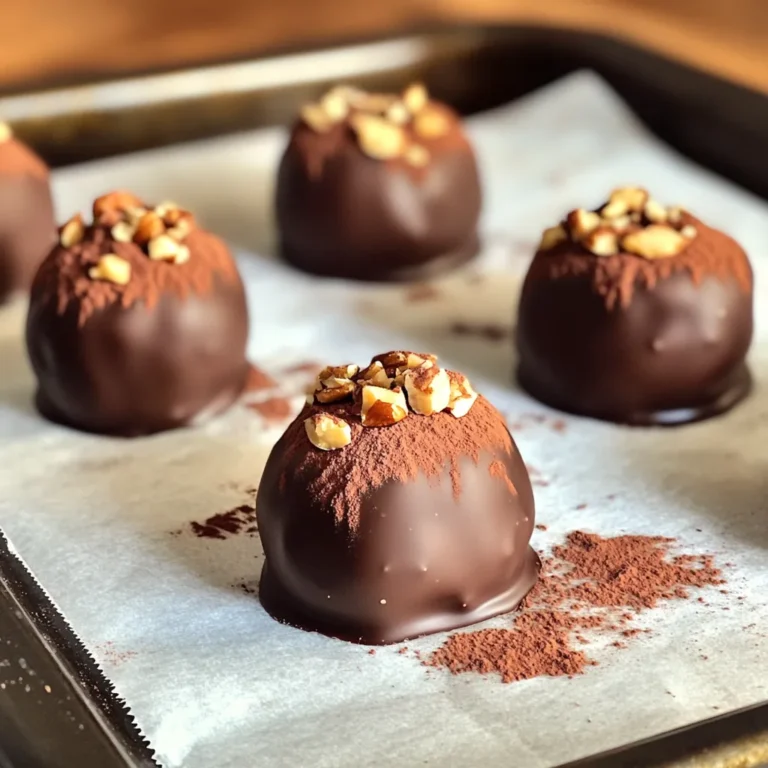
No-Bake Pumpkin Spice Latte Truffles Delightful Treat
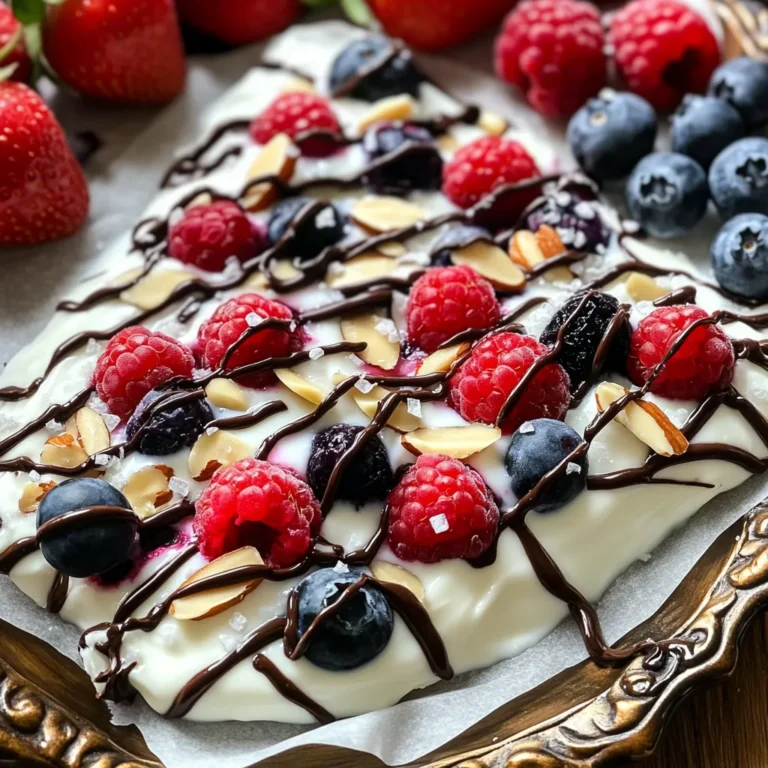
Frozen Yogurt Berry Bark Delicious and Healthy Treat
Frozen Yogurt Berry Bark Delicious and Healthy Treat
Page navigation
Previous Page
Previous
1
…
5
6
7
8
9
…
34
Next Page
Next
Home
Dinner
Appetizer
Desserts
Drinks
About
Contact
Privacy Policy
Toggle Menu Close
Search for:
Search