Skip to content
About
Contact
Cookie Policy
Copyright Policy
Disclaimer
Search
Home
Dinner
Appetizer
Desserts
Drinks
About
Contact
Privacy Policy
Toggle Menu
Home
/
Desserts
- Page 4
Desserts
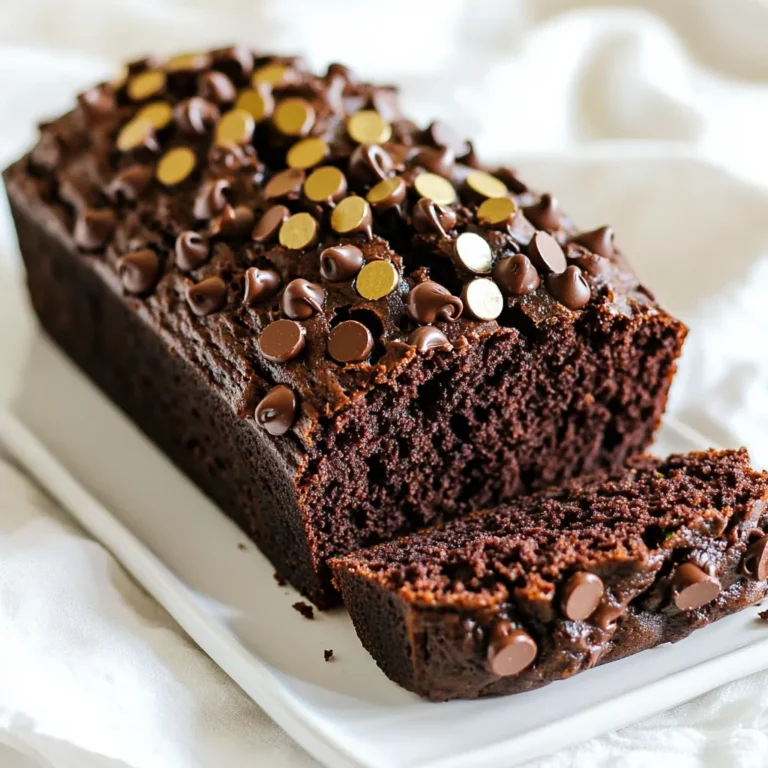
Double Chocolate Zucchini Bread Moist and Rich Delight
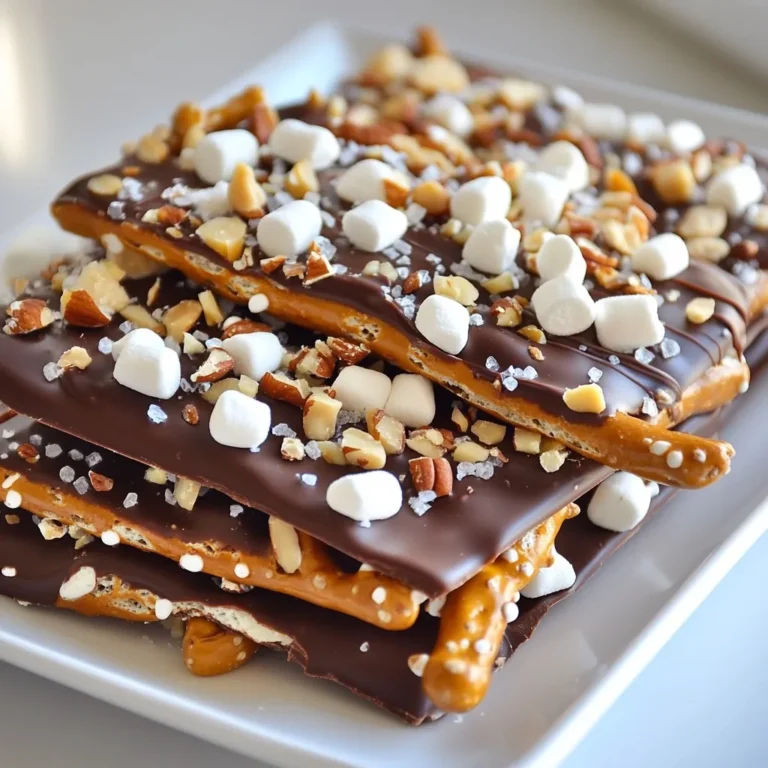
Chocolate Covered Pretzel Bark Irresistible Treat
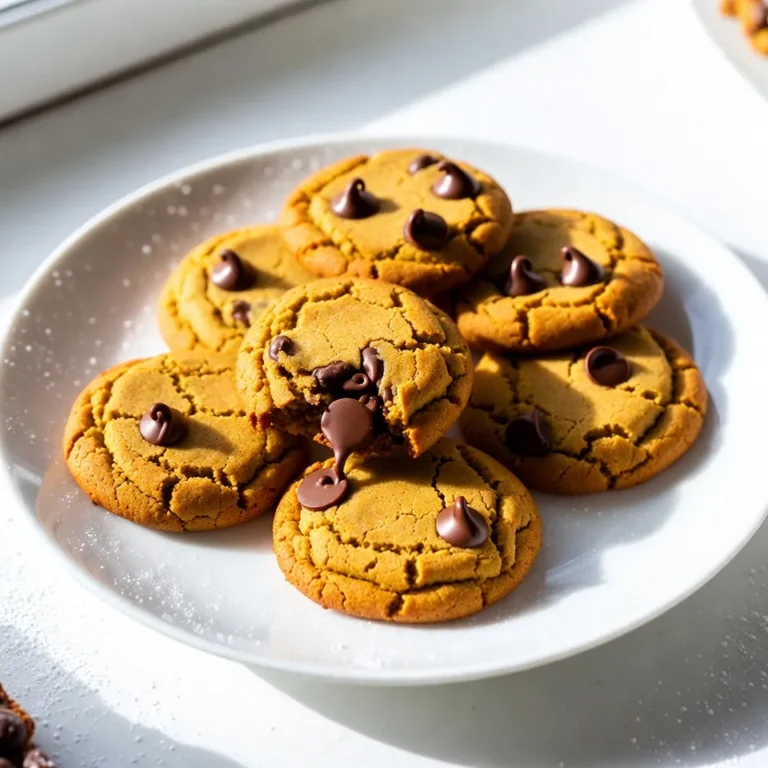
Pumpkin Chocolate Chip Cookies Savory Delight Recipe
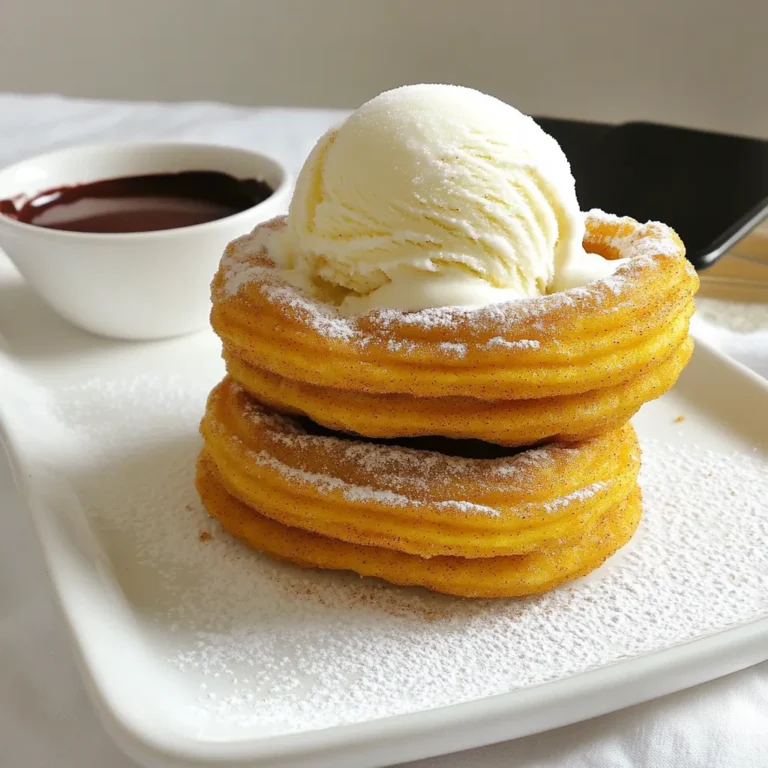
Pumpkin Churro Ice Cream Sandwiches Delicious Treat
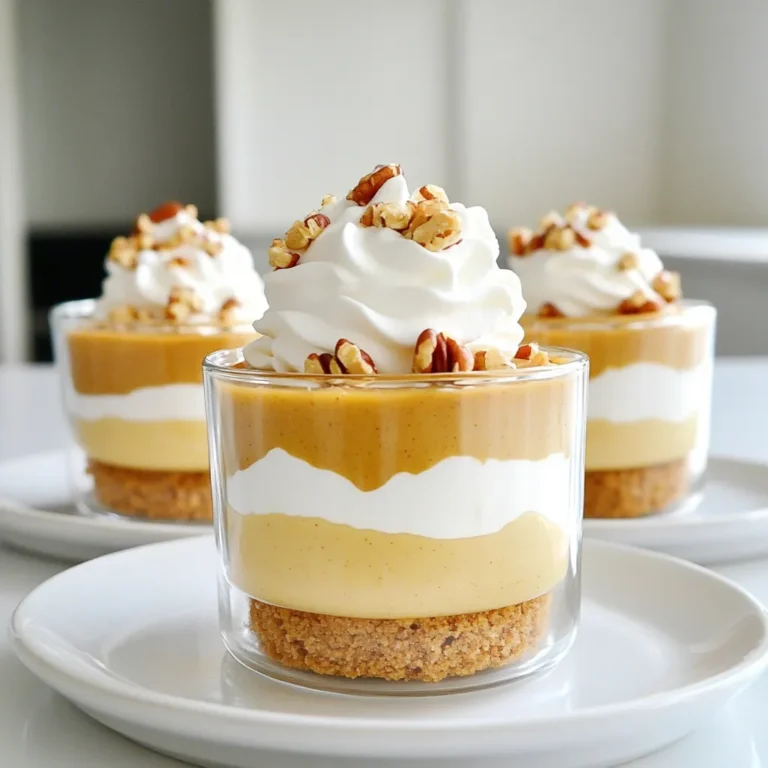
No Bake Maple Pumpkin Pie Cups Simple and Delicious
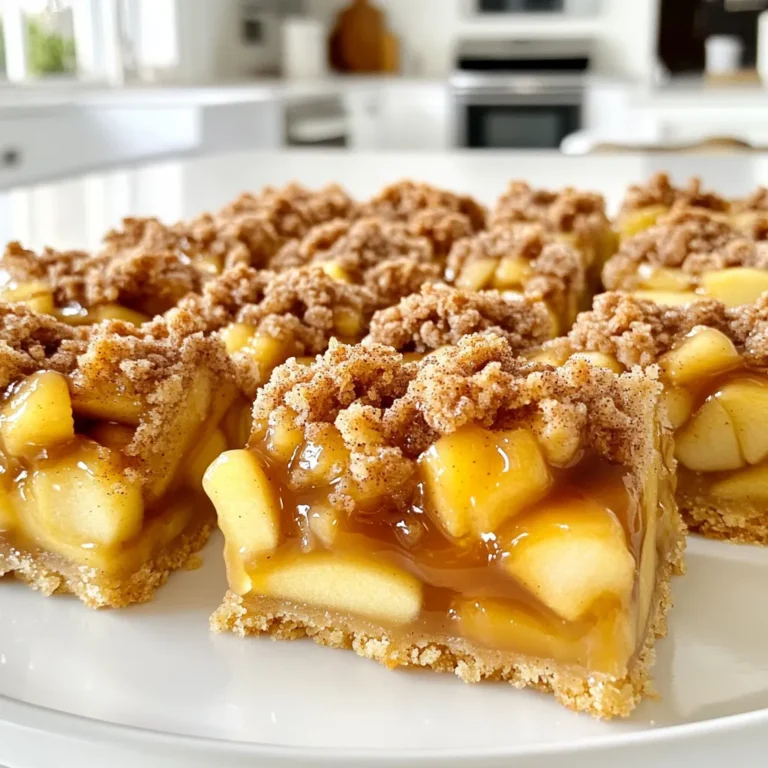
Caramel Apple Streusel Bars Delightful Fall Dessert
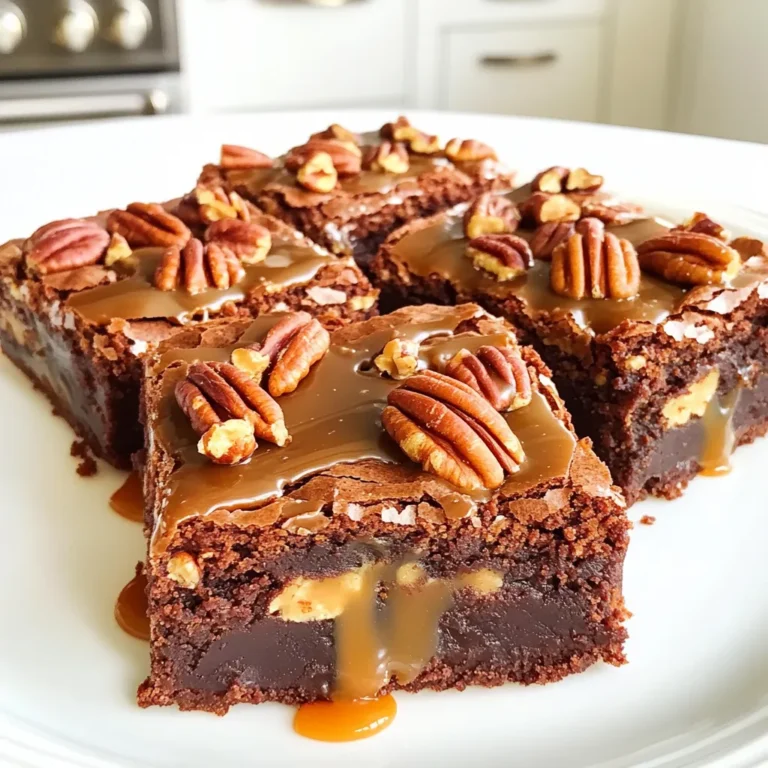
Caramel Pecan Turtle Brownies Decadent Treat Recipe
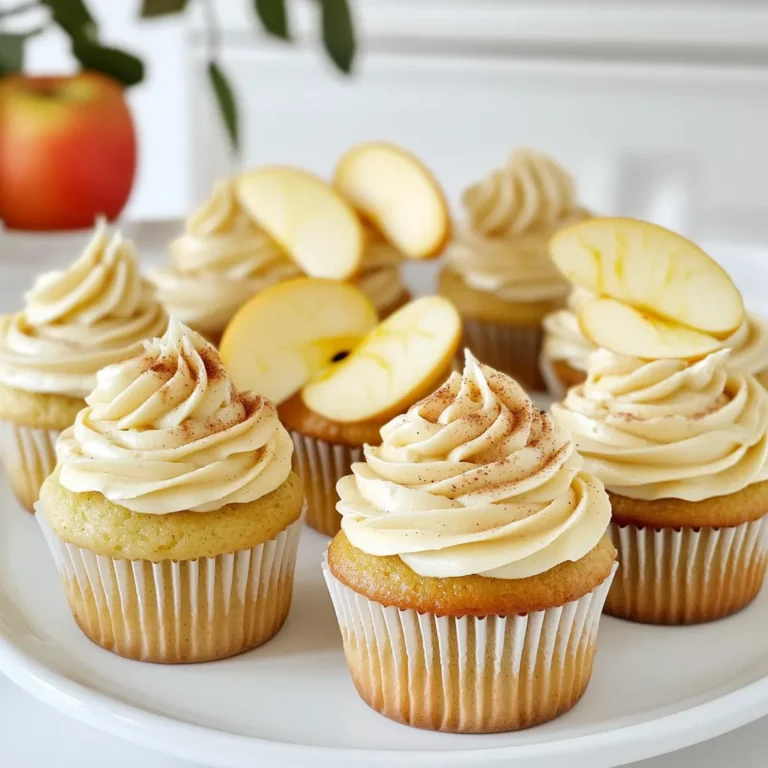
Apple Cider Cupcakes Spiced Frosting Delight Recipe
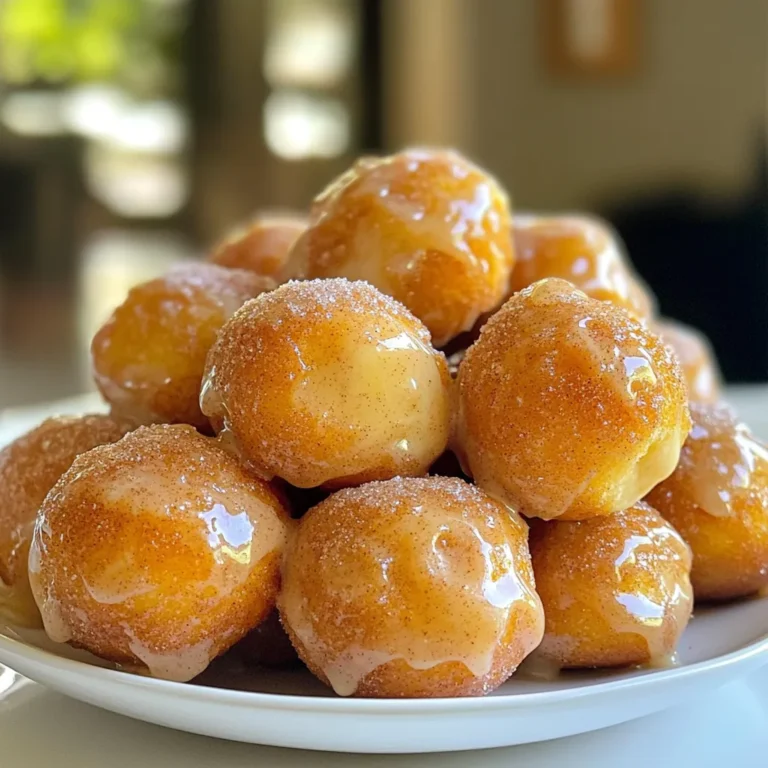
Cinnamon Sugar Pretzel Bites Air Fryer Delicious Snack
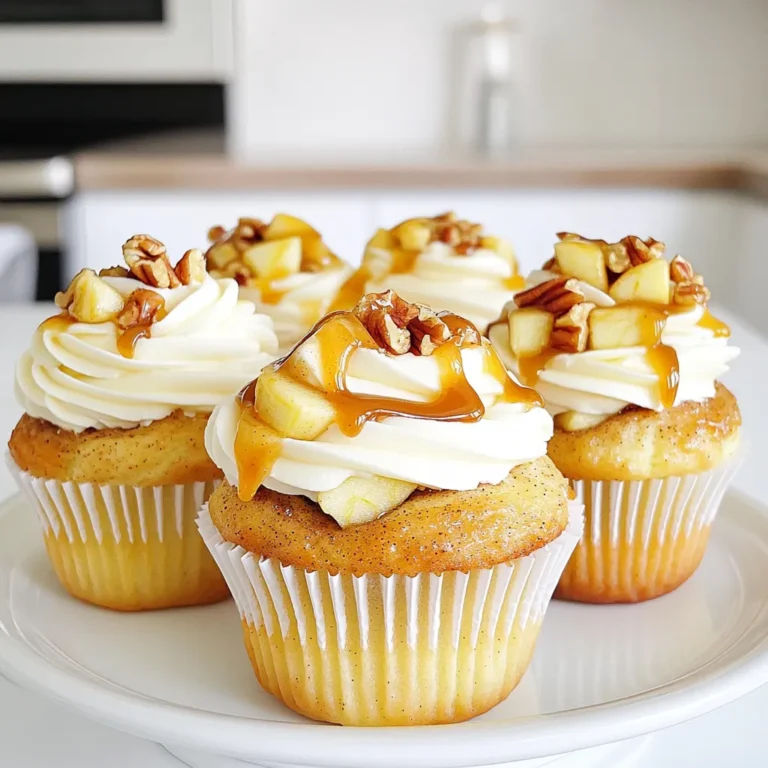
Caramel Apple Cinnamon Roll Cupcakes Delightful Treat
Page navigation
Previous Page
Previous
1
2
3
4
5
6
…
34
Next Page
Next
Home
Dinner
Appetizer
Desserts
Drinks
About
Contact
Privacy Policy
Toggle Menu Close
Search for:
Search