Skip to content
About
Contact
Cookie Policy
Copyright Policy
Disclaimer
Search
Home
Dinner
Appetizer
Desserts
Drinks
About
Contact
Privacy Policy
Toggle Menu
Home
/
Desserts
- Page 34
Desserts
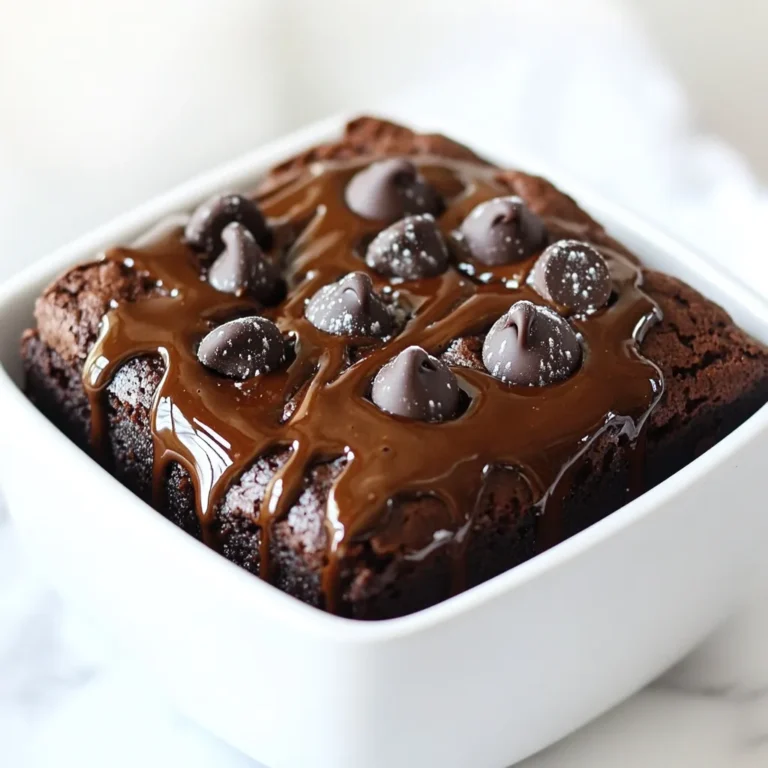
Vegan Fudgy Black Bean Brownies Rich and Simple Treat
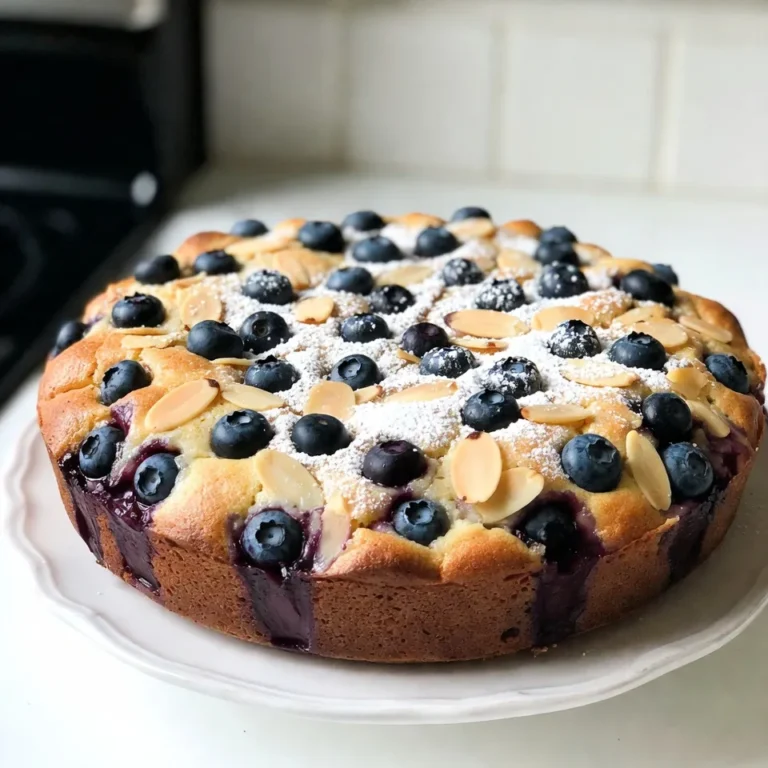
Blueberry Almond Coffee Cake Delightfully Simple Treat
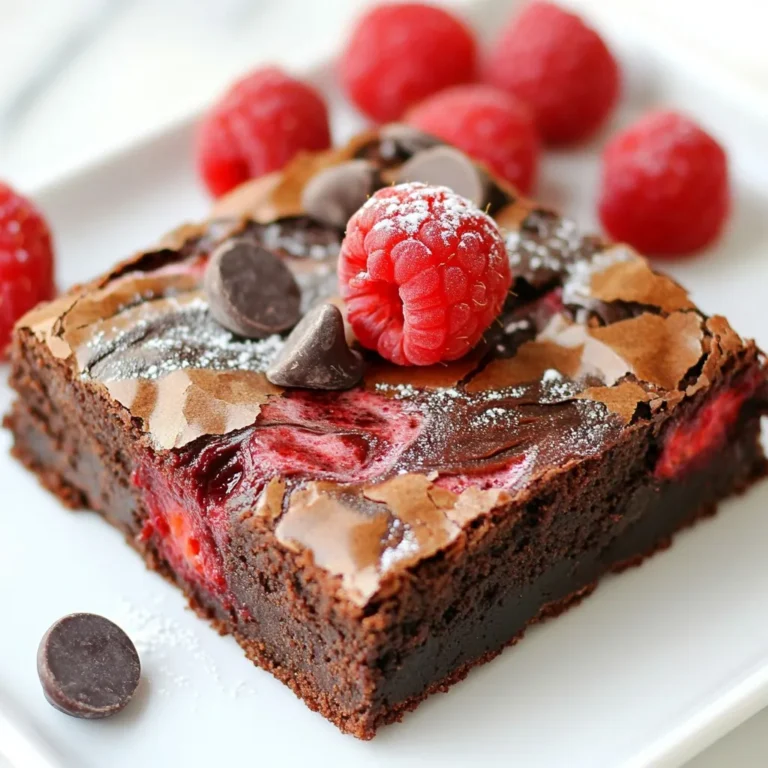
Raspberry Chocolate Swirl Brownies Rich and Fudgy Treat
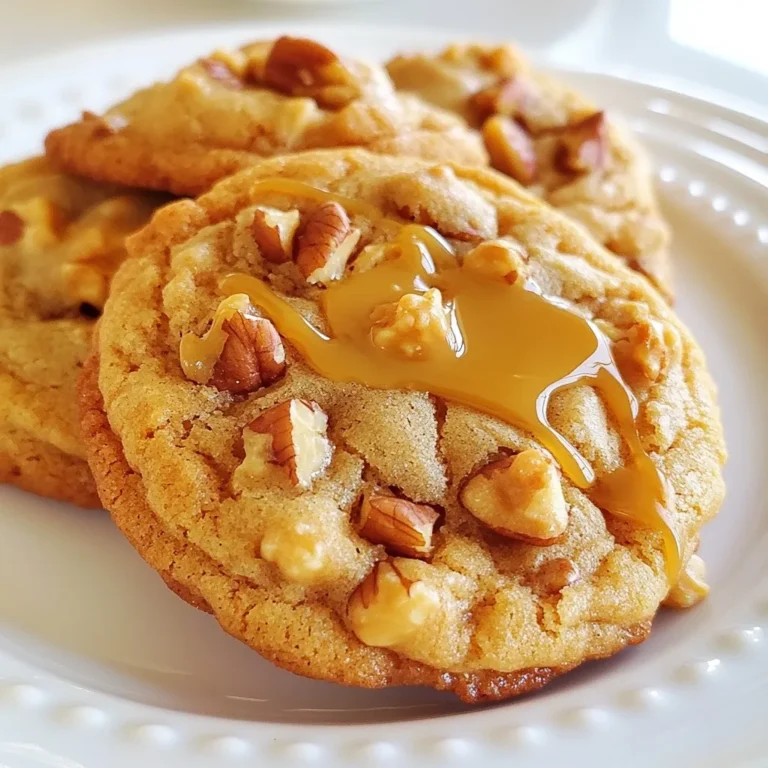
Butterscotch Pecan Cookies Delightful and Easy Recipe
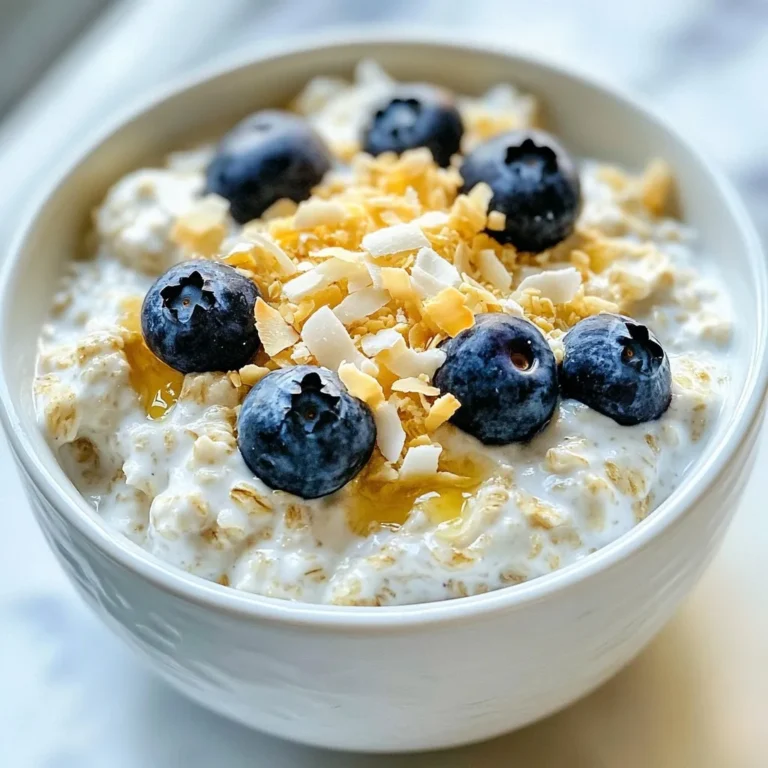
Blueberry Coconut Overnight Oats Tasty and Easy Recipe
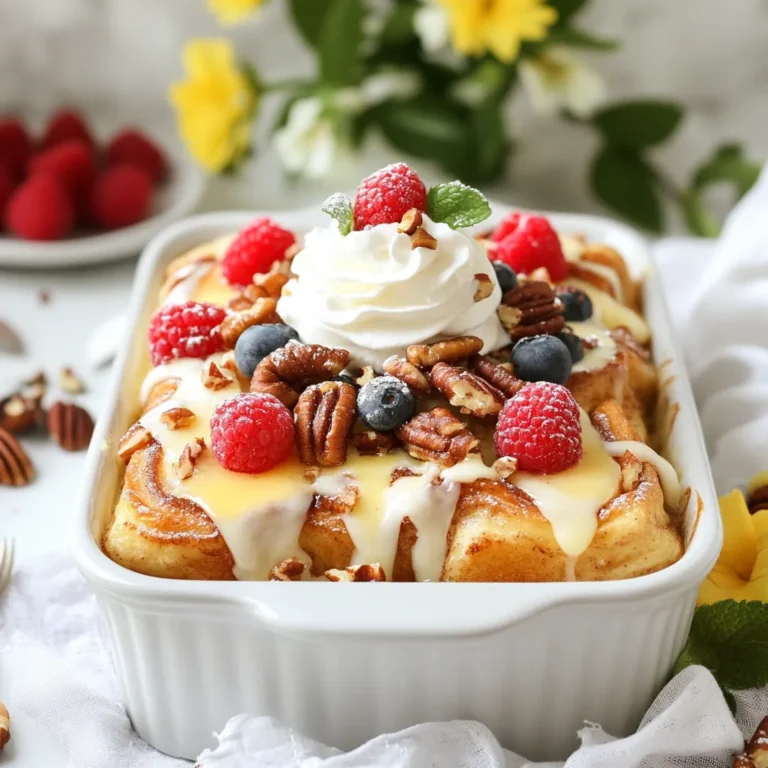
Cinnamon Roll French Toast Casserole Savory Delight
Page navigation
Previous Page
Previous
1
…
32
33
34
Home
Dinner
Appetizer
Desserts
Drinks
About
Contact
Privacy Policy
Toggle Menu Close
Search for:
Search