Skip to content
About
Contact
Cookie Policy
Copyright Policy
Disclaimer
Search
Home
Dinner
Appetizer
Desserts
Drinks
About
Contact
Privacy Policy
Toggle Menu
Home
/
Desserts
- Page 31
Desserts
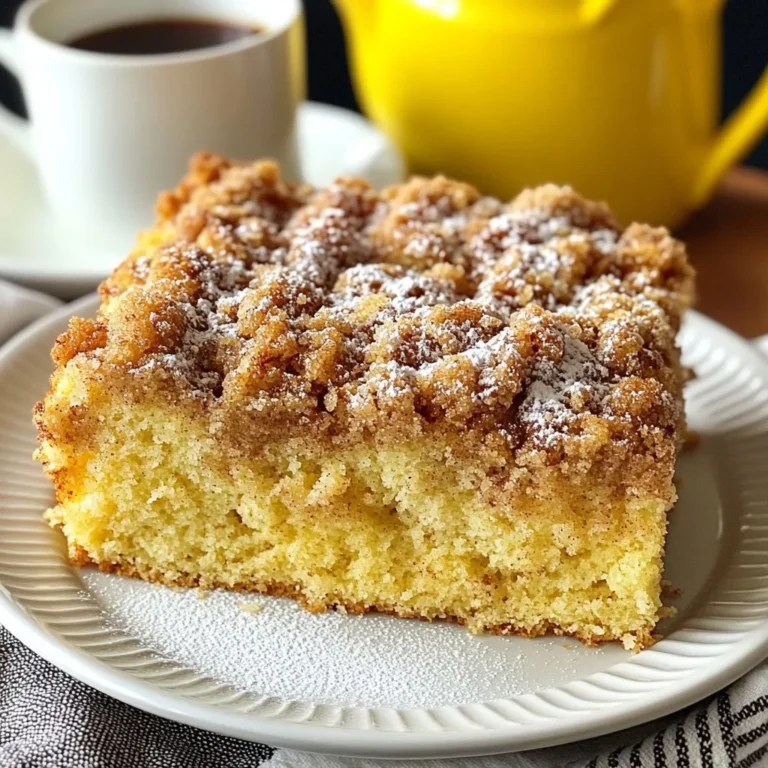
Cinnamon Streusel Coffee Cake Simple and Delicious Treat
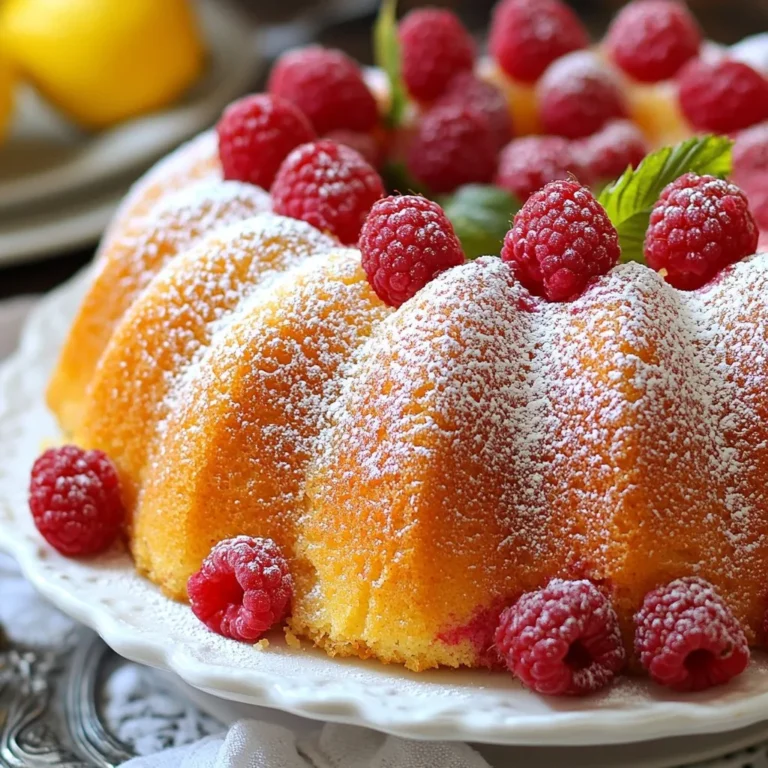
Raspberry Lemon Bundt Cake Delightfully Fresh Recipe
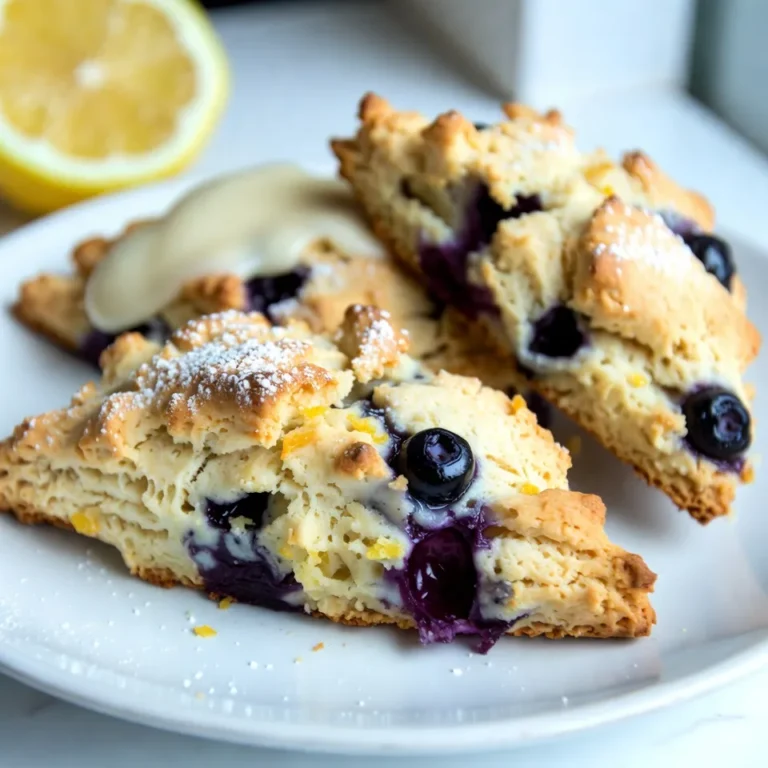
Blueberry Lemon Scones Fresh and Fluffy Delight
Cinnamon Apple Energy Muffins Simple and Tasty Treat
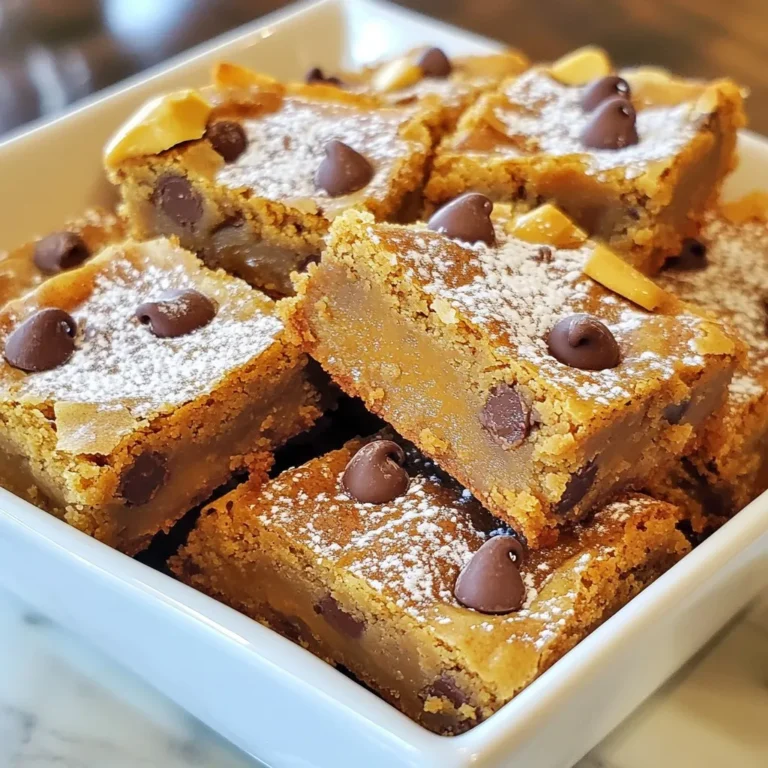
Peanut Butter Chocolate Chip Blondies Irresistible Treat
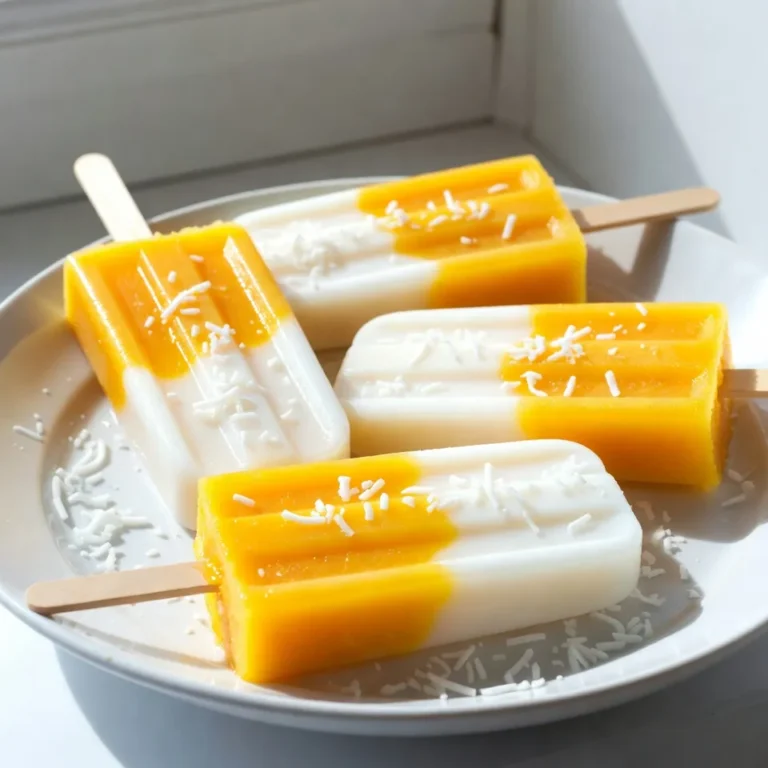
Tropical Mango Coconut Popsicles Refreshing Summer Treat
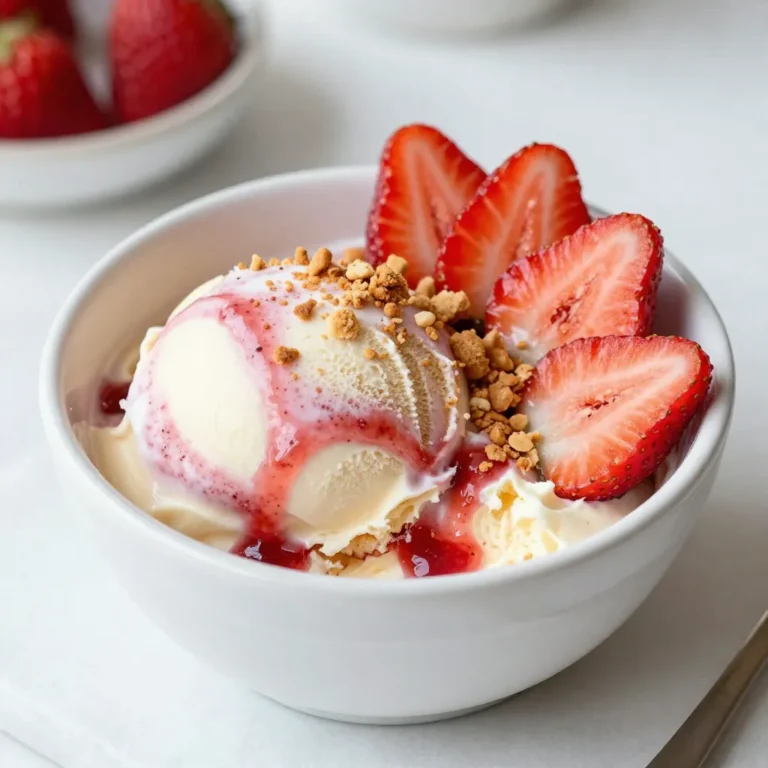
Strawberry Cheesecake Ice Cream Creamy and Simple Treat
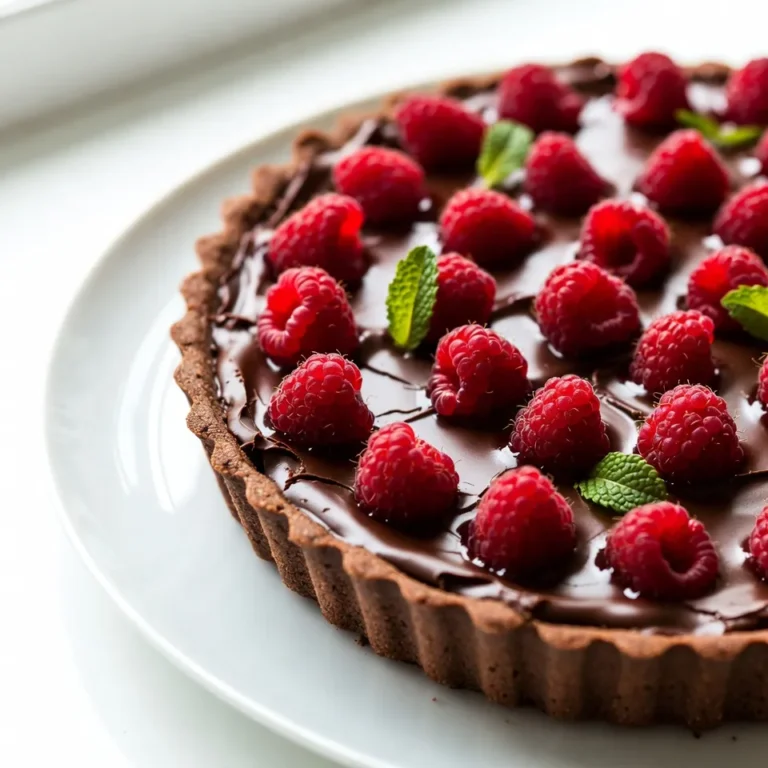
Raspberry Chocolate Ganache Tart Delightful Dessert Recipe
Chocolate Marshmallow Fudge Delightful Sweet Treat
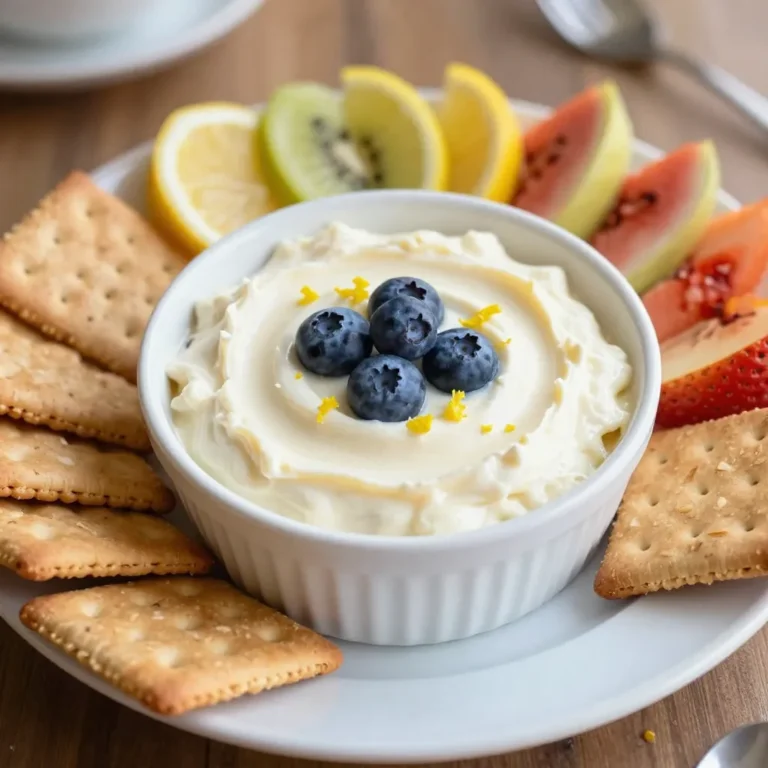
Lemon Blueberry Cheesecake Dip Tasty and Simple Treat
Page navigation
Previous Page
Previous
1
…
29
30
31
32
33
34
Next Page
Next
Home
Dinner
Appetizer
Desserts
Drinks
About
Contact
Privacy Policy
Toggle Menu Close
Search for:
Search