Skip to content
About
Contact
Cookie Policy
Copyright Policy
Disclaimer
Search
Home
Dinner
Appetizer
Desserts
Drinks
About
Contact
Privacy Policy
Toggle Menu
Home
/
Desserts
- Page 30
Desserts
Vampire Bite Cupcakes Fun and Festive Treats
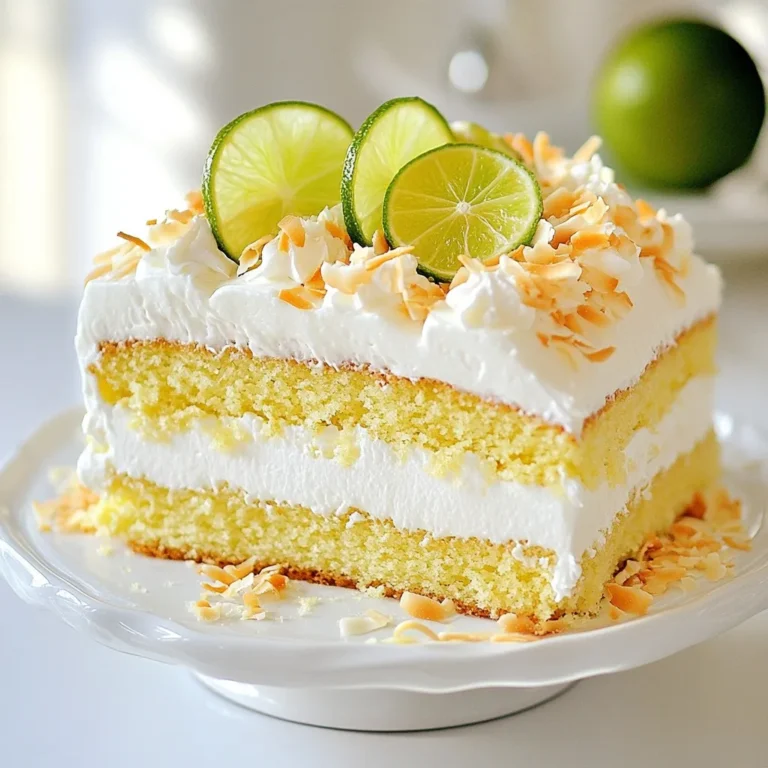
Coconut Lime Cake Delightful and Refreshing Recipe
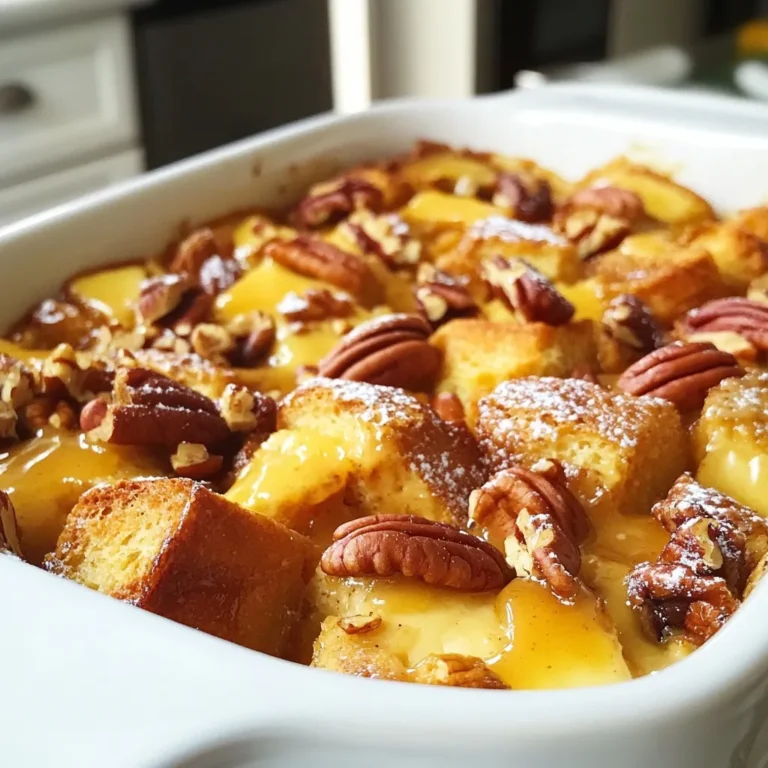
Caramel Pecan Bread Pudding Delightful Dessert Recipe
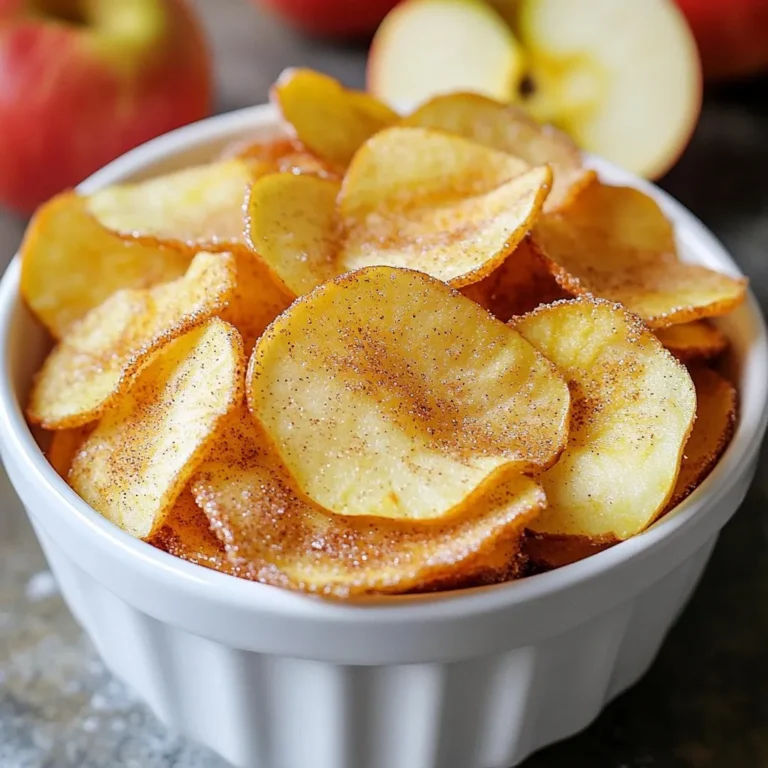
Cinnamon Sugar Apple Chips Crispy and Simple Treat
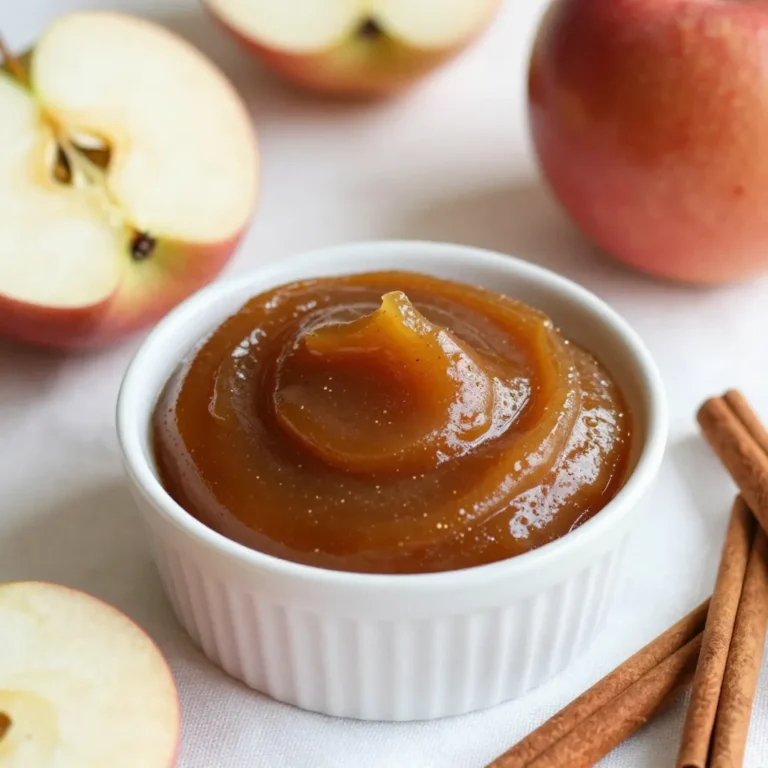
Cinnamon Spice Apple Butter Simple and Tasty Recipe
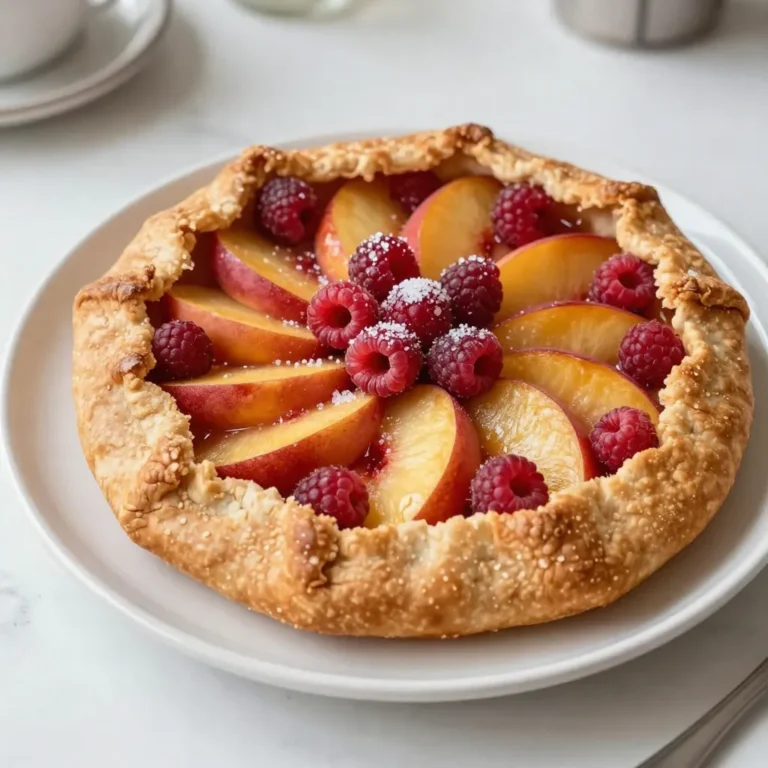
Peach Raspberry Galette Deliciously Simple Dessert
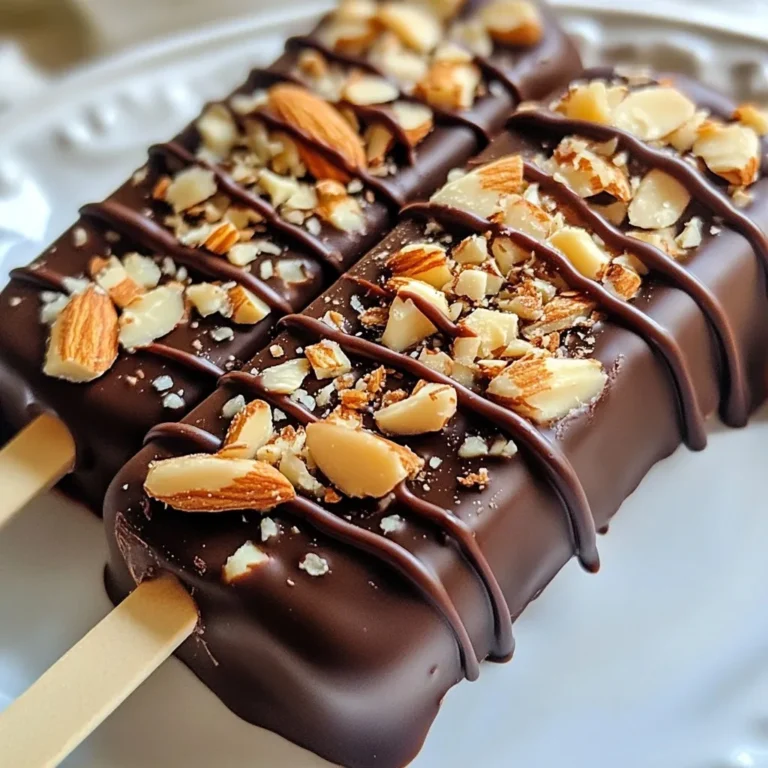
Mocha Almond Fudge Pops Delightful Frozen Treat
Vegan Chocolate Chip Pumpkin Cookies Delicious Treat
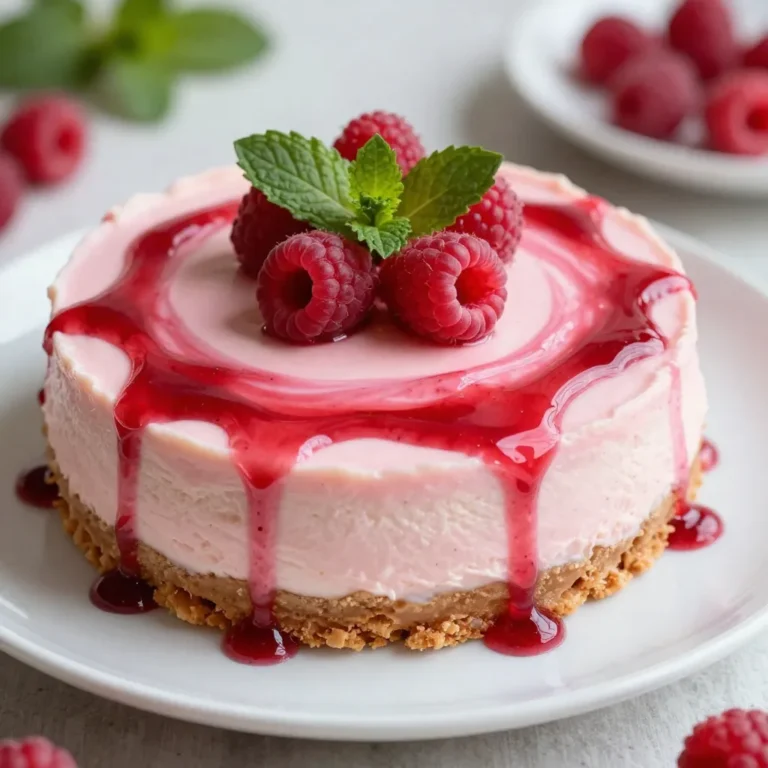
Raspberry Lemonade Cheesecake Delightful Treat Recipe
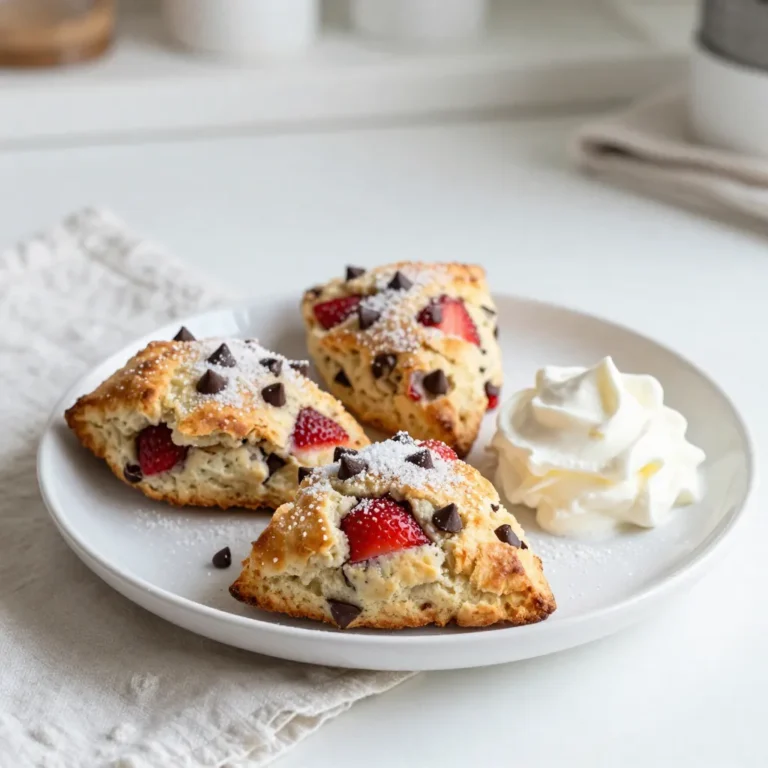
Strawberry Chocolate Chip Scones Tasty and Simple Treat
Page navigation
Previous Page
Previous
1
…
28
29
30
31
32
…
34
Next Page
Next
Home
Dinner
Appetizer
Desserts
Drinks
About
Contact
Privacy Policy
Toggle Menu Close
Search for:
Search