Skip to content
About
Contact
Cookie Policy
Copyright Policy
Disclaimer
Search
Home
Dinner
Appetizer
Desserts
Drinks
About
Contact
Privacy Policy
Toggle Menu
Home
/
Desserts
- Page 27
Desserts
Chocolate Chip Cookie Bars Simple and Delicious Treat
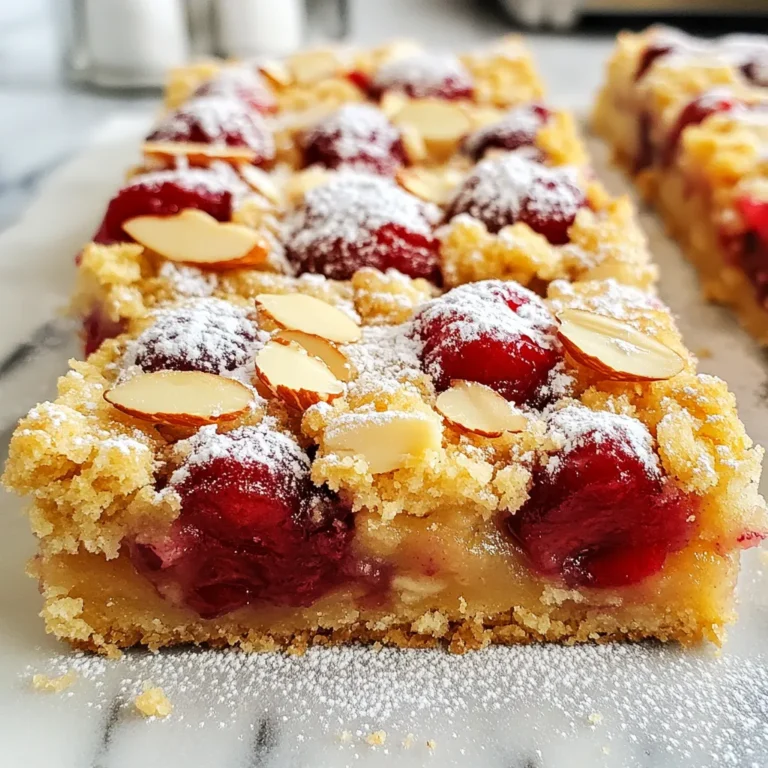
Cherry Almond Crumble Bars Tasty and Simple Treat
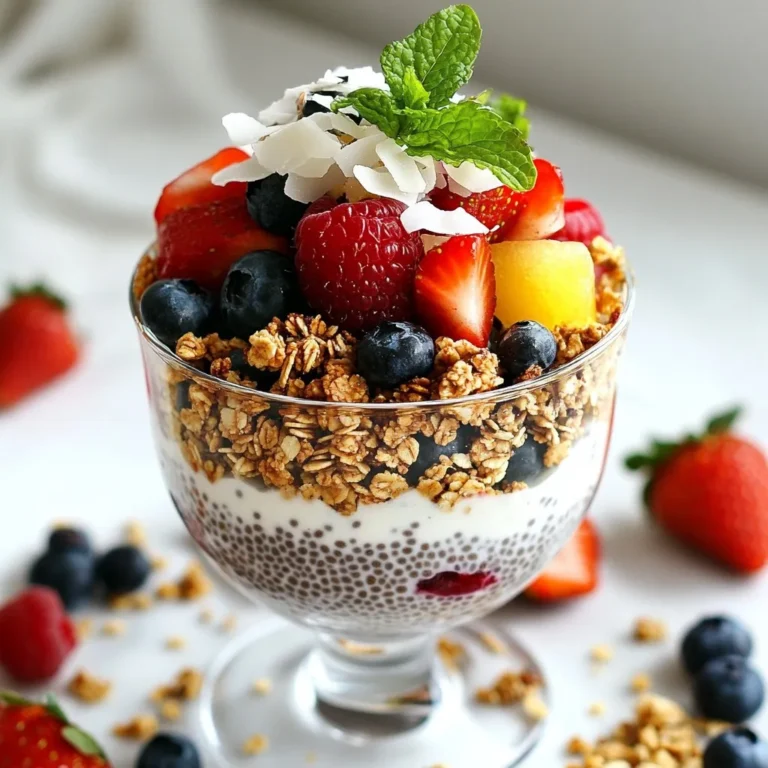
Berry Coconut Chia Parfait Simple and Flavorful Delight
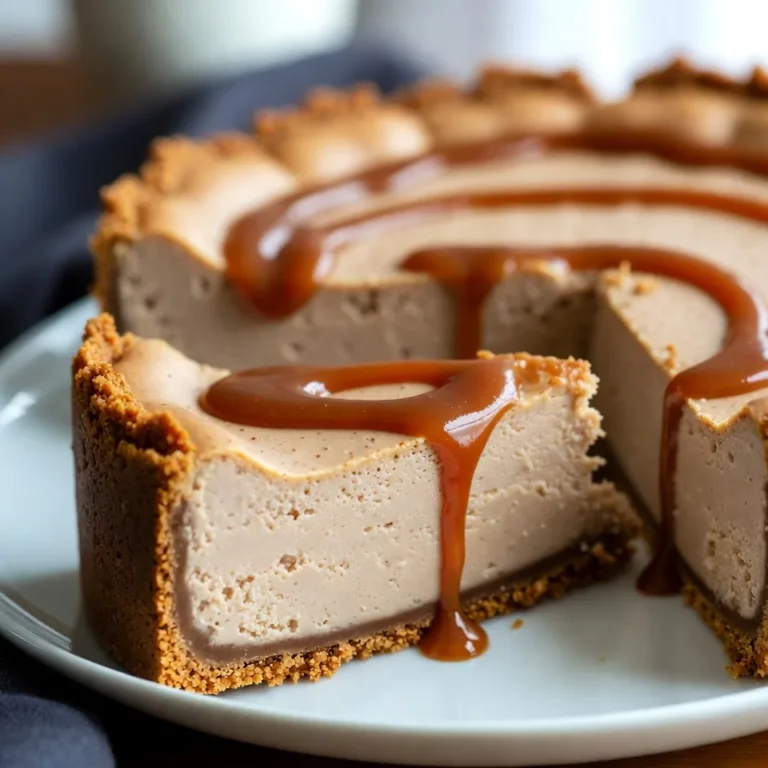
Caramel Macchiato Cheesecake Delightful and Easy Recipe
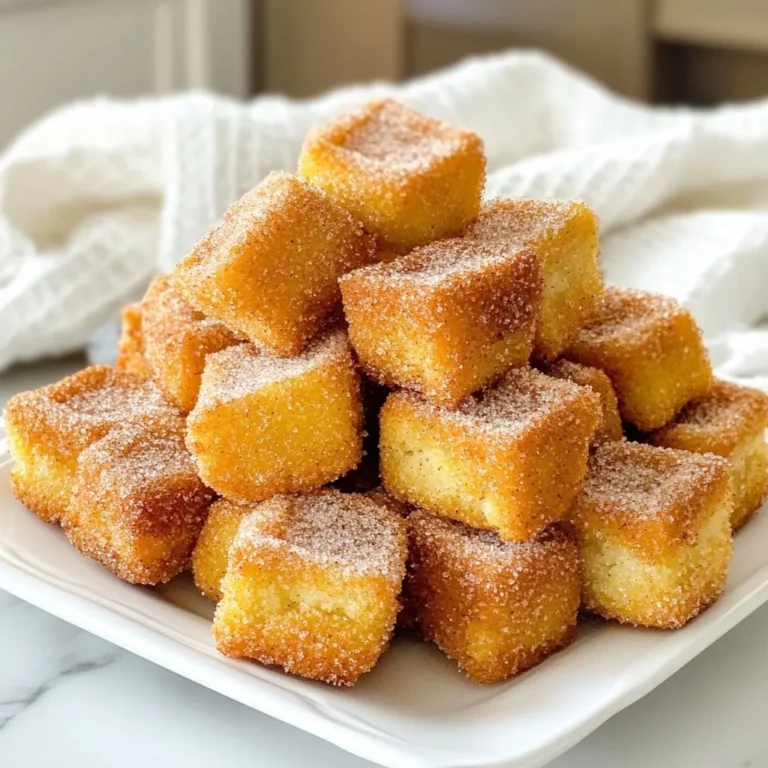
Air Fryer Churro Bites Easy and Delicious Treat
Matcha White Chocolate Cookies Deliciously Soft Treat
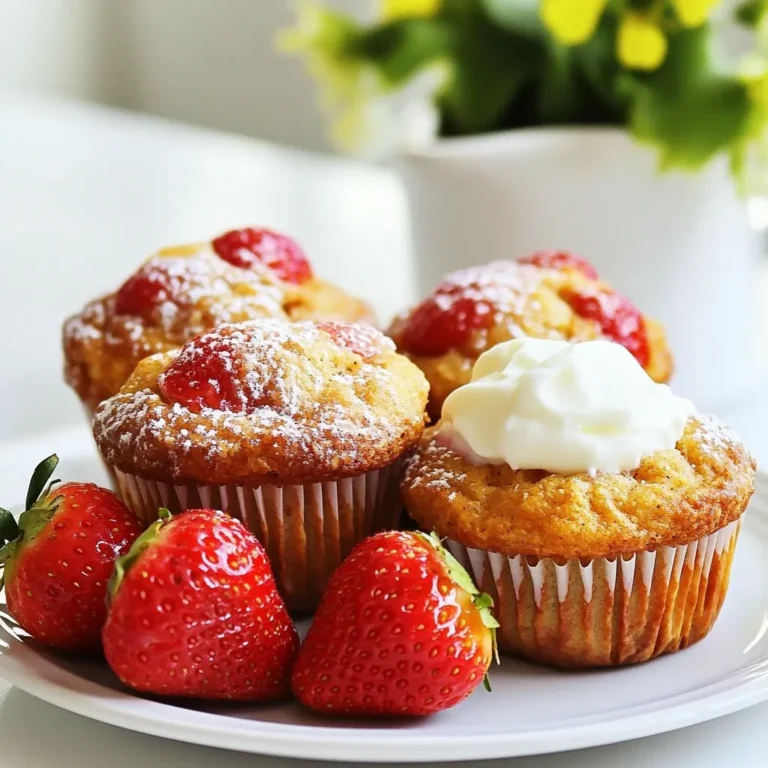
Strawberry Banana Oat Muffins Tasty and Healthy Snack
Strawberry Shortcake Trifle Delightful and Easy Treat
S’mores No-Bake Bars Easy and Delicious Treats
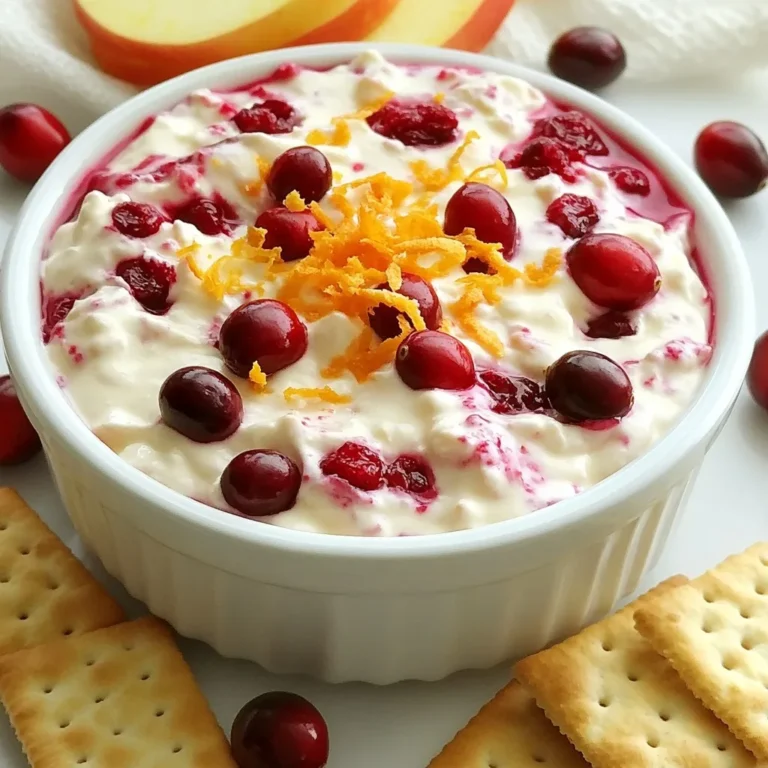
Cranberry Orange Cheesecake Dip Tasty Party Delight
Page navigation
Previous Page
Previous
1
…
25
26
27
28
29
…
34
Next Page
Next
Home
Dinner
Appetizer
Desserts
Drinks
About
Contact
Privacy Policy
Toggle Menu Close
Search for:
Search

. Can I use dark chocolate instead of semi-sweet? Yes, you can use dark chocolate. It adds a richer flavor. Dark chocolate makes the bars less sweet. This change gives you a nice balance in taste. If you love dark chocolate, go for it! What can I substitute for eggs in this recipe? You can use applesauce or mashed bananas. Use 1/4 cup for each egg. This keeps the bars moist. It also adds a bit of natural sweetness. Another option is flaxseed meal mixed with water. Mix 1 tablespoon of flaxseed meal with 2.5 tablespoons of water. Let it sit for five minutes before using. How do I know when the cookie bars are done baking? Check the edges for a golden brown color. The center should look set but may be soft. Insert a toothpick in the center. If it comes out clean or with a few crumbs, they are done. Let them cool before cutting for the best results. You now know how to make delicious chocolate chip cookie bars from scratch. We covered essential ingredients, step-by-step instructions, and expert tips. You learned about gluten-free and vegan options, plus how to store them well. Remember, measuring accurately and not overmixing are key for the best results. Enjoy your baking journey. Share these tips with friends so everyone can enjoy these tasty treats!](https://dishtreats.com/wp-content/uploads/2025/05/88326a6b-fa01-43d4-bb00-6171d5f3f1c3-768x768.webp)