Skip to content
About
Contact
Cookie Policy
Copyright Policy
Disclaimer
Search
Home
Dinner
Appetizer
Desserts
Drinks
About
Contact
Privacy Policy
Toggle Menu
Home
/
Desserts
- Page 24
Desserts
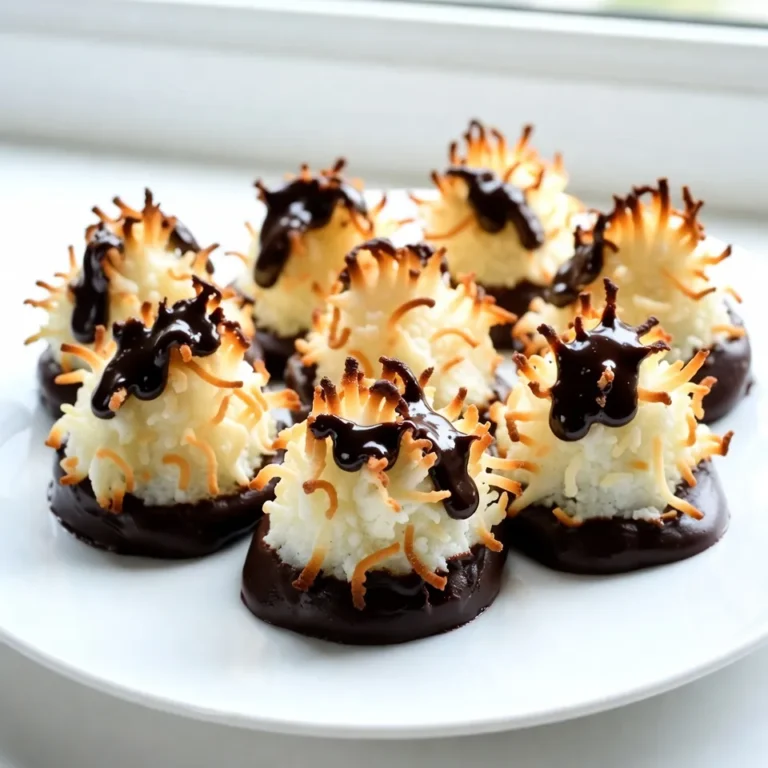
Chocolate Dipped Coconut Macaroons Delightful Treat
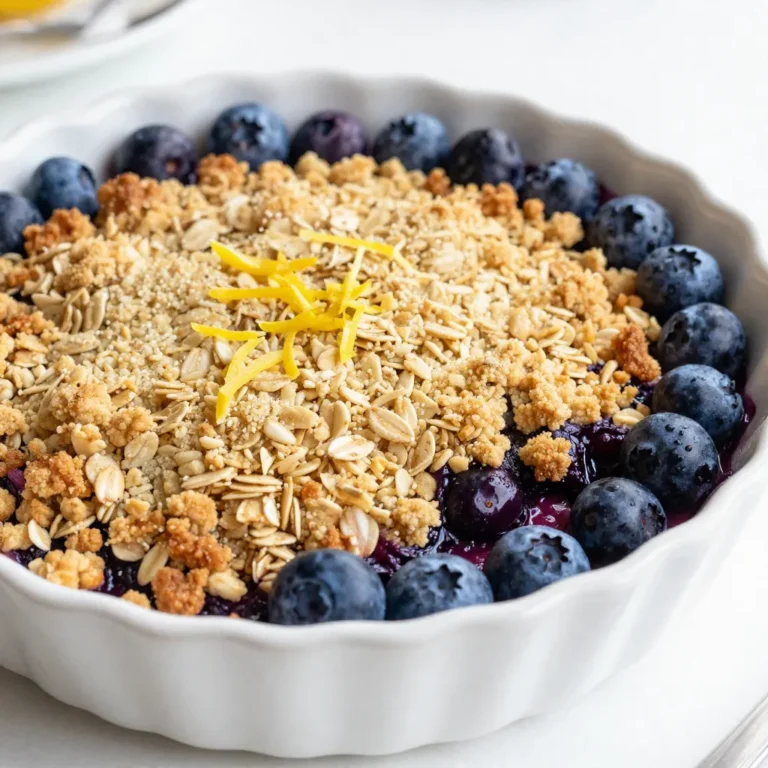
Lemon Blueberry Crumble Delightful and Easy Recipe
Lemon Blueberry Scones Simple and Flavorful Recipe
Healthy No Bake Granola Bars Simple and Tasty Snack
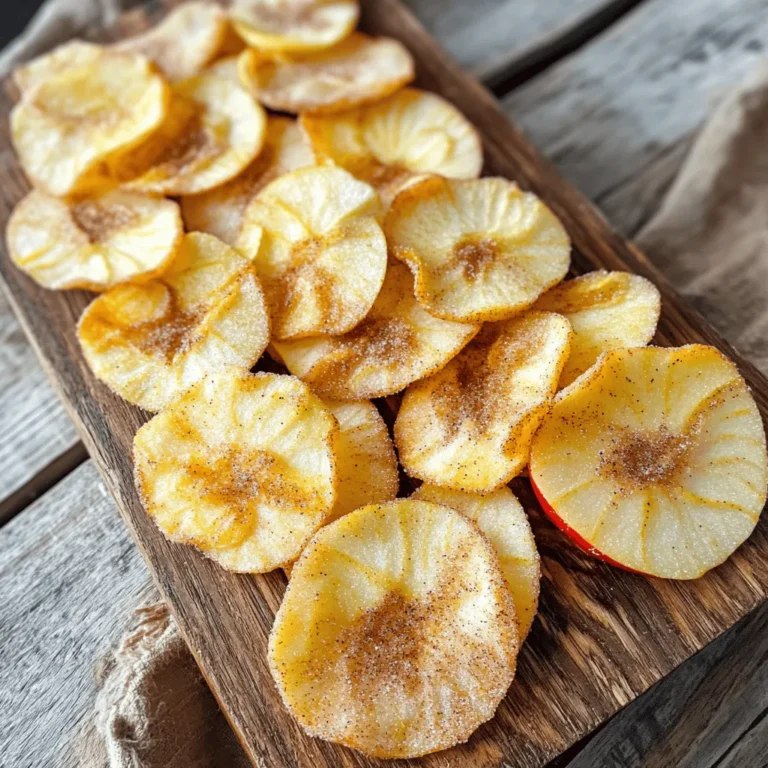
Easy Cinnamon Apple Chips Simple and Healthy Snack
No Bake Lemon Cheesecake Delightfully Simple Treat
Creamy Coconut Mango Pudding Delightful Dessert Recipe
Pumpkin Spice Waffles Irresistible Fall Treats
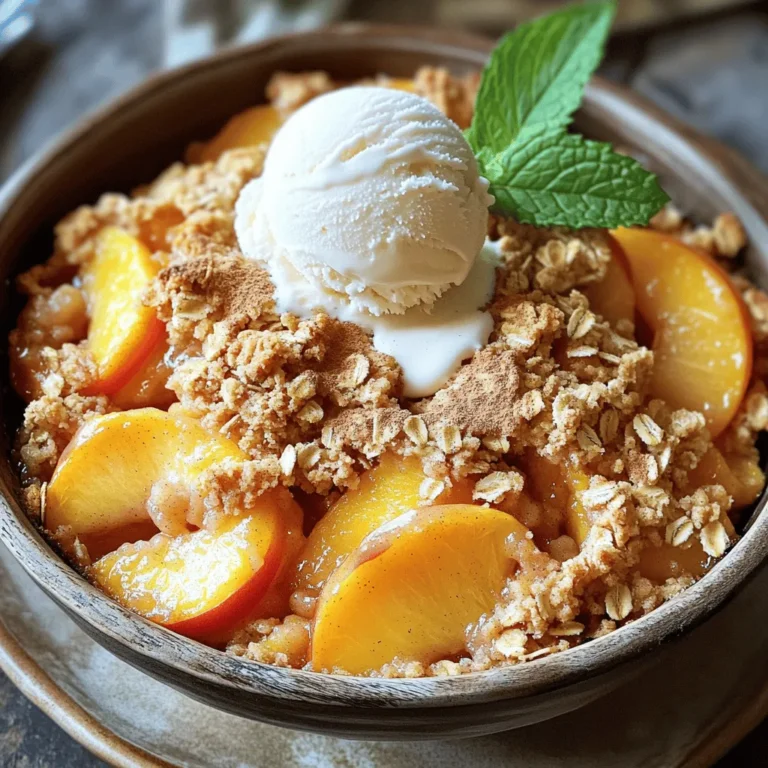
Fresh Peach Crisp Delightful and Easy to Make Recipe
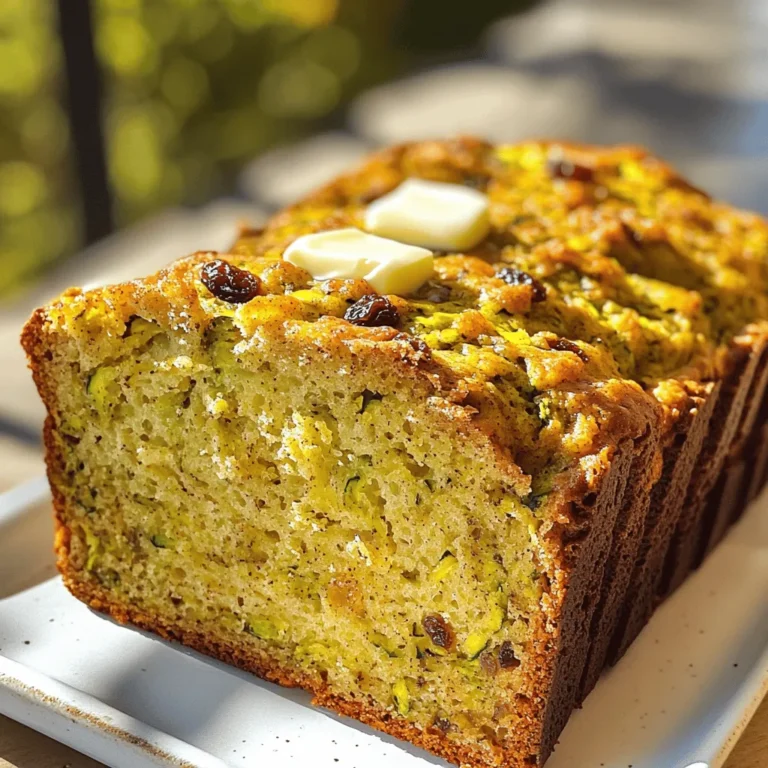
Zucchini Raisin Bread Fresh and Flavorful Recipe
Page navigation
Previous Page
Previous
1
…
22
23
24
25
26
…
34
Next Page
Next
Home
Dinner
Appetizer
Desserts
Drinks
About
Contact
Privacy Policy
Toggle Menu Close
Search for:
Search

. First, preheat your oven to 400°F (200°C). This sets the perfect baking temp for our scones. While the oven heats up, line a baking sheet with parchment paper. This keeps the scones from sticking and makes cleanup easy. In a large bowl, mix the dry ingredients. Add 2 cups of flour, 1/3 cup of sugar, 1 tablespoon of baking powder, and 1/2 teaspoon of salt. Whisk these together until they are well blended. Next, add in 1/2 cup of cold, diced butter. Use your fingers or a pastry cutter to mix the butter in until it looks like coarse crumbs. Now, add 1 cup of blueberries and the zest of 1 lemon. Gently fold these into the mix without squishing the berries. In another bowl, prepare the wet ingredients. Whisk together 1/4 cup of heavy cream, 1 large egg, 1 teaspoon of vanilla extract, and 1 tablespoon of fresh lemon juice. Once mixed, pour this into the dry mix. Stir gently until the dough just comes together. It should feel a bit sticky. Turn the dough out onto a floured surface. Knead it gently a few times, just until it holds together. Pat the dough into a round shape about 1 inch thick. Use a sharp knife to cut the dough into 8 wedges. Place these on your lined baking sheet, leaving space between them. Now, they are ready for the oven. For the full recipe, check the details provided above. Enjoy making your lemon blueberry scones! To make your scones fluffy and flaky, keep your butter cold. When you mix the butter with the dry ingredients, it should stay in small chunks. This creates pockets of steam while baking, giving you that perfect texture. Also, avoid overmixing the dough. Mix just until everything comes together. A little stickiness is okay. One common mistake is using warm butter. Always use chilled butter for best results. Another mistake is overworking the dough. If you knead too much, your scones may become tough. Lastly, don’t skip chilling the dough before baking. This helps the scones hold their shape. You can boost the flavor of your scones easily. Try adding a pinch of cinnamon for warmth. Diced strawberries or raspberries can replace some blueberries for a twist. For more zing, add a teaspoon of lemon zest to the wet mix. You can also mix in some chopped nuts for crunch. These small changes can elevate your Lemon Blueberry scones and make them even more delightful. For the complete recipe, check out the Full Recipe section. {{image_4}} You can change the flavor by using other fruits. Raspberries, strawberries, or blackberries work well. Just swap them for the blueberries in the recipe. Each fruit adds a unique twist. For a mixed berry scone, combine different berries together. This gives you a colorful and tasty treat. If you need a gluten-free option, use a 1:1 gluten-free flour blend. Make sure it has xanthan gum for the right texture. The process stays the same, and you can enjoy scones that fit your diet. The taste will still be delightful and fresh. You can also spice things up with flavors. A pinch of cinnamon or nutmeg adds warmth to your scones. If you like nuts, try adding chopped walnuts or pecans. These add a nice crunch and depth of flavor. Mix these ingredients in when you add the blueberries and lemon zest. For more ideas, check the Full Recipe to explore how you can make these scones your own! To keep your leftover scones fresh, place them in an airtight container. This helps them stay soft and moist. You can add a slice of bread to the container. The bread helps keep the scones from drying out. If you want to freeze your scones, wrap each one tightly in plastic wrap. Then, place them in a freezer bag. Press out any extra air before sealing the bag. You can freeze them for up to three months. When you're ready to eat them, just thaw them in the fridge overnight. To reheat your scones, preheat your oven to 350°F (175°C). Place the scones on a baking sheet and warm them for about 5 to 10 minutes. This makes them soft and fresh again. You can also use a microwave. Heat them for about 15 to 20 seconds. Enjoy your warm lemon blueberry scones with a cup of tea! For the full recipe, check out the earlier section. Fluffy scones come from the right balance of dry and wet ingredients. You need to use cold butter and avoid overmixing. The butter creates air pockets as it melts, which helps the scones rise. Baking powder also plays a key role. It gives the scones lift during baking, making them light and airy. Yes, you can make these scones ahead. Prepare the dough and cut it into wedges. Then, wrap them well and place them in the fridge for up to 24 hours. When you're ready to bake, just pop them in the oven. If you want to freeze them, wrap the unbaked scones tightly and store them for up to three months. Bake straight from the freezer; they may need a few extra minutes. Serve these scones warm for the best taste. You can add a drizzle of glaze made with powdered sugar and lemon juice. Pair them with butter or clotted cream for a rich flavor. For a fun twist, enjoy them with fresh fruit or a dollop of jam. These scones shine as a breakfast treat or afternoon snack. Scones come from the UK, with roots in Scotland. People often served them with tea. The lemon blueberry version is a modern twist that adds bright flavor. This combination reflects a love for fresh fruit and citrus in baked goods. Now, you can find these scones in cafes and bakeries worldwide, making them a beloved treat for many. This blog post covers all you need for perfect lemon blueberry scones. We discussed ingredients, offering substitutes when needed. I shared steps for mixing and shaping your dough, plus tips for a flaky texture. You learned how to store and reheat your scones. Enjoy the flexibility of variations and try different fruits or gluten-free options. Baking should be fun, so don’t stress about mistakes. With practice, you’ll create sunny, delicious scones every time. Now, gather your ingredients and get baking!](https://dishtreats.com/wp-content/uploads/2025/06/d51723ca-834e-49ab-95e6-d1b73b522f9f-768x768.webp)

. Enjoy your delightful no bake lemon cheesecake! No Bake Lemon Cheesecake is simple and fun to make. We covered the ingredients, preparation, and storage tips. Remember to mix your filling gently for a light texture. Experiment with flavors or garnishes to make it your own. With this guide, you can impress your friends and family. Enjoy each slice and share this delightful dessert. It’s a tasty treat that everyone will love!](https://dishtreats.com/wp-content/uploads/2025/06/ce75718b-0697-4914-b5ee-7870880d7685-768x768.webp)