Skip to content
About
Contact
Cookie Policy
Copyright Policy
Disclaimer
Search
Home
Dinner
Appetizer
Desserts
Drinks
About
Contact
Privacy Policy
Toggle Menu
Home
/
Desserts
- Page 22
Desserts
S’mores No-Bake Bars Easy and Delicious Treats
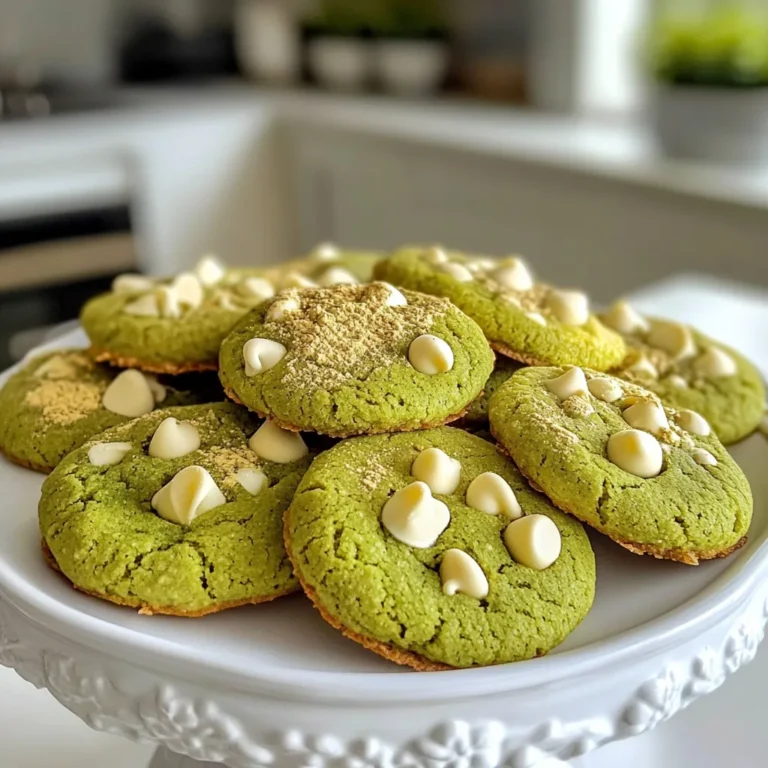
Matcha White Chocolate Cookies Tasty and Easy Treat
Mango Lassi Popsicles Refreshing Summer Treat
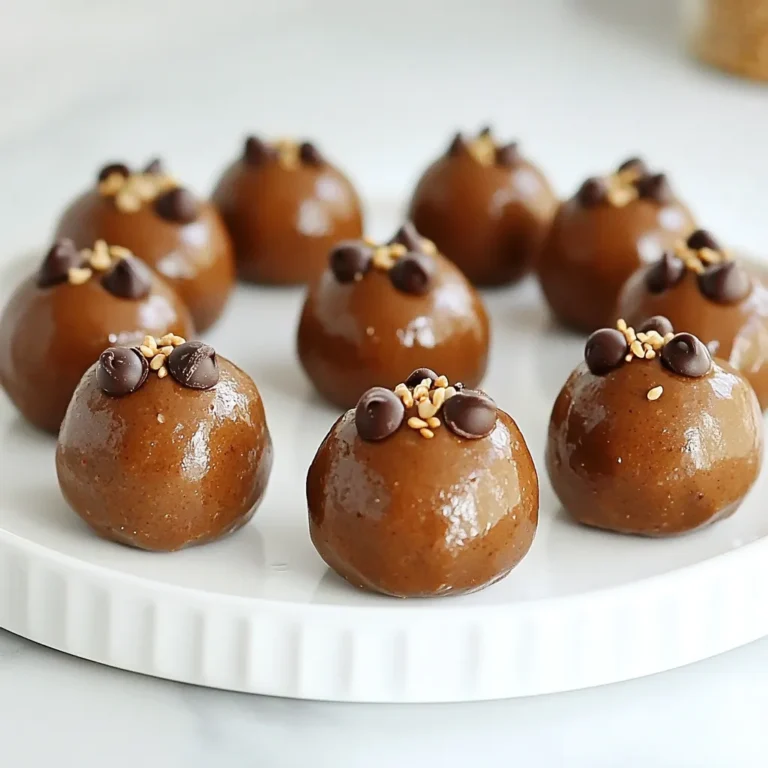
Chocolate Peanut Butter Protein Bites Tasty Snack Idea
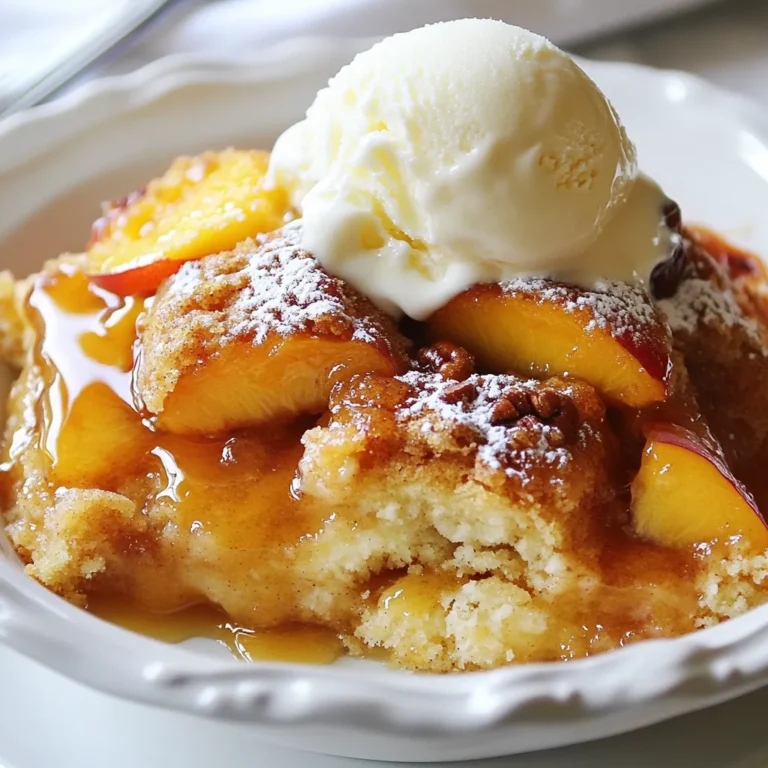
Peach Cobbler Dump Cake Simple and Delicious Treat
Cinnamon Roll Mug Cake Quick and Tasty Delight
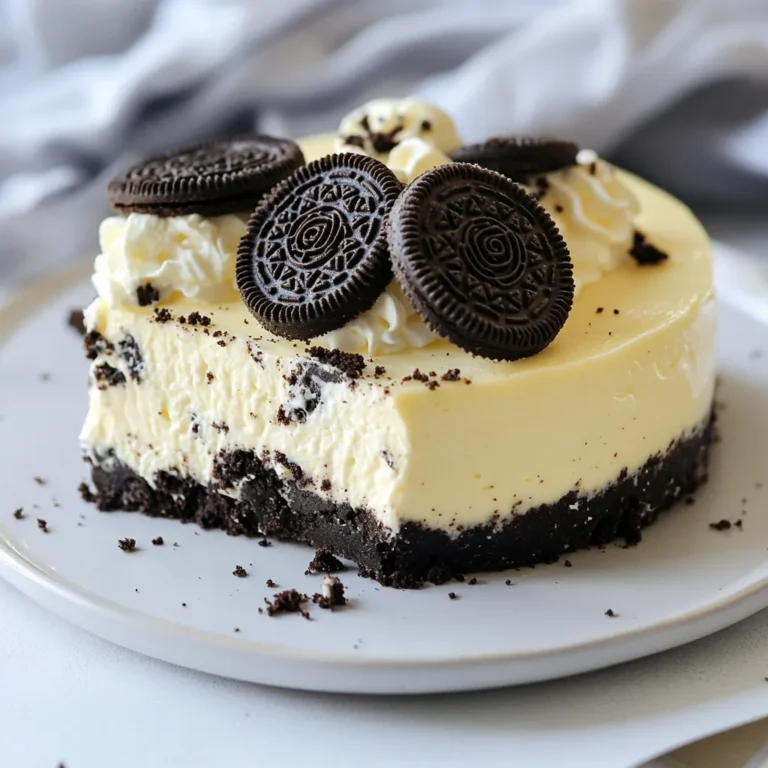
No Bake Oreo Cheesecake Delightful and Simple Treat
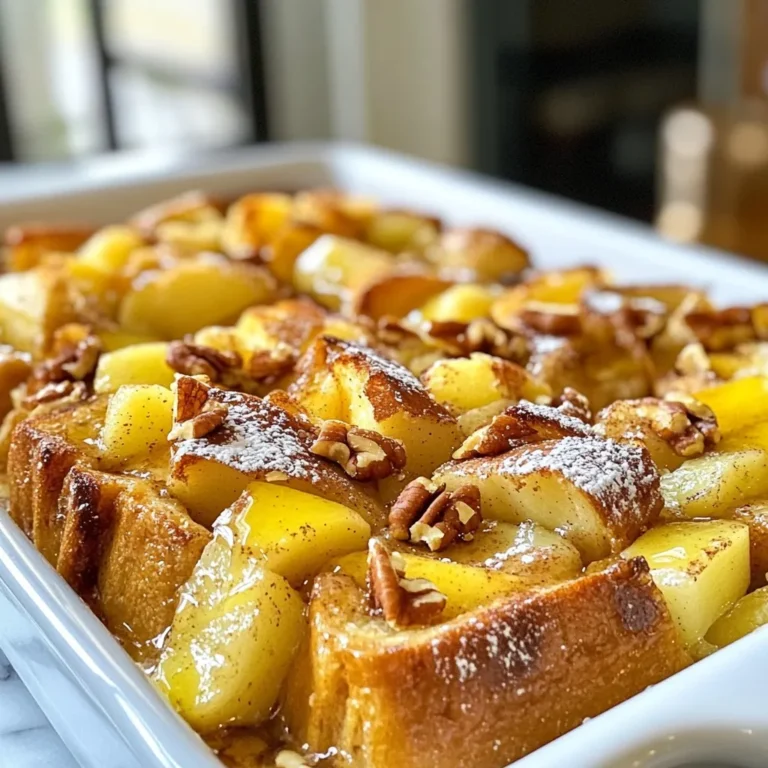
Cinnamon Apple French Toast Bake Warm and Cozy Dish
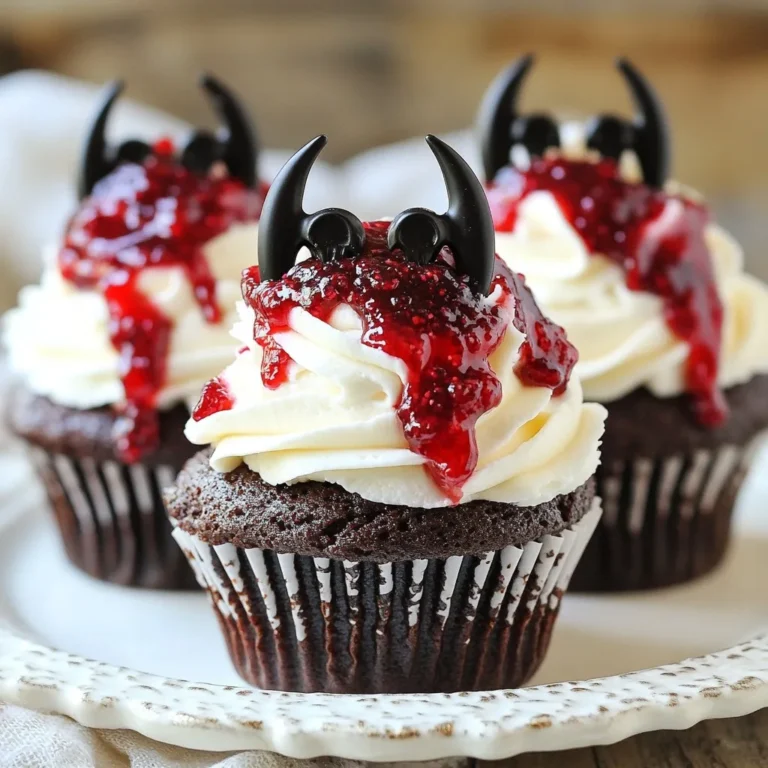
Vampire Bite Cupcakes Fun and Festive Treats
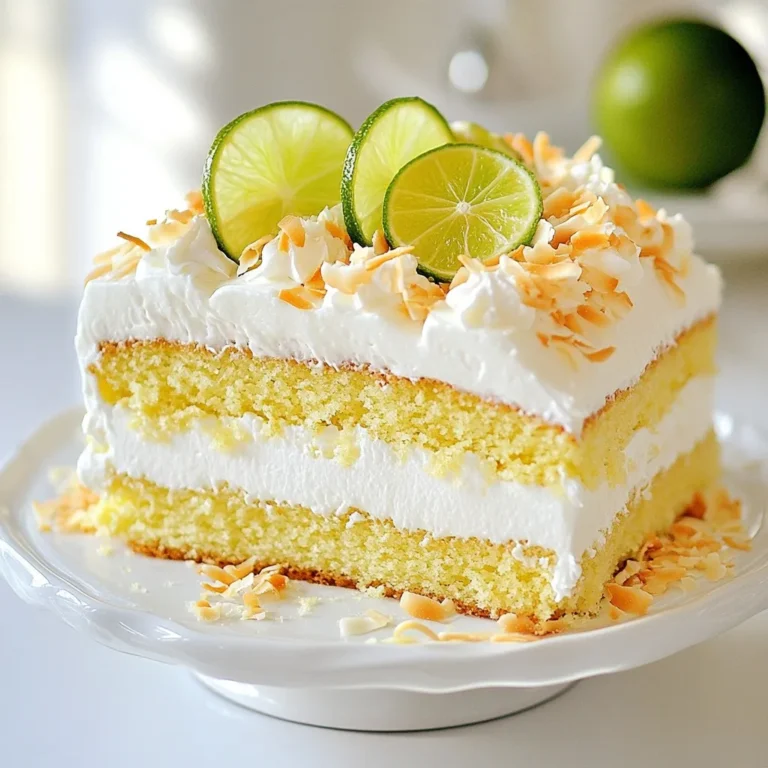
Coconut Lime Cake Delightful and Refreshing Recipe
Page navigation
Previous Page
Previous
1
…
20
21
22
23
24
Next Page
Next
Home
Dinner
Appetizer
Desserts
Drinks
About
Contact
Privacy Policy
Toggle Menu Close
Search for:
Search