Skip to content
About
Contact
Cookie Policy
Copyright Policy
Disclaimer
Search
Home
Dinner
Appetizer
Desserts
Drinks
About
Contact
Privacy Policy
Toggle Menu
Home
/
Desserts
- Page 2
Desserts
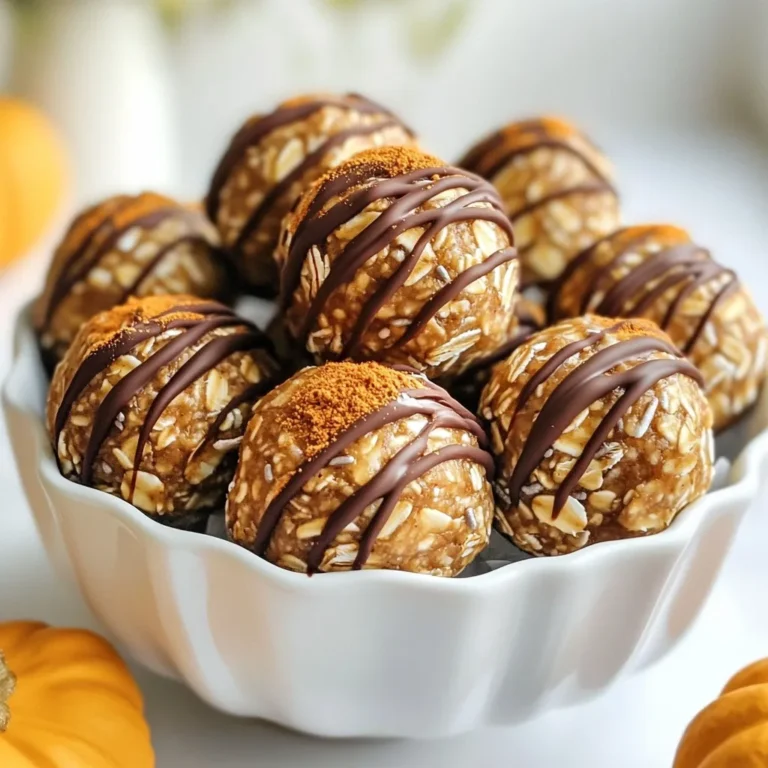
Pumpkin Spice Energy Bites Healthy Snack Option
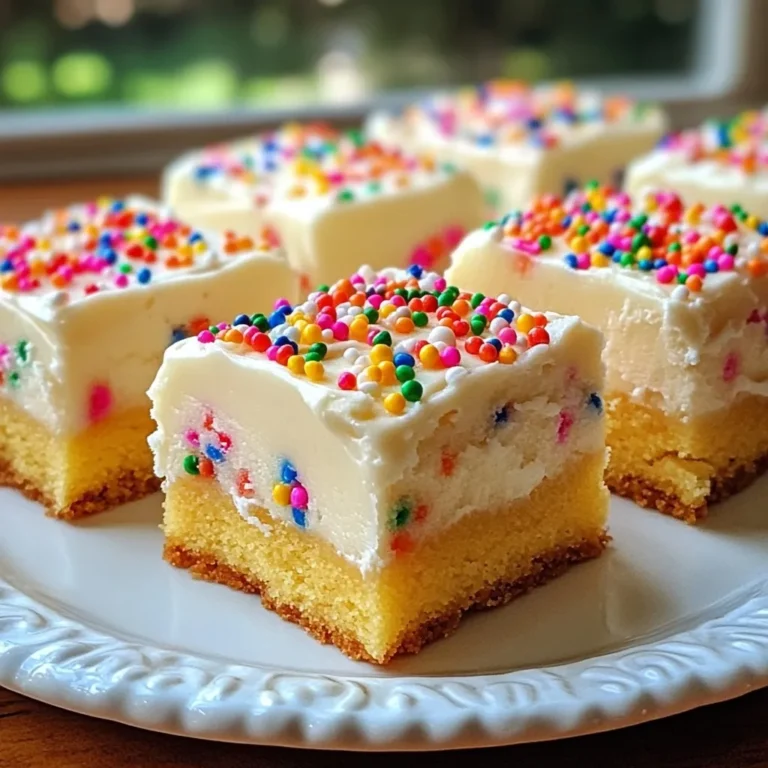
Funfetti Sugar Cookie Bars Delightful and Easy Treat
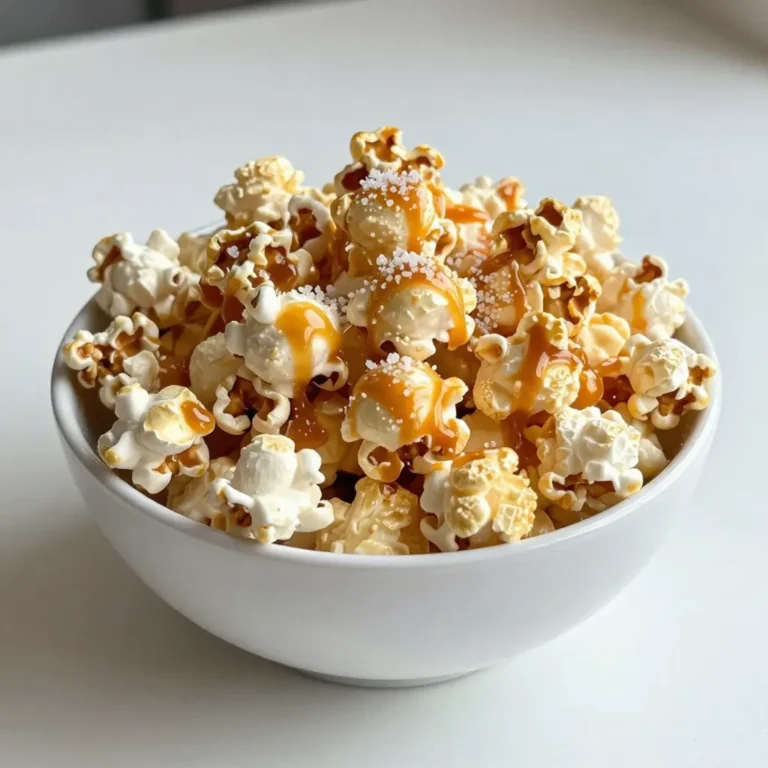
Sweet and Salty Caramel Popcorn Tasty Treat Recipe
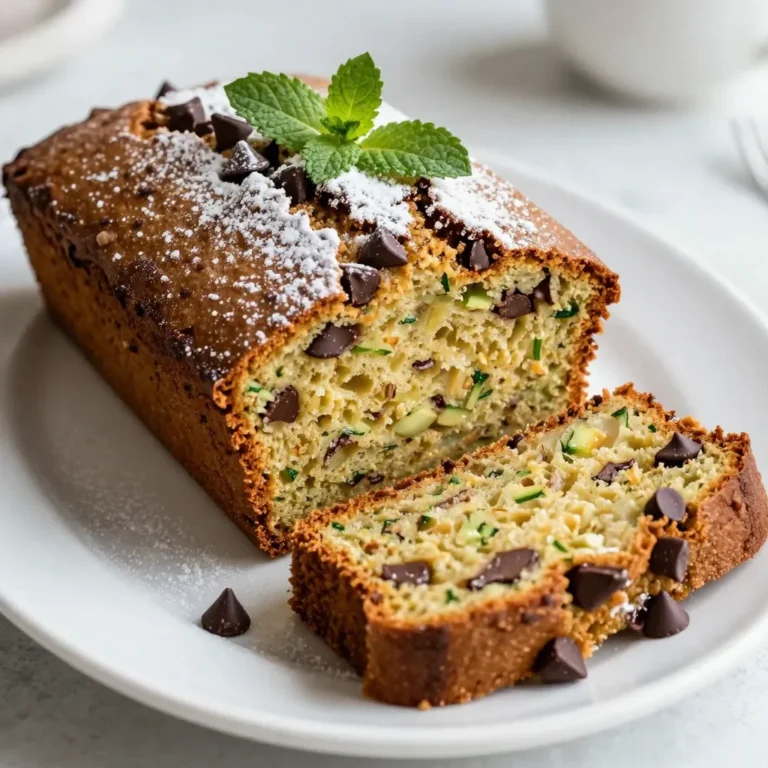
Chocolate Chip Zucchini Bread Quick and Tasty Recipe
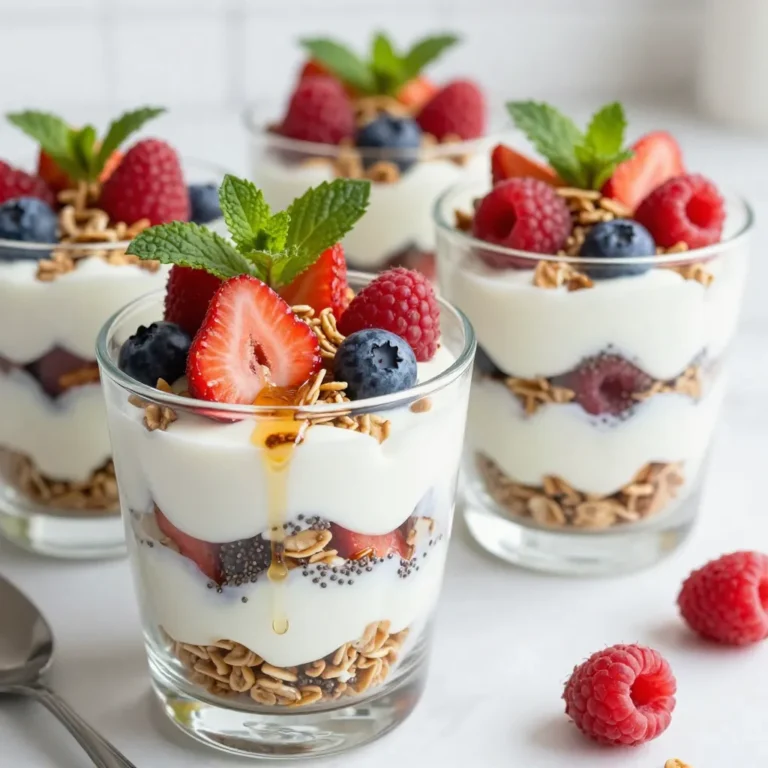
Maple Granola Yogurt Parfaits Delicious and Easy Treat
S’mores No-Bake Cookies Simple and Tasty Treat
Chocolate Dipped Coconut Macaroons Easy and Delicious
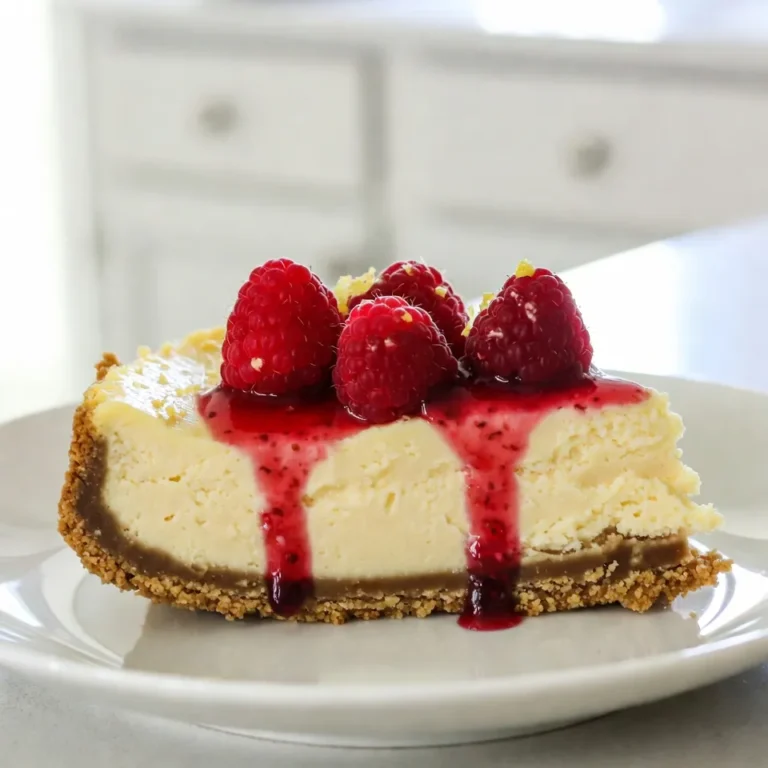
Raspberry Lemonade Cheesecake Refreshing Dessert Delight
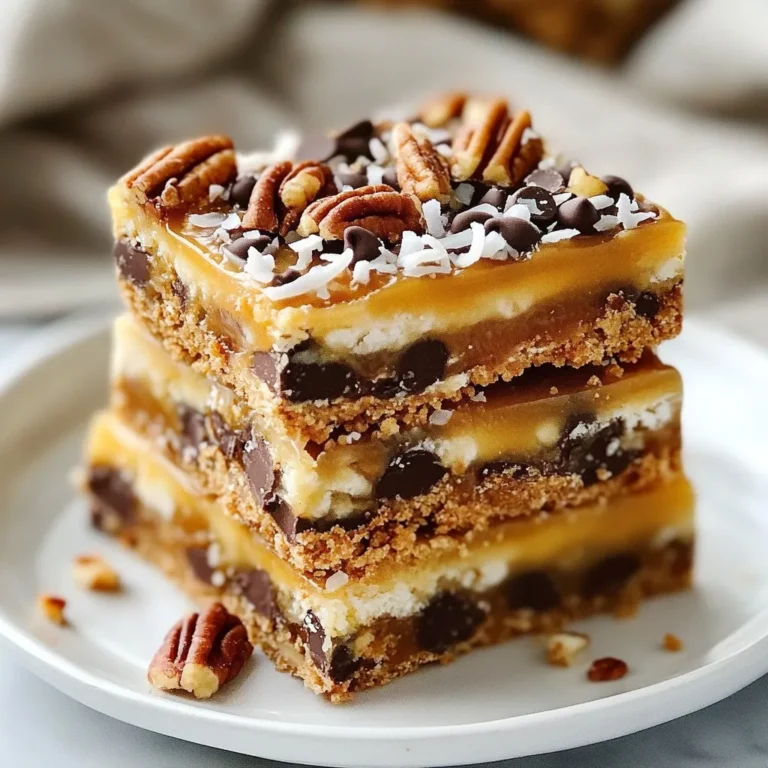
Coconut Caramel Magic Bars Irresistible Sweet Treat
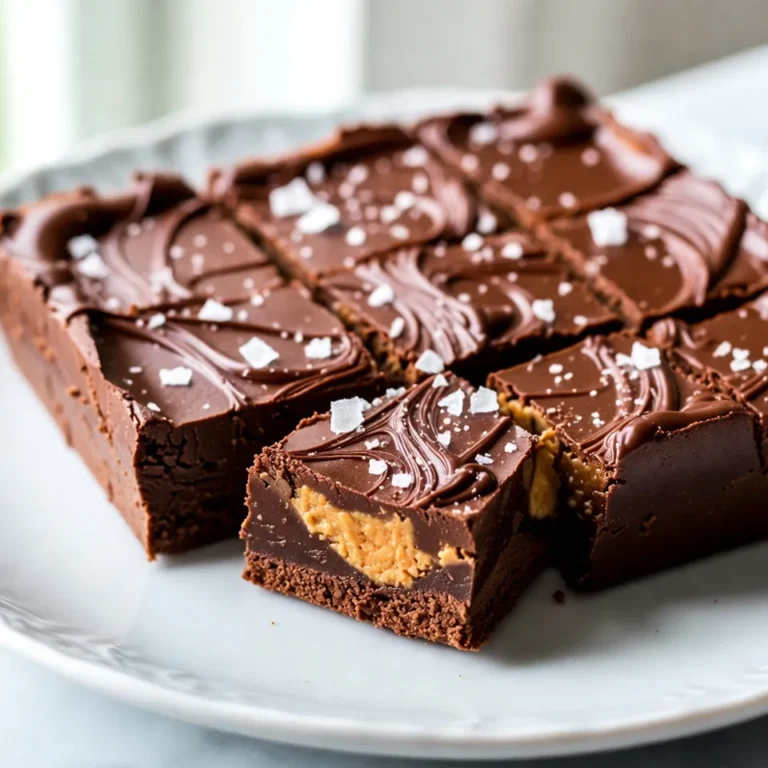
Chocolate Peanut Butter Fudge Irresistible Sweet Treat
Page navigation
Previous Page
Previous
1
2
3
4
…
32
Next Page
Next
Home
Dinner
Appetizer
Desserts
Drinks
About
Contact
Privacy Policy
Toggle Menu Close
Search for:
Search