Skip to content
About
Contact
Cookie Policy
Copyright Policy
Disclaimer
Search
Home
Dinner
Appetizer
Desserts
Drinks
About
Contact
Privacy Policy
Toggle Menu
Home
/
Desserts
- Page 13
Desserts
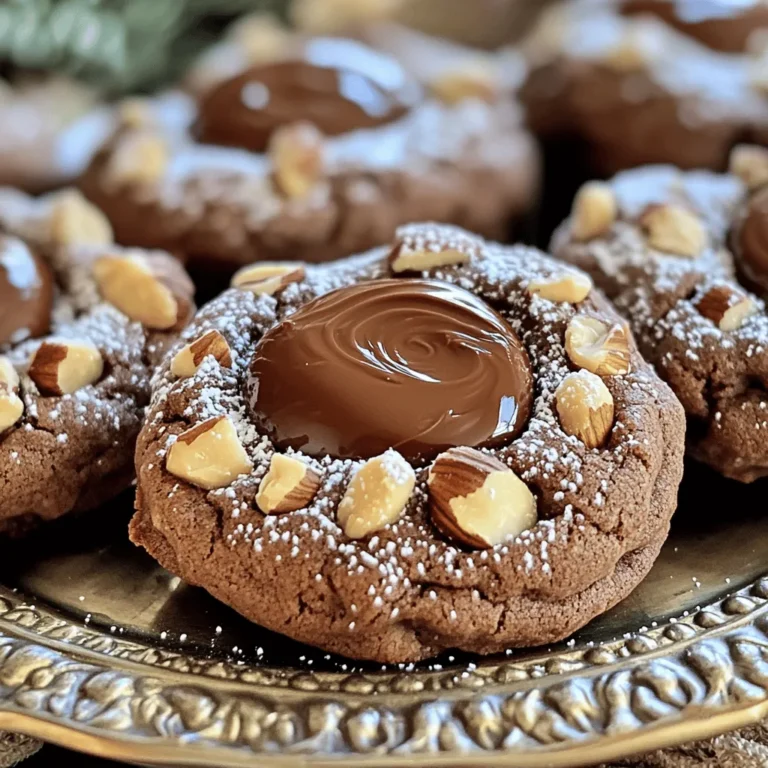
Chocolate Hazelnut Thumbprint Cookies Delightful Treat
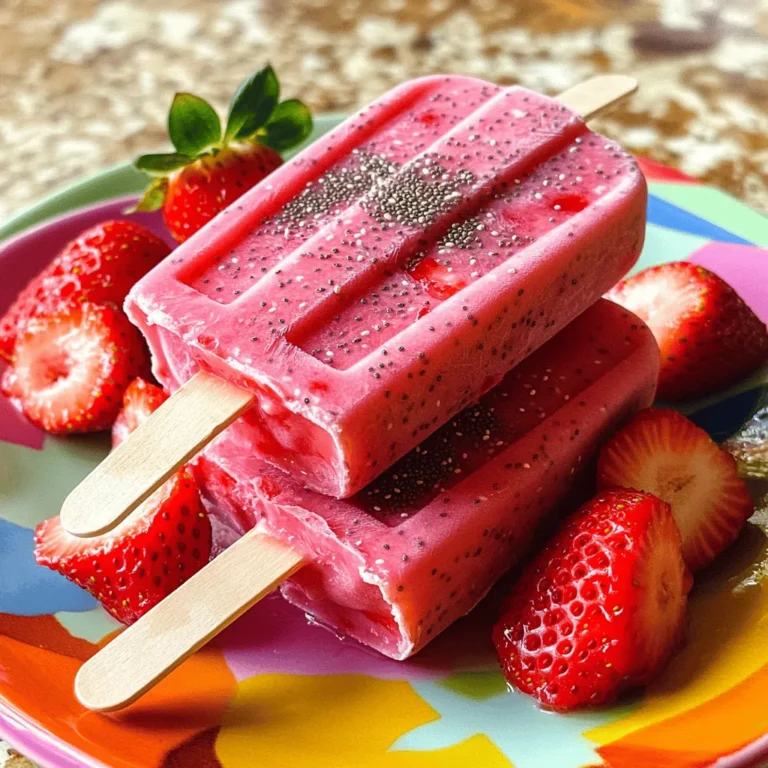
Strawberry Coconut Chia Popsicles Fresh and Simple Treat
Chocolate Chunk Zucchini Muffins Irresistible Treat
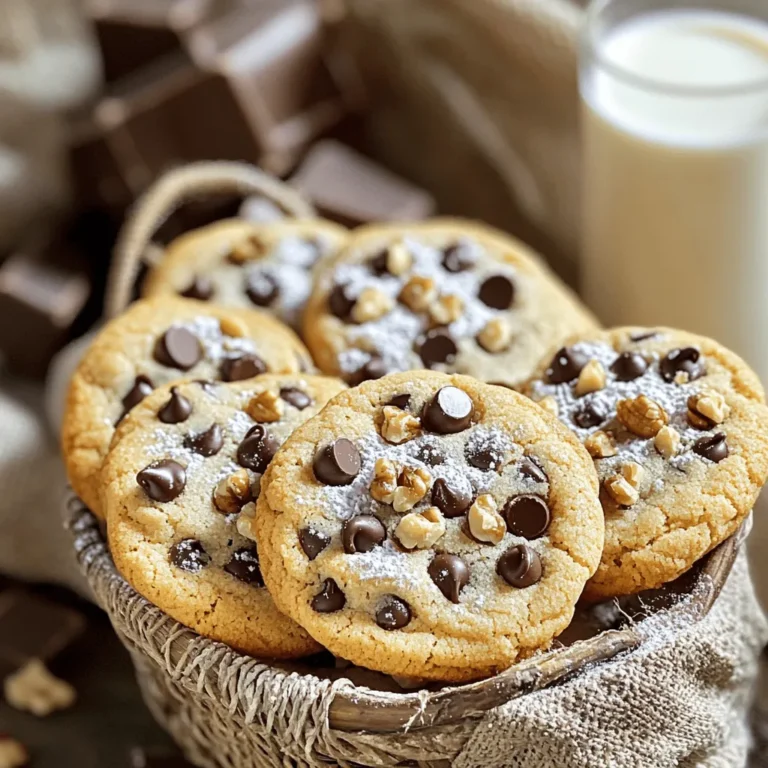
Vegan Chocolate Chip Cookies Easy and Tasty Recipe
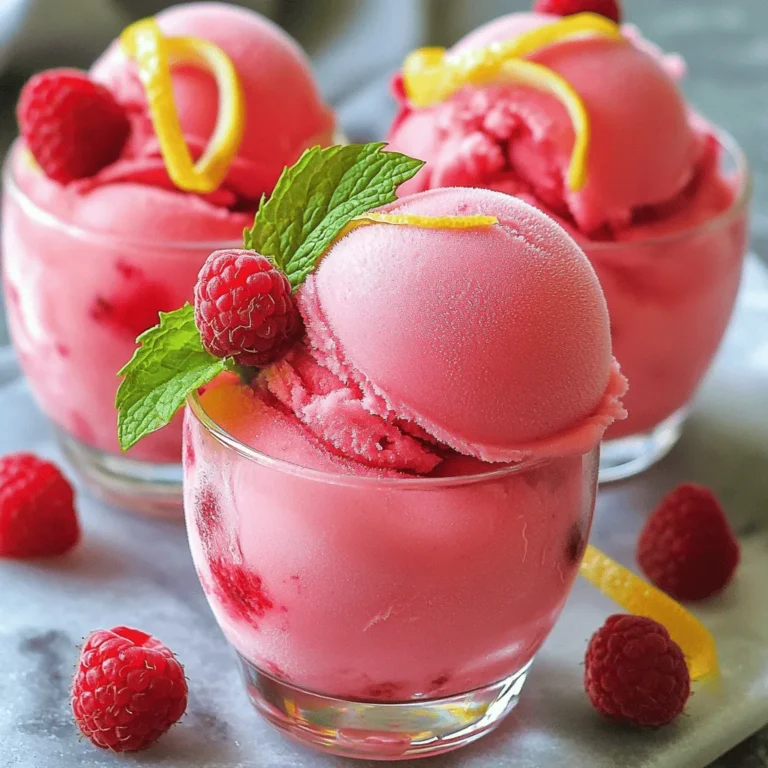
Raspberry Lemonade Sorbet Refreshing Summer Treat
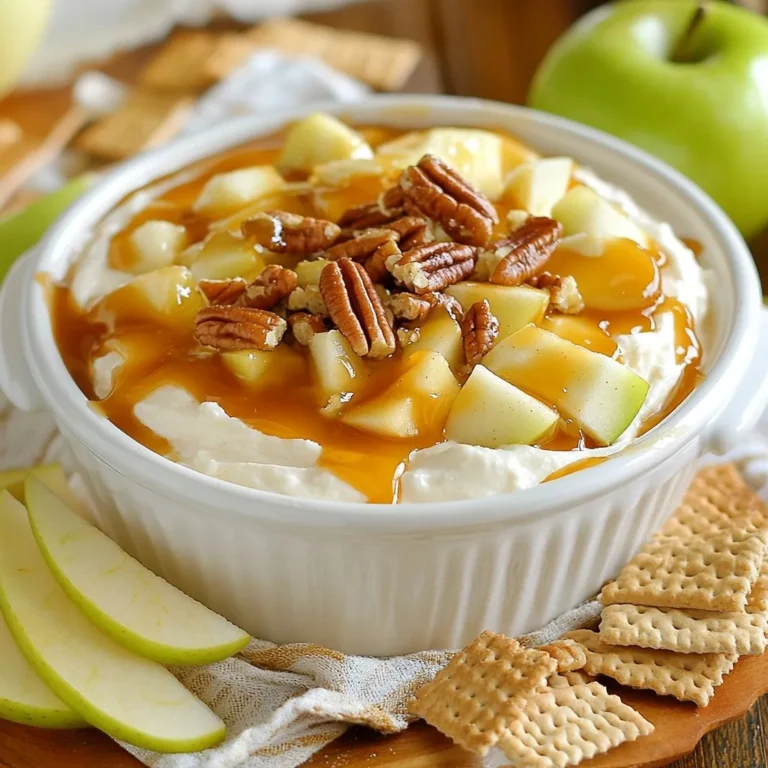
Caramel Apple Cheesecake Dip Simple and Tasty Treat
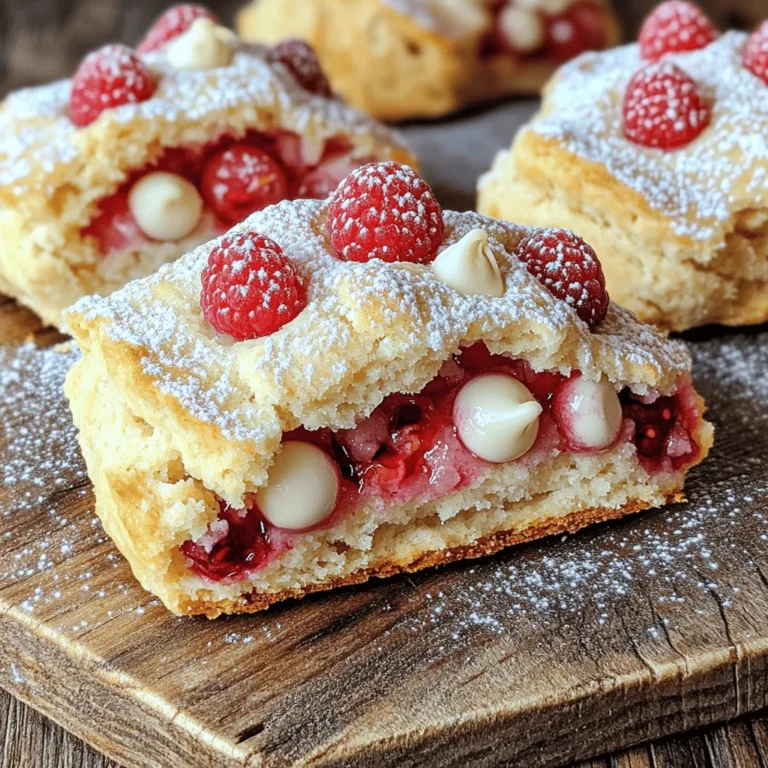
White Chocolate Raspberry Scones Delightful Treats
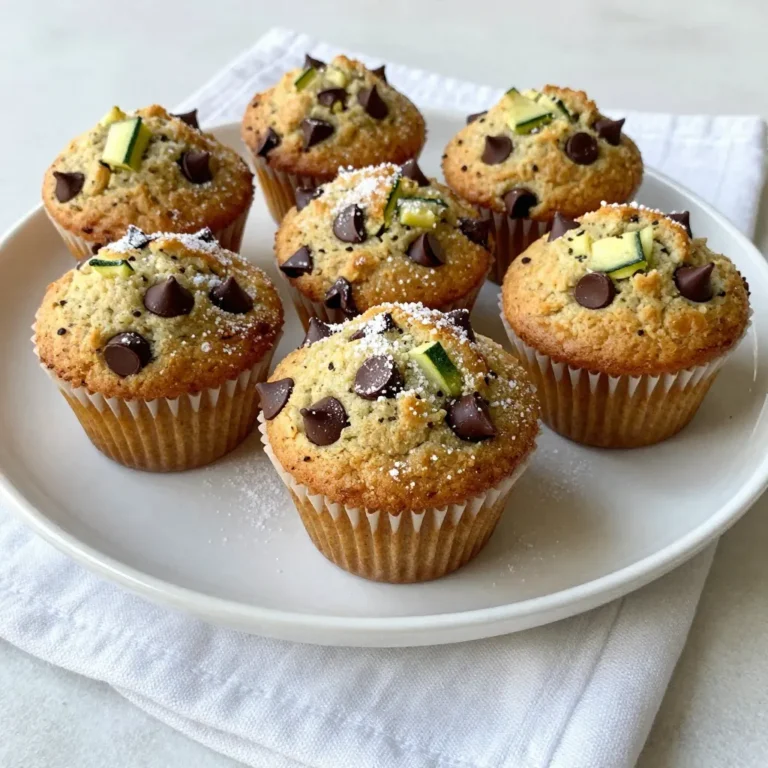
Chocolate Chip Zucchini Muffins Delightful Treat
Chocolate Chip Cookie Dough Bites Irresistible Treat
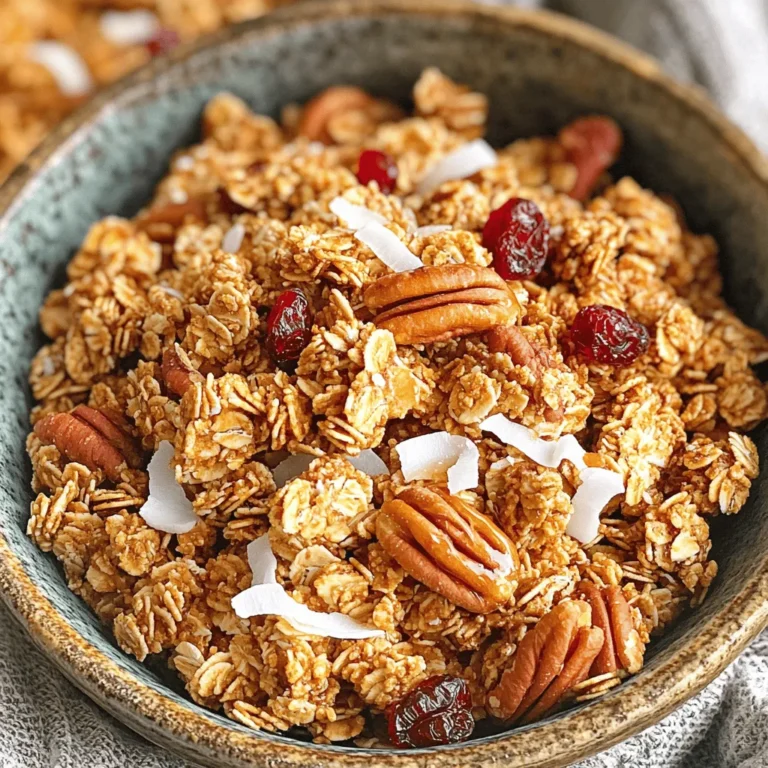
Maple Pecan Granola Crunchy and Flavorful Recipe
Page navigation
Previous Page
Previous
1
…
11
12
13
14
15
…
34
Next Page
Next
Home
Dinner
Appetizer
Desserts
Drinks
About
Contact
Privacy Policy
Toggle Menu Close
Search for:
Search