Skip to content
About
Contact
Cookie Policy
Copyright Policy
Disclaimer
Search
Home
Dinner
Appetizer
Desserts
Drinks
About
Contact
Privacy Policy
Toggle Menu
Home
/
Desserts
- Page 12
Desserts
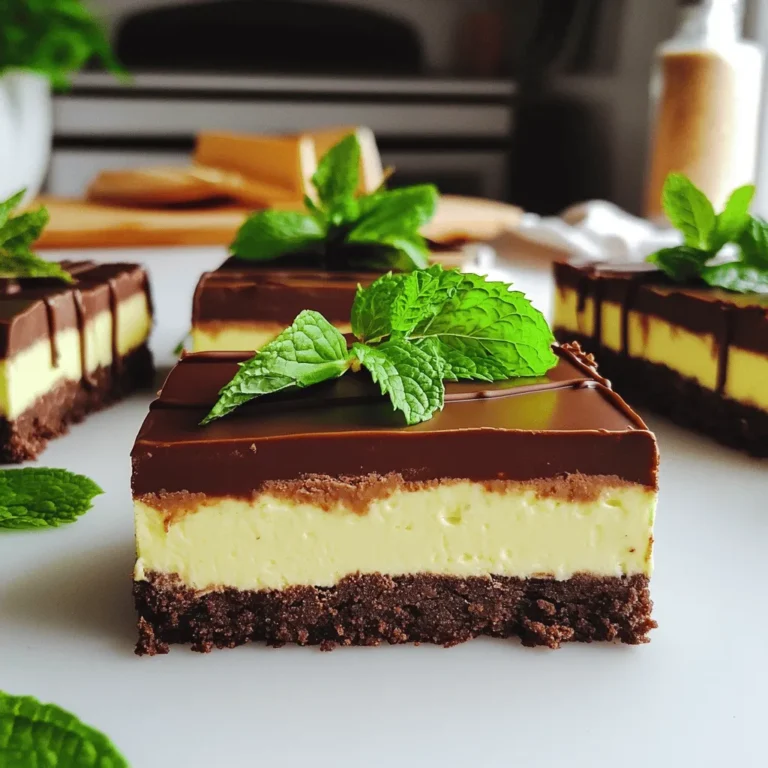
No-Bake Chocolate Mint Cheesecake Bars Delightful Treat
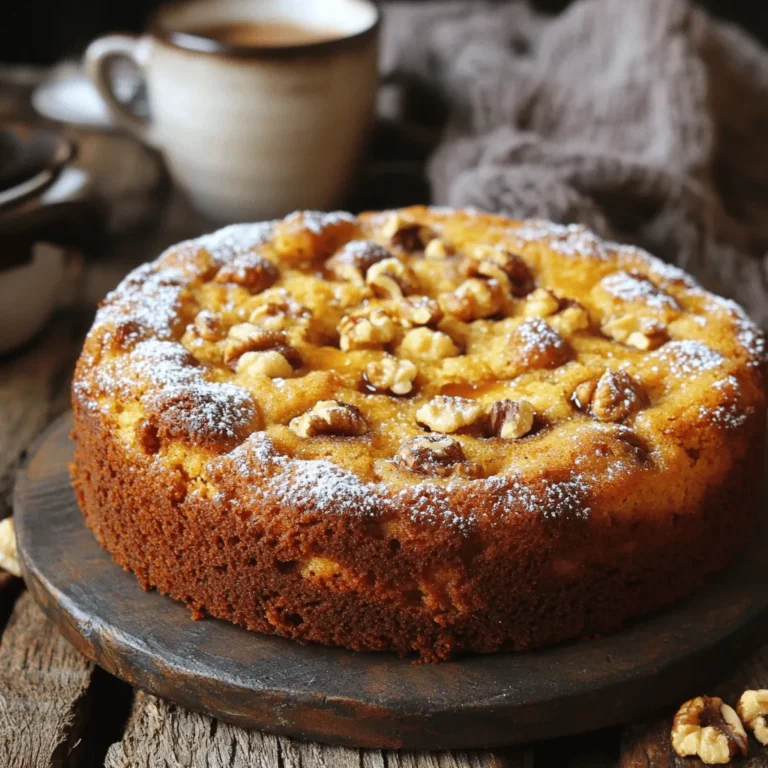
Bakery-Style Maple Walnut Coffee Cake Delight
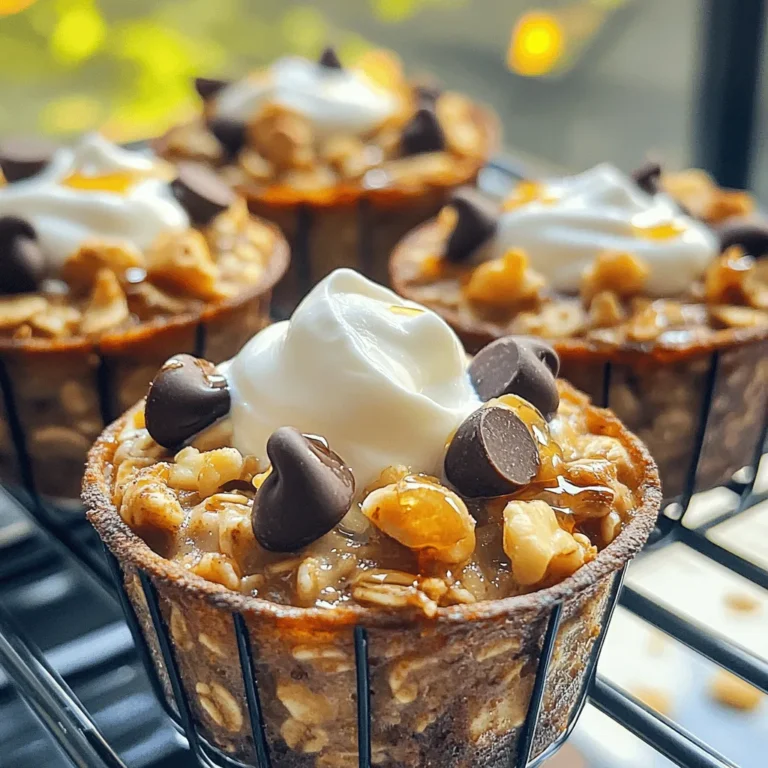
High-Protein Banana Bread Oatmeal Cups Recipe
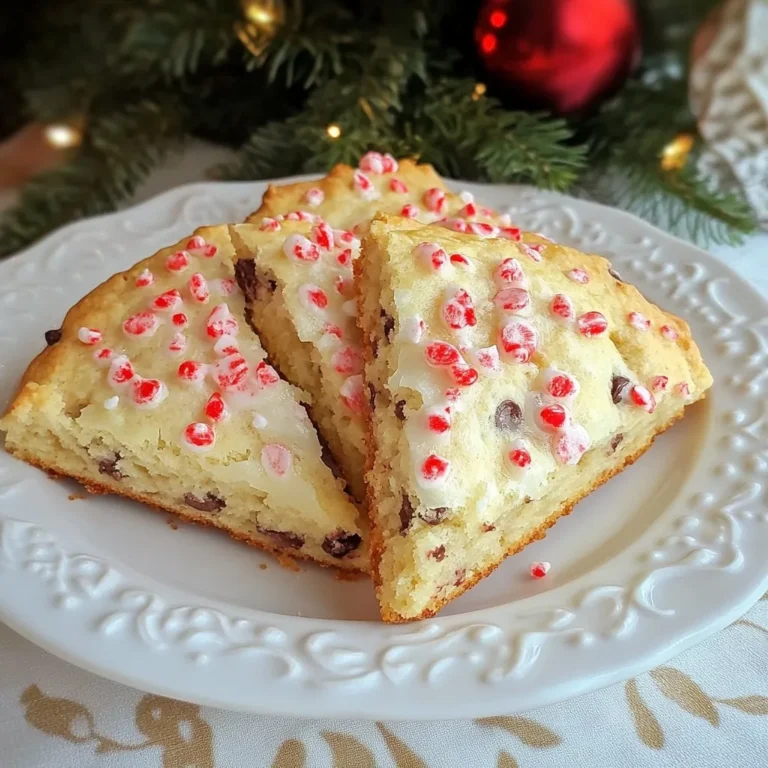
Peppermint Chocolate Chip Scones Festive Holiday Treat
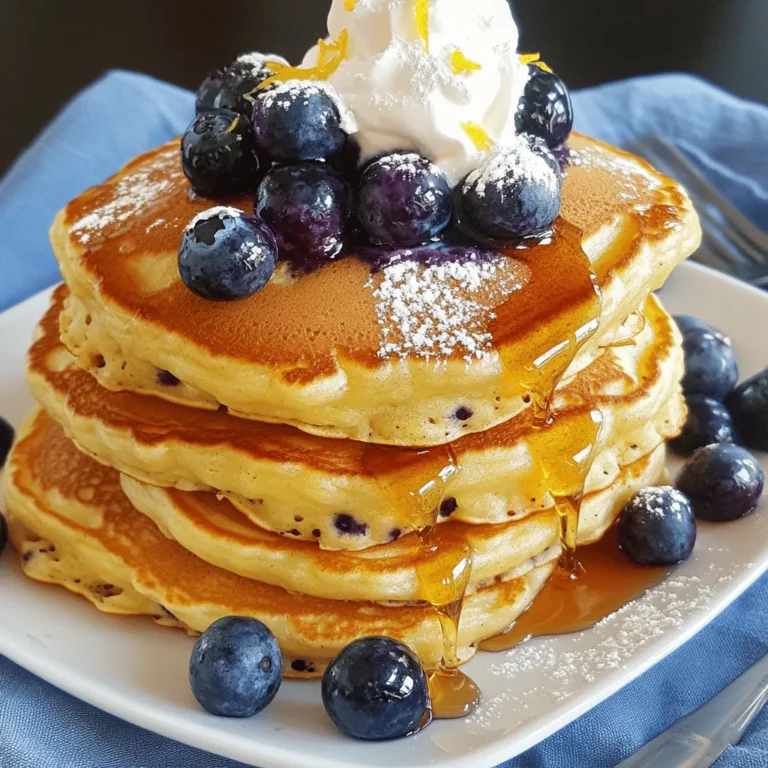
Lemon Blueberry Greek Yogurt Pancakes Delightful Recipe
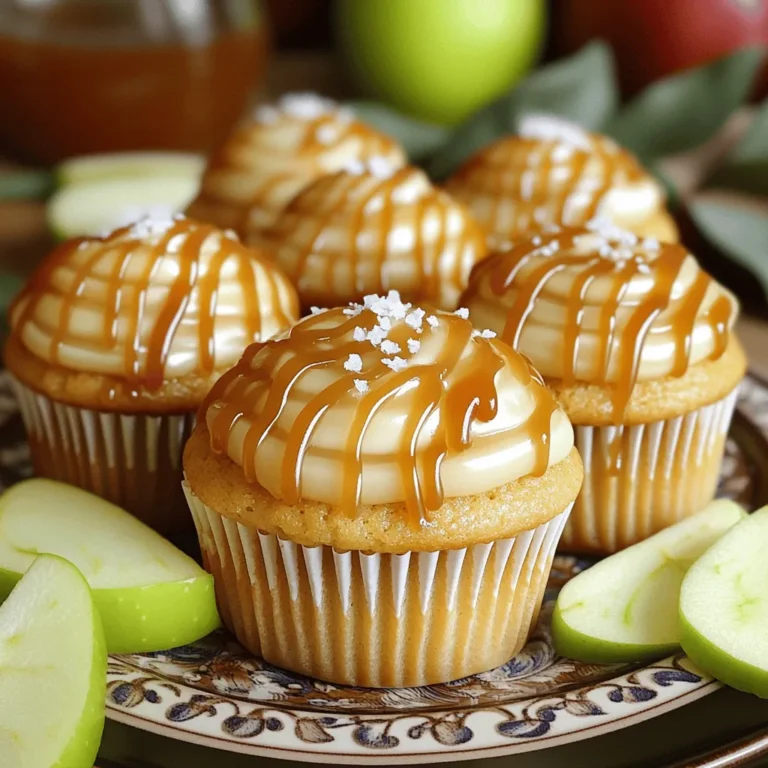
Salted Caramel Apple Cider Cupcakes Delightful Treat
Pumpkin Spice French Toast Casserole Savory Delight
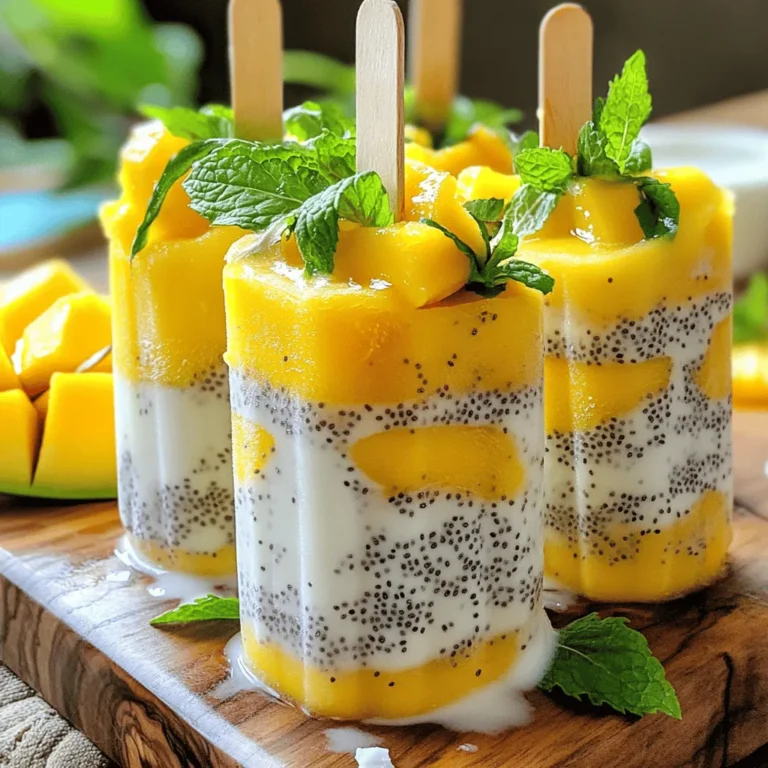
Mango Coconut Chia Popsicles Refreshing and Healthy Treat
No Bake Raspberry Chocolate Tart Simple Delight
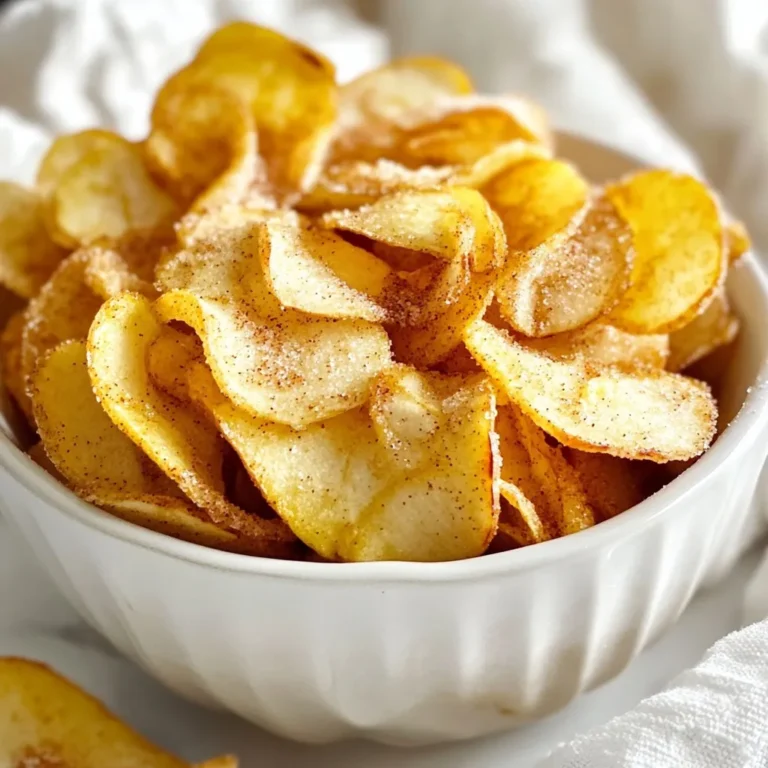
Cinnamon Sugar Apple Chips Crispy and Simple Snack
Page navigation
Previous Page
Previous
1
…
10
11
12
13
14
…
34
Next Page
Next
Home
Dinner
Appetizer
Desserts
Drinks
About
Contact
Privacy Policy
Toggle Menu Close
Search for:
Search