Skip to content
About
Contact
Cookie Policy
Copyright Policy
Disclaimer
Search
Home
Dinner
Appetizer
Desserts
Drinks
About
Contact
Privacy Policy
Toggle Menu
Home
/
Desserts
- Page 11
Desserts
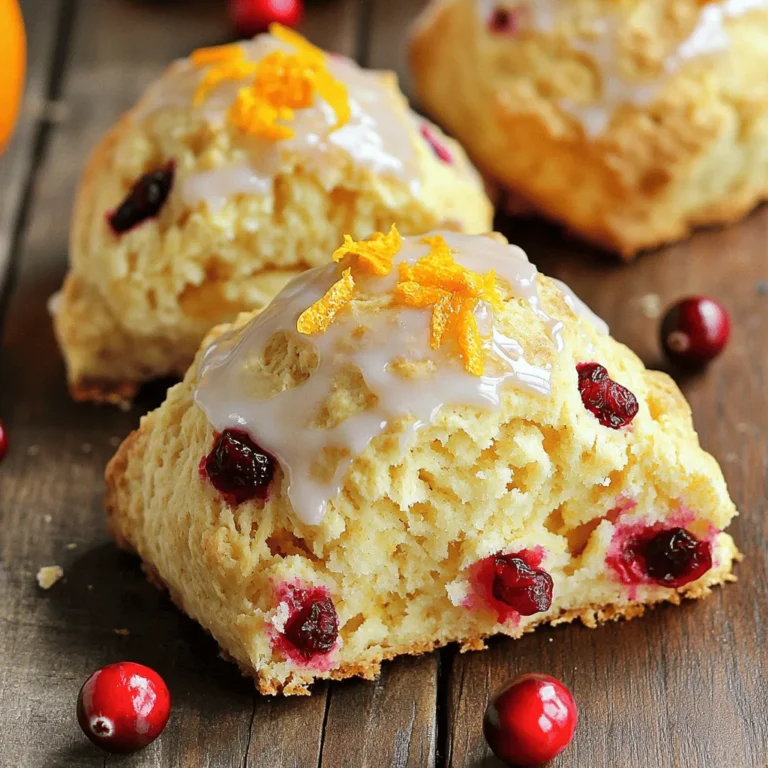
Orange Cranberry Scones Bakery Fresh and Flavorful Treat
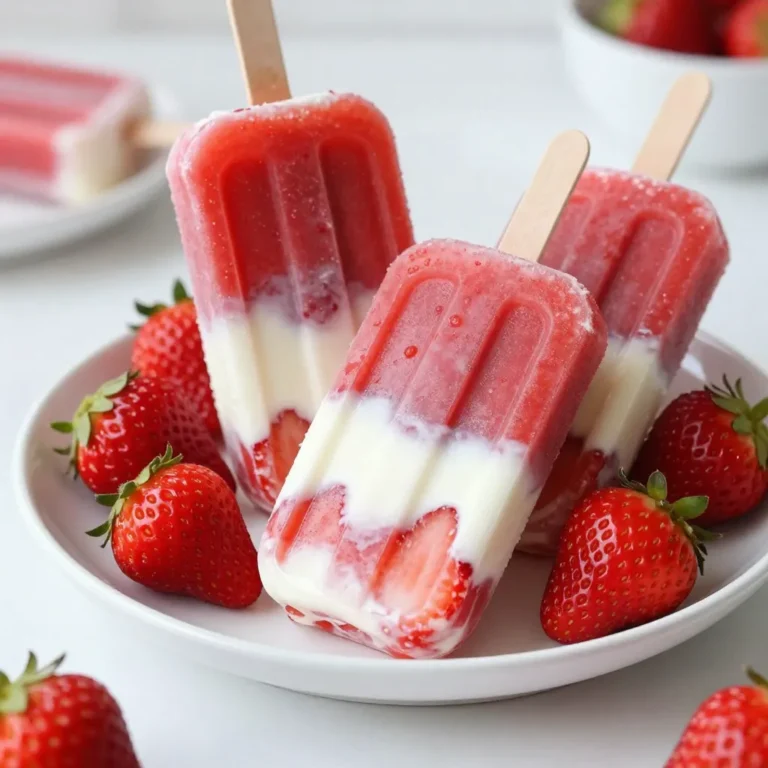
Strawberries and Cream Popsicles Refreshing Summer Treat
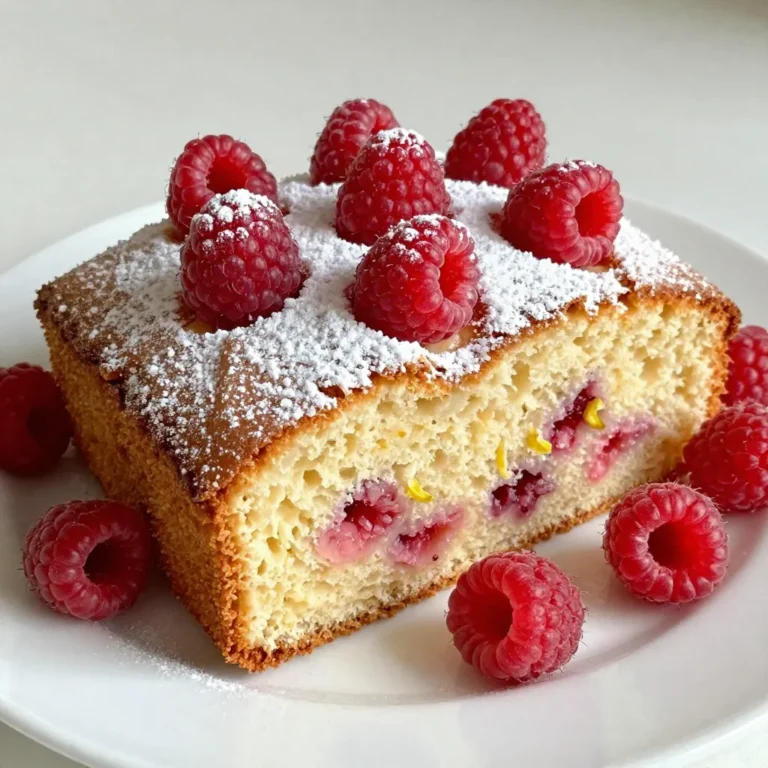
Lemon Raspberry Pound Cake Deliciously Moist Treat
No-Bake Pumpkin Cream Cheese Mousse Cups Dreamy Treat
Caramel Swirl Brownie Cheesecake Irresistible Delight
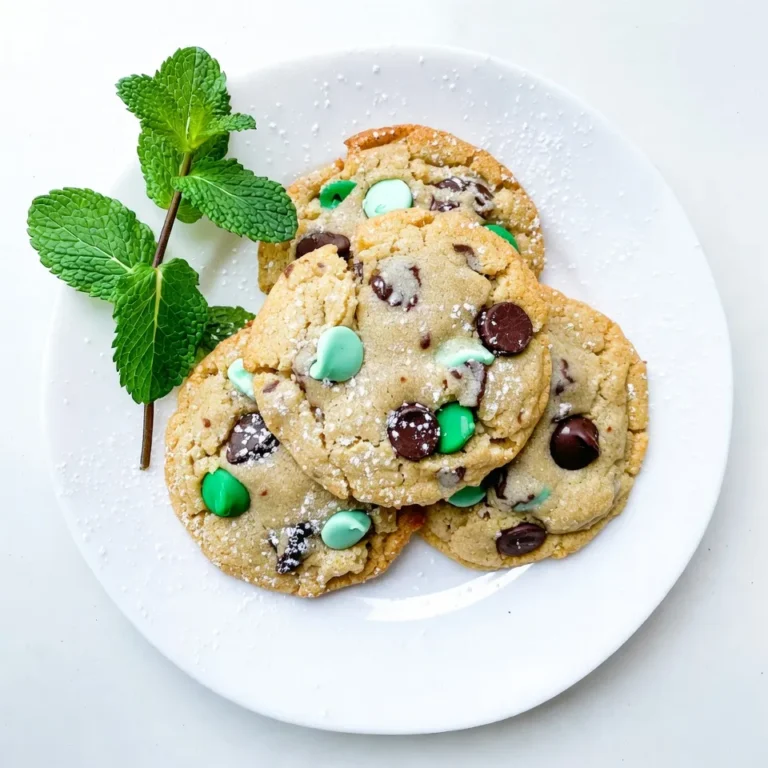
Mint Chocolate Chip Cookies Irresistible Treat Recipe
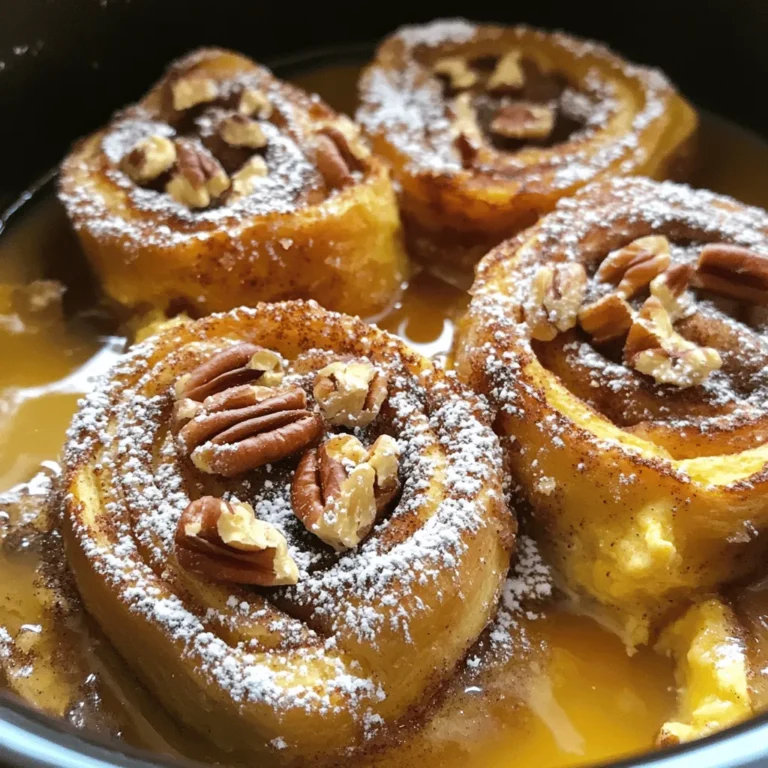
Slow Cooker Cinnamon Roll French Toast Delight
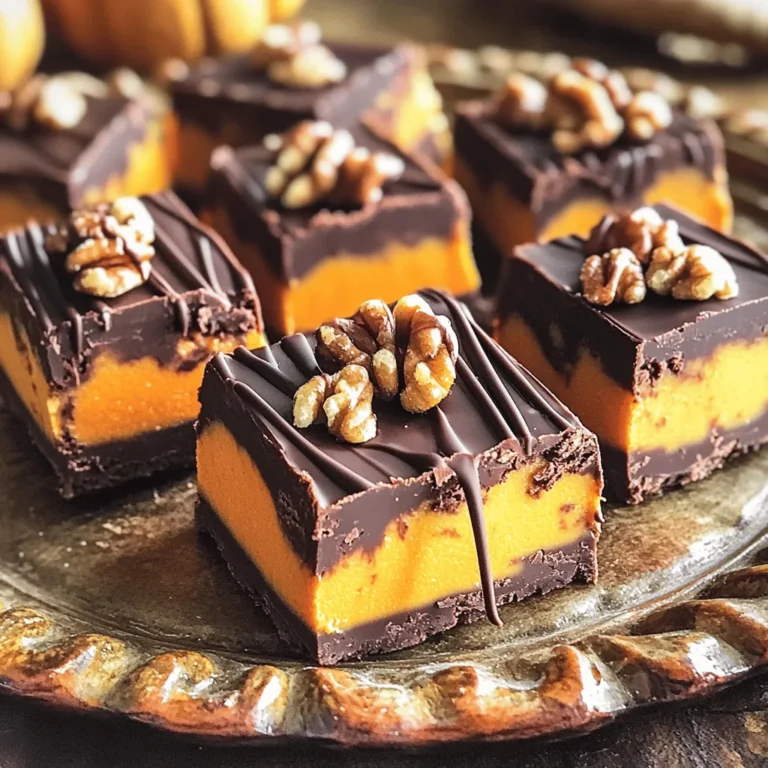
Chocolate Peanut Butter Pumpkin Fudge No Bake Delight
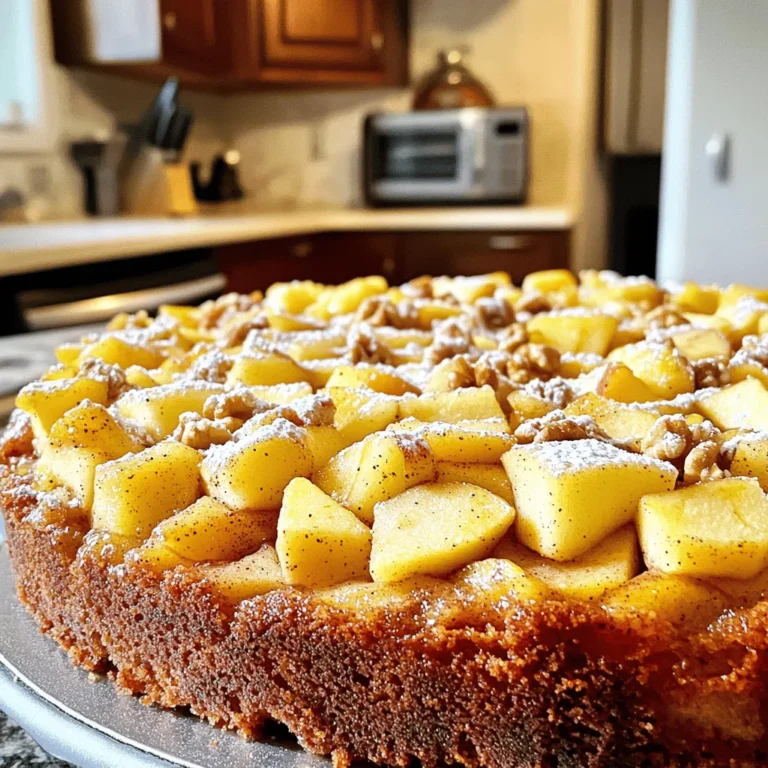
Apple Cinnamon Coffee Cake Bakery Style Delight
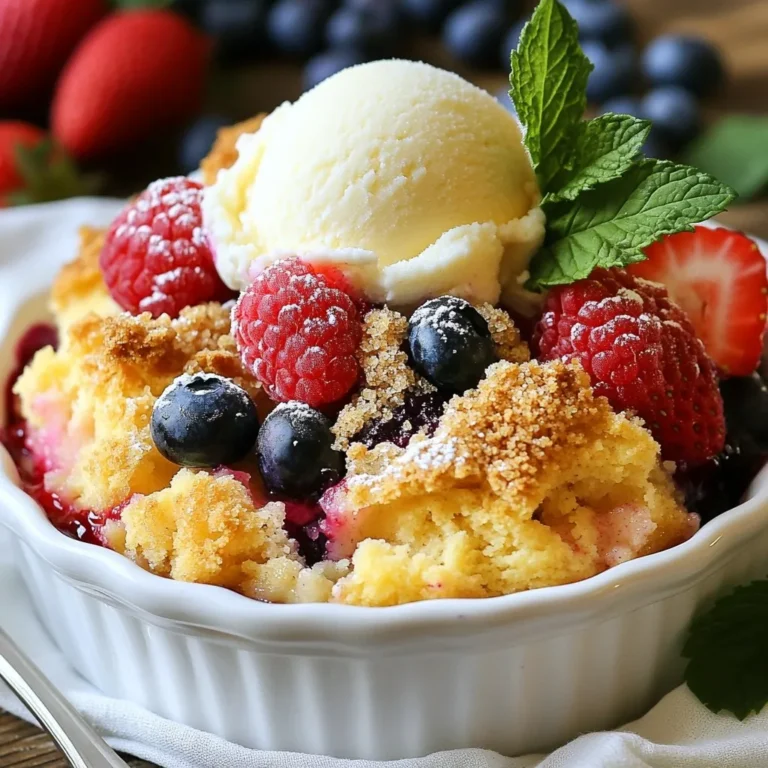
Triple Berry Cobbler Fresh and Flavorful Delight
Page navigation
Previous Page
Previous
1
…
9
10
11
12
13
…
34
Next Page
Next
Home
Dinner
Appetizer
Desserts
Drinks
About
Contact
Privacy Policy
Toggle Menu Close
Search for:
Search