Skip to content
About
Contact
Cookie Policy
Copyright Policy
Disclaimer
Search
Home
Dinner
Appetizer
Desserts
Drinks
About
Contact
Privacy Policy
Toggle Menu
Home
/
Appetizer
- Page 7
Appetizer
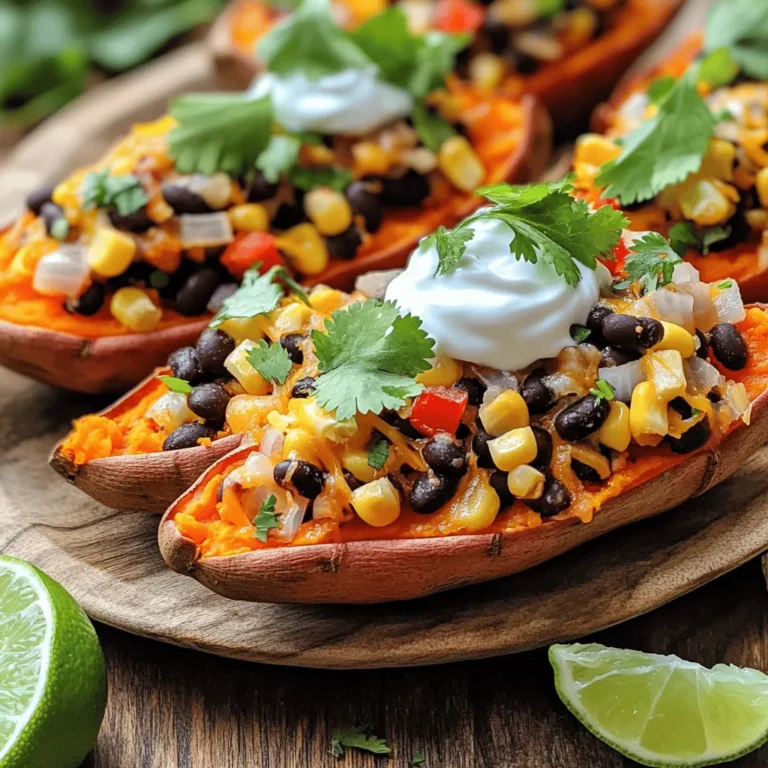
Loaded Southwest Sweet Potato Skins Flavorful Delight
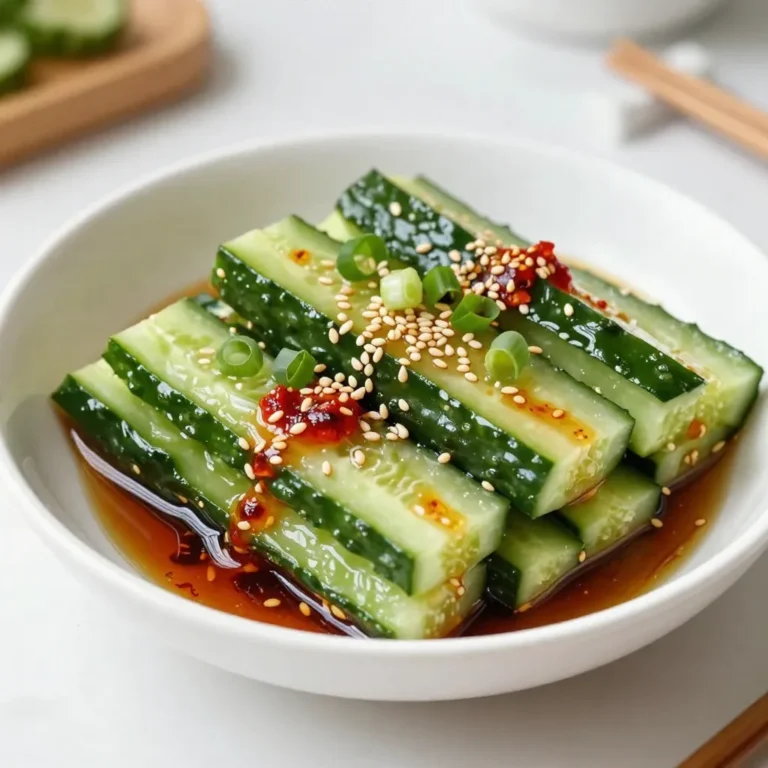
Spicy Sesame Cucumber Salad Fresh and Tangy Delight
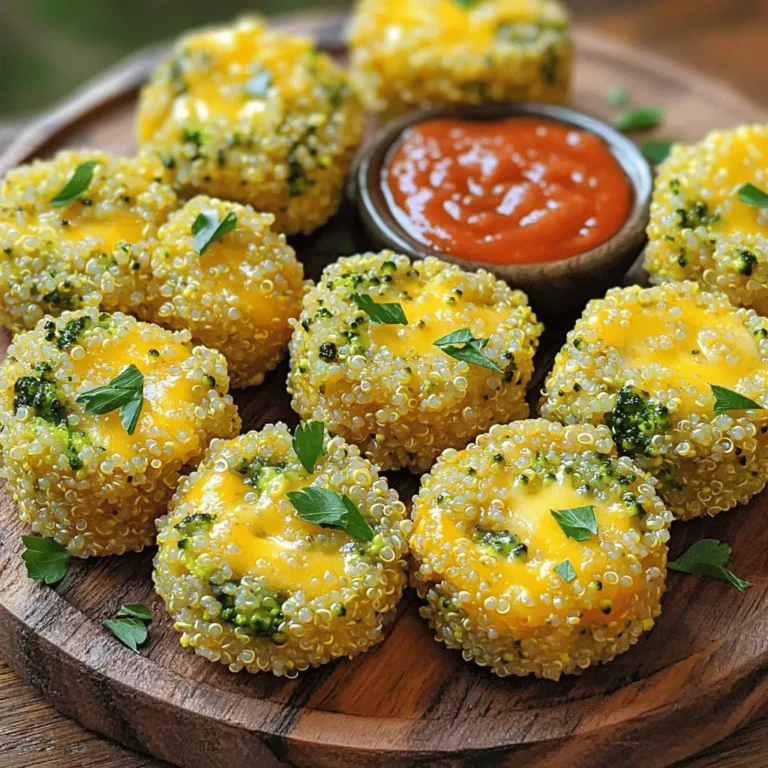
Broccoli Cheddar Quinoa Bites Tasty and Easy Recipe
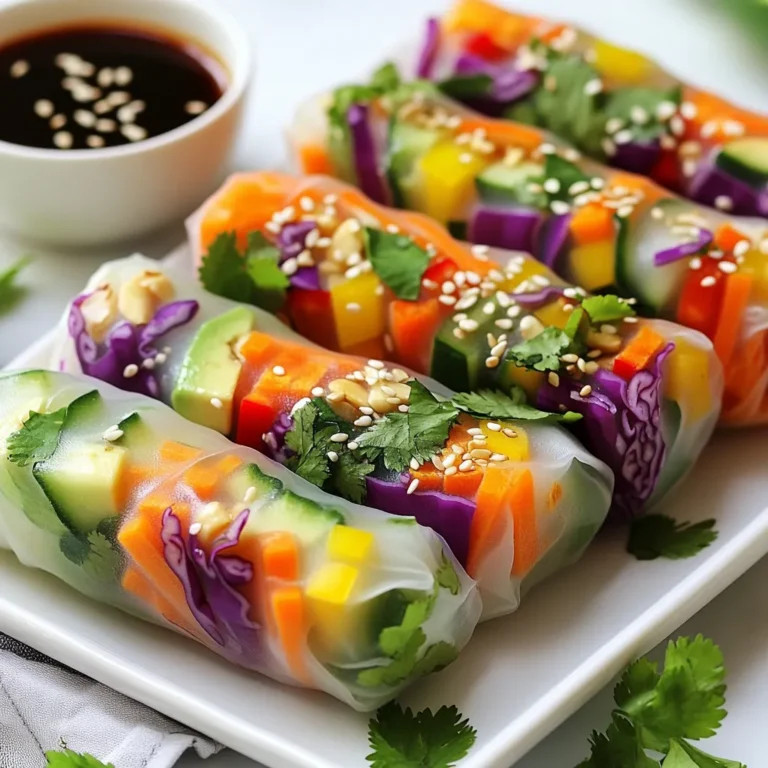
Rainbow Veggie Spring Rolls Bursting with Flavor
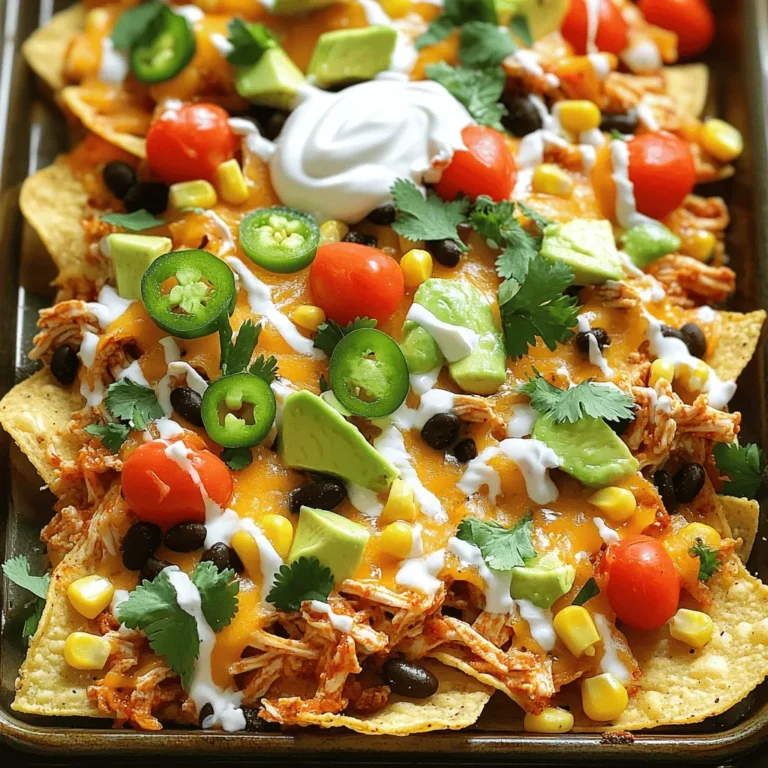
Cajun Chicken Sheet Pan Nachos Flavorful and Easy Dish
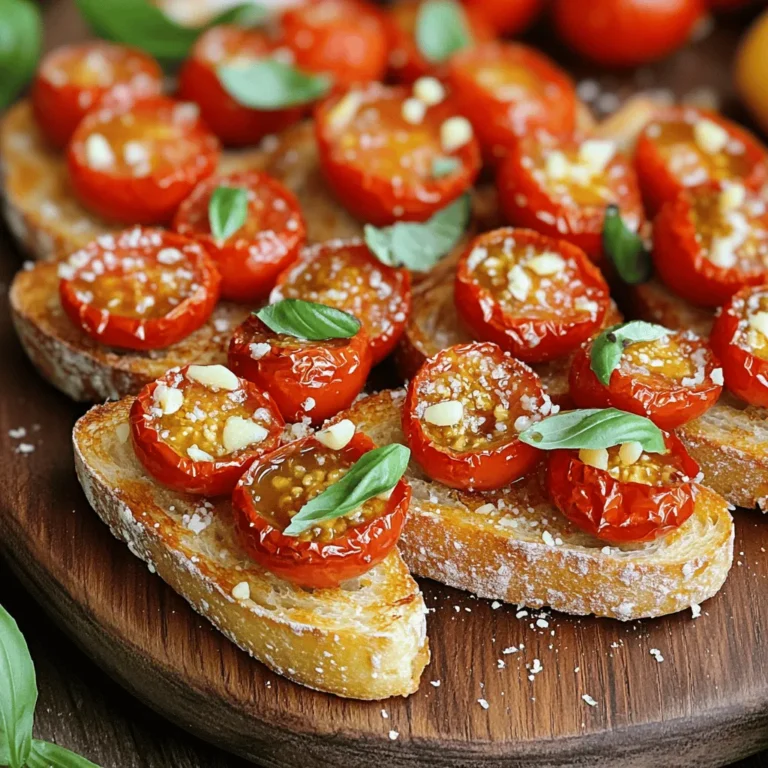
Roasted Tomato Basil Bruschetta Delightful Snack Idea
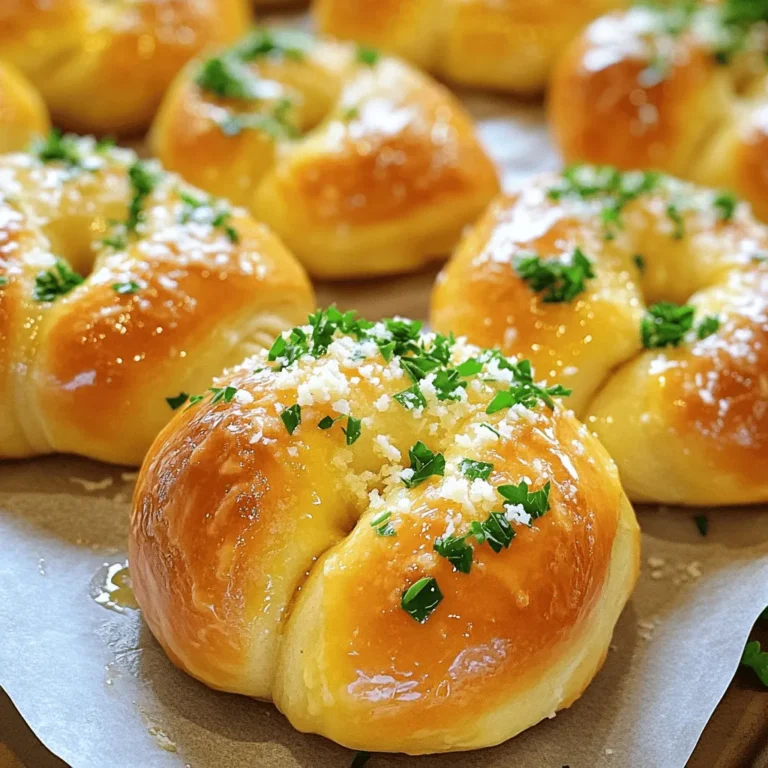
Garlic Butter Knots Easy and Flavorful Recipe
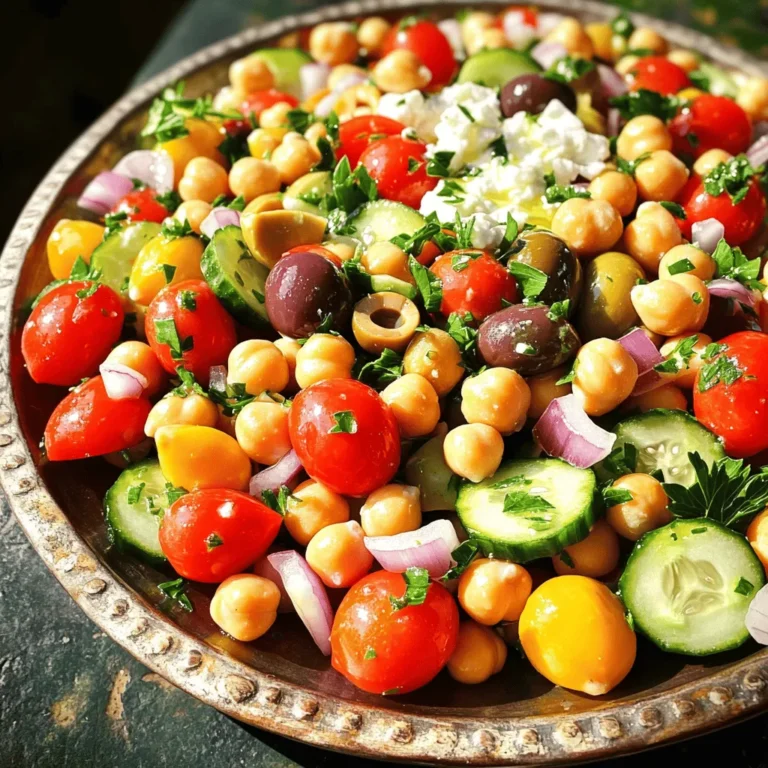
Mediterranean Chickpea Salad Fresh and Flavorful Dish
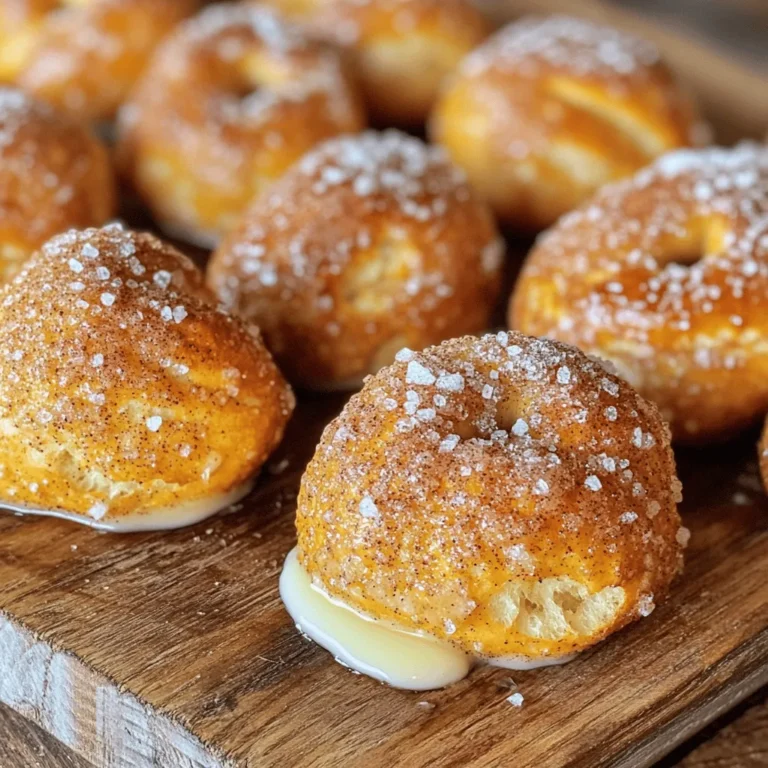
Cinnamon Sugar Pretzel Bites Irresistible Snack Idea
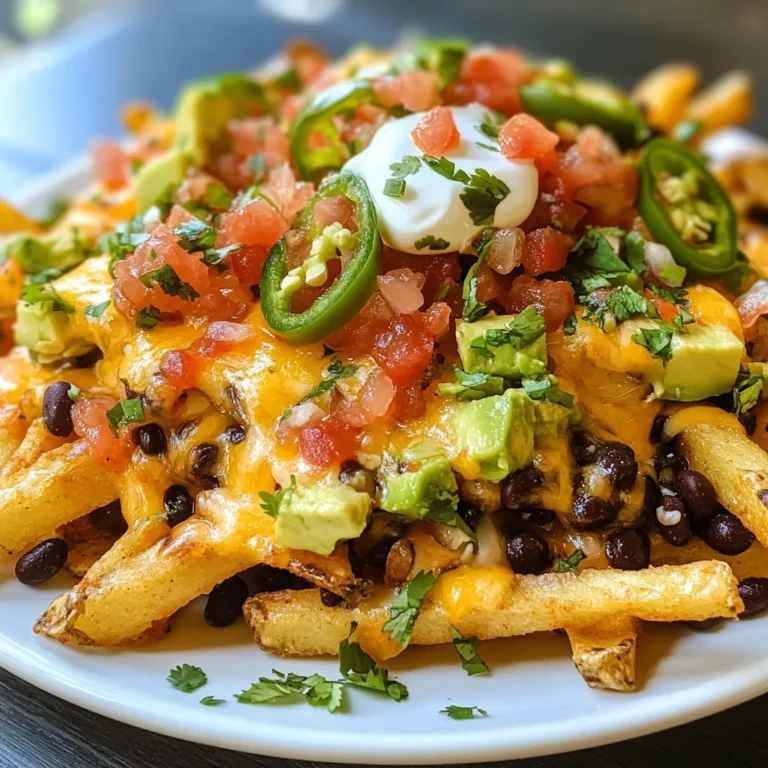
Loaded Nacho Fries Recipe for a Flavorful Snack
Page navigation
Previous Page
Previous
1
…
5
6
7
8
9
…
25
Next Page
Next
Home
Dinner
Appetizer
Desserts
Drinks
About
Contact
Privacy Policy
Toggle Menu Close
Search for:
Search