Skip to content
About
Contact
Cookie Policy
Copyright Policy
Disclaimer
Search
Home
Dinner
Appetizer
Desserts
Drinks
About
Contact
Privacy Policy
Toggle Menu
Home
/
Appetizer
- Page 6
Appetizer
Ginger Soy Glazed Brussels Sprouts Flavorful Side Dish
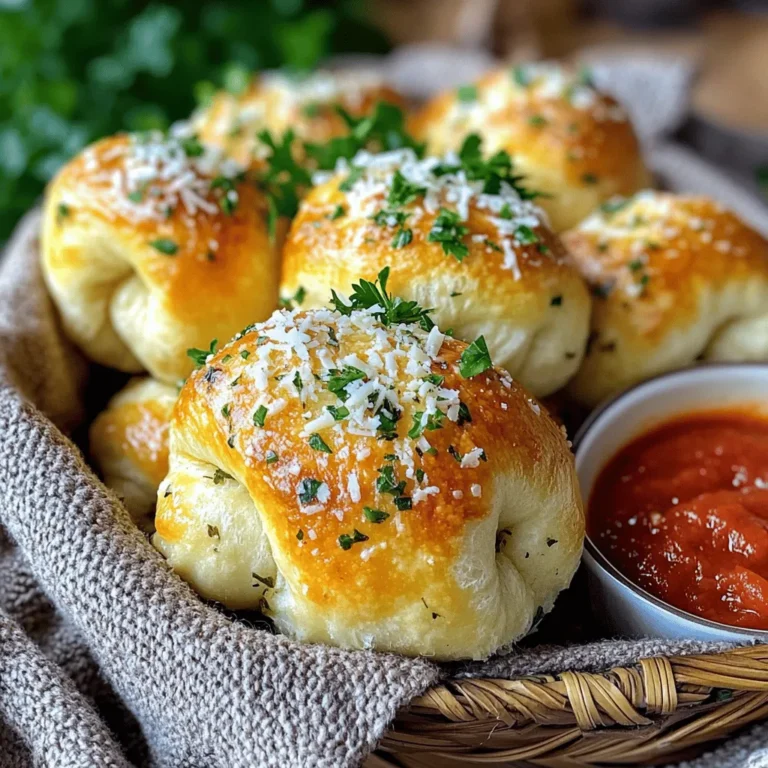
Garlic Parmesan Knots Fluffy and Tasty Treats
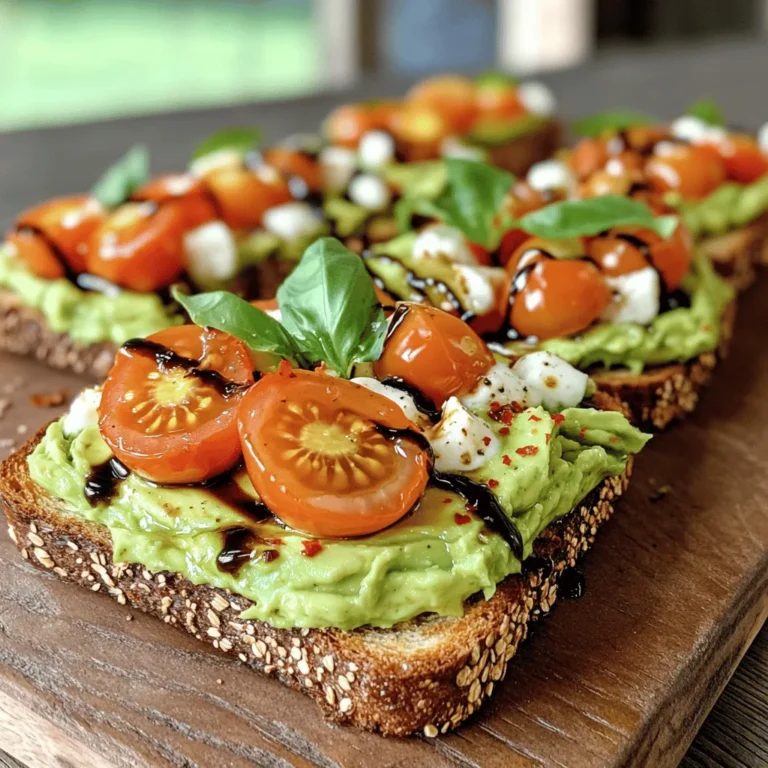
Caprese Avocado Toast Flavorful and Easy Recipe
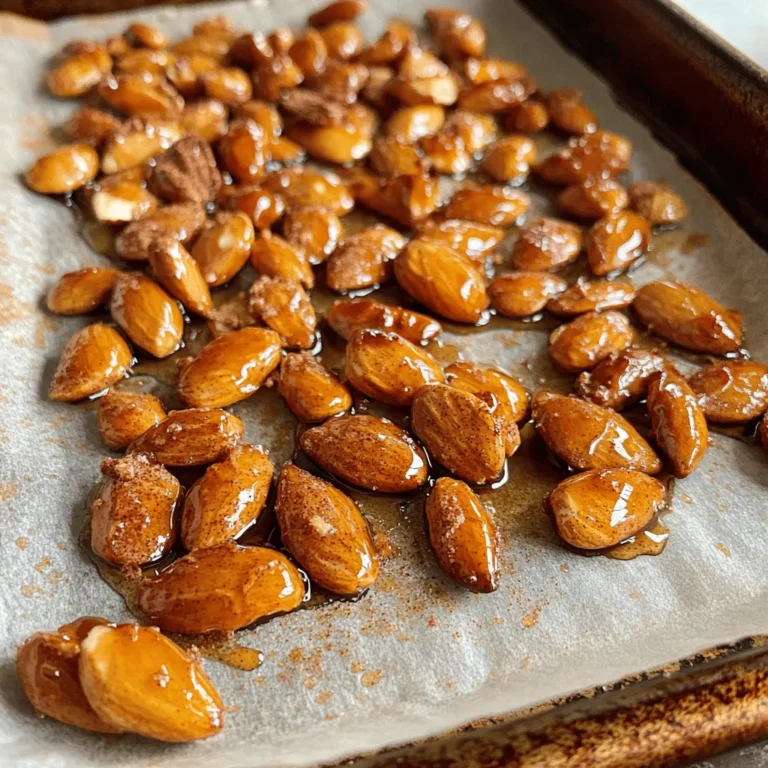
Maple Cinnamon Roasted Almonds Delightful Snack Recipe
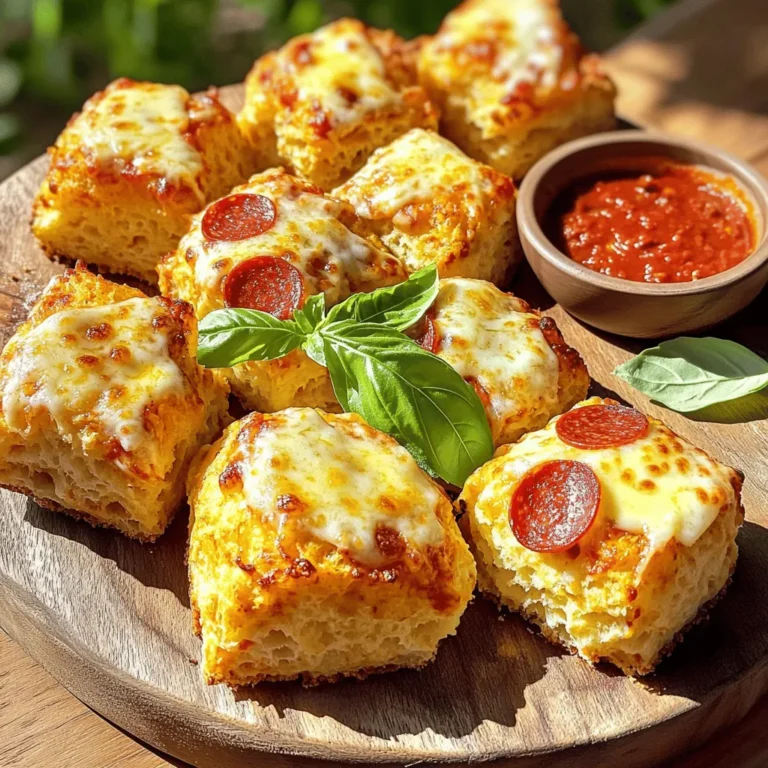
Pepperoni Pizza Monkey Bread Tasty Easy Dinner Option
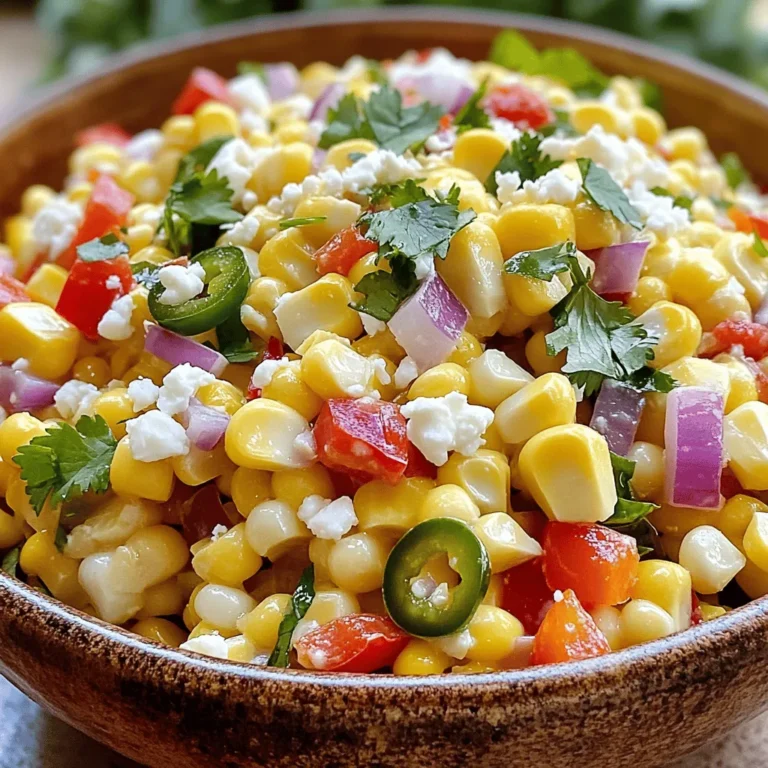
Mexican Street Corn Salad Flavorful and Easy Dish
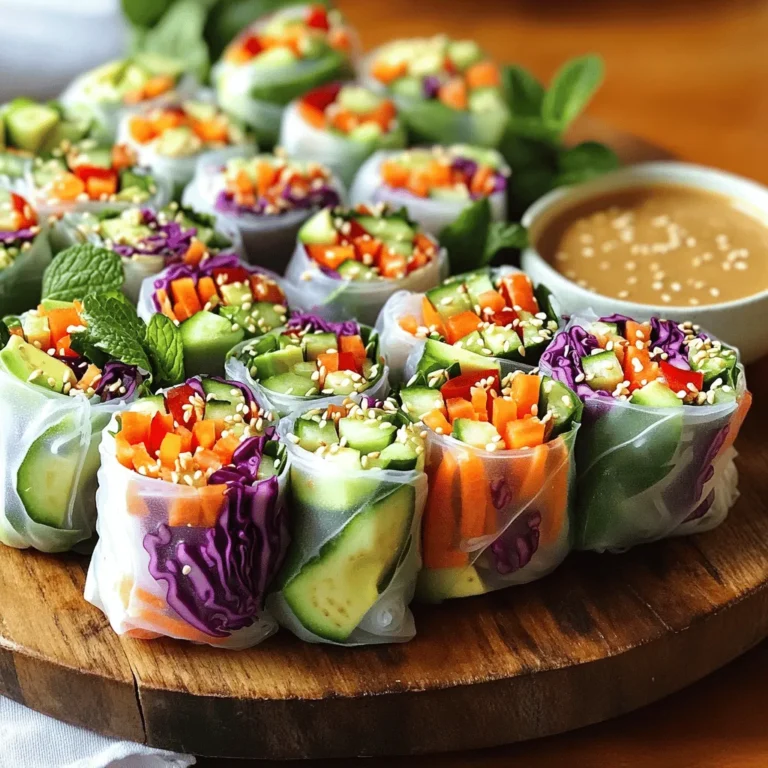
Rainbow Veggie Spring Rolls Delightful and Fresh Snack
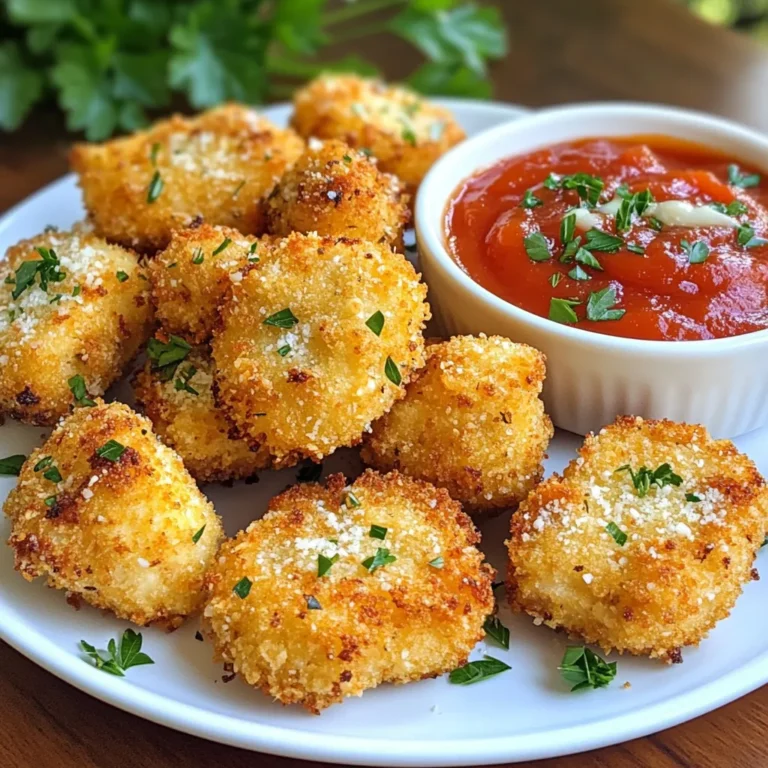
Garlic Parmesan Chicken Nuggets Tasty and Easy Recipe
Roasted Garlic Parmesan Brussel Sprouts Delight
Cinnamon Maple Roasted Almonds Tasty Snack Recipe
Page navigation
Previous Page
Previous
1
…
4
5
6
7
8
…
25
Next Page
Next
Home
Dinner
Appetizer
Desserts
Drinks
About
Contact
Privacy Policy
Toggle Menu Close
Search for:
Search

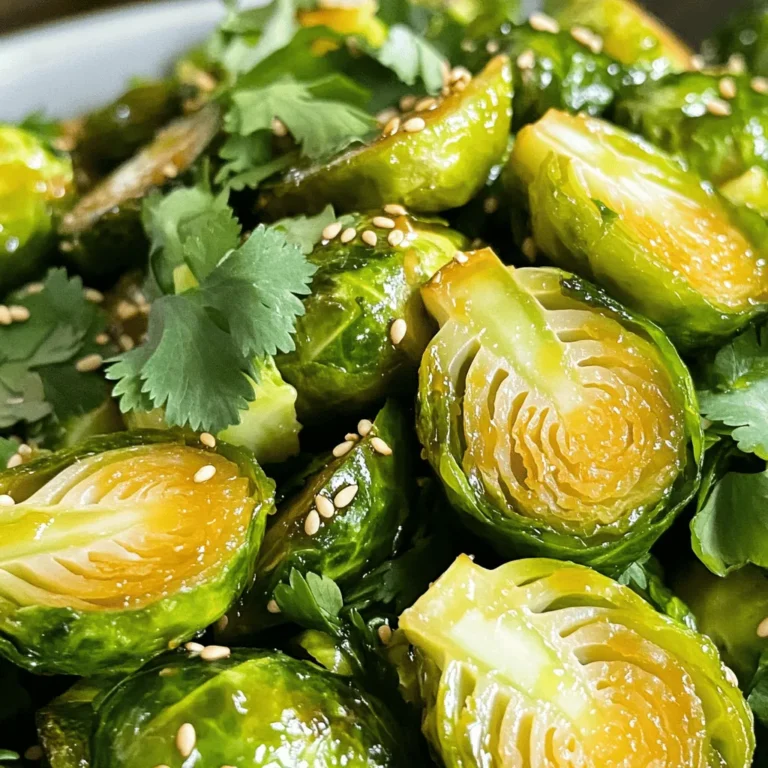

. It will guide you through each step with details and tips. Enjoy cooking! In summary, we explored how to make delicious Roasted Garlic Parmesan Brussels Sprouts. I shared a full list of ingredients and options for substitutions. Fresh ingredients elevate taste and nutrition. You learned step-by-step instructions for perfect roasting, along with tips for flavor and presentation. Variations and storage tips help you customize and save leftovers. Remember to check FAQs for any lingering questions. Enjoy this simple yet tasty dish at your next meal!](https://dishtreats.com/wp-content/uploads/2025/08/f224f6d0-5adb-4fa1-b176-de066c43a5f2-3-768x768.webp)