Skip to content
About
Contact
Cookie Policy
Copyright Policy
Disclaimer
Search
Home
Dinner
Appetizer
Desserts
Drinks
About
Contact
Privacy Policy
Toggle Menu
Home
/
Appetizer
- Page 4
Appetizer
Air Fryer Spicy Sweet Potato Fries Crunchy and Flavorful
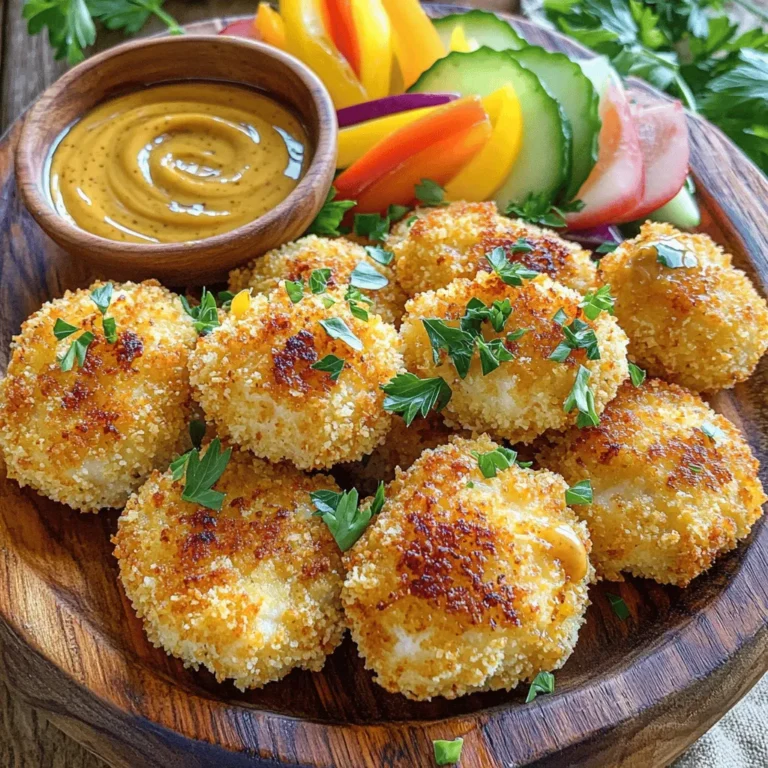
Honey Mustard Chicken Bites Air Fryer Crispy Delight
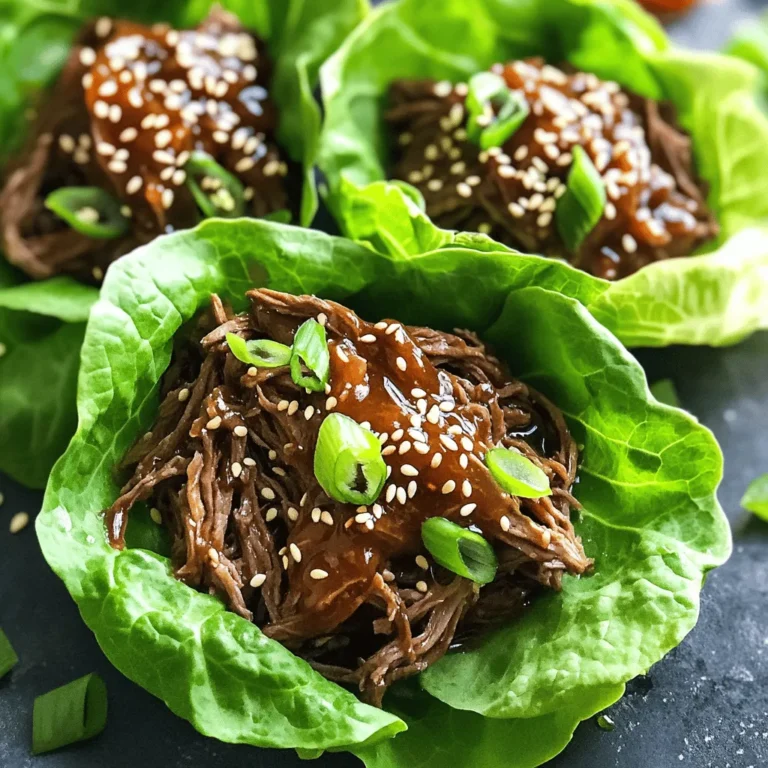
Slow Cooker Honey Sesame Beef Lettuce Wraps Simple Dish
Air Fryer Everything Bagel Chicken Bites Crunchy Treat
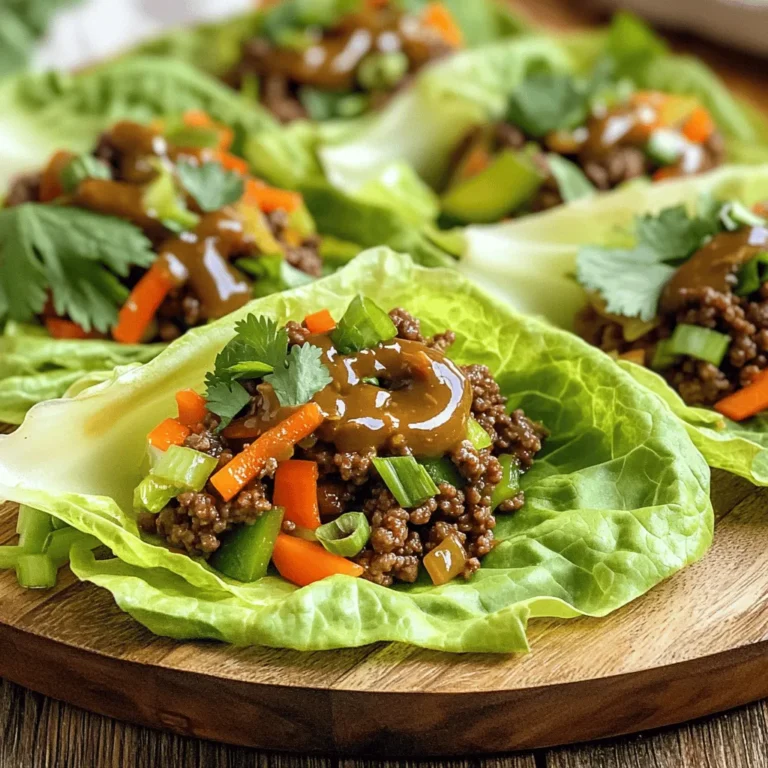
Minute Ginger Garlic Beef Lettuce Wraps for Quick Dinners
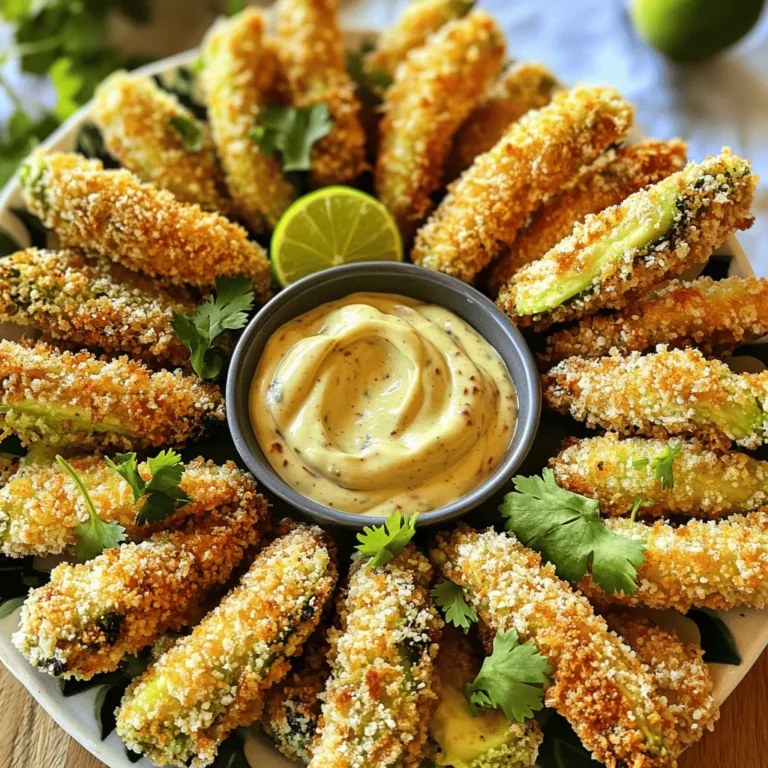
Air Fryer Avocado Fries with Chipotle Mayo Delight
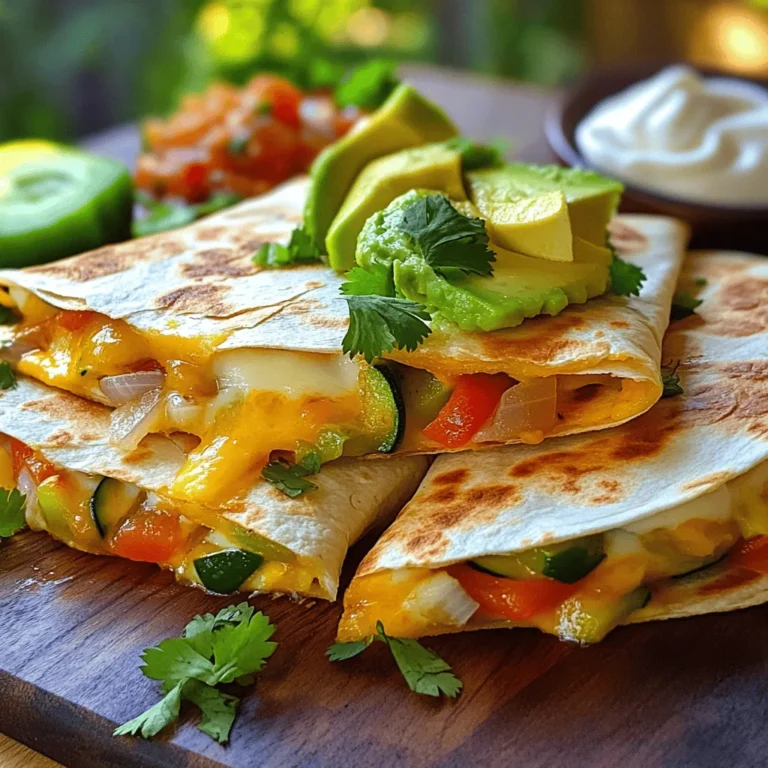
TikTok Tortilla Wrap Quesadillas Flavorful Fun Meal
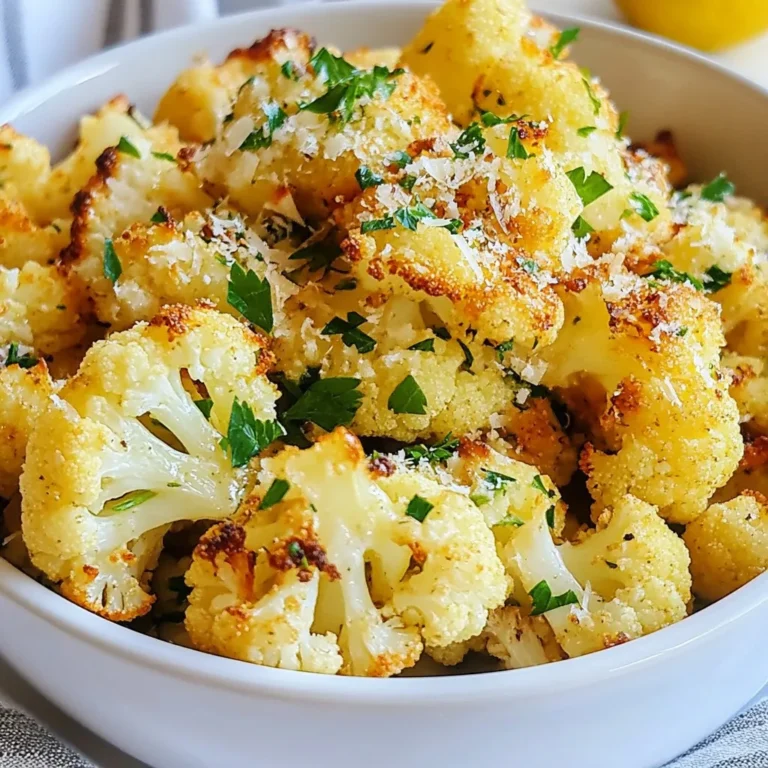
Roast Garlic Parmesan Cauliflower Flavorful Side Dish
Air Fryer Parmesan Zucchini Chips Crisp and Tasty Snack
Air Fryer Crispy Sweet Potato Fries Easy and Tasty
Page navigation
Previous Page
Previous
1
2
3
4
5
6
…
25
Next Page
Next
Home
Dinner
Appetizer
Desserts
Drinks
About
Contact
Privacy Policy
Toggle Menu Close
Search for:
Search