Skip to content
About
Contact
Cookie Policy
Copyright Policy
Disclaimer
Search
Home
Dinner
Appetizer
Desserts
Drinks
About
Contact
Privacy Policy
Toggle Menu
Home
/
Appetizer
- Page 3
Appetizer
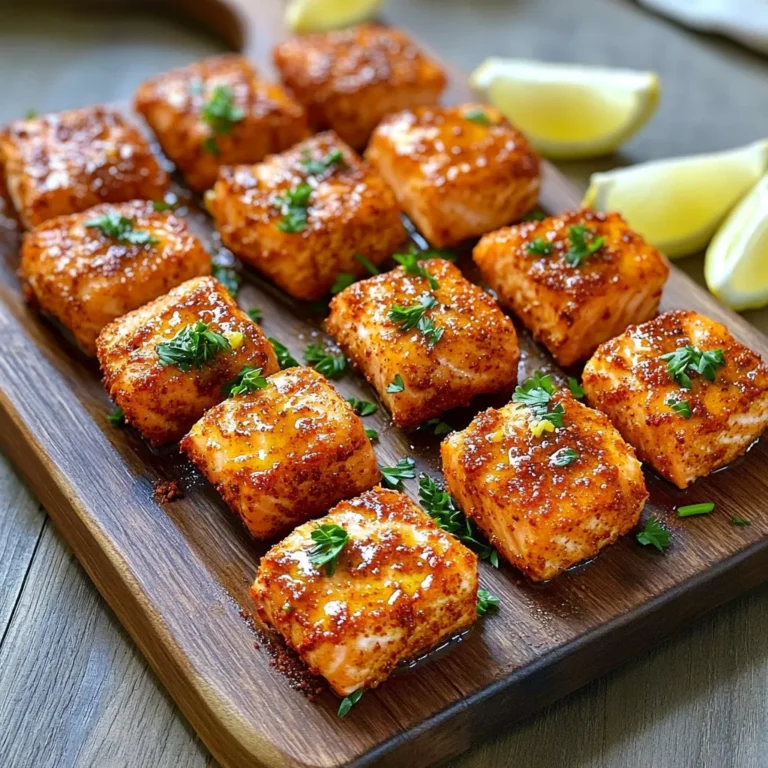
Air Fryer Crispy Cajun Salmon Bites Tasty Delight
Caprese Stuffed Portobellos Flavorful and Easy Recipe
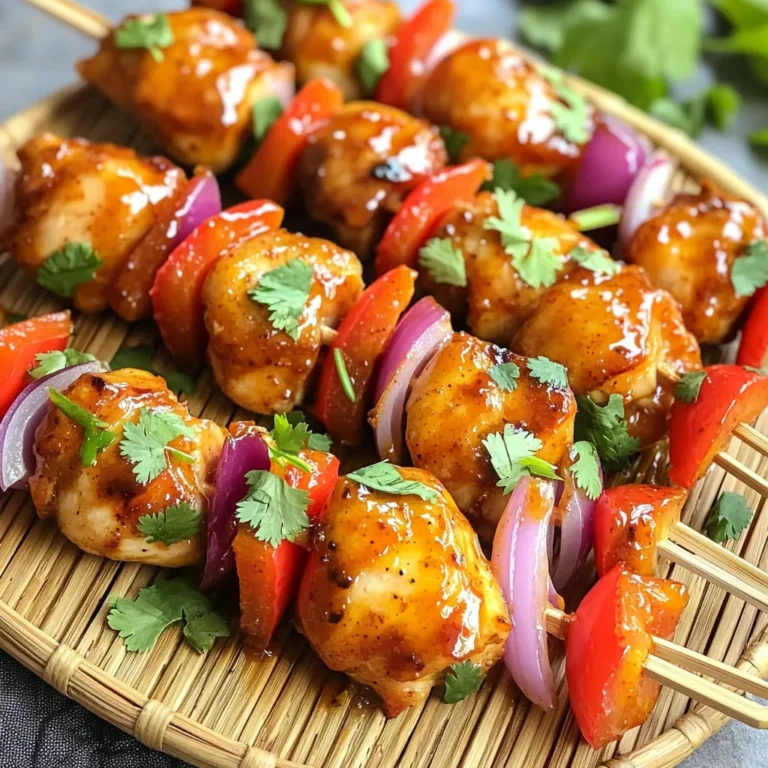
Air Fryer Sweet Chili Chicken Skewers Savory Delight
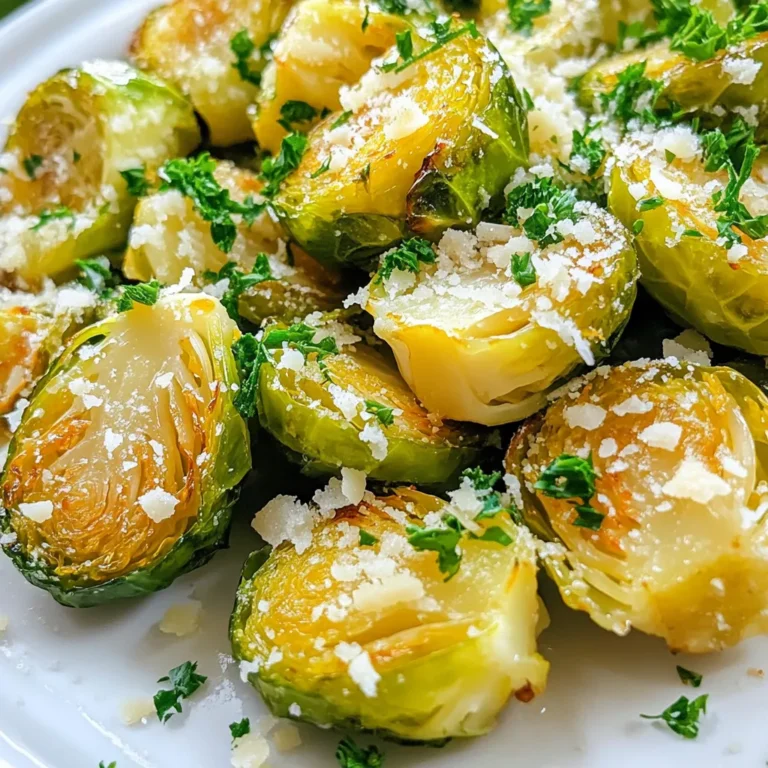
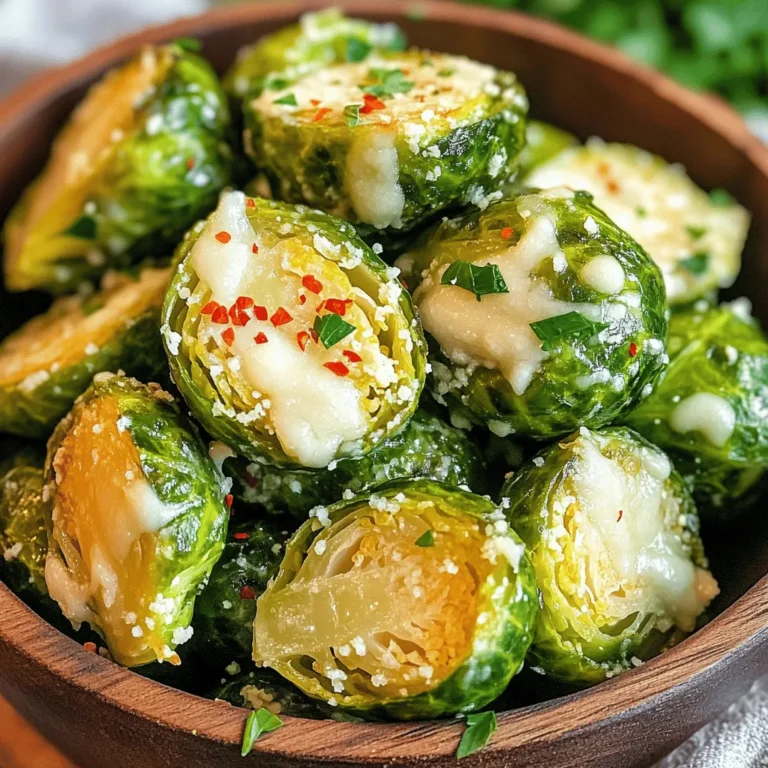
Garlic Parmesan Air Fryer Brussel Sprouts Delight
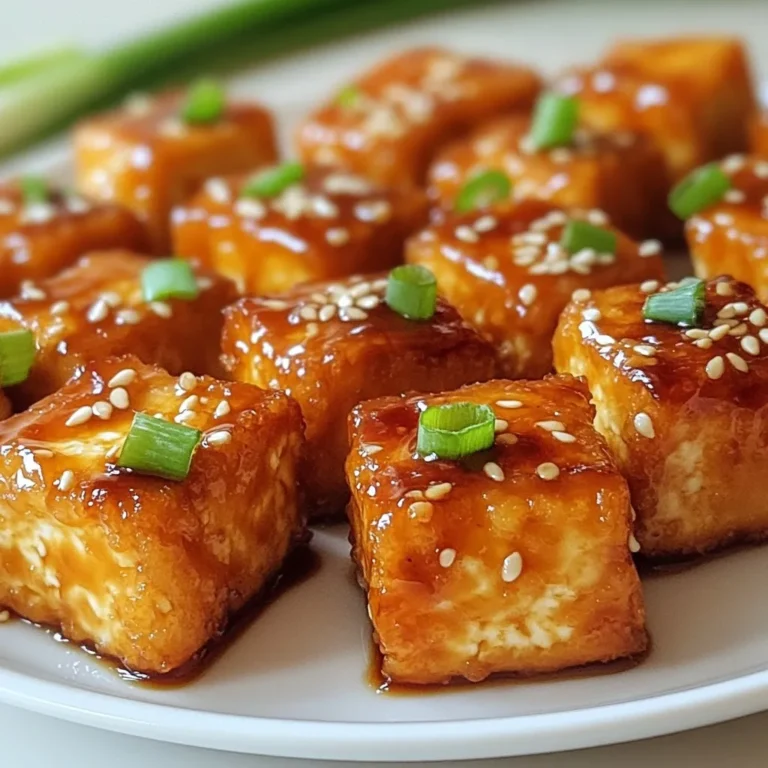
Crispy Teriyaki Tofu Bites Flavorful and Simple Treat
Air Fryer Garlic Parmesan Brussels Sprouts Delight
Spicy Cajun Turkey Meatballs Flavorful and Easy Recipe
Parmesan Crusted Zucchini Chips Crispy and Flavorful
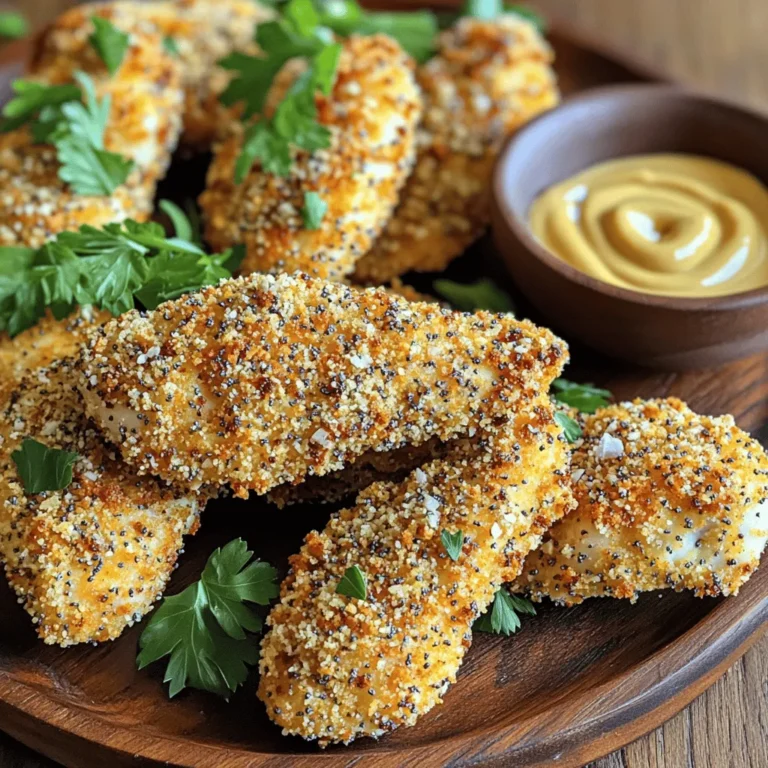
Air Fryer Everything Bagel Chicken Tenders Recipe
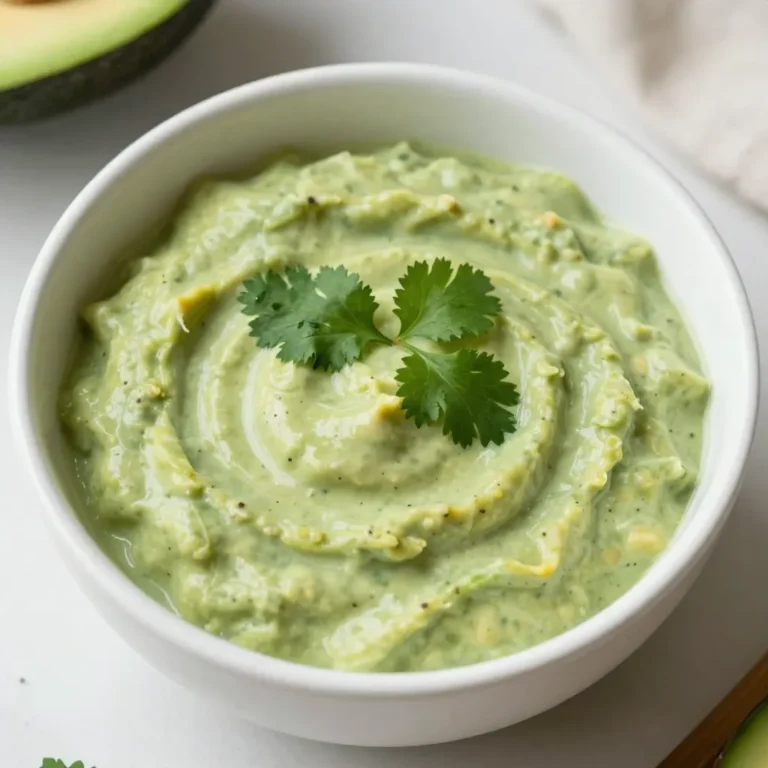
Creamy Avocado Cilantro Dressing Simple and Tasty
Page navigation
Previous Page
Previous
1
2
3
4
5
…
25
Next Page
Next
Home
Dinner
Appetizer
Desserts
Drinks
About
Contact
Privacy Policy
Toggle Menu Close
Search for:
Search