Skip to content
About
Contact
Cookie Policy
Copyright Policy
Disclaimer
Search
Home
Dinner
Appetizer
Desserts
Drinks
About
Contact
Privacy Policy
Toggle Menu
Home
/
Appetizer
- Page 23
Appetizer
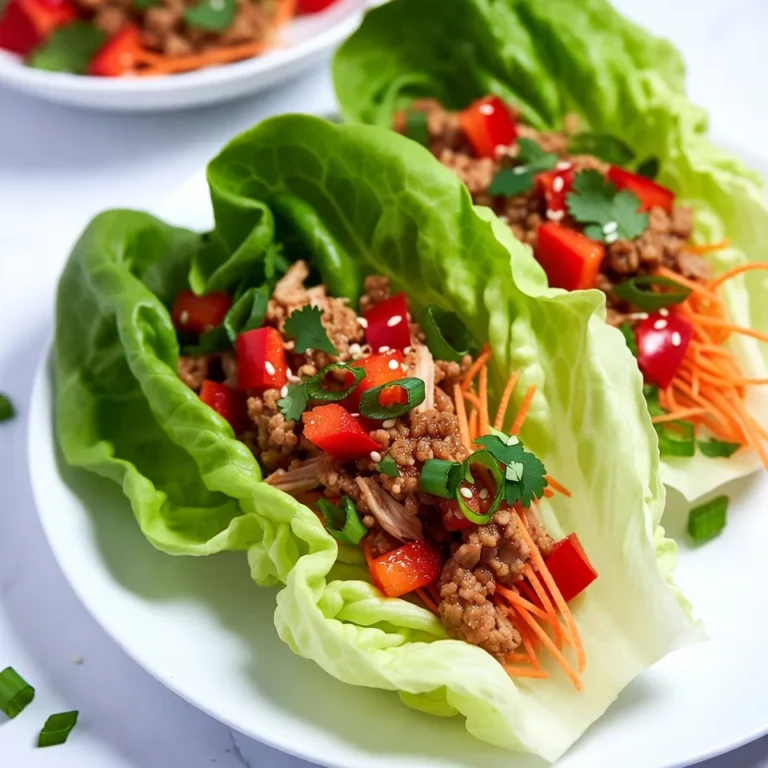
Ginger Lime Chicken Lettuce Wraps Flavorful Delight
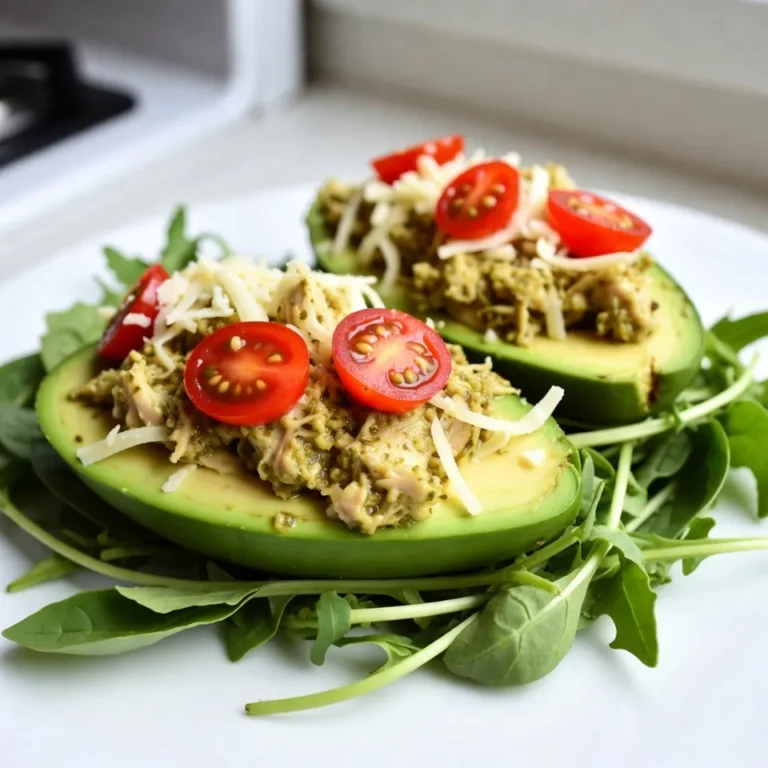
Pesto Chicken Stuffed Avocados Flavorful and Easy Dish
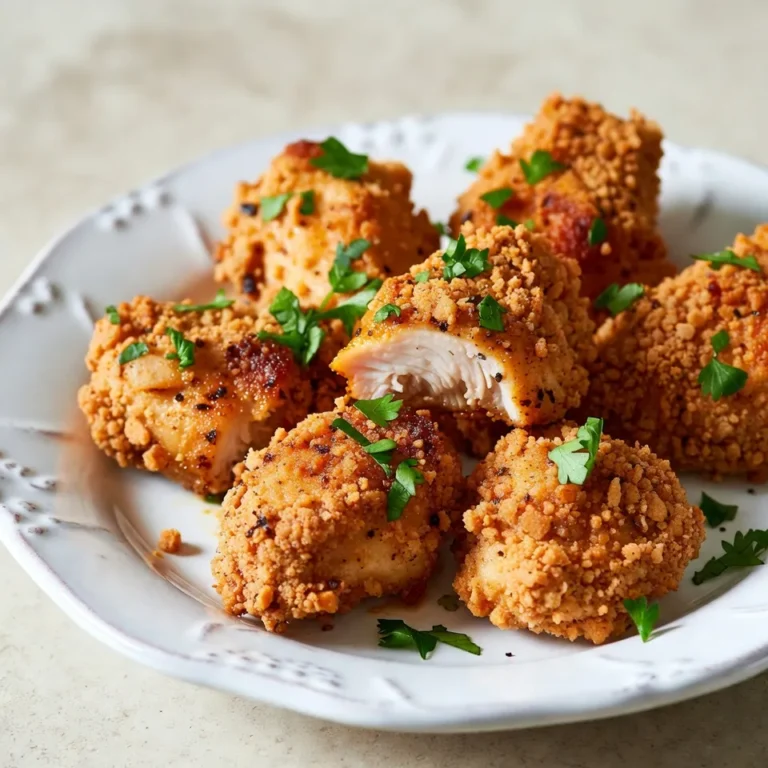
Spicy Cajun Chicken Bites Flavorful and Crispy Treat
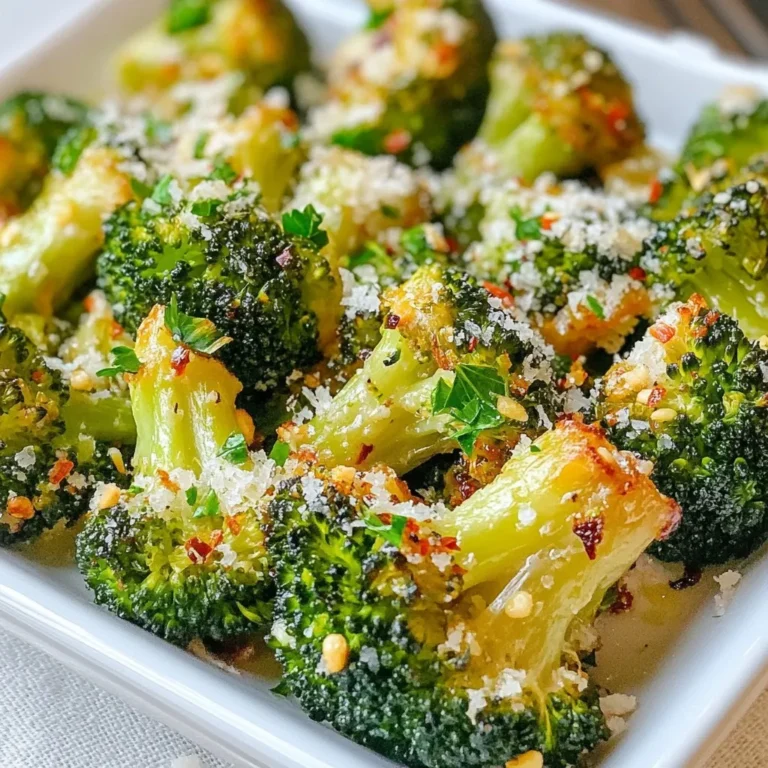
Lemon Garlic Roasted Broccoli Flavorful and Simple Dish
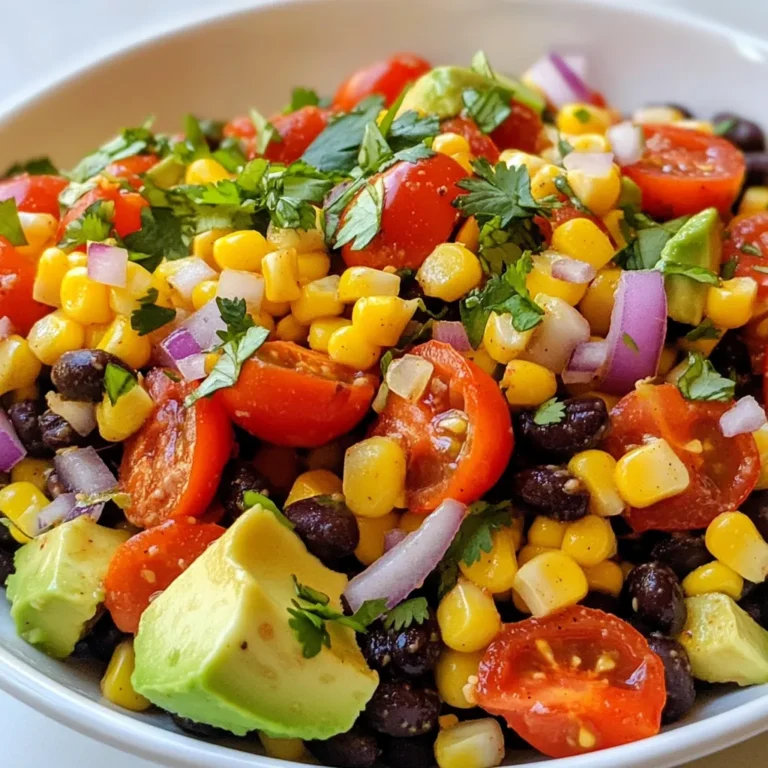
Fiesta Corn Black Bean Salad Flavorful Summer Dish
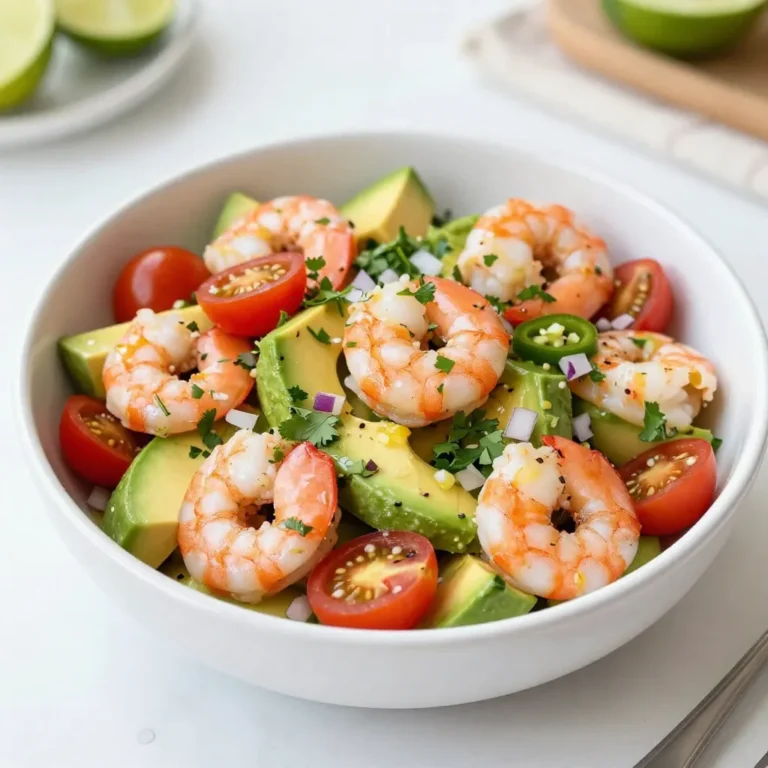
Spicy Shrimp Avocado Salsa Fresh and Flavorful Delight
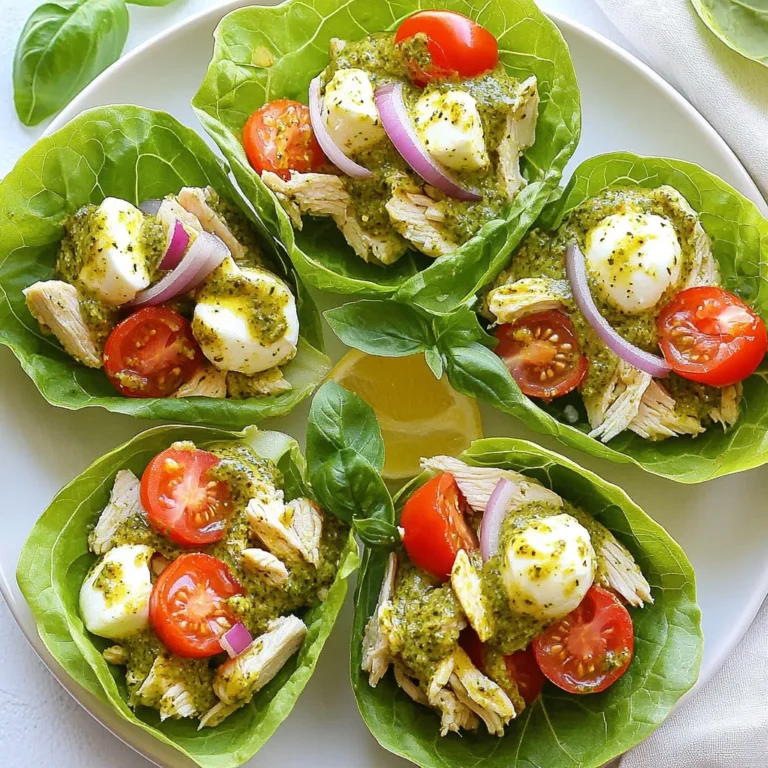
Pesto Chicken Salad Lettuce Cups Fresh and Crisp Meal
Sweet Chili Meatball Skewers Flavorful Grilled Treat
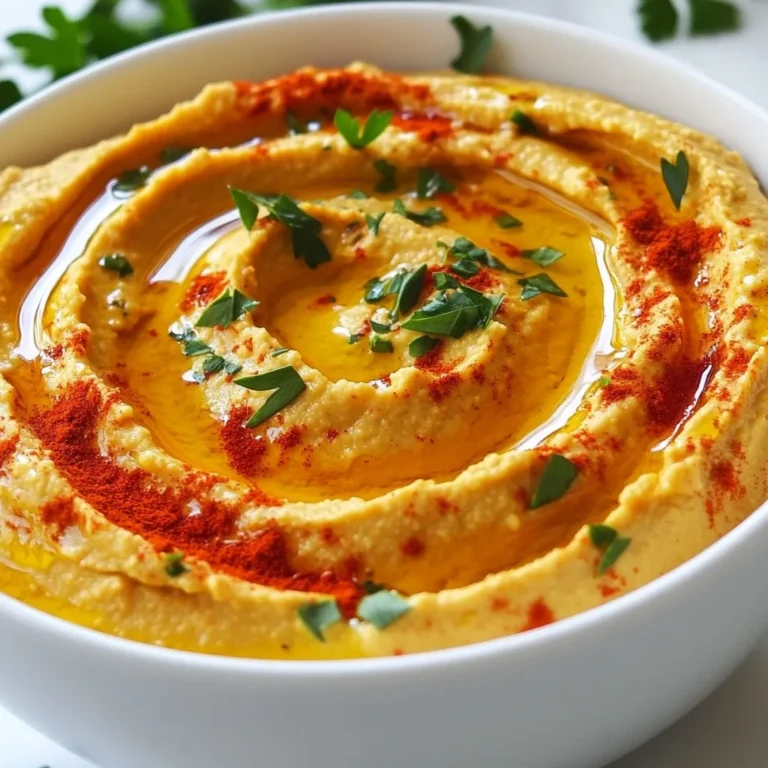
Roasted Red Pepper Hummus Flavorful and Simple Dip
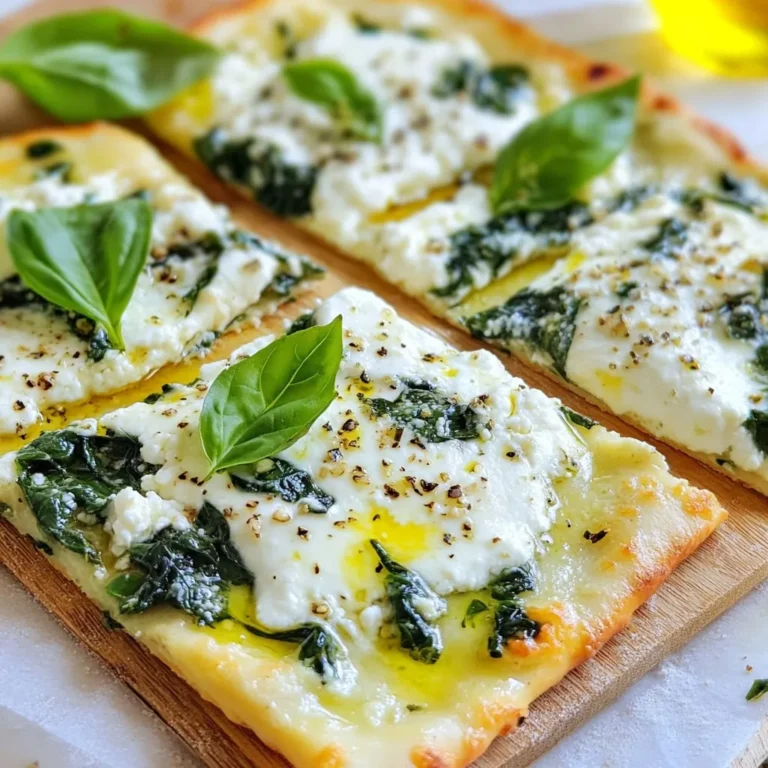
Three Cheese Spinach Flatbread Delightfully Easy Dish
Page navigation
Previous Page
Previous
1
…
21
22
23
24
25
Next Page
Next
Home
Dinner
Appetizer
Desserts
Drinks
About
Contact
Privacy Policy
Toggle Menu Close
Search for:
Search