Skip to content
About
Contact
Cookie Policy
Copyright Policy
Disclaimer
Search
Home
Dinner
Appetizer
Desserts
Drinks
About
Contact
Privacy Policy
Toggle Menu
Home
/
Appetizer
- Page 2
Appetizer
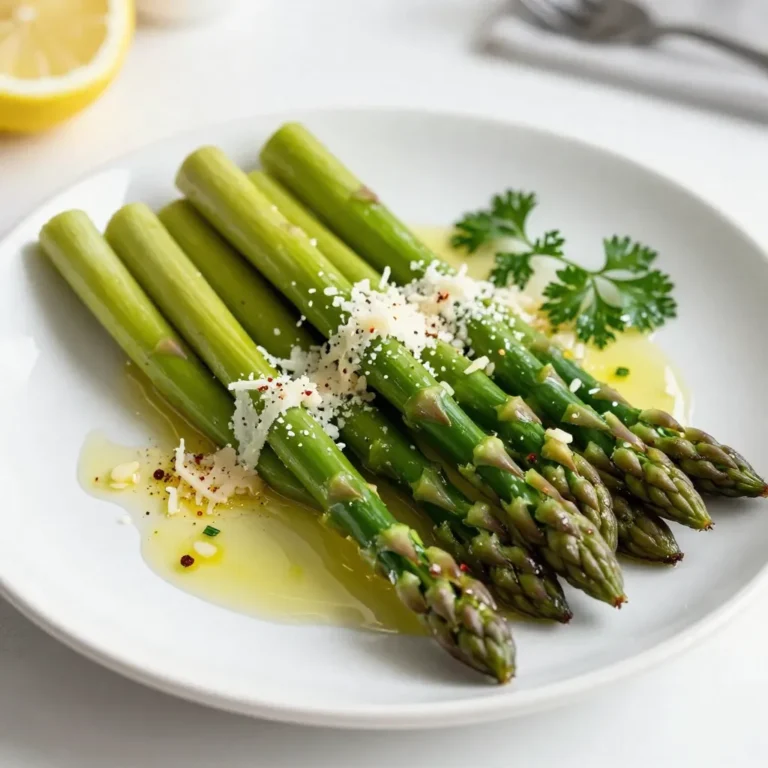
Lemon Garlic Asparagus Quick and Flavorful Recipe
Air Fryer Avocado Fries with Chipotle Dip Delight
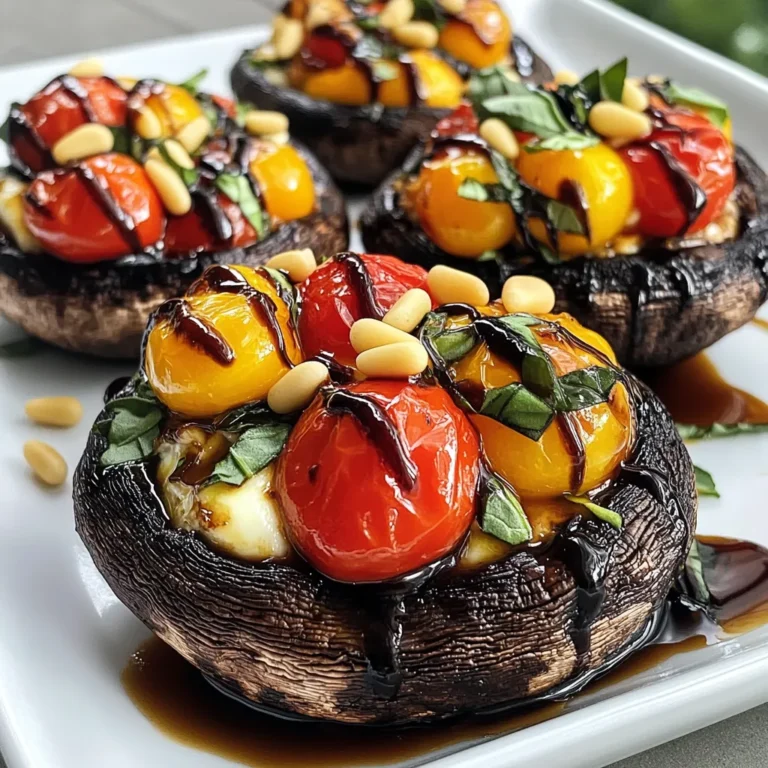
Caprese Stuffed Portobellos Fresh and Flavorful Dish
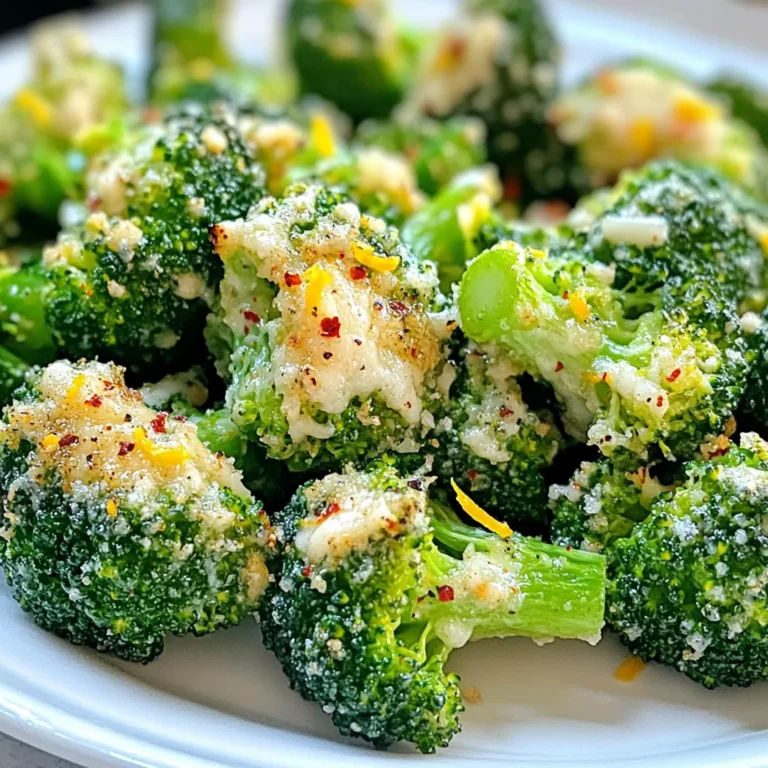
Savory Air Fryer Garlic Parmesan Broccoli Bites Recipe
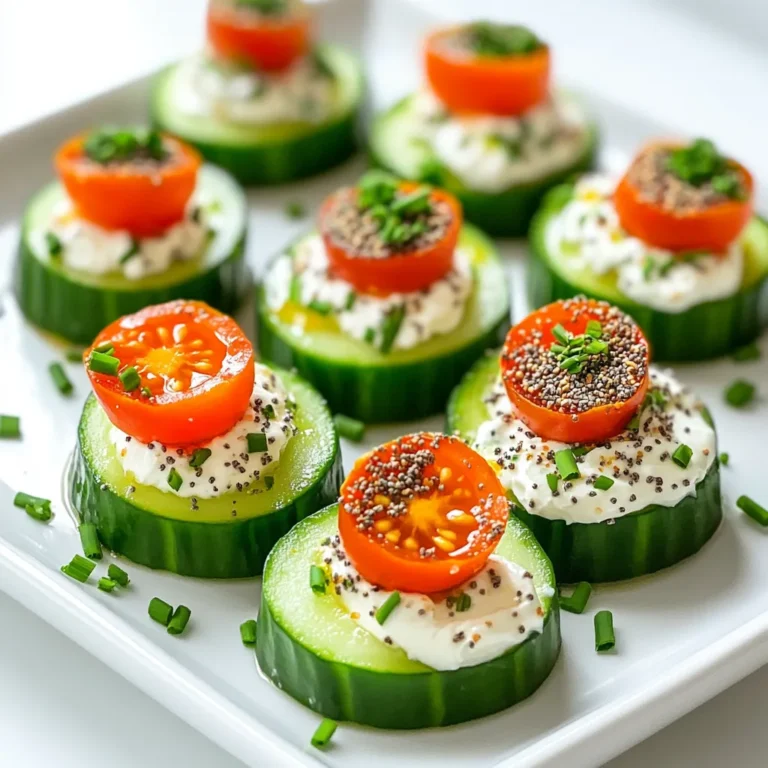
Everything Bagel Cucumber Bites Refreshing Snack Idea
Caprese Stuffed Avocados Fresh and Flavorful Meal
Air Fryer Garlic Butter Mushrooms Irresistible Treat
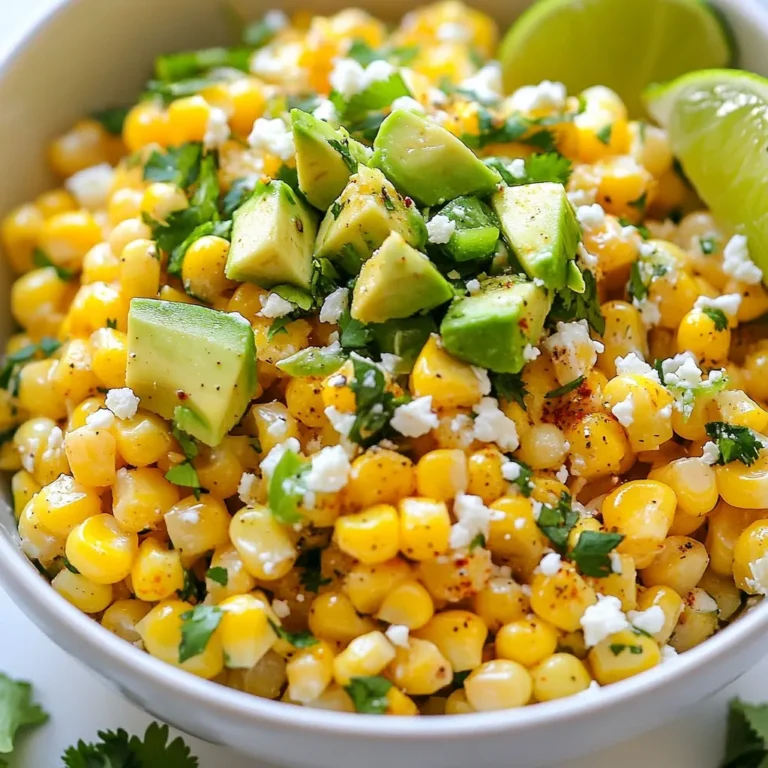
Mexican Street Corn Salad Flavorful and Fresh Dish
Air Fryer Sesame Chicken Bites Flavorful and Easy
Garlic Herb Roasted Carrots Flavorful and Simple Dish
Page navigation
Previous Page
Previous
1
2
3
4
…
25
Next Page
Next
Home
Dinner
Appetizer
Desserts
Drinks
About
Contact
Privacy Policy
Toggle Menu Close
Search for:
Search