Skip to content
About
Contact
Cookie Policy
Copyright Policy
Disclaimer
Search
Home
Dinner
Appetizer
Desserts
Drinks
About
Contact
Privacy Policy
Toggle Menu
Home
/
Appetizer
Appetizer
Cheesy Mexican Street Corn Dip Bold and Flavorful Treat
Caprese Garlic Bread Tasty and Easy Recipe Guide
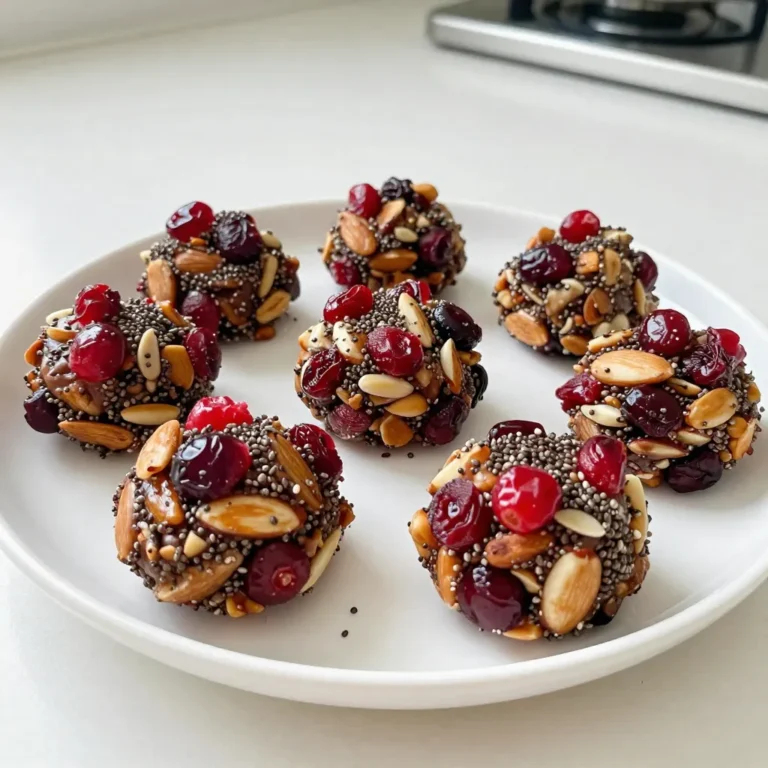
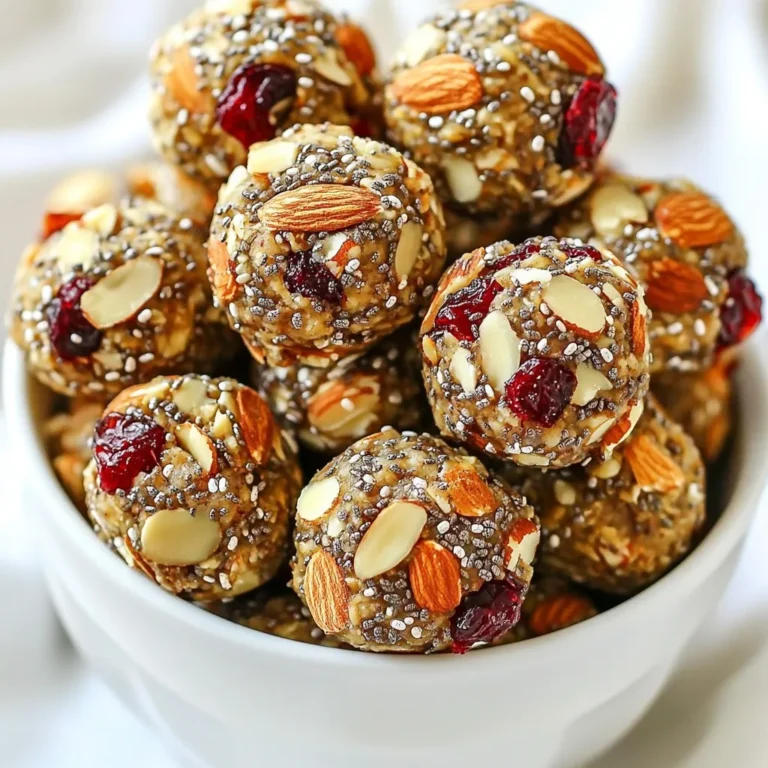
Cranberry Almond Energy Bites Healthy Snack Option
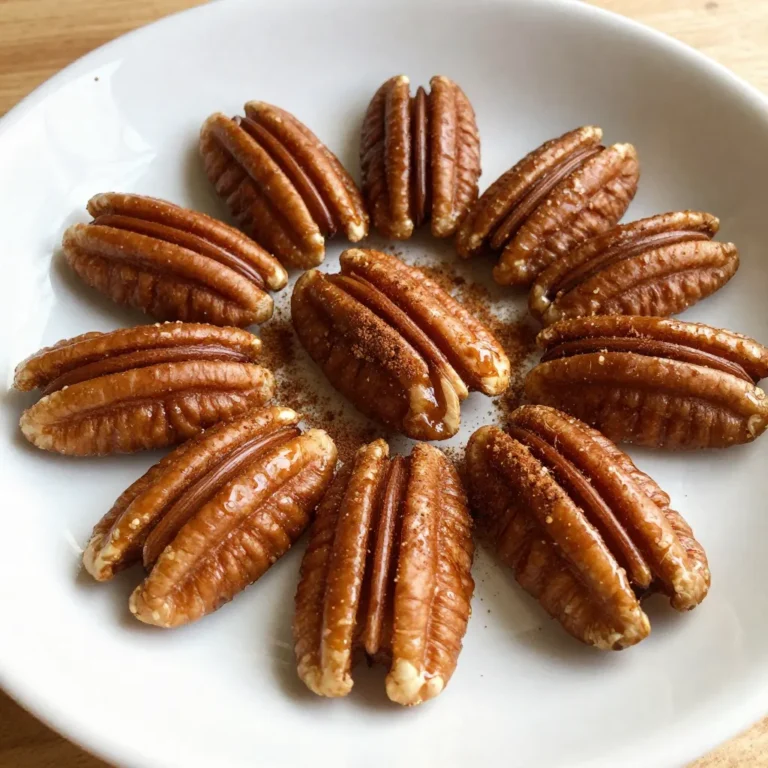
Maple Cinnamon Roasted Pecans Sweet and Crunchy Treat
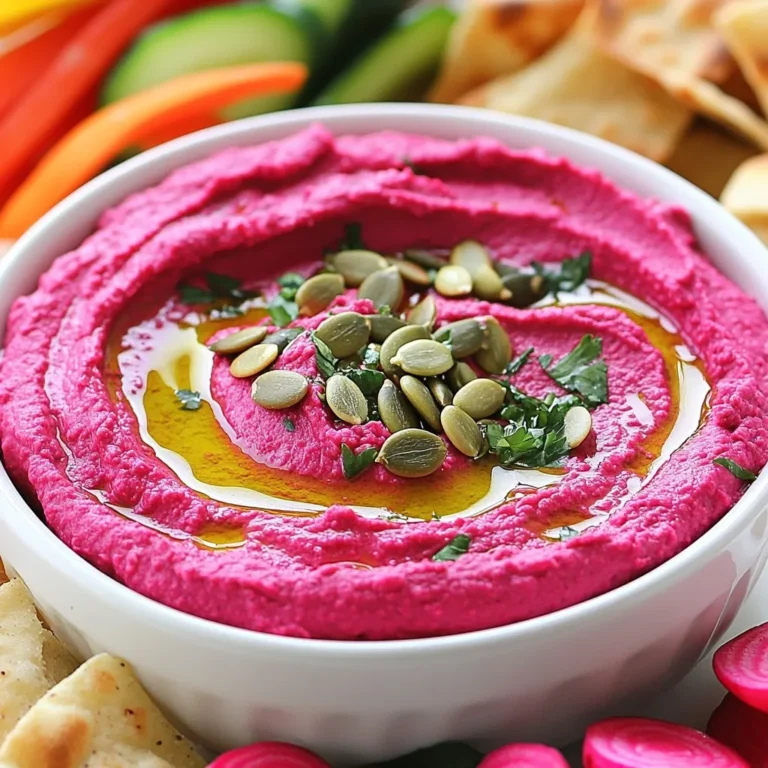
Roasted Beet Hummus Flavorful and Nutritious Dip
Cheddar Jalapeño Drop Biscuits Simple and Tasty Treat
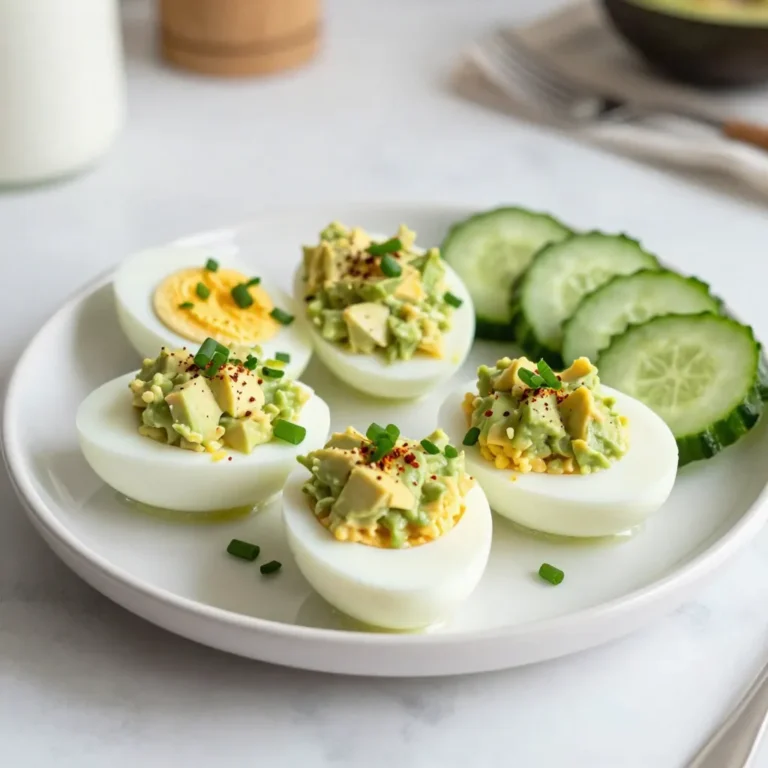
Avocado Egg Salad Easy and Creamy Recipe
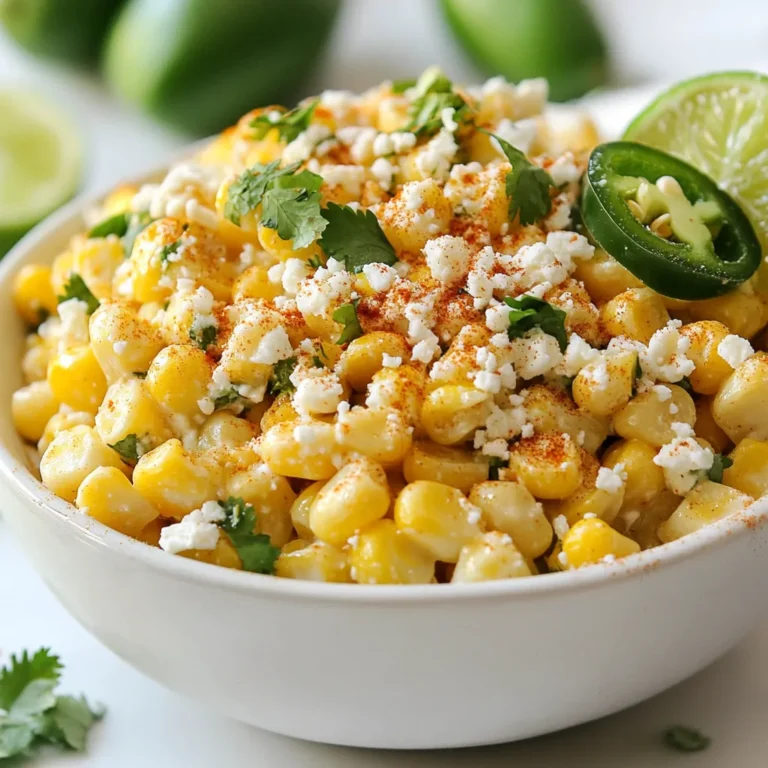
Mexican Street Corn Salad Fresh and Flavorful Recipe
Cranberry Almond Energy Bites Easy and Healthy Snack
Sweet Chili Garlic Tofu Bites Flavorful Crunchy Treat
Page navigation
1
2
3
…
25
Next Page
Next
Home
Dinner
Appetizer
Desserts
Drinks
About
Contact
Privacy Policy
Toggle Menu Close
Search for:
Search