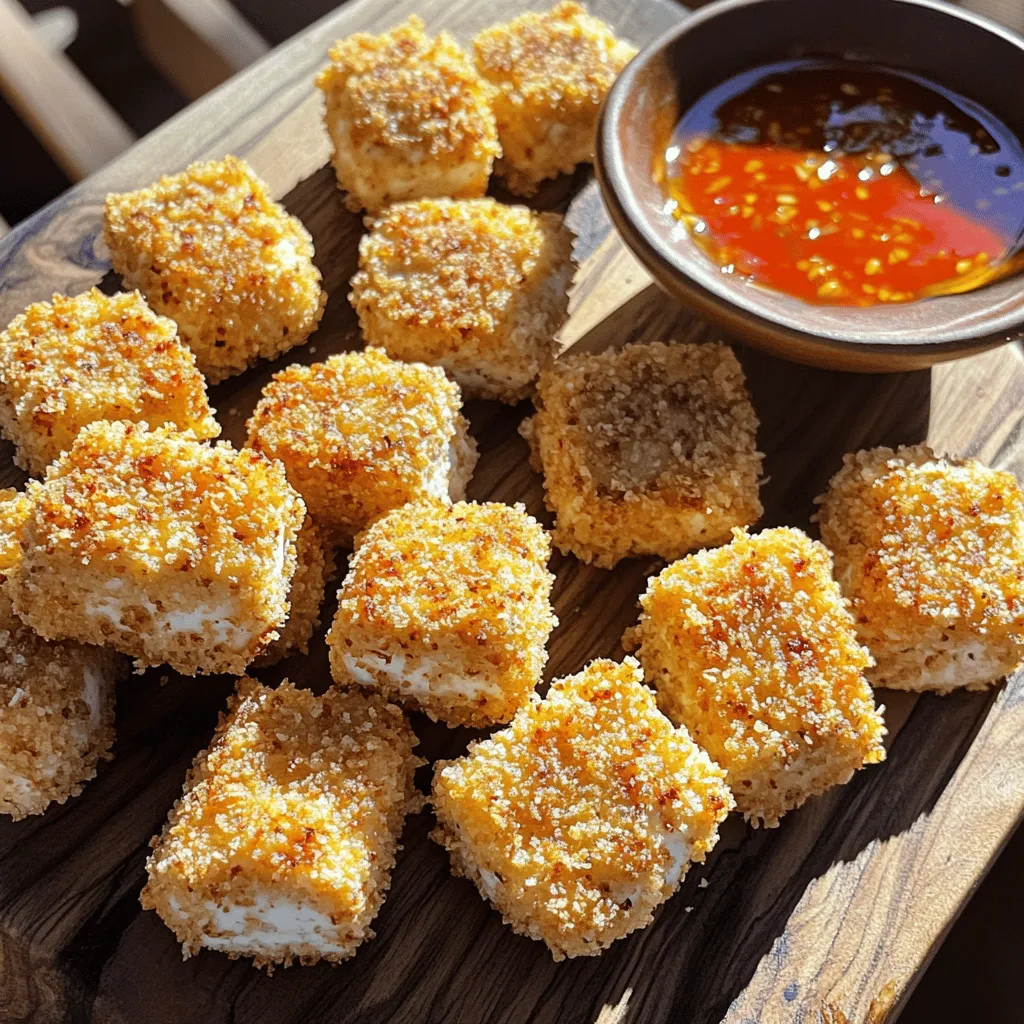
If you’re on the hunt for a fun, healthy snack, you’ve landed in the right place! Baked Crispy Tofu Nuggets are not only tasty but also easy to make. I’ll share simple steps and tips to create the perfect crunch. Plus, you’ll find options for sauces and variations. Whether you’re vegan or just love great snacks, these nuggets are a must-try! Let’s get cooking and enjoy an awesome treat!
Ingredients
Main Ingredients for Baked Crispy Tofu Nuggets
To make baked crispy tofu nuggets, gather these main ingredients:
– 1 block (14 oz) firm tofu, thoroughly pressed and cut into bite-sized cubes
– 1 cup panko breadcrumbs
– 1/2 cup all-purpose flour
– 1/2 cup unsweetened plant milk (choices include almond, soy, or oat)
– 2 tablespoons nutritional yeast
– 1 teaspoon garlic powder
– 1 teaspoon onion powder
– 1 teaspoon smoked paprika
– Salt and pepper to taste
– 2 tablespoons olive oil (for drizzling)
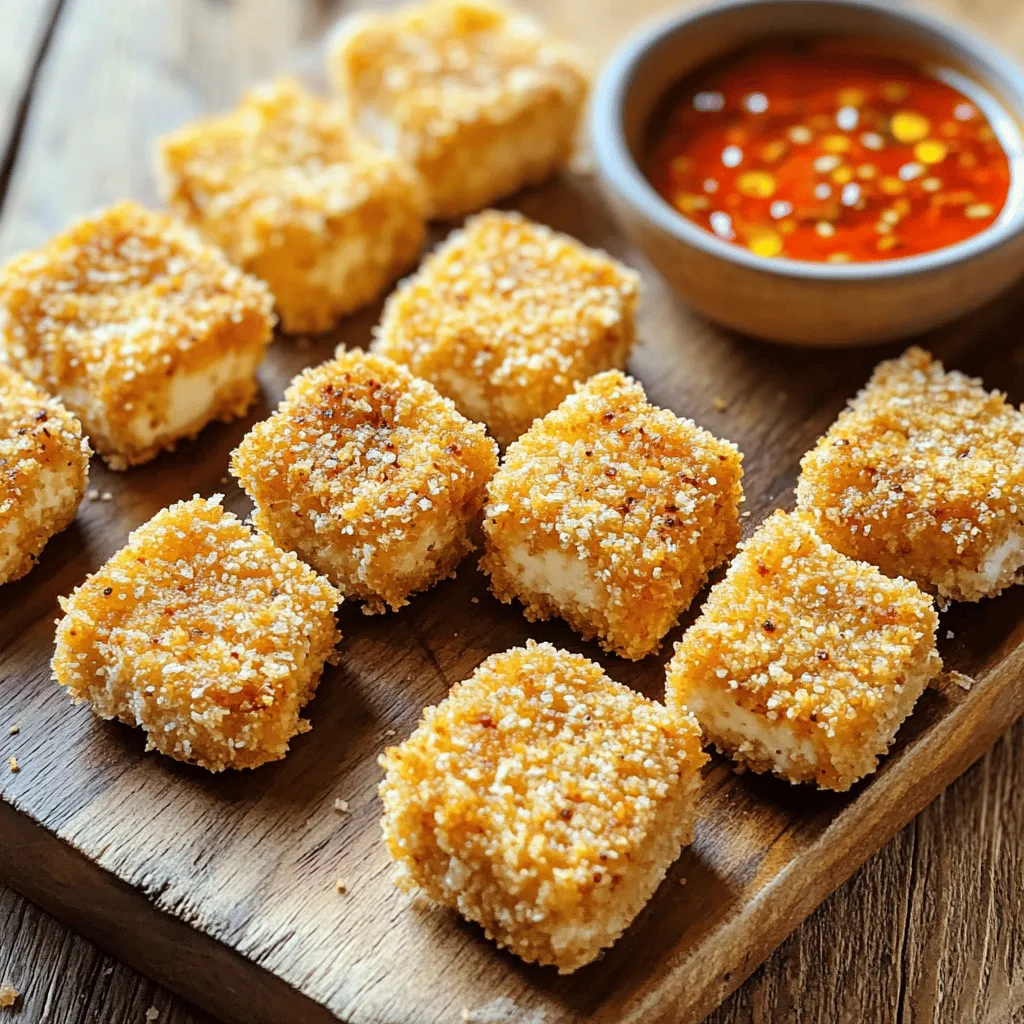
These ingredients create a crunchy and tasty bite. The tofu serves as the main protein source. Panko breadcrumbs give a crispy texture. Nutritional yeast adds a cheesy flavor without dairy.
Optional Ingredients for Dipping Sauces
You can pair your tofu nuggets with fun dipping sauces. Here are some great options:
– Sweet chili sauce
– BBQ sauce
– Ranch dressing
Choosing a sauce can make the meal more exciting. You can switch up flavors and match your mood.
Nutritional Highlights
Baked crispy tofu nuggets are not only delicious but also healthy. Here’s why:
– Tofu provides protein and is low in calories.
– Nutritional yeast is high in B vitamins.
– Panko breadcrumbs are a lighter choice than regular breadcrumbs.
These nuggets offer a good balance of nutrients. They are a smart snack for both kids and adults. Enjoy them without guilt while adding flavor and crunch to your day!
Step-by-Step Instructions
Preparation of Tofu
Start with firm tofu. Press it to remove excess water. Wrap the tofu in a clean towel. Place a heavy object on top, like a pan, for about 15 minutes. After pressing, cut the tofu into bite-sized cubes. This helps the tofu absorb flavors better.
Coating Process
You will need three bowls for coating. In the first bowl, add all-purpose flour, salt, and pepper. Mix well. In the second bowl, pour in the plant milk. This will help the coating stick. In the third bowl, mix panko breadcrumbs with nutritional yeast, garlic powder, onion powder, and smoked paprika. Mix until everything is even.
Now, take one tofu cube. First, dredge it in the flour. Shake off any extra flour. Next, dip it into the plant milk. Let any excess milk drip off. Finally, roll it in the panko mix. Press gently to coat it well. Repeat this for all cubes.
Baking Instructions
Preheat your oven to 400°F (200°C). Line a baking sheet with parchment paper to prevent sticking. Place the coated tofu nuggets on the sheet. Make sure they are spread out. Drizzle olive oil over the nuggets for crispiness. Bake for 25-30 minutes. Flip them halfway through to get golden brown on both sides. When done, let them cool for a few minutes. Now, enjoy your baked crispy tofu nuggets with your favorite dipping sauce!
Tips & Tricks
How to Achieve Extra Crispiness
To make your baked crispy tofu nuggets extra crunchy, follow these steps:
– Use firm tofu. It holds its shape well and crisps up nicely.
– Press the tofu well. Remove as much water as possible to help it crisp.
– Coat the tofu with olive oil. This adds flavor and aids in browning.
– Spread the nuggets out on the baking sheet. Avoid overcrowding to ensure even cooking.
– Flip them halfway through baking. This helps both sides get crispy and golden.
Flavor Enhancements
To boost the flavor of your tofu nuggets, try these tips:
– Add spices to the flour mix. Chili powder or cumin can give a kick.
– Use flavored plant milk. This can add depth to the taste.
– Mix in herbs. Fresh or dried herbs like thyme or basil can elevate the dish.
– Experiment with dipping sauces. Try spicy mayo or zesty lemon aioli for extra zing.
Common Mistakes to Avoid
Here are some common mistakes when making crispy tofu nuggets:
– Not pressing the tofu enough. This can lead to soggy nuggets.
– Skipping the oil. Without it, the nuggets may not brown properly.
– Not seasoning adequately. A pinch of salt and pepper makes a big difference.
– Overcrowding the baking sheet. This can result in steaming instead of baking.
Follow these tips to ensure your baked crispy tofu nuggets turn out perfect every time.
Variations
Gluten-Free Options
You can easily make baked crispy tofu nuggets gluten-free. Just swap out the all-purpose flour and panko breadcrumbs for gluten-free versions. Use gluten-free flour like almond or rice flour. For the breadcrumbs, try gluten-free panko or crushed rice cereal. This way, everyone can enjoy a crispy snack without worry.
Flavor Variants
Want to spice things up? You can create different flavors! For an Asian-inspired twist, add soy sauce or sesame oil to your plant milk. Then, mix in sesame seeds or ginger powder with the breadcrumb coating. For a spicy kick, add cayenne pepper or chili flakes to the seasoning mix. These small changes can take your nuggets to a whole new level!
Different Cooking Methods
You can also try cooking methods beyond baking. An air fryer is a great choice for crispy nuggets. It uses hot air to cook and crisp the tofu. Preheat your air fryer to 375°F (190°C). Arrange the nuggets in a single layer and cook for about 15-20 minutes. Shake the basket halfway through for even cooking. This method can save time and give you an even crispier result.
Storage Info
How to Store Leftovers
To store your leftover baked crispy tofu nuggets, let them cool completely. Place them in an airtight container. Keep them in the fridge for up to three days. Make sure to separate layers with parchment paper to avoid sticking. Keeping them covered helps retain their flavor and moisture.
Reheating Tips for Best Texture
When reheating, use the oven for the best texture. Preheat your oven to 350°F (175°C). Arrange the nuggets on a baking sheet in a single layer. Bake for about 10-15 minutes until they are hot and crispy again. Avoid the microwave, as it can make them soggy.
Freezing Guidelines
You can freeze these nuggets for longer storage. Allow them to cool completely, then place them in a freezer-safe bag. Remove as much air as possible to prevent freezer burn. They can last for up to two months. To cook from frozen, bake directly from the freezer at 400°F (200°C) for about 30-35 minutes. Enjoy your Baked Crispy Tofu Nuggets anytime!
FAQs
How long do baked tofu nuggets last?
Baked tofu nuggets last about 3 to 5 days in the fridge. Store them in an airtight container. This keeps them fresh and tasty. If you want to enjoy them longer, consider freezing.
Can I make these nuggets ahead of time?
Yes, you can make these nuggets ahead of time. Prepare the tofu nuggets and store them in the fridge. Cook them within 24 hours for the best taste and texture. You can also freeze them before baking. Just remember to thaw them in the fridge overnight before cooking.
What can I serve with baked crispy tofu nuggets?
You can serve baked crispy tofu nuggets with many tasty sides. Here are some ideas:
– Fresh veggie sticks like carrots or cucumbers
– A vibrant salad with mixed greens
– Your favorite dipping sauces like BBQ or sweet chili
– Rice or quinoa for a filling meal
Feel free to mix and match to create your perfect plate!
Baked crispy tofu nuggets offer a tasty, healthy snack or meal. We explored the ingredients, preparation, and tips for the best texture. I shared storage and reheating tips to keep leftovers fresh. Feel free to experiment with flavors and cooking methods to suit your taste. This dish is not just good for you; it’s fun to make! Enjoy the crunch and flavor of these nuggets, whether as a main dish or a tasty side.


