Mango Lassi Popsicles Refreshing Summer Treat
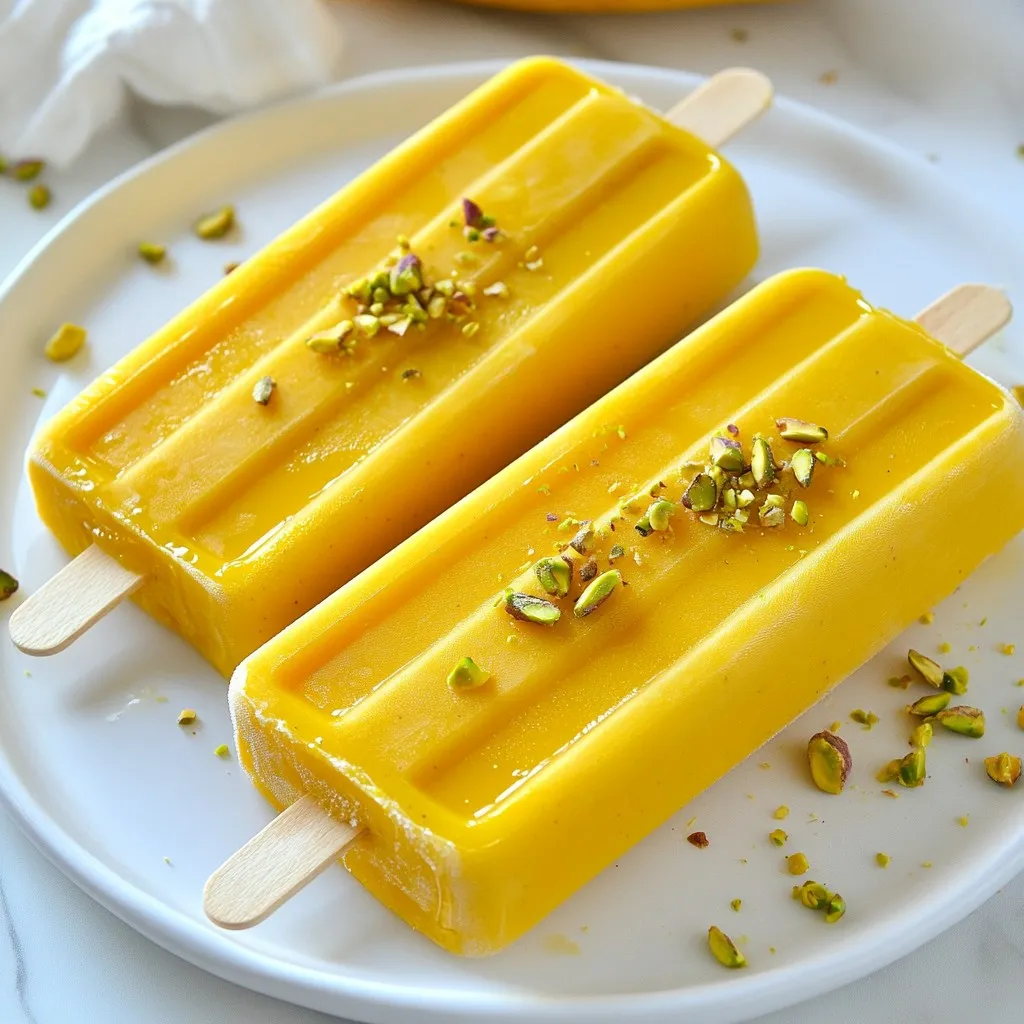
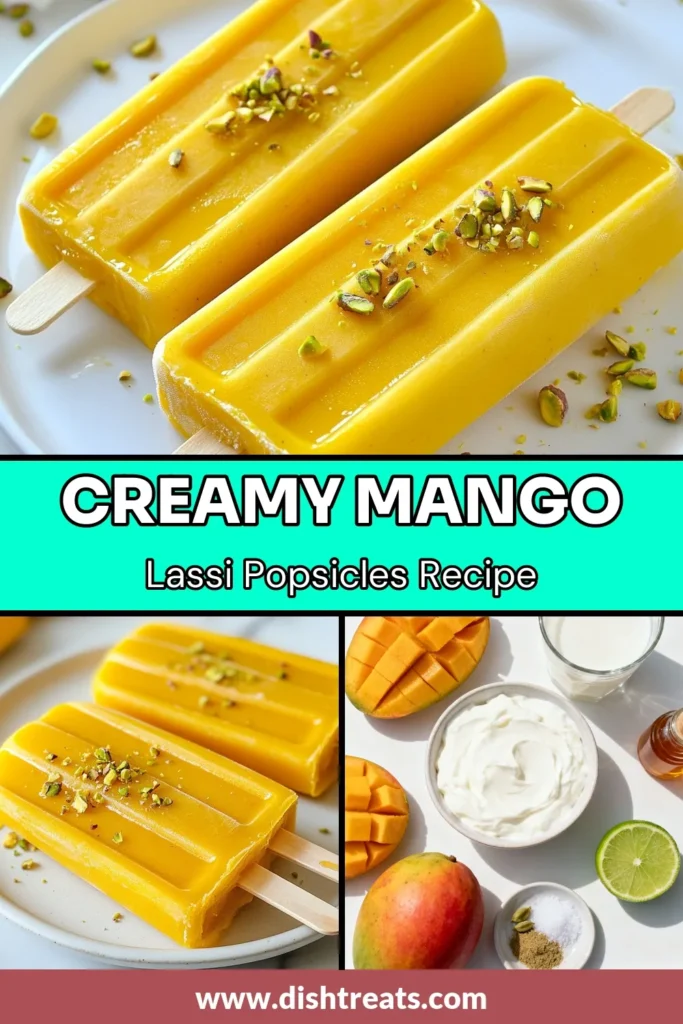
Craving a cool treat this summer? Mango Lassi Popsicles are the answer! With sweet mango, creamy yogurt, and a hint of spice, they bring joy in every bite. I’ll guide you through simple steps to create these refreshing frozen delights. Plus, learn how to customize them with flavors you love. Dive in to make this fun summer treat that everyone will enjoy!
Why I Love This Recipe
- Refreshing Treat: These mango lassi popsicles are incredibly refreshing, making them the perfect way to cool down on a hot day.
- Easy to Make: With just a few simple ingredients and a quick blend, you can whip these popsicles up in no time!
- Healthy Indulgence: Packed with nutritious mango and yogurt, these popsicles are a guilt-free dessert option that everyone will love.
- Customizable Flavor: You can easily adjust the sweetness or add spices like cardamom to tailor the flavor to your liking.
Ingredients
List of Required Ingredients
- 2 ripe mangoes, peeled and diced
- 1 cup plain yogurt (Greek or regular for creaminess)
- 1/2 cup milk (use coconut milk for a dairy-free alternative)
- 3 tablespoons honey or maple syrup (adjust to your desired sweetness)
- 1/2 teaspoon ground cardamom (optional)
- 1 tablespoon fresh lime juice
- A pinch of salt
Optional Ingredients for Customization
- Fresh mint leaves for a refreshing twist
- A splash of vanilla extract for added flavor
- Crushed pistachios for a crunchy topping
Ingredient Substitutions
- Use almond milk or oat milk instead of regular milk for a dairy-free option.
- Swap honey for agave syrup if you prefer a vegan sweetener.
- For a thicker texture, use full-fat yogurt.

Step-by-Step Instructions
Preparing the Mango Mixture
First, gather your ingredients. You need two ripe mangoes, yogurt, milk, honey, ground cardamom, lime juice, and salt.
Start by peeling and dicing the mangoes into small pieces. Place them in your blender. Next, add one cup of plain yogurt. You can use Greek yogurt for a richer taste.
Pour in half a cup of milk. If you want a dairy-free option, choose coconut milk. Add three tablespoons of honey or maple syrup to sweeten the mix. If you like, sprinkle in half a teaspoon of ground cardamom for a hint of spice.
Finally, squeeze in one tablespoon of fresh lime juice and add a pinch of salt. This will lift the flavors.
Blending and Pouring into Molds
Now, blend the mixture on high speed. Blend it until it is smooth and creamy. Make sure there are no lumps left.
Taste the mixture. If you want it sweeter, add a bit more honey or syrup. Once you are happy with the taste, it’s time to pour.
Carefully pour the blended mango mix into popsicle molds. Leave a small gap at the top of each mold. The mixture will expand as it freezes.
Insert popsicle sticks into the molds. Make sure they stand straight.
Freezing and Unmolding the Popsicles
Place the molds into the freezer. Let them freeze for at least six hours. You want them to be completely solid.
When the time is up, it’s time to enjoy your popsicles. To remove them, run warm water over the outside of the molds for a few seconds. This will help loosen the popsicles.
Gently pull them out by the stick. Now you have tasty mango lassi popsicles ready to enjoy on a hot day!
Tips & Tricks
Achieving the Perfect Creaminess
To get creamy mango lassi popsicles, use ripe mangoes. They should be sweet and soft. Choose plain yogurt, Greek or regular, for the best texture. Greek yogurt adds extra creaminess. If you’re dairy-free, coconut milk works great. Blend until the mixture is smooth with no lumps. This smoothness makes each bite feel rich and delightful.
Adjusting Sweetness to Taste
Taste the mango lassi mixture after blending. If you want it sweeter, add more honey or maple syrup. Start with three tablespoons, then adjust. Everyone likes a different level of sweetness. This lets you customize the popsicles to your taste. You can also add a pinch of salt to balance flavors.
Storing Leftover Mango Lassi Mixture
If you have leftover mango lassi, store it in an airtight container. It will keep in the fridge for up to three days. You can enjoy it as a drink. Just give it a quick stir before drinking. If you want more popsicles later, pour the mixture into molds and freeze again.
Pro Tips
- Choose Ripe Mangoes: Make sure your mangoes are ripe for the sweetest and most flavorful popsicles. Look for mangoes that yield slightly to pressure and have a sweet aroma.
- Adjust Sweetness: Taste the mango mixture before freezing and adjust the sweetness according to your preference. Remember, freezing can dull the sweetness, so aim for a slightly sweeter mixture.
- Experiment with Flavors: Feel free to add other ingredients like coconut flakes or a splash of vanilla extract for an extra layer of flavor in your popsicles.
- Storage Tips: Once frozen, store the popsicles in an airtight container to prevent freezer burn and maintain their delicious flavor for longer.

Variations
Adding Different Fruits (e.g., berries, bananas)
You can enhance your mango lassi popsicles by adding other fruits. Berries like strawberries and blueberries blend well with mango. Their tartness adds a nice contrast. Bananas also work great. They make the popsicles creamier and sweeter. Simply add about one cup of your chosen fruit to the blender with the mango. Blend until smooth.
Swapping Yogurt Types (Greek vs. Regular vs. Dairy-Free)
The type of yogurt you use can change the flavor and texture. Greek yogurt gives a thick and creamy popsicle. Regular yogurt is lighter and tangy. If you need a dairy-free option, try coconut yogurt. It adds a hint of tropical flavor. Choose what fits your taste or diet. The yogurt choice can make your popsicles unique.
Spice Infusions (e.g., cinnamon, ginger)
Adding spices can elevate your popsicles. Cardamom gives a warm, exotic flavor, but you can try other spices too. A pinch of cinnamon adds warmth. Fresh ginger gives a little kick and pairs well with mango. Just add a small amount and taste as you go. The right spice will make your popsicles stand out and surprise your guests.
Storage Info
Best Practices for Freezing Popsicles
To freeze your mango lassi popsicles well, start with clean molds. This helps avoid any unwanted flavors. Pour the mango mixture into the molds carefully. Leave a little space at the top. The mixture will expand as it freezes. Insert the sticks straight into the molds. This keeps them centered and upright while freezing. For best results, cover the molds with plastic wrap. This prevents ice crystals from forming on the popsicles.
How to Store in the Freezer
Once the popsicles freeze solid, take them out of the molds. Wrap each popsicle in plastic wrap. This keeps them fresh and prevents freezer burn. Place the wrapped popsicles in a freezer bag. Label the bag with the date. This helps you remember when you made them. Store the bag in the freezer, away from strong-smelling foods.
Recommended Shelf Life
Mango lassi popsicles stay tasty for about 2 to 3 months in the freezer. After that, they may lose flavor and texture. If you notice ice crystals, it’s best to toss them. Always check for any odd smells or changes in color. Enjoy them while they are fresh for the best taste!
FAQs
Can I use frozen mangoes instead of fresh?
Yes, you can use frozen mangoes! They work well in this recipe. Just make sure to thaw them a bit before blending. This helps the blender mix smoothly. Using frozen mangoes can make your popsicles extra cold and refreshing.
How do I make these popsicles vegan?
To make vegan popsicles, simply swap the yogurt and milk with dairy-free options. Use coconut milk and almond yogurt or any plant-based yogurt you enjoy. This keeps the creamy texture while making it vegan-friendly. You can substitute honey with maple syrup for sweetness.
What can I do if the popsicles are hard to remove?
If your popsicles are tough to pull out, run warm water over the outside of the molds. Just a few seconds will help loosen them. Then, gently pull the popsicles out by the stick. This method works great and keeps your popsicles intact.
You learned how to make delicious mango lassi popsicles. We covered key ingredients, tips for making them creamy, and ways to customize flavors. Don’t hesitate to experiment with fruits and spices to find your perfect combo. Remember, these treats freeze well, but use them within a few months. With these steps, you can enjoy a tasty and refreshing snack anytime. Dive in and savor the flavor

Mango Lassi Popsicles
Ingredients
- 2 whole ripe mangoes, peeled and diced
- 1 cup plain yogurt (Greek or regular)
- 1/2 cup milk (coconut milk for dairy-free)
- 3 tablespoons honey or maple syrup
- 1/2 teaspoon ground cardamom (optional)
- 1 tablespoon fresh lime juice
- a pinch salt
Instructions
- Begin by adding the diced mangoes, yogurt, milk, honey (or maple syrup), ground cardamom if using, lime juice, and salt into a high-speed blender.
- Blend the mixture on high until it becomes completely smooth and creamy, with no lumps remaining. Taste the mixture and adjust the sweetness by adding more honey or syrup if desired.
- Carefully pour the blended mango mixture into popsicle molds, leaving just a small gap at the top in each mold, as the mixture will expand when freezing.
- Insert popsicle sticks into each mold, ensuring they stand upright, then transfer the molds to the freezer.
- Let the popsicles freeze for a minimum of 6 hours, or until they are completely solid throughout.
- To remove your delicious popsicles, briefly run warm water over the outside of the molds for a few seconds, which will help loosen the popsicles, then gently pull them out by the stick.