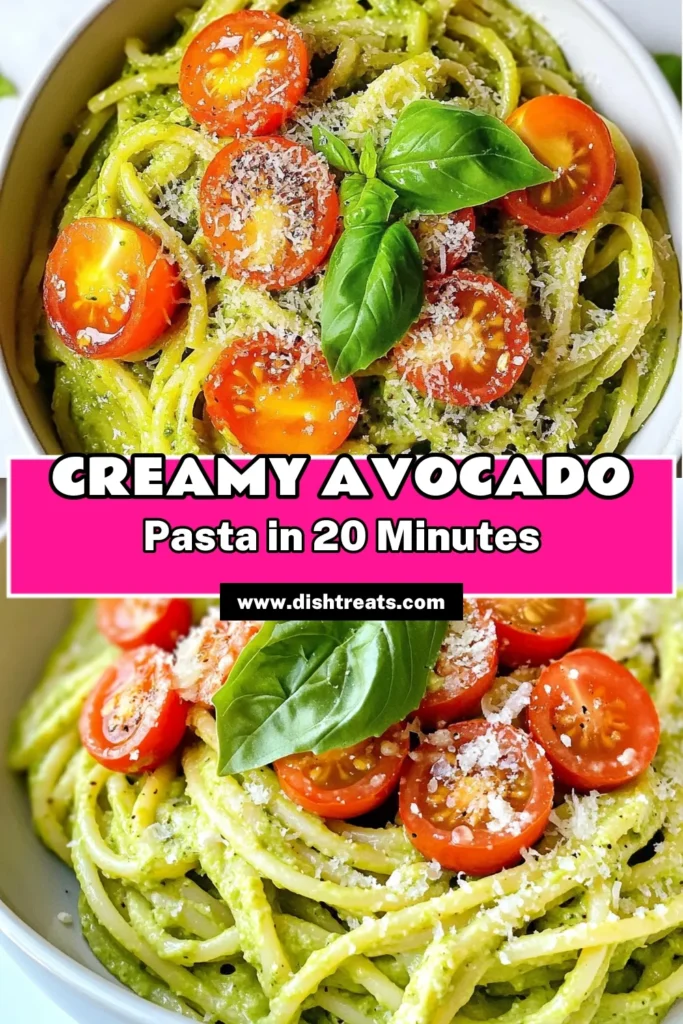
Creamy Avocado Pasta Easy and Tasty Weeknight Meal
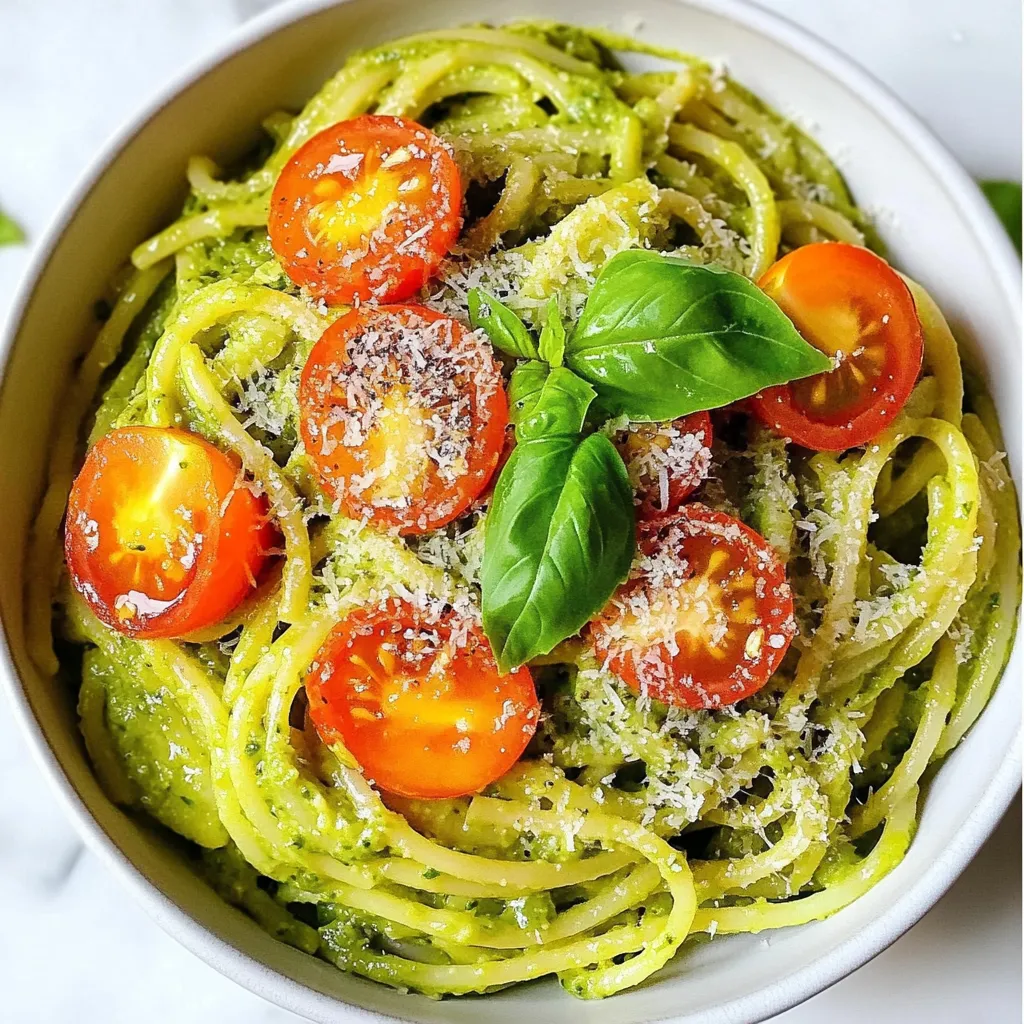
Looking for a quick and delicious weeknight meal? Try my creamy avocado pasta! It’s easy to make with just a few fresh ingredients, like ripe avocados and garlic. You’ll have a tasty dinner on the table in no time. Plus, it’s packed with flavor and nutrients, making it a great choice for everyone. Let’s dive into this simple recipe that will impress your family and friends!
Why I Love This Recipe
- Fresh and Creamy: This avocado pasta sauce is a delightful blend of creamy texture and fresh flavors, making it a perfect light meal or side dish.
- Quick and Easy: With a prep time of just 10 minutes, this recipe is ideal for busy weeknights when you crave something delicious without spending hours in the kitchen.
- Customizable: You can easily adjust the ingredients to suit your taste, adding more garlic, heat with red pepper flakes, or even incorporating nuts for added texture!
- Healthy Ingredients: Packed with healthy fats from avocados and the goodness of fresh basil, this dish is not only tasty but also nutritious!
Ingredients
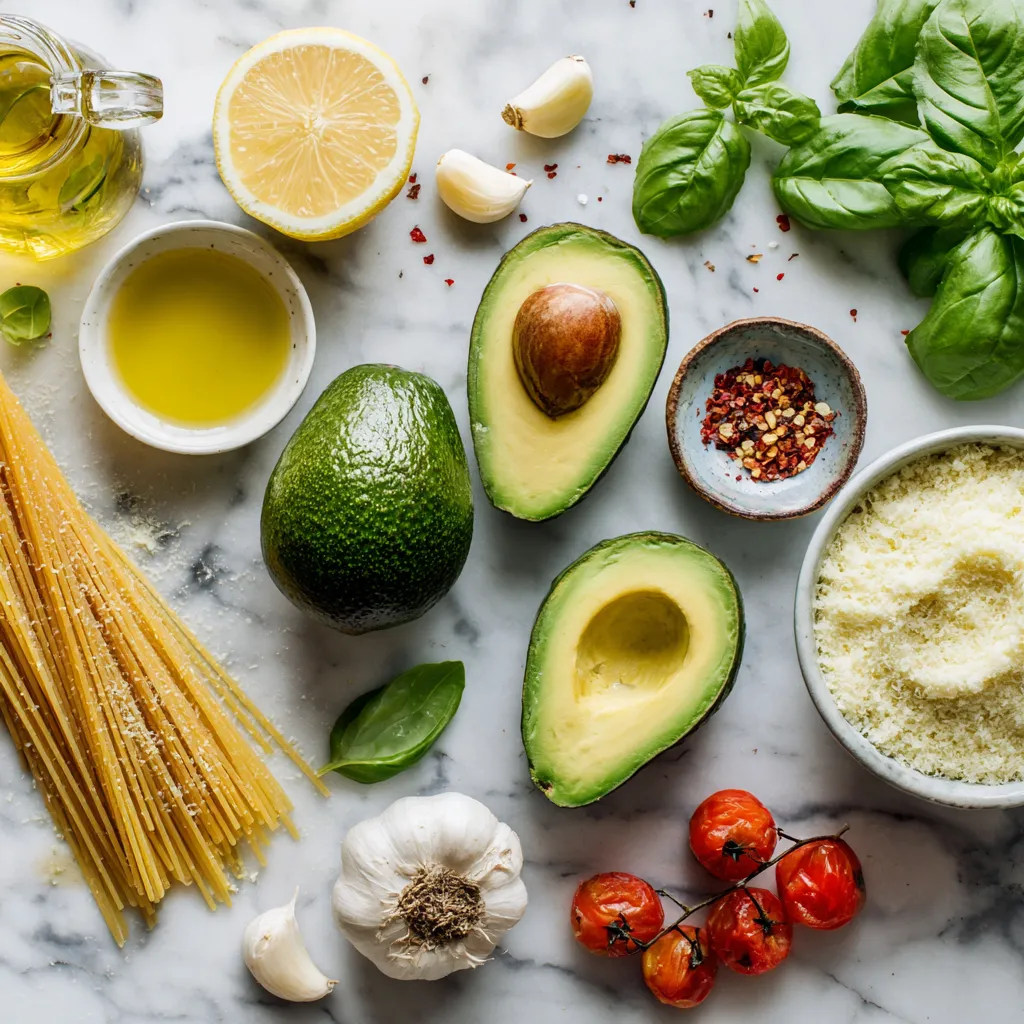
List of Ingredients
- 2 ripe avocados, pitted and peeled
- 2 cloves of garlic, finely minced
- 1 lemon, zested and juiced
- 1/4 cup high-quality extra virgin olive oil
- 1/2 cup fresh basil leaves, packed
- 1/4 teaspoon red pepper flakes (optional, for a touch of heat)
- Salt and freshly cracked pepper to taste
- 12 oz pasta of your choice (spaghetti or fettuccine recommended)
- Grated Parmesan cheese (optional, for serving)
- Cherry tomatoes, halved (for garnish)
Fresh avocados are the star of this dish. They create a smooth and creamy sauce. Look for ripe, dark green avocados. A little give when you squeeze them shows they are ready.
Garlic adds a punch of flavor. Use fresh garlic for the best taste. You can mince it finely for a nice blend in the sauce.
Lemon juice and zest brighten the dish. The lemon balances the creaminess of the avocado. It adds a refreshing taste.
High-quality extra virgin olive oil enriches the sauce. It adds a silky texture and depth of flavor.
Fresh basil leaves bring a lovely aroma and taste. The basil pairs well with the avocado and lemon. It makes the dish more fragrant and vibrant.
Red pepper flakes, while optional, add a bit of heat. You can adjust the amount based on your spice level.
Salt and pepper are key for seasoning. They enhance all the flavors in the dish.
Finally, choose your favorite pasta shape. Spaghetti or fettuccine works best.
Optional toppings like grated Parmesan and cherry tomatoes add a nice touch. They make the dish look and taste even better.
Gather these ingredients, and you’re ready to create a delicious and easy meal!
Step-by-Step Instructions
Cooking the Pasta
To cook pasta al dente, start with a large pot of boiling salted water. Add your 12 oz of pasta and cook it according to the package instructions. This usually takes about 8 to 10 minutes. You want the pasta to be firm but not hard.
While the pasta cooks, you need to reserve some pasta water. Before draining the pasta, scoop out about 1 cup of the starchy water. This water is key for making your sauce creamy later.
Making the Avocado Sauce
Now, let’s make the avocado sauce. In a food processor, add the two ripe avocados, two cloves of minced garlic, the juice and zest of one lemon, and the 1/4 cup of extra virgin olive oil. Toss in the fresh basil leaves and the optional red pepper flakes if you like a little heat.
Blend everything until smooth. The goal is a creamy, thick sauce. If it feels too thick, add in some reserved pasta water. Blend again until you reach a silky texture. Taste it and season with salt and freshly cracked pepper.
Combining Pasta and Sauce
After draining your pasta, return it to the pot (make sure the heat is off). Pour your creamy avocado sauce over the warm pasta. Gently toss everything together. You want every piece of pasta coated in this delicious sauce.
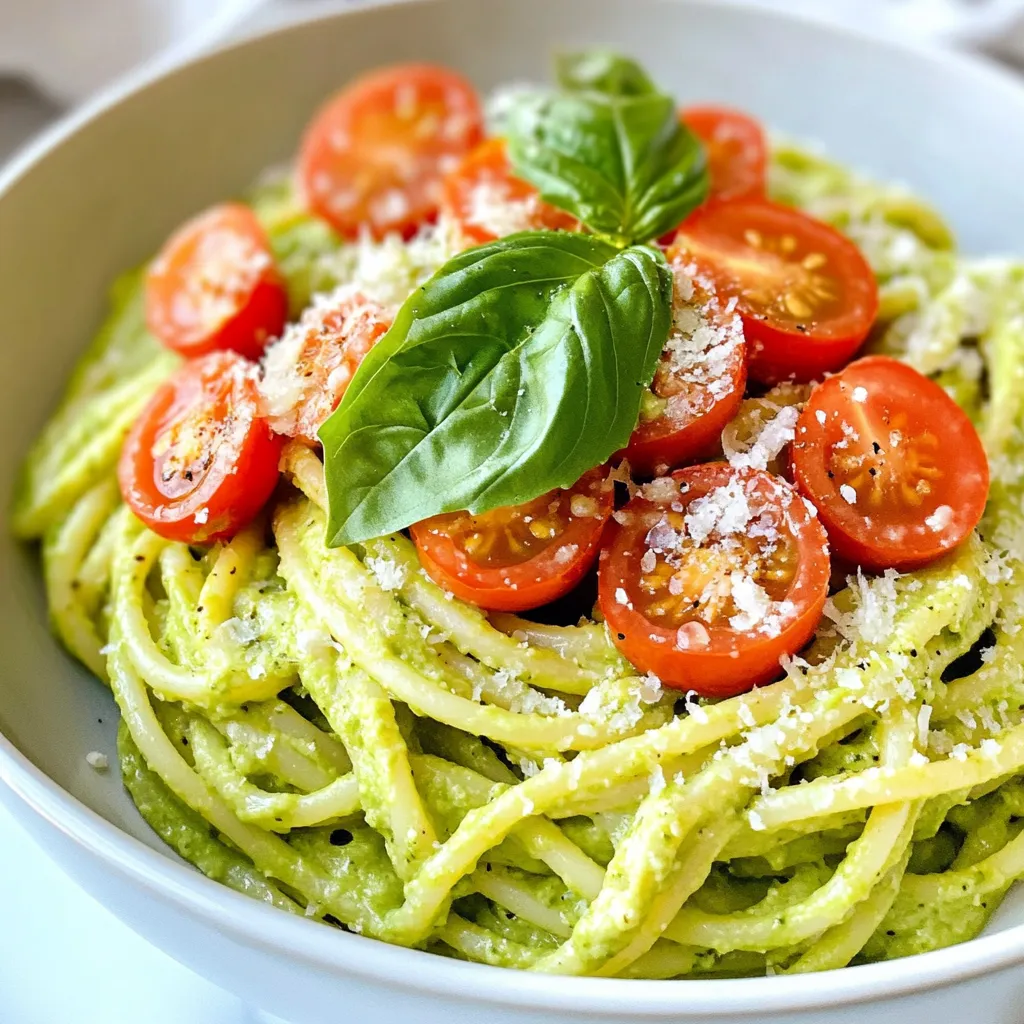
For serving, dish it up immediately. You can sprinkle some grated Parmesan cheese on top if you’d like. Adding halved cherry tomatoes gives a nice splash of color and freshness. Enjoy your creamy avocado pasta!
Tips & Tricks
Selecting Ripe Avocados
Signs of Ripeness
To find a ripe avocado, look for a dark green skin. It should feel slightly soft when you press it gently. If it feels firm, it is not ready yet. Avoid any avocados with dark spots or cracks. These signs mean the fruit may be overripe.
Storage Tips for Avocados
If your avocado is not ripe, store it at room temperature. Once it ripens, use it within a few days. To slow down ripening, place it in the fridge. If you have cut an avocado, keep the pit in. This helps it stay fresh longer.
Enhancing Flavor
Seasoning Tips
The key to a great avocado pasta is seasoning. Add salt and pepper to taste after blending the sauce. For an extra kick, try adding a pinch of red pepper flakes. This gives the dish a nice heat that balances the creaminess.
Optional Add-ins for Extra Flavor
You can mix in fresh herbs like parsley or cilantro for more flavor. A touch of lime juice can add a zing, too. If you love cheese, try adding some grated Parmesan to the sauce before blending.
Presentation Tips
Plating Suggestions
For a beautiful display, serve your creamy avocado pasta in a large bowl. Twirl the pasta into nests for a fancy look. You can also use individual plates for each guest, making it feel special.
Garnishing Options
Top your pasta with halved cherry tomatoes for color. A sprinkle of extra basil leaves adds freshness. Drizzles of olive oil or a few nuts can add a nice touch too. Enjoy showing off your delicious dish!
Pro Tips
- Use Ripe Avocados: Make sure your avocados are perfectly ripe for the creamiest sauce. Look for avocados that yield slightly to gentle pressure.
- Customize the Heat: Adjust the amount of red pepper flakes based on your spice preference; you can also substitute with fresh chili for a different flavor profile.
- Fresh Ingredients Matter: Use fresh basil and high-quality extra virgin olive oil to enhance the flavor of your sauce. Fresh ingredients make a significant difference!
- Serve Immediately: This dish is best enjoyed fresh. The longer it sits, the more the avocado may brown, so serve it right after mixing for optimal taste and presentation.
Variations
Alternative Pasta Types
You can switch up your pasta for this dish. For a gluten-free option, try brown rice or chickpea pasta. Both add great flavor and texture. Whole wheat pasta is another healthy choice. It has more fiber than regular pasta, which makes it filling and nutritious. Regular pasta works well too, so pick what you love best.
Sauce Variations
You can make this sauce even more fun. Try adding fresh herbs like cilantro or parsley for a new taste. If you’re feeling adventurous, toss in some nuts like pine nuts or walnuts. These add crunch and flavor. You can also mix in cheese, like goat cheese or feta, for a creamy twist. Each option brings something special to the dish.
Serving Suggestions
This creamy avocado pasta pairs well with proteins. Grilled chicken or sautéed shrimp add a nice touch of protein. They make the meal more filling and delicious. You can serve this pasta with fresh salads or warm bread. A light salad adds color and freshness, while crusty bread is perfect for scooping up that creamy sauce. Enjoy your meal!
Storage Info
Short-Term Storage
For short-term storage, keep any leftover creamy avocado pasta in an airtight container. It stays fresh in the fridge for up to two days. To avoid browning, add a bit of lemon juice to the pasta. This helps keep that bright green color. When you reheat, do so gently. Use low heat on the stove or a microwave. Stir often to ensure even warming.
Long-Term Storage Options
If you want to save the sauce for later, freezing is a great option. Place the creamy avocado sauce in a freezer-safe container. Leave some space at the top for expansion. It can last in the freezer for up to three months. When you’re ready to use it, thaw the sauce in the fridge overnight.
Reheating Tips
Reheat the sauce gently. Use low heat on the stove or in a microwave. You may need to add a splash of water or olive oil. This helps regain its creamy texture. Stir often to mix in any added liquid. This way, your creamy avocado sauce will taste fresh, even after freezing.
FAQs
How do I make creamy avocado pasta vegan?
To make this dish vegan, you can easily substitute the Parmesan cheese. Use nutritional yeast instead, as it gives a cheesy flavor without dairy. For the pasta, choose egg-free varieties like spaghetti made from durum wheat or gluten-free options made from rice or lentils.
Can I prepare this dish ahead of time?
Yes, you can prepare creamy avocado pasta ahead of time. To do this, cook the pasta and make the sauce separately. Store them in airtight containers in the fridge. When ready to eat, combine them and warm them gently on the stove. Add a little reserved pasta water to keep it creamy.
What can I use if I don’t have fresh basil?
If you don’t have fresh basil, you can use other herbs. Parsley or cilantro work well as substitutes. For a different flavor, try adding spinach or arugula. You can even use dried herbs like oregano or thyme, but use less since they are stronger.
This blog post explored how to create a tasty avocado pasta dish. We covered the key ingredients, step-by-step cooking methods, and helpful tips. You learned how to make a creamy sauce, choose the right pasta, and serve it beautifully.
In closing, remember that avocado pasta is versatile and fun to make. Experiment with flavors and ingredients that you love. This dish is not just healthy; it’s also a delightful experience for your taste buds. Enjoy and happy cookin

Creamy Avocado Pasta Delight
Ingredients
- 2 whole ripe avocados, pitted and peeled
- 2 cloves garlic, finely minced
- 1 whole lemon, zested and juiced
- 0.25 cup high-quality extra virgin olive oil
- 0.5 cup fresh basil leaves, packed
- 0.25 teaspoon red pepper flakes (optional, for a touch of heat)
- to taste salt and freshly cracked pepper
- 12 oz pasta of your choice (spaghetti or fettuccine recommended)
- to taste grated Parmesan cheese (optional, for serving)
- as needed cherry tomatoes, halved (for garnish)
Instructions
- Begin by cooking the pasta: In a large pot of boiling salted water, cook the pasta according to the package instructions until it reaches an al dente texture. Once cooked, reserve approximately 1 cup of the starchy pasta water before draining the pasta.
- While the pasta is cooking, prepare the avocado sauce. In a food processor, combine the ripe avocados, minced garlic, fresh lemon juice, lemon zest, extra virgin olive oil, fresh basil leaves, and red pepper flakes (if you love heat). Blend the mixture until it transforms into a smooth and creamy sauce.
- Taste the avocado sauce and season with salt and freshly cracked pepper to your liking. If the sauce appears too thick for your preference, gradually incorporate the reserved pasta water, blending until you achieve a lovely, silky consistency.
- After draining the pasta, return it to the pot (remove from heat). Pour the creamy avocado sauce over the warm pasta and gently toss together, ensuring each strand is evenly coated with the luscious sauce.
- Serve the dish immediately. For an exquisite touch, garnish with a generous sprinkle of grated Parmesan cheese (if desired) and scatter halved cherry tomatoes on top for a pop of color and freshness.