Garlic Parmesan Chicken Nuggets Tasty and Easy Recipe
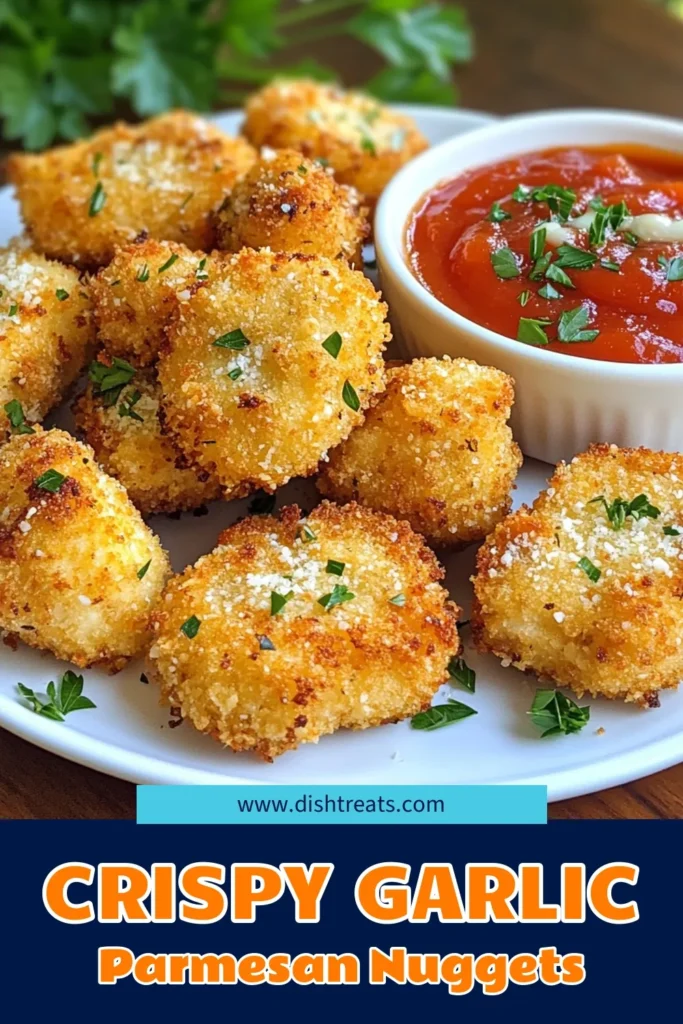
Do you crave a quick and tasty meal? Look no further! In this easy recipe, I’ll guide you through making garlic Parmesan chicken nuggets that will wow your taste buds. With simple ingredients and easy steps, you can whip these up in no time. Whether for a snack or a family dinner, these nuggets are sure to satisfy. Ready to dive in? Let’s get started!
Why I Love This Recipe
- Flavor Explosion: The combination of garlic and Parmesan creates a deliciously savory taste that makes these nuggets irresistible.
- Quick and Easy: This recipe is straightforward and requires minimal prep time, making it perfect for busy weeknights.
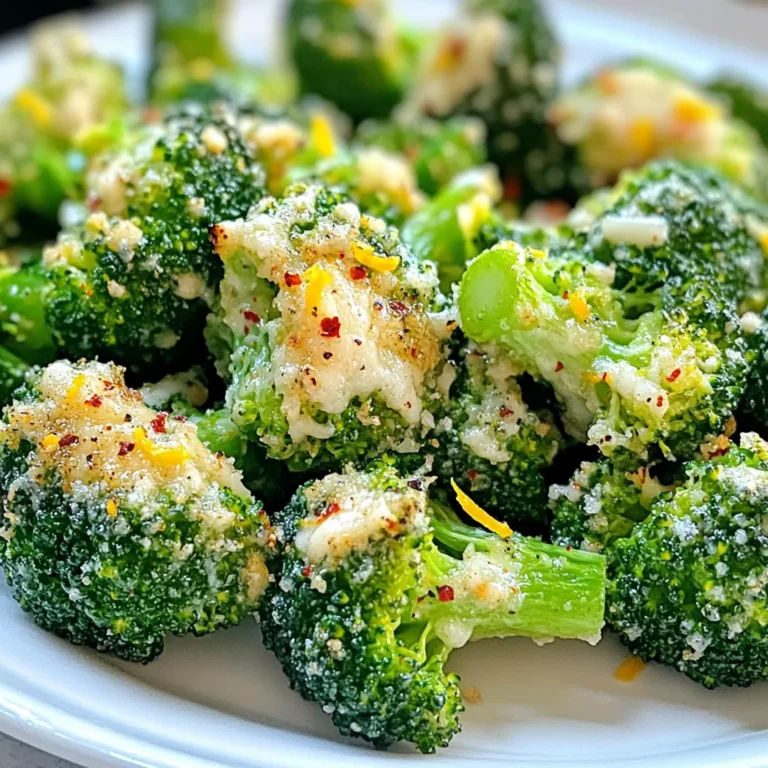
- Healthier Option: Baking instead of frying keeps these nuggets lighter without sacrificing that crispy texture.
- Versatile Dipping: These nuggets pair perfectly with a variety of dips, allowing you to customize your flavor experience.
Ingredients
List of Ingredients
- 1 lb boneless chicken breast, cut into bite-sized morsels
- 1 cup all-purpose flour
- 2 large eggs, beaten until smooth
- 1 cup panko breadcrumbs
- 1/2 cup freshly grated Parmesan cheese
- 4 cloves garlic, finely minced
- 1 teaspoon dried oregano
- 1 teaspoon smoked paprika
- Salt and freshly ground black pepper to taste
- Olive oil spray
Measurement Specifications
- Use 1 pound of chicken for a filling meal.
- Measure flour and breadcrumbs in standard cups for accuracy.
- Freshly grated Parmesan gives the best flavor.
- Use 4 cloves of garlic for strong taste; adjust for milder flavor.
- 2 eggs will coat the chicken well without being too wet.
Ingredient Substitutions
- You can swap chicken breast for thighs if you want more flavor.
- Use almond flour instead of all-purpose flour for a gluten-free option.
- You can replace panko with regular breadcrumbs for a softer texture.
- Nutritional yeast can be used in place of Parmesan for a dairy-free option.
- If you don’t have smoked paprika, regular paprika will still work.
These ingredients will help you create crispy and tasty garlic Parmesan chicken nuggets. Enjoy the cooking process!

Step-by-Step Instructions
Preheat the Oven and Prepare the Baking Sheet
Start by setting your oven to 400°F (200°C). While the oven heats, line a baking sheet with parchment paper. This makes cleanup easy and helps the nuggets cook evenly.
Set Up Coating Stations
Now, gather three shallow dishes. In the first dish, mix 1 cup of all-purpose flour with a pinch of salt and black pepper. In the second dish, beat 2 large eggs until smooth. In the third dish, combine 1 cup of panko breadcrumbs, 1/2 cup of grated Parmesan cheese, 4 minced garlic cloves, 1 teaspoon of dried oregano, and 1 teaspoon of smoked paprika. Stir this mix well to blend all the flavors.
Coating and Arranging the Chicken Nuggets
Take a piece of chicken and roll it in the flour mixture. Make sure all sides are coated, but shake off the extra flour. Next, dip this piece into the beaten eggs, letting the extra egg drip off. Finally, roll the chicken in the breadcrumb mixture. Press gently so the crumbs stick well. Once coated, place each nugget on your prepared baking sheet. Leave some space between them for better cooking. If you want, spray the tops lightly with olive oil for extra crispiness.
Baking Process and Timing
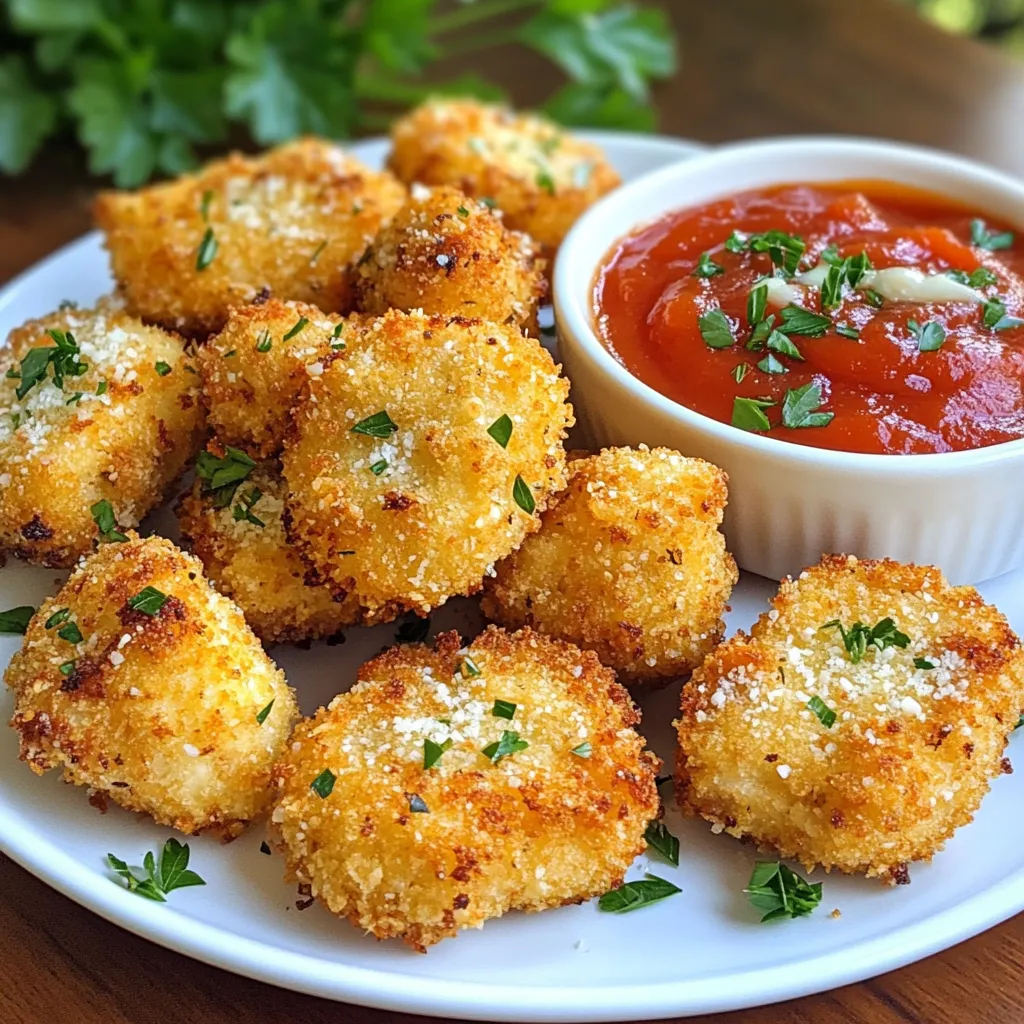
Put the baking sheet in the oven and bake for 15-20 minutes. Be sure to flip the nuggets halfway through. This helps them get golden brown all over. When they are crispy and cooked through, take them out. Let them rest for about a minute on the baking sheet before serving. Enjoy these tasty Garlic Parmesan Chicken Nuggets hot!
Tips & Tricks
Striving for Extra Crispiness
To make your chicken nuggets extra crispy, use panko breadcrumbs. Panko is lighter and crunchier than regular breadcrumbs. For even more crunch, spray the nuggets lightly with olive oil before baking. This helps them brown nicely. Also, flip them halfway through cooking. This ensures a golden crust on all sides.
Flavor Enhancements (Herbs, Spices, etc.)
You can boost the flavor of your nuggets in many ways. Add fresh herbs like parsley or basil to the breadcrumb mix. This adds freshness and color. You can also mix in some cayenne pepper for a little heat. If you want a smoky taste, increase the smoked paprika. Experimenting with these flavors can make each batch unique!
Common Mistakes to Avoid
Avoid overcooking your chicken nuggets. This can lead to dry and tough bites. Keep an eye on them while they bake. Another mistake is not spacing them out on the baking sheet. Crowded nuggets do not cook evenly. Finally, ensure you coat the chicken well in each step. This helps the flavors stick and improves texture.
Pro Tips
- Use Fresh Garlic: Freshly minced garlic gives a much stronger and pleasant flavor compared to pre-minced varieties. Aim for the freshest ingredients for the best taste.
- Double Coat for Extra Crispiness: For an even crunchier texture, you can dip the chicken nuggets in the egg and breadcrumb mixture twice. This enhances the coating and provides a satisfying crunch.
- Let the Nuggets Rest: After baking, allow the chicken nuggets to rest for a few minutes. This helps the juices redistribute, ensuring the nuggets remain moist and flavorful.
- Experiment with Seasonings: Feel free to adjust the seasonings in the breadcrumb mixture to suit your taste. Adding herbs like thyme or a pinch of cayenne pepper can elevate the flavor profile.

Variations
Alternative Coatings (Gluten-Free, Spicy)
You can switch up the coating for your nuggets. For a gluten-free option, use almond flour instead of all-purpose flour. Replace panko with gluten-free breadcrumbs. This keeps the crunch while being safe for those with gluten issues.
If you want some heat, add cayenne pepper or chili powder to the breadcrumb mix. This gives your chicken nuggets a spicy kick. You can also use hot sauce in the egg mixture for more flavor.
Serving Suggestions (Dips, Sides)
Dips can elevate your nuggets. Try marinara sauce for a classic touch. Garlic aioli pairs well too, adding creaminess and flavor. For a twist, serve with honey mustard or ranch dressing.
For sides, consider a fresh salad or crispy fries. Roasted veggies work great for a healthier option. You can also serve them with a platter of sliced veggies for a crunchy contrast.
Meal Prep and Freezing Options
Meal prep is easy with these nuggets. You can make a big batch ahead of time. After coating, place the nuggets on a baking sheet. Freeze them for about an hour, then transfer to a freezer bag. This way, they won’t stick together.
To cook, bake them straight from the freezer. Just add a few extra minutes to the baking time. Enjoy fresh nuggets anytime with little effort!
Storage Info
Refrigeration Guidelines
After cooking, let the chicken nuggets cool completely. Place them in an airtight container. Store them in the fridge for up to three days. Make sure they are sealed tightly to keep them fresh. When ready to eat, you can reheat them.
Freezing Instructions
To freeze, first cool the nuggets. Then, lay them flat on a baking sheet. Freeze them for about an hour. After that, transfer them into a freezer bag. Remove as much air as possible before sealing. They can last up to three months in the freezer.
Reheating Tips
You can reheat the chicken nuggets in the oven for best results. Preheat your oven to 375°F (190°C). Place the nuggets on a baking sheet. Heat them for about 10-12 minutes, or until they are warm and crispy. You can also use a microwave, but the nuggets may get soft. If you use the microwave, heat them in short bursts.
FAQs
What can I dip Garlic Parmesan Chicken Nuggets in?
You can dip Garlic Parmesan Chicken Nuggets in many tasty sauces. Some great choices are:
- Marinara sauce
- Garlic aioli
- Ranch dressing
- Honey mustard
- Barbecue sauce
Each dip adds a unique flavor. Try different dips to find your favorite!
Can I make these nuggets in an air fryer?
Yes, you can make these nuggets in an air fryer! Here’s how:
1. Preheat your air fryer to 400°F (200°C).
2. Arrange the coated nuggets in a single layer in the basket.
3. Cook for about 10-12 minutes, flipping halfway through.
Air-frying gives you a crispy texture with less oil. It’s quick and easy!
How do I know when chicken nuggets are fully cooked?
To check if chicken nuggets are fully cooked, use a meat thermometer. The internal temperature should reach 165°F (74°C). You can also cut one nugget in half. The meat should be white and juices should run clear. No pink means they are done!
Making Garlic Parmesan Chicken Nuggets is fun and easy. We covered the necessary ingredients, measurement tips, and substitutions. You learned step-by-step processes for baking and how to achieve extra crispiness. Exploring variations lets you customize to your taste. Remember the storage tips to keep your nuggets fresh. With these insights, you can whip up a delicious batch anytime. Enjoy your cooking and savor each crispy bit
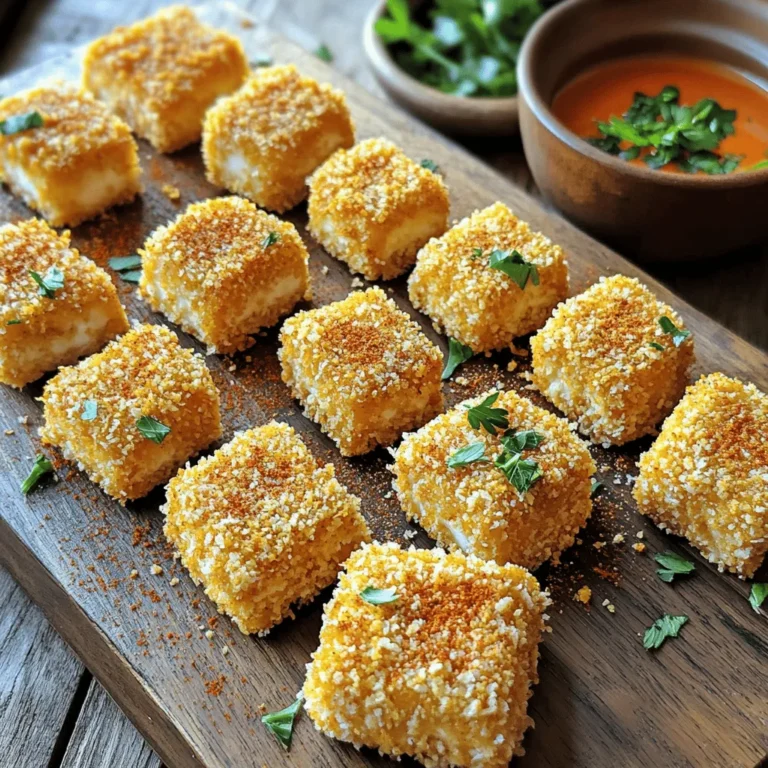
Garlic Parmesan Chicken Nuggets
Ingredients
- 1 lb boneless chicken breast, cut into bite-sized morsels
- 1 cup all-purpose flour
- 2 large eggs, beaten until smooth
- 1 cup panko breadcrumbs
- 1/2 cup freshly grated Parmesan cheese
- 4 cloves garlic, finely minced
- 1 teaspoon dried oregano
- 1 teaspoon smoked paprika
- to taste salt and freshly ground black pepper
- as needed olive oil spray
Instructions
- Preheat the Oven: Set your oven to 400°F (200°C) and prepare a baking sheet by lining it with parchment paper for easy cleanup.
- Prepare the Coating Stations: In the first shallow dish, combine the all-purpose flour with a pinch of salt and freshly ground pepper. In a second shallow dish, beat the eggs until they are fully mixed and a bit frothy. In a third shallow dish, combine the panko breadcrumbs, freshly grated Parmesan cheese, minced garlic, dried oregano, smoked paprika, and a touch of salt and pepper.
- Coat the Chicken Pieces: Roll each piece of chicken in the flour mixture, dip it in the beaten eggs, and then roll it in the breadcrumb mixture, pressing gently to ensure the breadcrumbs adhere.
- Arrange on Baking Sheet: Place the coated chicken nuggets on the prepared baking sheet, spaced out for even cooking. Lightly spray the tops with olive oil if desired.
- Bake the Nuggets: Bake the chicken nuggets in the preheated oven for 15-20 minutes, flipping them halfway through until golden brown and cooked through.
- Finish and Serve: Allow the nuggets to rest for about a minute on the baking sheet before serving.