Cozy Pumpkin Spice Hot Cocoa Bombs for Fall Enjoyment
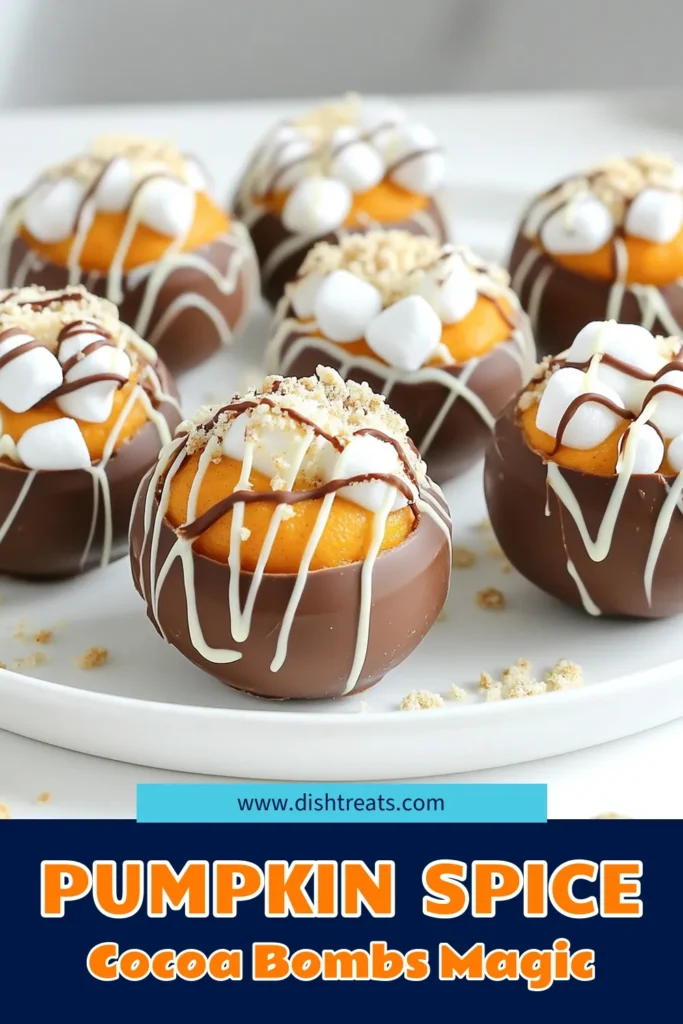
Autumn is here, and so is the cozy warmth of pumpkin spice! If you’re looking for a fun and delicious way to enjoy the season, I have just the treat for you: Cozy Pumpkin Spice Hot Cocoa Bombs. These delightful sweets not only taste amazing but also bring joy to your fall gatherings. Let’s dive into the sweet details, from ingredients to tips, and make this fall unforgettable!
Ingredients
Complete Ingredient List
- 1 cup milk chocolate chips
- 1 cup white chocolate chips
- 1 teaspoon coconut oil
- 1 cup hot cocoa mix
- ½ cup pumpkin puree
- 1 teaspoon pumpkin spice blend (mix of cinnamon, nutmeg, and ginger)
- Mini marshmallows
- Optional: whipped cream and crushed graham crackers for topping
Descriptions of Special Ingredients
Pumpkin Puree: This smooth ingredient adds a rich flavor and creamy texture. It makes the cocoa bombs taste like fall in a cup. Look for pure pumpkin puree, not pumpkin pie filling, for the best taste.
Pumpkin Spice Blend: This mix includes warm spices like cinnamon, nutmeg, and ginger. It brings a cozy, seasonal flavor to your hot cocoa bombs. You can buy it or make your own with common spices from your kitchen.
Coconut Oil: I use coconut oil to help the chocolate melt smoothly. It also helps the chocolate harden nicely, making a strong shell for the cocoa bombs.
Recommended Brands for Ingredients
- Milk Chocolate Chips: Ghirardelli or Nestlé are great choices. They melt well and taste rich.
- White Chocolate Chips: I recommend Guittard or Ghirardelli for their smooth texture and sweet flavor.
- Cocoa Mix: Swiss Miss or Ghirardelli hot cocoa mixes give a classic taste. They blend well with pumpkin flavor.
- Pumpkin Puree: Libby’s is a trusted brand for pure pumpkin. It’s widely available and tasty.
- Pumpkin Spice Blend: McCormick offers a solid blend, but making your own is easy and fresh!
These ingredients create a cozy and delicious experience. Enjoy crafting your hot cocoa bombs!
Step-by-Step Instructions
Melting the Chocolate
To start, take a microwave-safe bowl. Add 1 cup of milk chocolate chips and 1 teaspoon of coconut oil. Heat this in the microwave. Set it for 30 seconds. After each time, stir well. Keep doing this until your chocolate is smooth and melted. This step is key for rich flavor.
Molding the Chocolate Shells
Next, grab a silicone sphere mold. Pour the melted milk chocolate into each half. Use the back of a spoon to spread the chocolate evenly. Fill each mold to the rim. Once done, place the molds in the fridge. Let them chill for about 10 to 15 minutes. This helps the chocolate harden well.
Preparing the Filling
Now, let’s make the filling. In a mixing bowl, whisk together 1 cup of hot cocoa mix, ½ cup of pumpkin puree, and 1 teaspoon of pumpkin spice blend. Mix until smooth. This filling is where the pumpkin magic happens.
Sealing the Hot Cocoa Bombs
Carefully take out the hardened chocolate shells. Set half aside. Spoon a generous amount of your pumpkin filling into each of the remaining shells. Add a few mini marshmallows on top. This makes it extra fluffy and fun.
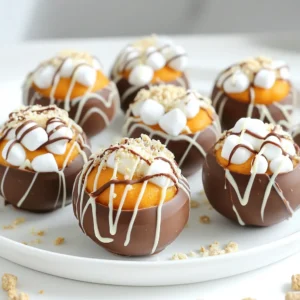
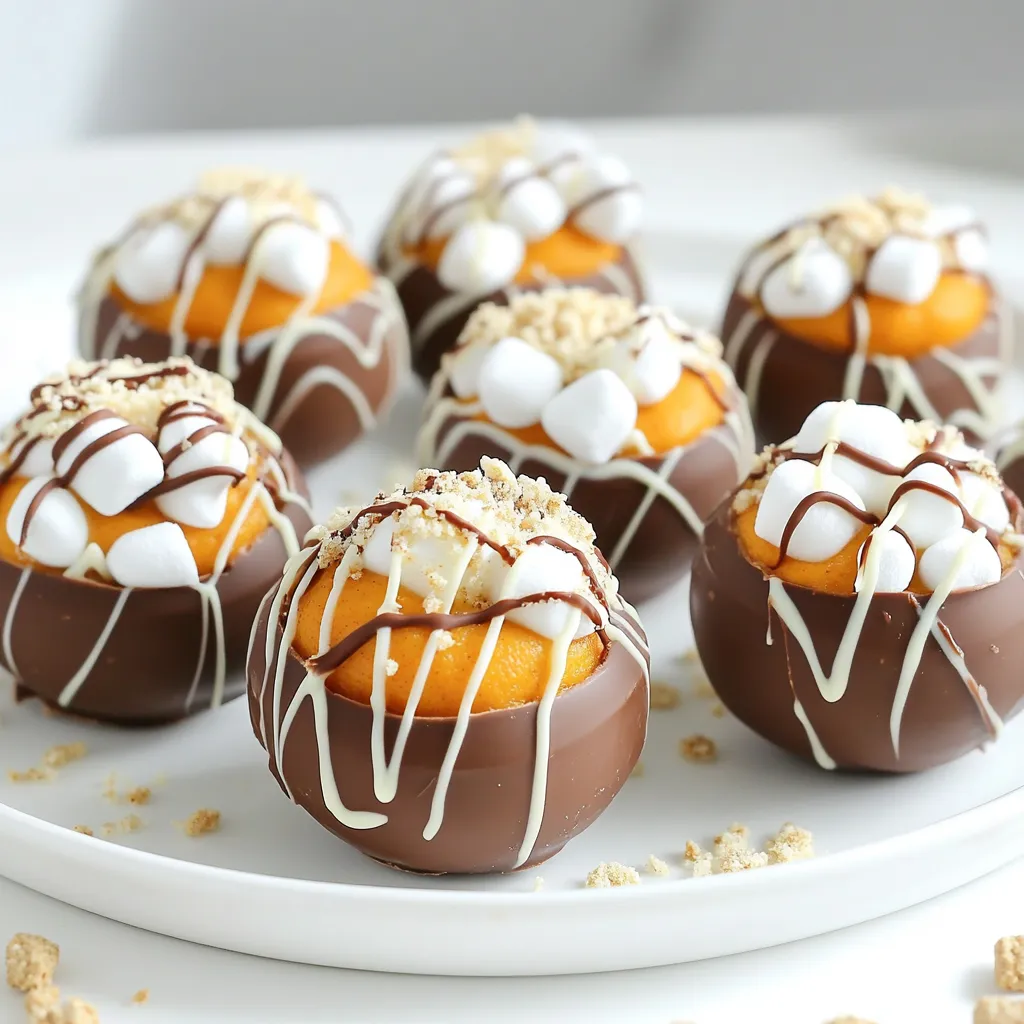
Decorating the Cocoa Bombs
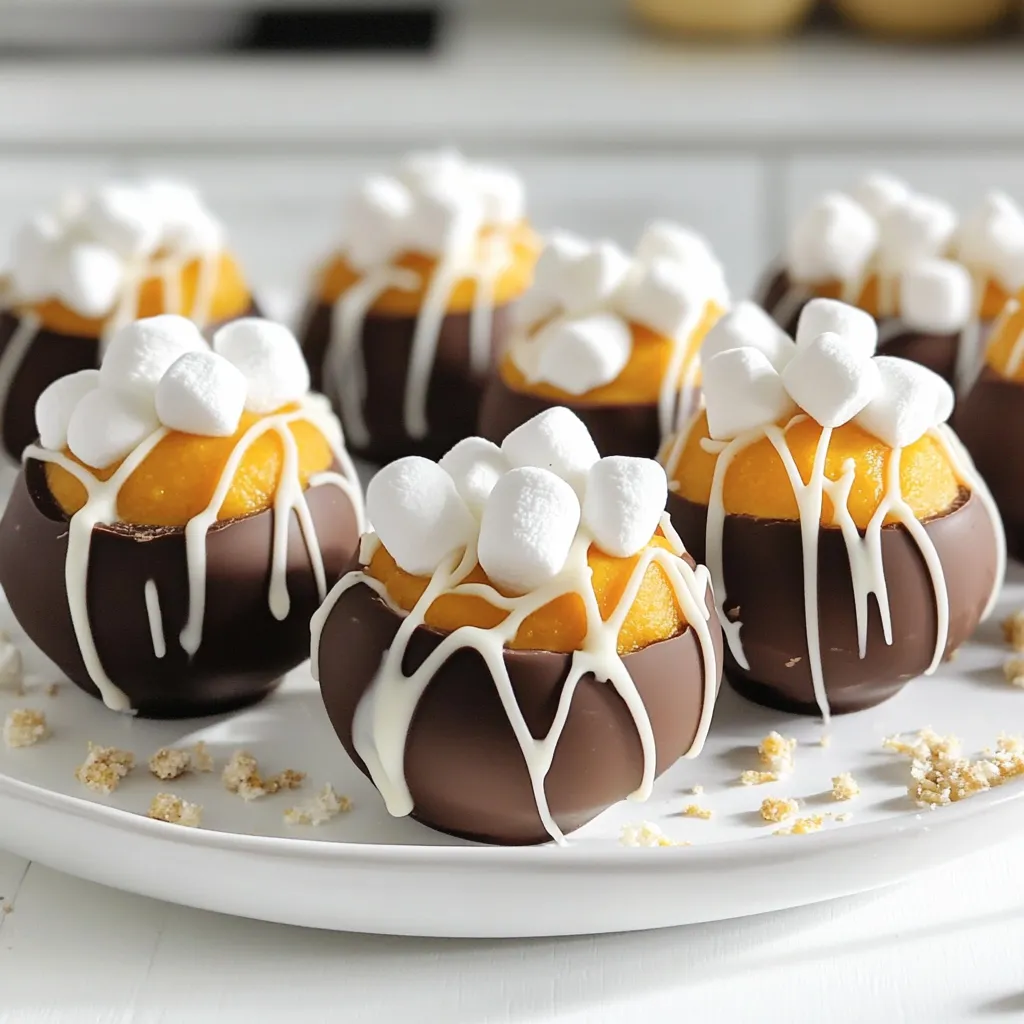
For decoration, melt 1 cup of white chocolate chips with 1 teaspoon of coconut oil in a small bowl. Drizzle this over the tops of your sealed hot cocoa bombs. For a special touch, sprinkle crushed graham crackers on top. This adds a tasty s’mores twist.
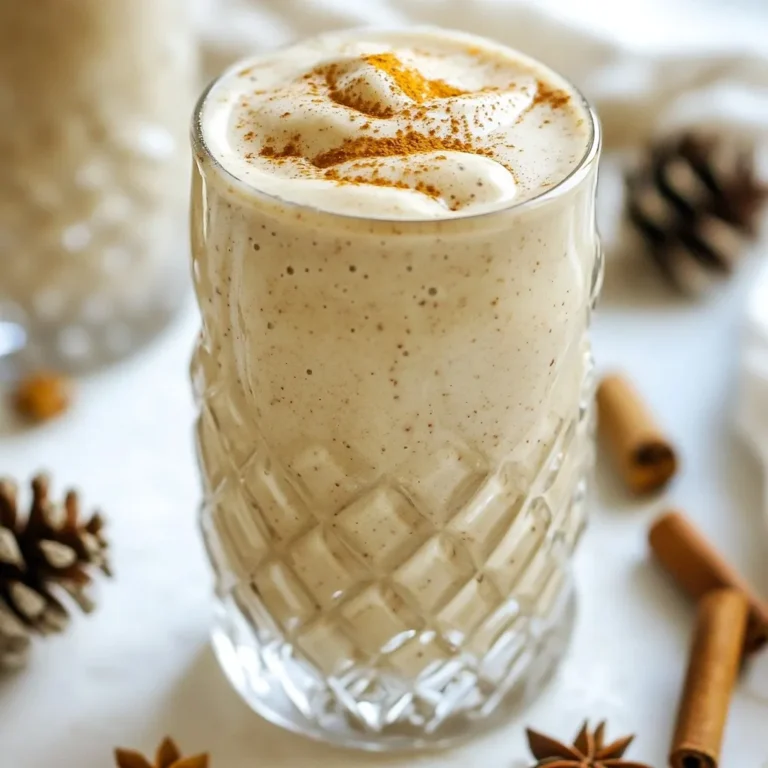
Serving Suggestions
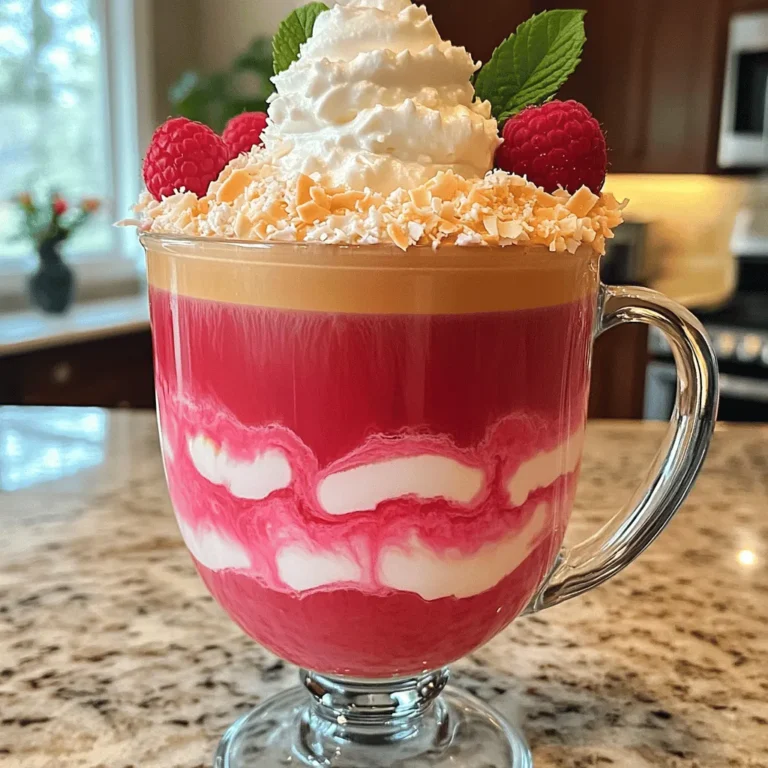
To serve, place a hot cocoa bomb in your favorite mug. Pour hot milk over it. Watch as it dissolves, revealing the yummy filling inside. For a delightful finish, top it with some whipped cream. Enjoy your cozy pumpkin spice hot cocoa bomb!
Tips & Tricks
How to Melt Chocolate Perfectly
To melt chocolate, use a microwave-safe bowl. Combine milk chocolate chips and coconut oil. Heat in 30-second bursts, stirring after each. The key is to stop when it’s still a bit chunky. Stir until smooth. This method prevents burning and makes for a perfect melt.
Best Practices for Mold Filling
Fill your silicone molds with melted chocolate. Use a spoon to coat the sides evenly. Make sure to fill them to the rim. This ensures a strong shell. Chill the molds in the fridge for 10-15 minutes. This helps the chocolate set well.
Customization Ideas for Flavor
You can change the flavor of your cocoa bombs. Try using dark chocolate for a richer taste. Add a dash of vanilla extract to the filling. You can even swap pumpkin spice for other spices like chai or peppermint. Personalize to your liking!
Common Mistakes to Avoid
One common mistake is overheating the chocolate. Always check it often. Another mistake is not sealing the bombs well. Make sure edges stick together. Lastly, don’t skip the chilling step. This helps the bombs hold their shape when filled.
Variations
Alternative Chocolate Types
You can switch up the chocolate to fit your taste. Use dark chocolate for a rich flavor. White chocolate adds a sweet touch to your cocoa bombs. You can even mix milk and dark chocolate for a balanced taste. Just remember to adjust the coconut oil to keep the texture smooth.
Different Flavor Profiles
Want to play with flavors? Try adding a mocha twist by mixing in coffee with your cocoa. A mint flavor can be fun too! Just add a few drops of mint extract to your filling. You can experiment with other flavors like caramel or hazelnut for a unique treat.
Vegan and Dairy-Free Options
Making these cocoa bombs vegan is easy! Use dairy-free chocolate chips and plant-based milk. Almond or oat milk works great. Instead of regular cocoa mix, find a vegan option. This way, everyone can enjoy these cozy treats while keeping their diet in mind.
Storage Info
How to Store Hot Cocoa Bombs
To keep your cozy pumpkin spice hot cocoa bombs fresh, store them in an airtight container. This helps seal in the flavors and keeps them safe from moisture. Place parchment paper between layers to prevent them from sticking. Keep the container in a cool, dark place, like a pantry. Avoid heat and direct sunlight, as they can cause the chocolate to melt or lose its charm.
Freezing Tips for Long-term Storage
If you want to save some hot cocoa bombs for later, freezing is a great option. First, let the bombs cool completely. Next, wrap each one in plastic wrap. Place them in a freezer-safe bag or container. Make sure to label the bag with the date. They can last up to three months in the freezer. When you’re ready to enjoy them, let them thaw in the fridge before serving.
Shelf Life of Ingredients Used
The ingredients in these cocoa bombs have different shelf lives. Here’s a quick rundown:
- Milk Chocolate Chips: Last for about 1 year if stored properly.
- White Chocolate Chips: Similar to milk chocolate, these last around 1 year.
- Coconut Oil: Can stay fresh for up to 2 years if kept in a cool place.
- Hot Cocoa Mix: Usually good for 1 year, but check the package for best dates.
- Pumpkin Puree: Fresh pumpkin puree should be used within a week. Canned puree lasts for about 2-3 years.
- Pumpkin Spice Blend: This blend lasts up to 2-3 years if sealed tightly.
Knowing how to store your hot cocoa bombs and their ingredients helps ensure your fall treat stays delicious and ready to enjoy!
FAQs
What are cocoa bombs?
Cocoa bombs are fun, spherical treats. They hold hot cocoa mix and other goodies. You place one in hot milk, and it melts. The inside bursts open, releasing flavors and marshmallows. They make cozy drinks fun and tasty!
Can I use different spices in the filling?
Yes, you can! Feel free to mix up the spices. Try adding cardamom or vanilla for a new twist. Experimenting with flavors keeps things fresh and exciting. Just ensure the spices blend well with pumpkin for the best taste.
How do I know when the chocolate is melted?
When melting chocolate, look for a smooth texture. It should not be lumpy or grainy. Stir it well as you heat. If it looks shiny and coats the back of a spoon, it’s ready. Be patient and microwave in short bursts!
What kind of milk should I use for serving?
You can use any milk you like! Whole milk gives a rich taste. Almond or oat milk is great for dairy-free options. Use whatever fits your diet and taste. The milk makes the cocoa creamy and delicious!
Is it possible to buy ready-made cocoa bombs?
Yes, you can find ready-made cocoa bombs in stores. Many bakeries and online shops sell them. However, making your own can be more fun and personal. You can choose the flavors and ingredients you love!
In this blog post, we explored how to create delicious hot cocoa bombs. We covered ingredient lists, special ingredients, and top brands. You learned step-by-step instructions for melting chocolate and sealing the bombs. We shared tips for perfecting your technique and customizing flavors. Variations for different diets and storage info help keep your treats fresh. Hot cocoa bombs are fun, easy, and can warm any day. Try making them and enjoy the cozy treat they bring.