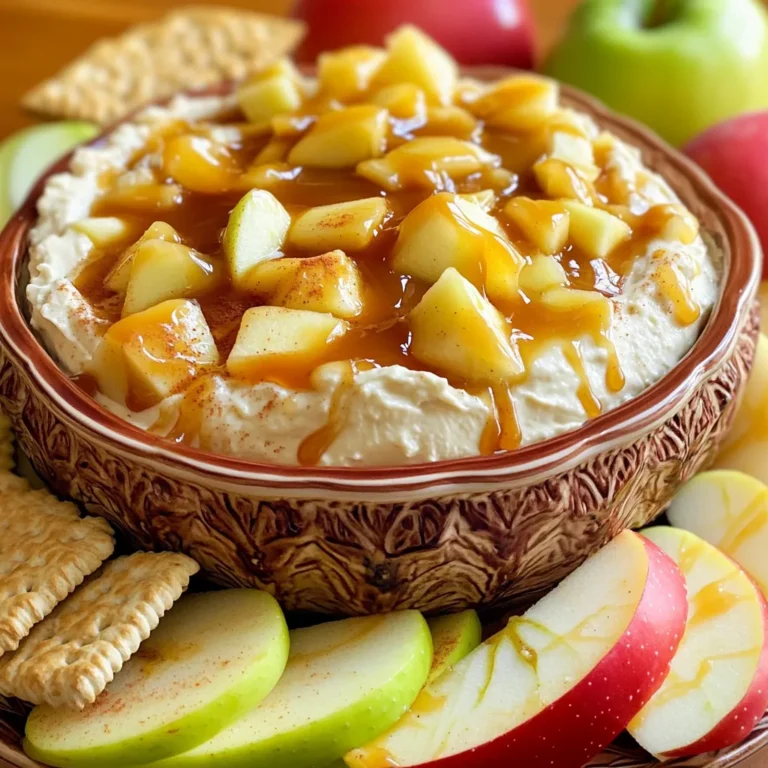
Caramel Apple Cinnamon Rolls with Cream Cheese Glaze
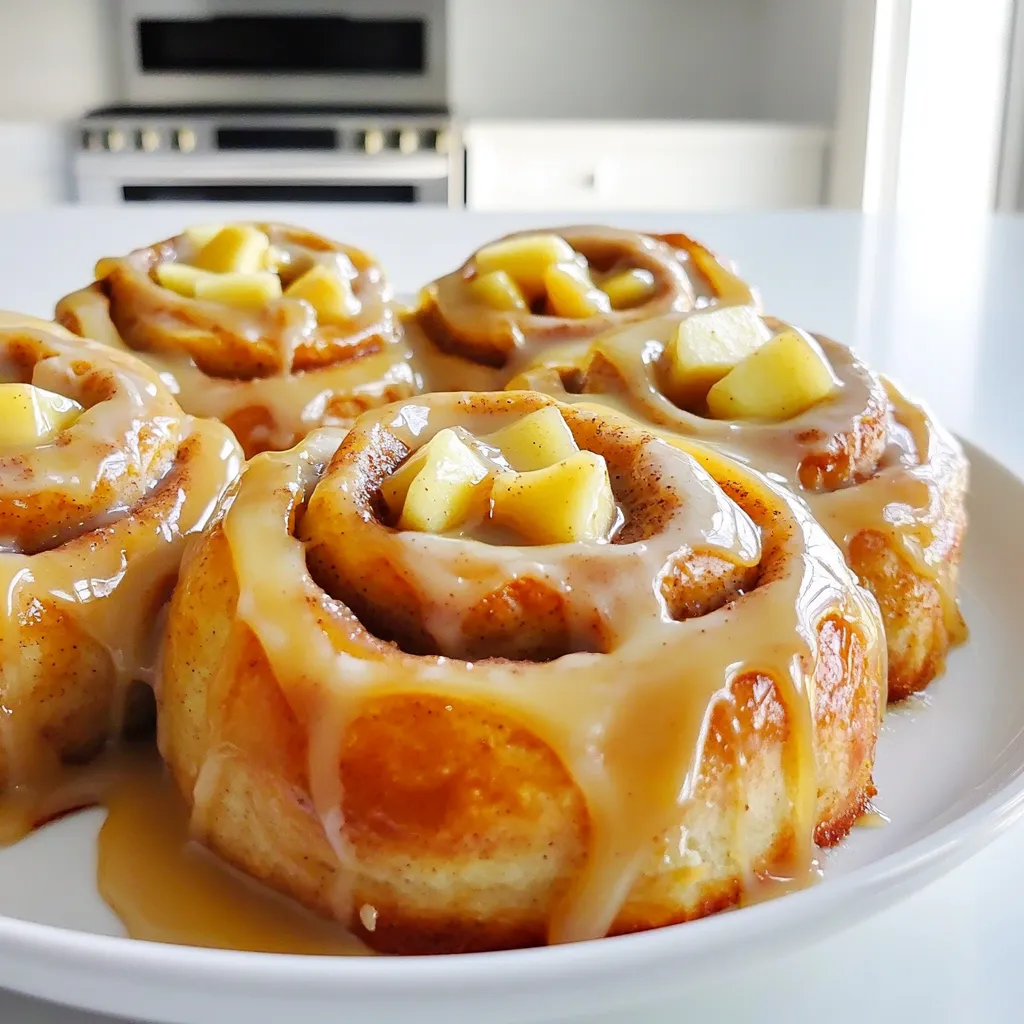
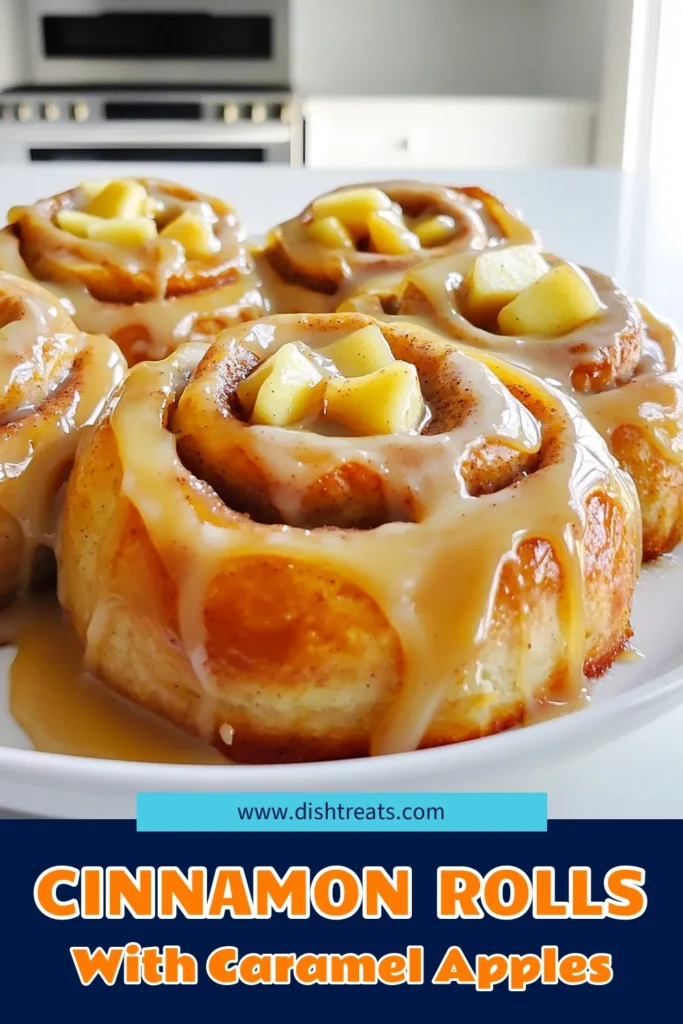
Get ready to treat yourself with my Caramel Apple Cinnamon Rolls with Cream Cheese Glaze! Imagine soft, warm rolls filled with sweet apples and a hint of cinnamon, then smothered in a creamy glaze. This recipe combines classic flavors that everyone loves. Whether it’s for breakfast or dessert, these rolls are sure to impress. Let’s dive into the delicious details and make baking a breeze!
Ingredients
Main Ingredients for Caramel Apple Cinnamon Rolls
To make these tasty rolls, you need the following main ingredients:
- 1 package (16.5 oz) refrigerated crescent roll dough
- 2 medium Granny Smith apples, peeled and diced
- 1/2 cup brown sugar
- 1 tablespoon ground cinnamon
- 1/4 cup walnuts, chopped (optional)
- 1/4 cup caramel sauce (store-bought or homemade)
- 4 oz cream cheese, softened to room temperature
- 1/2 cup powdered sugar
- 1 tablespoon milk
- 1/2 teaspoon vanilla extract
- A pinch of salt
These ingredients blend to create a sweet and comforting treat.
Optional Ingredients and Variations
You can change up the flavors by adding some optional ingredients:
- Walnuts for a crunchy texture
- Pecans instead of walnuts for a different nutty flavor
- Use different apples like Honeycrisp or Fuji for varied sweetness
- Add raisins or dried cranberries for extra fruitiness
Feel free to get creative!
Ingredient Substitutions
If you don’t have some ingredients, here are easy substitutions:
- Use puff pastry instead of crescent roll dough
- Swap brown sugar with white sugar for less richness
- If you can’t find Granny Smith apples, use any tart apple
- Replace cream cheese with Greek yogurt for a lighter glaze
These substitutions still yield delicious rolls. Adjust to fit your pantry!
Step-by-Step Instructions
Preparation of the Oven and Baking Dish
First, preheat your oven to 375°F (190°C). This ensures your rolls bake evenly. Next, take a baking dish and line it with parchment paper. This makes clean-up easy and prevents sticking.
Mixing the Cinnamon Sugar Filling
In a small bowl, mix together the brown sugar and ground cinnamon. Stir until they are well combined. Set this sweet mixture aside. It will add a lovely flavor to your rolls.
Assembling the Cinnamon Rolls
Open the package of crescent roll dough. Gently unroll it on a clean surface to form a rectangle. Pinch the seams together to create one smooth sheet. Sprinkle the cinnamon-sugar mixture evenly over the dough. Next, add the diced Granny Smith apples. If you like nuts, sprinkle chopped walnuts on top. Drizzle half of the caramel sauce over everything.
Now, carefully roll the dough from one long edge to form a tight log. This shape helps keep the filling inside. Once rolled, use a sharp knife to slice the log into 8 equal pieces. Place the slices cut-side up in your prepared baking dish.
Baking Process
Put the baking dish in your preheated oven. Bake for about 20-25 minutes. You want the rolls to rise and turn golden brown. Keep an eye on them to make sure they bake evenly.
Preparing the Cream Cheese Glaze
While your rolls are baking, make the glaze. In a medium bowl, beat together the softened cream cheese, powdered sugar, milk, vanilla extract, and a pinch of salt. Whisk until the mixture is smooth and creamy.
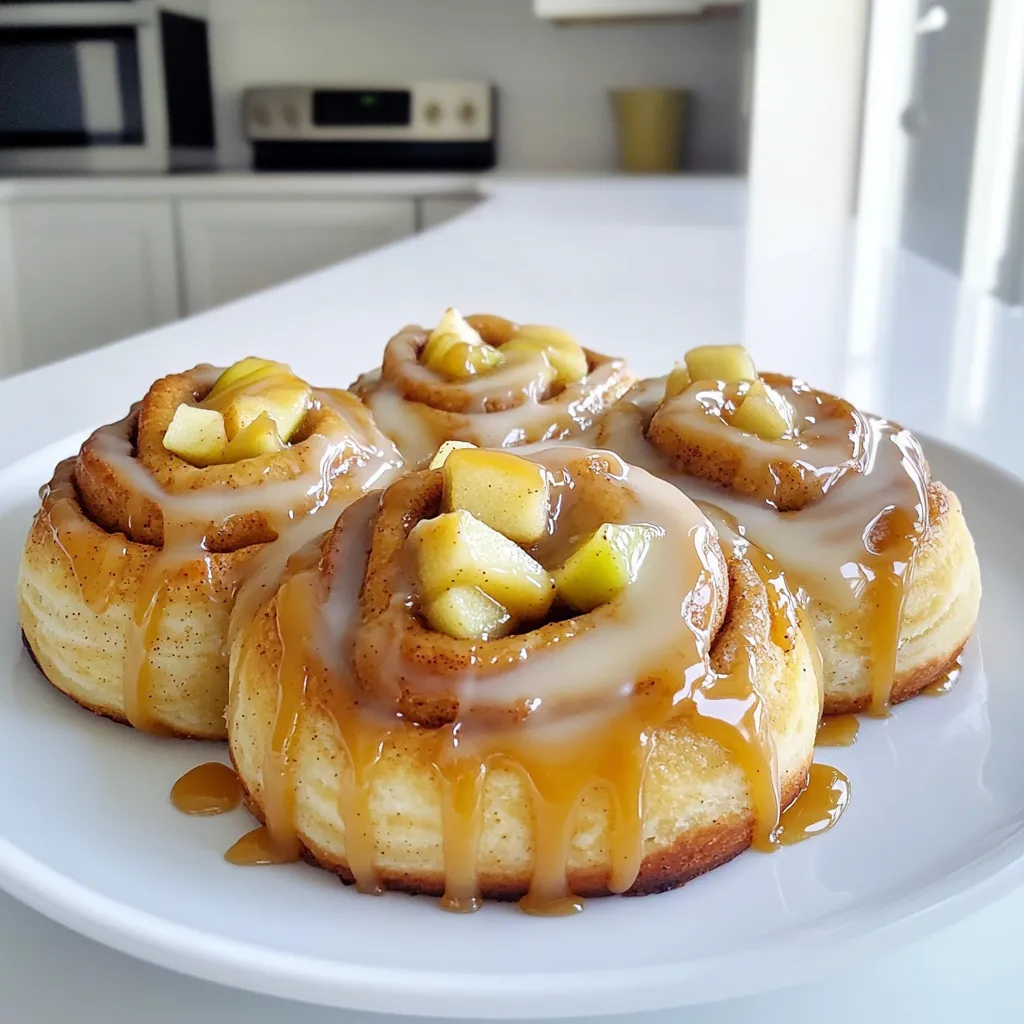
Once the rolls are out of the oven and have cooled for about 5 minutes, drizzle the remaining caramel sauce over the top. Finish by drizzling the cream cheese glaze over each warm roll. This adds a rich, creamy touch. Enjoy the delightful flavors!
Tips & Tricks
How to Perfectly Roll the Dough
To roll the dough perfectly, start by unrolling the crescent roll dough on a clean surface. Pinch the seams together well. This will help create a single sheet. Use a rolling pin to gently flatten it more, if needed. When you roll the dough, begin at one long edge. Roll it tightly, but not too tight. A snug roll keeps the filling inside.
Achieving Optimal Baking Time
For the best results, preheat your oven to 375°F (190°C). Bake the rolls for 20 to 25 minutes. Watch for a golden-brown color on top. The rolls should also rise nicely. If they look too brown at 20 minutes, check them. Every oven is different, so adjust the time if needed.
Tips for the Best Cream Cheese Glaze
To make a smooth glaze, ensure your cream cheese is at room temperature. Mix it well with powdered sugar, milk, vanilla extract, and salt. Use a whisk to blend until it’s creamy and well-combined. If it’s too thick, add a bit more milk. Drizzle the glaze over warm rolls for a lovely finish.
Variations
Nut-Free Version
If you want to make these rolls nut-free, simply skip the walnuts. The apples and caramel provide great flavor and texture without the nuts. This makes it safe for those with nut allergies. You can still enjoy a delicious treat!
Gluten-Free Option
To make gluten-free cinnamon rolls, use gluten-free crescent roll dough. Many brands offer this option now. Just check the label to ensure it’s safe. The filling stays the same, ensuring you still get that warm, gooey goodness. Your gluten-free friends will love these!
Different Fruit Fillings
Feel free to swap the apples for other fruits. Pears or peaches work well for a twist. You might also try berries for a tart flavor. Just remember to adjust the sugar based on the sweetness of the fruit. Each fruit brings its own unique taste to these rolls. Experiment and find your favorite!
Storage Info
Storing Leftover Rolls
To keep leftover rolls fresh, place them in an airtight container. This helps prevent them from drying out. You can store them at room temperature for up to two days. If you want to keep them longer, the fridge is a good option. Just make sure to wrap them well to maintain their texture.
Reheating Tips
When it’s time to enjoy the rolls again, you can reheat them easily. Preheat your oven to 350°F (175°C). Place the rolls on a baking sheet and cover them loosely with foil. Heat for about 10-15 minutes. This will warm them nicely without making them tough. You can also use the microwave for a quick fix. Heat each roll for about 15-20 seconds. Just be careful not to overdo it.
Freezing Instructions
If you want to save some rolls for later, freezing is a great option. Once the rolls cool completely, wrap each one in plastic wrap. Then, place them in a freezer-safe bag or container. They can last in the freezer for about three months. When you’re ready to enjoy them, thaw them in the fridge overnight. You can reheat them as mentioned above for a warm treat.
FAQs
Can I use different types of apples?
Yes, you can use different apples. Try Honeycrisp or Fuji apples. They add a sweet taste. Each apple type gives a unique flavor profile. Granny Smith apples are tart, which balances the sweetness. Mixing apples can enhance the overall taste too.
How can I make my rolls more caramel-y?
To make your rolls extra caramel-y, increase the caramel sauce. Drizzle more sauce inside the rolls before you bake them. You can also add a layer of caramel on top after baking. This adds a rich flavor and a gooey texture.
What’s the best way to store the cream cheese glaze?
Store the cream cheese glaze in an airtight container. Keep it in the fridge for up to five days. Before using, let it sit at room temperature to soften. You can also whisk it again for a smooth texture.
In this blog post, we explored how to make caramel apple cinnamon rolls, covering every step. We discussed key ingredients, easy variations, and helpful tips to get the best results. With the right approach, you can create these sweet rolls at home. Remember, the joy of baking comes from experimenting. So feel free to try new flavors and share your creations. Baking can be fun and delicious! Enjoy your rolls fresh or stored for later. Happy baking!


![To create your Chocolate Almond Butter Shake, gather these ingredients: - Perfectly ripe banana - Creamy almond butter - Unsweetened cocoa powder - Honey or maple syrup - Almond milk (or preferred milk variety) - Pure vanilla extract - Flaky sea salt - Ice cubes (optional) Each ingredient plays a key role in making your shake smooth and tasty. The banana gives a natural sweetness and creaminess. Almond butter adds healthy fats and a nutty flavor that blends perfectly with cocoa. Unsweetened cocoa powder provides rich chocolate taste without added sugars. Honey or maple syrup can sweeten your shake just right. Using almond milk keeps the shake light and dairy-free. Pure vanilla extract enhances the overall flavor, while flaky sea salt balances the sweetness. Ice cubes are optional but help create a thicker shake if that’s your preference. For the full recipe, follow the steps provided in the instructions section. Enjoy crafting your delicious shake! - Peel and slice the banana: Start by peeling your ripe banana. Slice it into smaller pieces. This helps it blend easier. - Add ingredients to the blender: Toss the banana slices into the blender. Now add the almond butter, cocoa powder, honey or maple syrup, almond milk, vanilla extract, and a pinch of sea salt. - Incorporate ice cubes if desired: If you want a thicker shake, add the ice cubes. This gives your shake a nice chill. - Blend until smooth: Blend all the ingredients on high speed. Keep blending until everything is smooth and creamy. - Adjust sweetness as needed: Taste your shake. If you want it sweeter, add more honey or maple syrup. Blend again if you add more. - Pour and garnish: Once your shake is perfect, pour it into a tall glass. You can garnish it with cocoa powder or whole almonds for a nice touch. For the full recipe, check the details above. Enjoy! - Choosing the right banana: Use a perfectly ripe banana. It should be yellow with some brown spots. This banana adds the best sweetness and creaminess to your shake. - Perfecting the blend time: Blend for about 30 seconds. This time helps mix all ingredients well. Stop blending once the shake is smooth with no lumps. - Adding optional ingredients for health benefits: You can add a handful of spinach for extra nutrients. Chia seeds or protein powder also boost your shake’s nutrition. - Alternative natural sweeteners: You can swap honey for maple syrup or agave nectar. Each option adds unique flavors. - Tips for reducing sweetness: Use less sweetener to start. You can always add more later. This way, you control the taste better. - Garnishing options: Top your shake with a sprinkle of cocoa powder. Whole almonds or a drizzle of almond butter also look great. - Serve in unique glassware: Try using mason jars or tall glasses. Fun glassware makes your shake more inviting! For the full experience, check out the [Full Recipe]. {{image_4}} You can switch up your nut butter for a new taste. Try peanut butter if you want a classic flavor. Cashew butter gives a creamy touch too. For the milk, almond milk is great, but soy or oat milk works well too. If you want more protein, add some Greek yogurt. Want greens? Throw in a handful of spinach. You won’t taste it, but you'll get extra nutrition. Spices add depth to your shake. A dash of cinnamon or nutmeg makes it warm and cozy. You can also toss in fruits for a twist. Berries or a scoop of avocado adds creaminess and flavor. Each small change can make your shake feel fresh and exciting. Want to make it vegan? Just use maple syrup instead of honey. For gluten-free, this shake is already safe. If you're watching carbs, skip the honey or use a low-carb sweetener. You can enjoy this shake while sticking to your diet plan. For the full recipe, check out the details above. After making your Chocolate Almond Butter Shake, you might have some leftovers. To keep it fresh, pour it into an airtight container. Store the shake in the fridge. It will stay good for about 1 to 2 days. Before drinking, shake or stir it well. This helps mix any separation. If you want to prepare your shake in advance, freezing is a great choice. Pour the shake into ice cube trays or freezer-safe bags. Freeze it for up to a month. When you’re ready to enjoy it, blend the frozen cubes with a little almond milk. This creates a delicious, chilled treat. The shelf life of your shake depends on how you store it. In the fridge, it lasts about 1 to 2 days. If you freeze it, you can keep it for up to a month. Look for signs of spoilage. If the shake smells sour or has a strange color, it’s time to toss it. Always trust your senses. Enjoy your shake at its best! To make a chocolate almond butter shake, gather your ingredients first. You need a ripe banana, creamy almond butter, cocoa powder, honey or maple syrup, almond milk, vanilla extract, and a pinch of sea salt. Start by peeling and slicing the banana. Then, put all ingredients in a blender. Blend until smooth and creamy. Adjust the sweetness if needed. Pour it into a glass and enjoy! Yes, you can substitute almond milk with other types of milk! Options include cow's milk, soy milk, or oat milk. Each type will change the taste slightly. Choose what you like best or what you have on hand. Almond butter offers many health benefits. It contains healthy fats, protein, and fiber. These nutrients can help you feel full and satisfied. Almond butter also has vitamin E, which helps skin health. It may support heart health and provide energy too! Yes, you can make the shake ahead of time. Store it in the fridge for up to 24 hours. If you want to keep it fresh, use an airtight container. Shake it well before drinking to mix everything again. Absolutely! You can use other sweeteners, like agave syrup or stevia. Adjust the amount based on your taste. Each sweetener has a different flavor, so choose one you enjoy! Check out the Full Recipe for more ideas. This blog shared a simple recipe for a delicious chocolate almond butter shake. You learned about the key ingredients, from ripe bananas to creamy almond butter. I also provided tips for the best blending and sweetening options. You can make it your own with various flavors and dietary changes. Remember to store it right for maximum freshness. Enjoy your shake! It’s easy to make, tasty, and can fit any diet. Have fun creating your perfect blend!](https://dishtreats.com/wp-content/uploads/2025/06/abab5c41-bf75-4334-8678-77245c216c9f-768x768.webp)