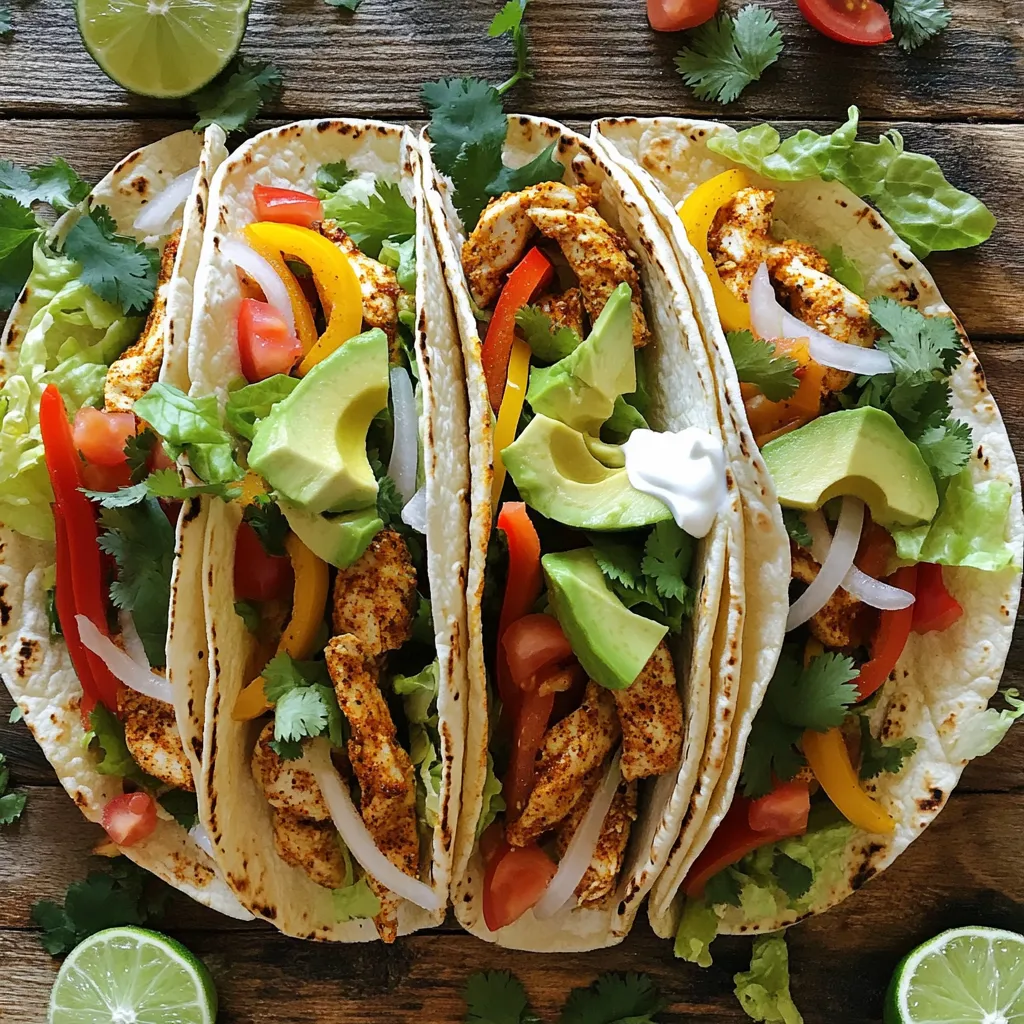
Spicy Cajun Chicken Tacos Flavorful and Simple Meal
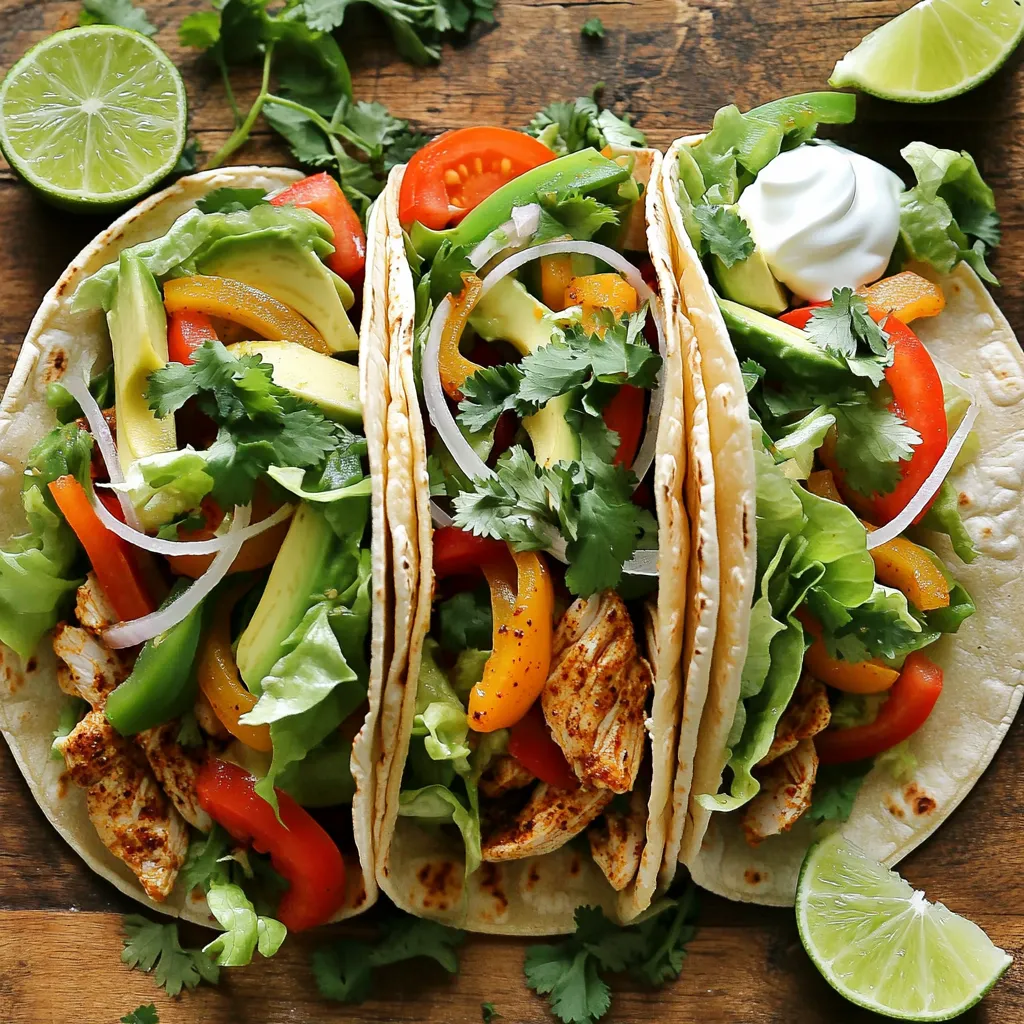

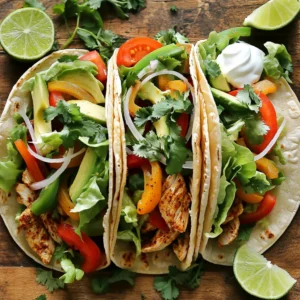
Are you ready to spice up your dinner routine? These Spicy Cajun Chicken Tacos are not only packed with bold flavors but are also simple to make. With juicy chicken, fresh veggies, and a hint of Cajun seasoning, you’ll have a meal that excites your taste buds. Let’s dive into this delicious recipe that’s sure to impress family and friends alike!
Ingredients
Main Ingredients
- 2 boneless, skinless chicken breasts, thinly sliced
- 2 tablespoons Cajun seasoning (adjust to taste)
- 8 small corn or flour tortillas
Fresh Produce
- 1 bell pepper (red, yellow, or green), thinly sliced
- 1 medium onion, thinly sliced
- 1 cup shredded romaine or iceberg lettuce
- ½ cup fresh tomatoes, diced
- 1 ripe avocado, sliced
- ¼ cup fresh cilantro, chopped
Condiments and Extras
- 1 tablespoon extra virgin olive oil
- ¼ cup sour cream or plain Greek yogurt
- Lime wedges, for serving
When I make Spicy Cajun Chicken Tacos, I focus on fresh and bold flavors. The chicken is the star, and Cajun seasoning gives it a nice kick. I prefer using boneless, skinless chicken breasts for easy cooking and slicing.
The colorful bell pepper adds crunch. I like to use different colors for a vibrant plate. Onions add sweetness when cooked, and they pair well with the spice. Fresh lettuce and diced tomatoes bring a refreshing bite, while slices of avocado add creaminess.
I always finish my tacos with a sprinkle of cilantro for a fresh touch. Olive oil helps cook the chicken and veggies perfectly. The tortillas hold everything together. I choose either corn or flour based on my mood. Finally, a dollop of sour cream or Greek yogurt adds coolness. Lime wedges are a must for that zesty finish!
Step-by-Step Instructions
Seasoning the Chicken
To start, take the thinly sliced chicken breasts and place them in a bowl. Add 2 tablespoons of Cajun seasoning. You can adjust this to match your taste. Mix the chicken well until every piece is coated. This step is key for bold flavor.
Cooking the Chicken
Next, heat 1 tablespoon of olive oil in a large skillet over medium-high heat. Once the oil shimmers, add the seasoned chicken. Cook for 5-7 minutes, stirring often. You want the chicken to turn golden-brown and be fully cooked. This ensures it stays juicy and tender.
Sautéing Vegetables
After the chicken is cooked, add the thinly sliced bell pepper and onion to the skillet. Stir this mix often and cook for 3-4 minutes. You want the vegetables to soften and caramelize a little. This adds sweetness and texture to your tacos.
Warming the Tortillas
While the chicken and veggies cook, it’s time to warm the tortillas. For a crispy edge, use a dry skillet over medium heat. Heat each tortilla for about 30 seconds on both sides. If you prefer soft tortillas, microwave them for 15 seconds. Both methods work well!
Assembling the Tacos
Now, it’s time to build your tacos. Lay warm tortillas flat on a clean surface. Add a generous spoonful of the chicken and veggie mixture to the center of each tortilla. Make sure not to overfill them, so they are easy to handle.
Garnishing and Serving
Finally, top each taco with shredded lettuce, diced tomatoes, and avocado slices. Add a dollop of sour cream or Greek yogurt for creaminess. Sprinkle fresh cilantro on top for a nice finish. Serve the tacos right away, with lime wedges on the side. Squeezing lime juice over the tacos adds a burst of flavor that you will love!
Tips & Tricks
Adjusting Spice Levels
You can make the spice level just right for you. Start with the Cajun seasoning. Use two tablespoons for a good kick. If you want it milder, use less seasoning. Add a pinch of cayenne if you like more heat. Taste the chicken as you cook. This way, you can adjust to your liking.
Keeping Tacos Fresh
Serve these tacos right after making them. Warm tortillas hold the chicken better. If you wait too long, they can get soggy. Keep toppings separate until serving. This keeps everything crisp and fresh. When ready, pile on the toppings. This makes each taco look great and taste even better!
Tools for Cooking
Having the right tools helps a lot. Use a good skillet for cooking the chicken. A sharp knife makes slicing veggies easy. I recommend a spatula for stirring. This keeps everything mixed well. Don’t forget tongs for flipping tortillas. These tools save time and make cooking smooth.
Variations
Protein Alternatives
You can swap chicken for other meats. Try shrimp, beef, or pork. Each adds a unique twist to the dish. If you opt for shrimp, cook them for just a few minutes. Thinly sliced beef or pork works well too; cook until golden brown. Adjust the Cajun seasoning to match the protein you choose.
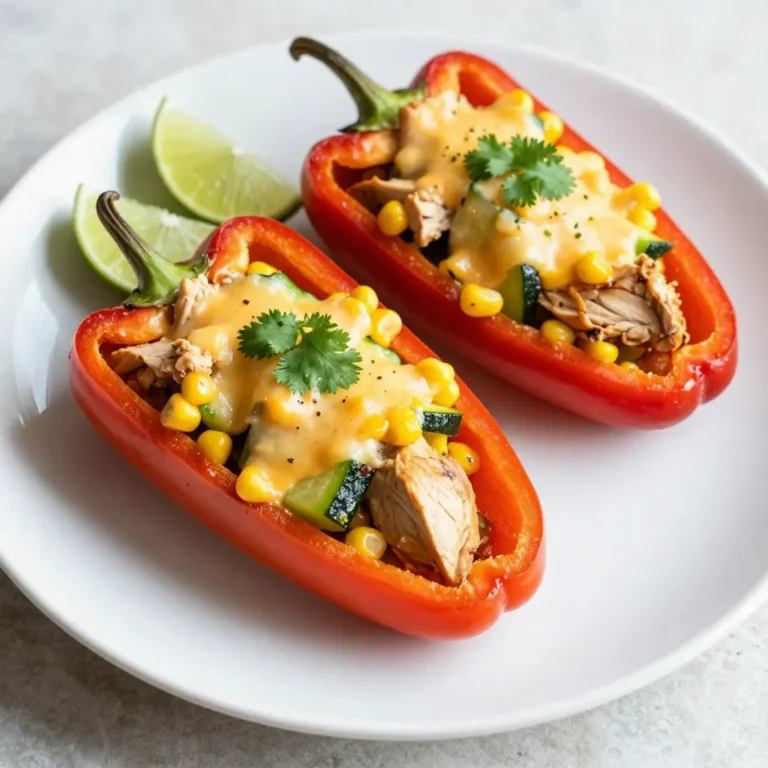
Vegetarian Options
To create a veggie taco, start with mushrooms or zucchini. These veggies add great texture and flavor. You can also use beans for protein. Black beans or chickpeas are filling and tasty. Season the veggies with Cajun spices just like the chicken. Sauté them until soft and mix with your favorite toppings.
Additional Toppings
Enhance your tacos with fun toppings. Add diced jalapeños for heat or pickled onions for tang. Crumbled feta or queso fresco can add creaminess. Fresh corn or pineapple will give a sweet contrast. Lime juice brightens every bite. Mix and match toppings for a taco party!
Storage Info
Leftover Storage
To keep leftover tacos fresh, store them in an airtight container. Place the chicken mixture and toppings in separate containers. This helps maintain flavor and texture. Use the chicken within three days for best taste. You can also keep the tortillas in a sealed bag.
Reheating Tips
To reheat your tacos, use a skillet on medium heat. Add a drop of oil for better flavor. Heat the chicken and veggies for about five minutes, stirring often. Warm tortillas separately for 30 seconds in the skillet. This method keeps them soft and tasty.
Freezing Options
Yes, you can freeze the chicken mixture. Place it in a freezer-safe bag. Remove as much air as possible before sealing. The mixture stays good for up to three months. When ready to use, thaw it in the fridge overnight. Then, reheat as mentioned above.
FAQs
What can I serve with spicy Cajun chicken tacos?
You can serve spicy Cajun chicken tacos with several tasty sides:
- Mexican rice
- Black beans
- Corn salsa
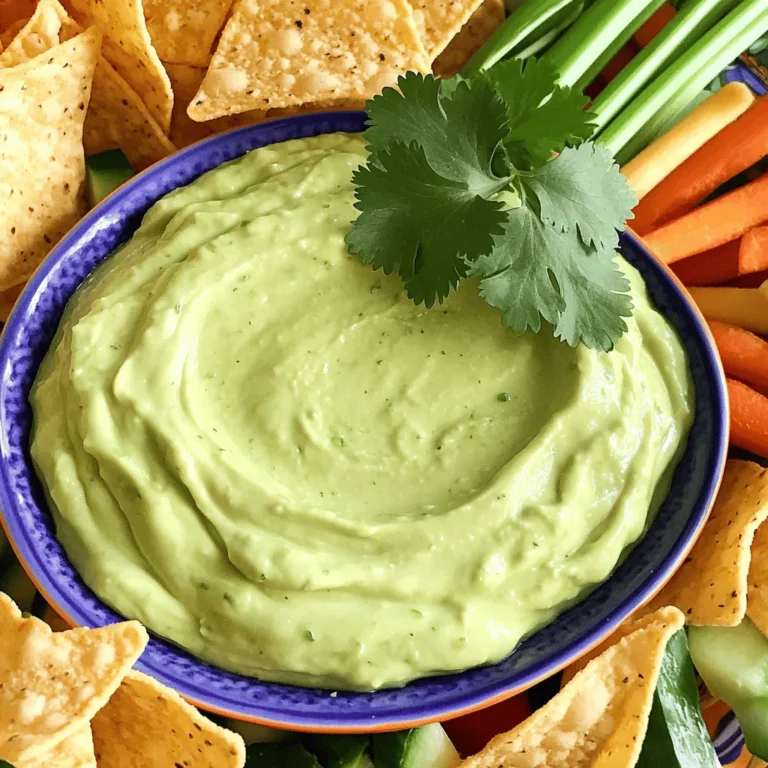
- Guacamole
- Chips and queso
These sides add flavor and make the meal more filling.
How long do these tacos take to prepare?
These tacos are quick to make!
- Prep Time: 10 minutes
- Cook Time: 15 minutes
Total Time: 25 minutes. You can enjoy these tacos in less than half an hour!
Can I make these tacos mild?
Yes, you can adjust the spice level.
- Use less Cajun seasoning.
- Choose a milder brand.
- Add more toppings like sour cream to balance the heat.
This makes the dish more friendly for sensitive taste buds.
What type of tortillas work best?
Both corn and flour tortillas work well for tacos.
- Corn tortillas have a nice, nutty flavor.
- Flour tortillas are soft and chewy.
Choose based on your taste and texture preference.
Are there any gluten-free options?
Yes, there are great gluten-free tortillas.
Look for brands made from:
- Almond flour
- Coconut flour
- Rice flour
These options let everyone enjoy the tacos without worries.
In this post, we explored making spicy Cajun chicken tacos. We covered the key ingredients, from chicken breasts to fresh veggies and condiments. I shared step-by-step cooking instructions, tips for customizing spice levels, and ways to keep your tacos fresh. You can also find fun variations and storage tips for leftovers.
Enjoy your cooking adventure, and remember to get creative with your taco toppings! Cooking should be fun and flavorful.