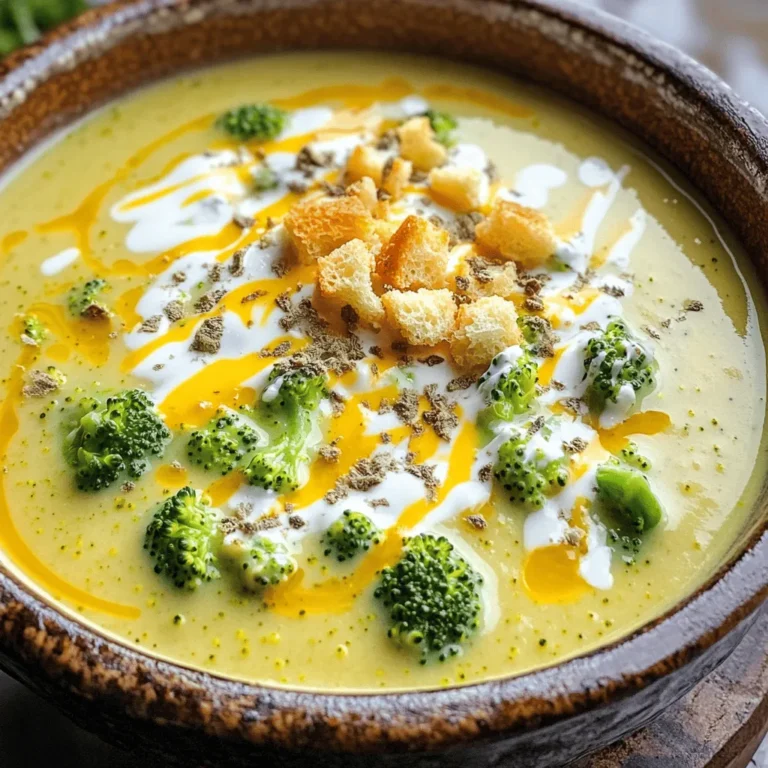
Slow Cooker Cauliflower Cheddar Soup Creamy Delight
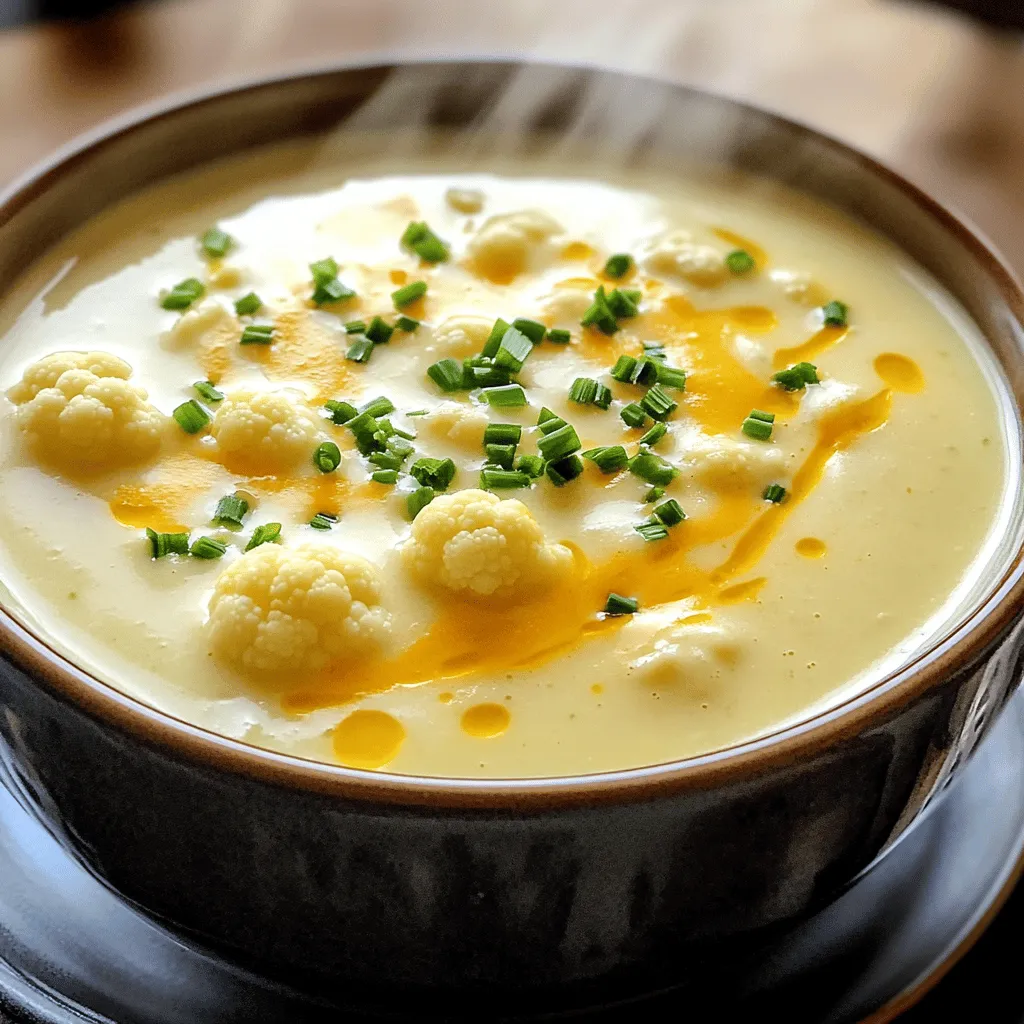
If you crave comfort food that’s easy to make, this Slow Cooker Cauliflower Cheddar Soup is for you! You’ll love how simple it is to blend fresh ingredients into creamy delight. This soup is rich, cheesy, and packed with flavors. I’ll share tips on picking fresh produce, making it creamy, and storing the leftovers. Let’s turn your slow cooker into a soup magician that warms your heart!
Ingredients
List of Ingredients
- 1 large head of cauliflower, chopped into small florets
- 1 medium onion, finely diced
- 3 cloves of garlic, minced
- 4 cups vegetable broth (preferably low-sodium)
- 2 medium potatoes, peeled and diced
- 2 cups shredded sharp cheddar cheese (or a mix of your favorite cheeses)
- 1 cup heavy cream (or use half-and-half for a lighter option)
- 1 teaspoon dried thyme (or fresh thyme if available)
- 1 teaspoon smoked paprika (for a touch of warmth)
- Salt and freshly cracked black pepper to taste
- Fresh chives, chopped (for a pop of color and flavor)
Special Ingredient Notes
Cauliflower is the star here. It gives the soup its creamy base. Look for a head that is firm and white. A few green leaves are fine, but avoid any browning spots. The cheddar cheese adds richness. Sharp cheddar gives a nice tang. You can mix cheeses, so feel free to experiment. For the broth, low-sodium is best. This way, you can control the saltiness of the soup.
Tips for Choosing Fresh Produce
When selecting your vegetables, focus on quality. For cauliflower, check for tight florets. They should feel heavy and look bright. The onion should be firm with no sprouting. For potatoes, pick those that are smooth and free of blemishes. Fresh chives should be vibrant green. If you notice any wilting, it’s best to skip them. Fresh ingredients lead to a tastier soup.
Step-by-Step Instructions
Preparation of the Vegetables
Start by washing the cauliflower. Chop it into small florets. This helps it cook evenly. Next, finely dice the onion. Mince the garlic cloves. These two add great flavor to the soup. Peel and dice the potatoes into small cubes. They will add creaminess to the soup.
Cooking in the Slow Cooker
In your slow cooker, add the chopped cauliflower, diced onion, minced garlic, and potatoes. Make sure the vegetables mix well. Pour in the vegetable broth, covering the veggies. Sprinkle in dried thyme and smoked paprika. Season with salt and black pepper. Cover the slow cooker. Set it on low for 6-8 hours or high for 3-4 hours. You want the vegetables tender.
Blending and Finishing Touches
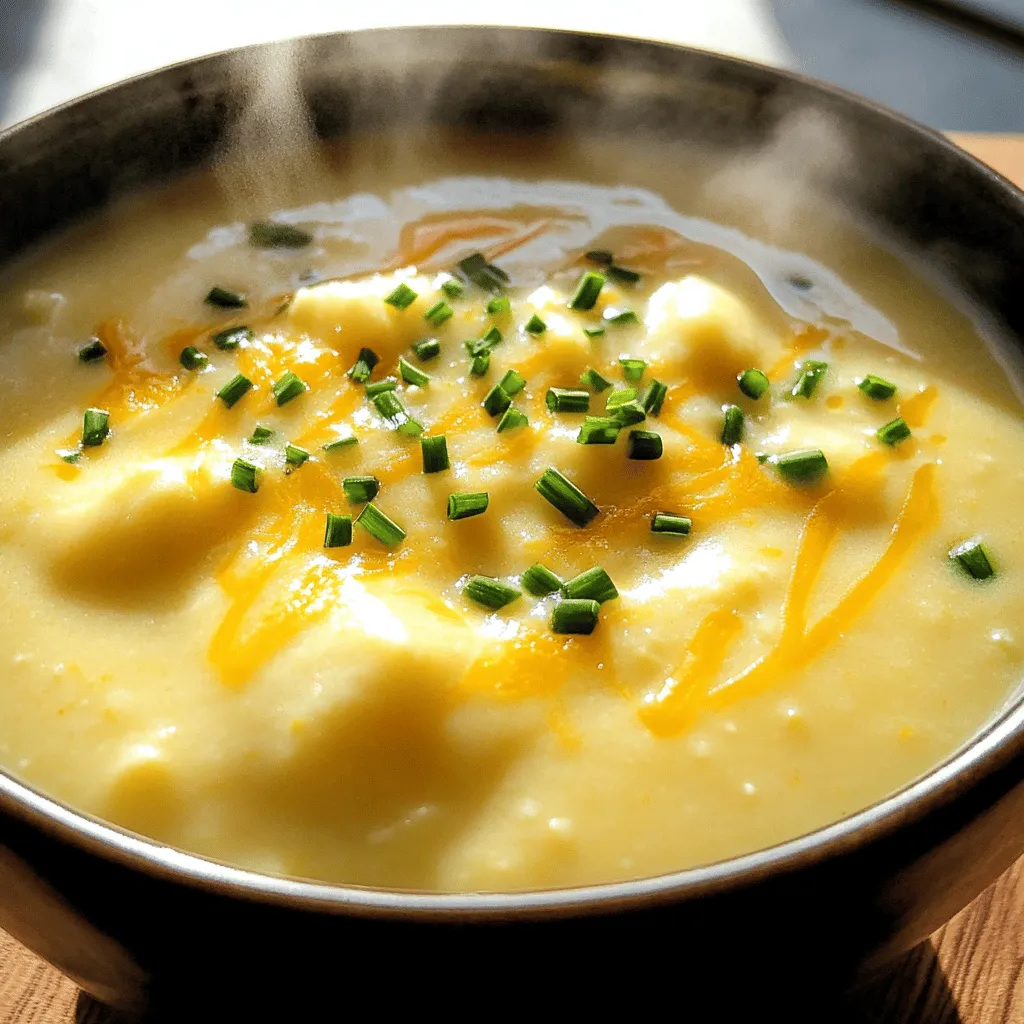
After cooking, use an immersion blender to blend the soup. Blend until smooth and creamy. If you like it chunkier, blend half of the soup. Now, set the slow cooker to low heat. Stir in the shredded cheddar cheese and heavy cream. Mix until the cheese melts. Taste the soup and adjust salt and pepper if needed. Serve hot, garnished with fresh chives for color and flavor.
Tips & Tricks
Achieving the Perfect Creamy Texture
To get that creamy texture, use an immersion blender. Blend the soup until smooth. If you like some chunks, blend only half. This makes each spoonful rich and satisfying. Adding heavy cream helps too. It gives the soup a velvety feel. For a lighter touch, use half-and-half instead. Both options work well.
Flavor Enhancements
To enhance flavor, try adding spices. Smoked paprika adds warmth and depth. You can also use fresh thyme instead of dried. Fresh herbs bring brighter flavors. Don’t forget to season with salt and pepper. This simple step makes a big difference. Finally, finish with fresh chives on top for color and taste. They brighten up each bowl.
Best Practices for Cooking Times
Cooking time affects the soup’s texture. On low, cook for 6-8 hours. This allows the veggies to soften. For a quicker option, set it to high for 3-4 hours. Always check the vegetables with a fork. They should be tender and easy to pierce. Adjust cooking time based on your slow cooker model. Some cook faster than others.
Variations
Dietary Substitutes
You can easily make this soup dairy-free. Swap the heavy cream with coconut milk. This gives a rich flavor and creamy texture while keeping it plant-based. For cheese, use a dairy-free cheese blend. These options let everyone enjoy this dish.
Flavor Variations
You can add spices for more flavor. Try cayenne pepper for heat. It adds a nice kick! You can also add fresh herbs like parsley or basil. If you want more veggies, consider adding carrots or celery. They cook well with cauliflower and add more nutrients.
Serving Suggestions
This soup pairs well with crusty bread. A slice of sourdough or a warm baguette works perfectly. You can also serve it with a side salad for a light meal. For a fun twist, top the soup with croutons or roasted chickpeas for added crunch.
Storage Info
How to Store Leftovers
After enjoying your slow cooker cauliflower cheddar soup, you can store leftovers easily. Let the soup cool to room temperature. Then, transfer it to an airtight container. This helps keep the soup fresh. Store it in the fridge for up to three days. Make sure to label the container with the date. This way, you can track how long it has been stored.
Freezing Instructions
If you want to save your soup for later, freezing is a great option. Pour the cooled soup into freezer-safe bags or containers. Leave some space at the top for expansion. Seal them tightly to avoid air exposure. When stored correctly, the soup can last for up to three months in the freezer. Remember to label the bags with the date. This ensures you know how long it has been frozen.
Reheating Tips for Best Results
When you’re ready to enjoy your soup again, reheating it is simple. If frozen, thaw it in the fridge overnight. For best results, reheat the soup on the stove over medium heat. Stir it often to prevent sticking. If it looks too thick, add a splash of vegetable broth or cream to achieve your desired consistency. You can also use a microwave; just heat in short bursts, stirring in between. Enjoy your creamy delight!
FAQs
Can I use frozen cauliflower?
Yes, you can use frozen cauliflower in this recipe. Frozen cauliflower works well and saves time. It is already cut into small pieces, making it easy to use. Just add it directly to the slow cooker. You may need to cook it a little longer, as frozen veggies can release extra moisture.
How long does the soup last in the fridge?
The soup lasts about 3 to 5 days in the fridge. Make sure to store it in an airtight container. This keeps it fresh and prevents any odors from your fridge. If you want to keep it longer, consider freezing it.
Can I make this soup in advance?
Yes, you can make this soup in advance. It tastes even better the next day. Just prepare it, let it cool, and then store it in the fridge. Reheat the soup on the stove or in the microwave before serving. If you freeze it, remember to thaw it in the fridge overnight before reheating.
This post covered making a delicious soup, focusing on key ingredients and preparation steps. We explored how to choose fresh produce and blend, cook, and enhance flavors effectively. Variations allow for dietary needs and preferences, making it versatile. I shared storage tips to keep leftovers fresh and how to handle FAQs effectively.
Embrace creativity with this recipe. Enjoy each step and have fun in the kitchen!



. - Preheat the oven to 425°F (220°C). - Slice the red bell peppers in half. Remove the seeds and membranes. Place them skin-side up on a lined baking sheet. - Roast the peppers for about 25 minutes until the skin is blistered. - Let the peppers cool. Once cool, peel off the skin and chop them into bite-sized pieces. - Rinse 1 cup of quinoa thoroughly under cold water. - In a saucepan, combine the rinsed quinoa with 2 cups of water. Bring it to a boil. - Reduce the heat to low, cover, and simmer for about 15 minutes until the water is absorbed. - Fluff the quinoa with a fork and let it cool. - In a large mixing bowl, combine the cooled quinoa with the roasted peppers, halved cherry tomatoes, finely diced red onion, and diced cucumber. - Mix gently to ensure even distribution of all ingredients. - In a small bowl, whisk together 3 tablespoons of olive oil, 2 tablespoons of balsamic vinegar, and 1 teaspoon of garlic powder. - Add a pinch of salt and freshly ground black pepper, to taste. - Drizzle the dressing over the salad mixture and toss gently to coat. - If you want, sprinkle 1/4 cup of crumbled feta cheese on top and mix lightly. - Finally, garnish with freshly chopped parsley for a colorful finish. For more details, refer to the Full Recipe. To get that perfect blistered skin on your red peppers, follow these steps: - Choose fresh peppers: Look for firm, shiny skin. - Cut them right: Slice each pepper in half lengthwise. This helps them roast evenly. - High heat is key: Roast at 425°F (220°C) for about 25 minutes. - Watch for bubbles: The skin should bubble and char slightly. This adds great flavor. For seasoning your peppers, try these ideas: - Simple salt and pepper: This lets the natural sweetness shine. - Add garlic powder: This gives a rich taste. - Sprinkle paprika: This adds a nice smoky flavor. To ensure your quinoa is fluffy and not mushy, use this method: - Rinse well: Rinse quinoa under cold water to remove bitterness. - Water ratio matters: Use 2 cups of water for every 1 cup of quinoa. - Don’t skip the simmer: Bring to a boil, then lower the heat and cover. Let it simmer for 15 minutes. You can also hydrate quinoa with broth instead of water. This adds extra flavor to your dish. To make your Roasted Red Pepper Quinoa Salad even tastier, consider these tips: - Add fresh herbs: Basil or cilantro can brighten the dish. - Spice it up: A pinch of red pepper flakes adds heat. - Mix textures: Add nuts for crunch or avocado for creaminess. These simple changes can elevate your salad and keep it exciting. For the full recipe, refer to the earlier section. {{image_4}} For a vegan twist, you can skip the feta cheese. Instead, use avocado or vegan cheese. These options add creaminess without dairy. You can also mix in other vegetables. Try adding spinach, roasted zucchini, or artichokes. They boost flavor and nutrition. Want to make your salad heartier? Add chickpeas or grilled chicken. Chickpeas add fiber and protein. They make the salad more filling. If you prefer meat, grilled chicken works great. You can also try other legumes like black beans or lentils. They offer different flavors and textures. You can change the salad with the seasons. In summer, use fresh corn, tomatoes, or cucumber. These veggies are sweet and crunchy. You might also swap roasted red peppers for grilled asparagus or eggplant. These changes keep the salad exciting and fresh all year. For the full recipe, check out the details above. To keep your roasted red pepper quinoa salad fresh, store it in the fridge. Use an airtight container to avoid moisture loss. Place a piece of parchment paper between the salad and the lid. This helps keep it crisp. This salad lasts about 3 to 5 days in the refrigerator. Look for signs of spoilage like an off smell or slimy texture. If the salad looks or smells bad, it’s best to toss it. You can freeze quinoa, but it's best not to freeze the whole salad. Freezing can change the texture of the veggies. To freeze quinoa, cook it and let it cool. Then, place it in a freezer-safe bag. Remove as much air as possible. This way, you can use it later for quick meals. Yes, you can make this salad ahead. Prepare it in advance for busy days. I suggest making it up to two days before serving. Store it in an airtight container in the fridge. The flavors will meld nicely. Just keep the dressing separate until you’re ready to eat. This keeps the salad fresh and crisp. If you want a change, try using brown rice, farro, or couscous. Each option gives a different taste and texture. You can even use lentils for a protein boost. Just make sure to cook them according to package directions. This keeps your salad hearty and filling. This salad has a mild flavor. The roasted peppers add sweetness, not heat. If you like spice, you can add jalapeños or red pepper flakes. For a milder taste, skip the spicy additions. You can also add more cucumber or feta to balance the heat. This salad works great as a side or main dish. Pair it with grilled chicken or fish for protein. It also complements roasted veggies or a light soup. For a vegetarian option, add chickpeas or serve with hummus. You can enjoy it as part of a larger meal or on its own. Check out the Full Recipe for more ideas! This Roasted Red Pepper Quinoa Salad is easy and tasty. We covered key ingredients, cooking steps, and helpful tips. You can customize it to fit your diet and likes. Always store leftovers properly to enjoy later. Remember, fresh flavors and textures make this salad shine. With these ideas, you can impress your friends or family at any meal. Enjoy making and sharing this healthy dish!](https://dishtreats.com/wp-content/uploads/2025/06/1f28db07-8093-4cb7-8796-796da85cb13a-768x768.webp)
