
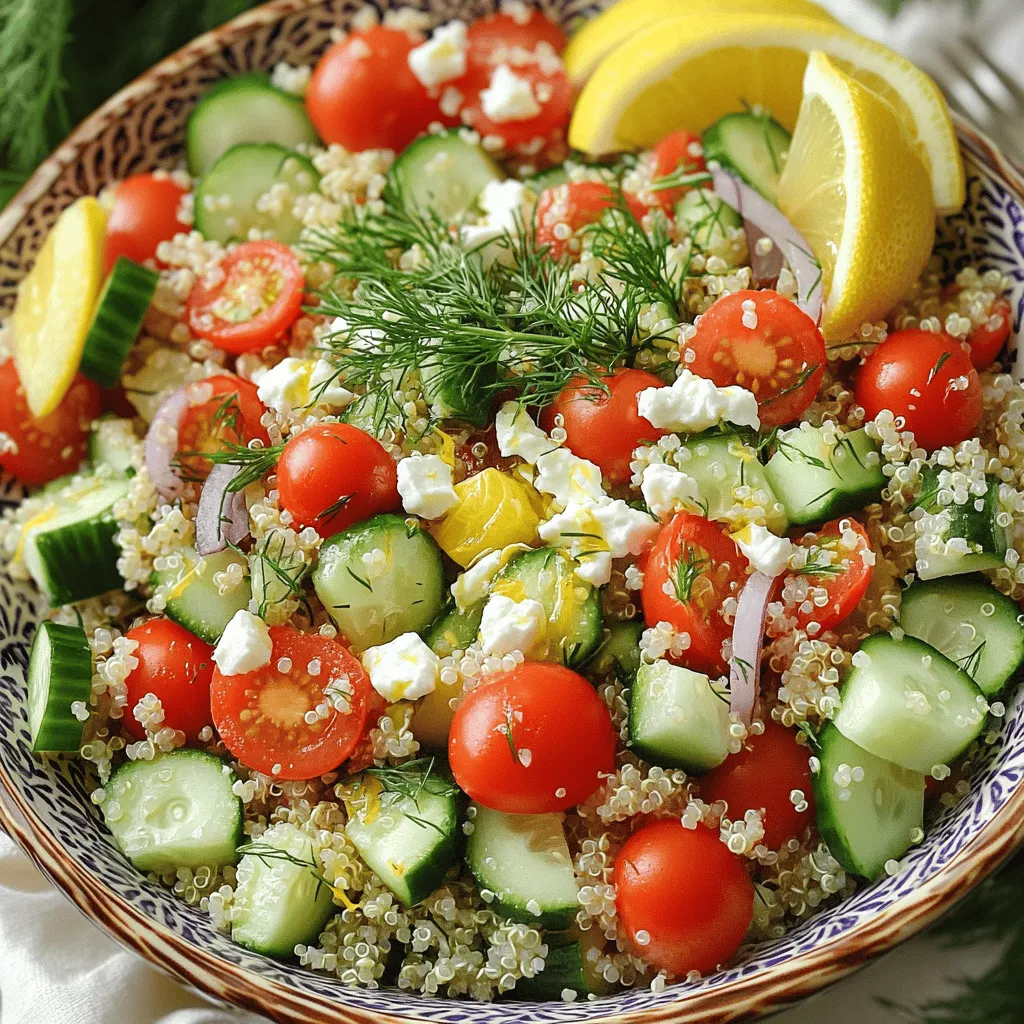
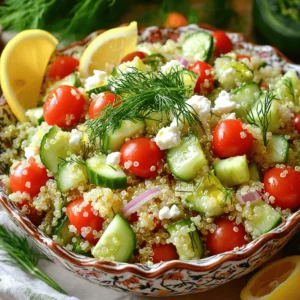
Lemon Dill Quinoa Salad Refreshing and Healthy Dish

Looking for a light and tasty dish? My Lemon Dill Quinoa Salad is just what you need! This refreshing meal combines bright flavors and healthy ingredients. Packed with nutrients, it’s perfect for lunch or dinner. I’ll guide you step-by-step, showing how to make this dish unique. Whether you want protein options or seasonal swaps, I’ve got you covered. Let’s dive in and create something delicious together!
Ingredients
List of Ingredients
- 1 cup quinoa, thoroughly rinsed
- 2 cups vegetable broth (or water for a lighter flavor)
- 1 cup cherry tomatoes, halved
- 1 cucumber, diced into small cubes
- 1/4 red onion, finely chopped
- 1/4 cup fresh dill, chopped
- 1/4 cup feta cheese, crumbled (optional but adds a rich flavor)
- 1/4 cup extra virgin olive oil
- 3 tablespoons freshly squeezed lemon juice
- Salt and pepper, to taste
Nutritional Information
This Lemon Dill Quinoa Salad packs a nutritious punch. Each serving provides a balance of carbs, protein, and healthy fats. Quinoa is a complete protein, meaning it has all nine essential amino acids. One cup of cooked quinoa has about 220 calories, 8 grams of protein, and 5 grams of fiber. The fresh veggies add vitamins and minerals while keeping the salad low in calories. Feta cheese, if used, adds creamy flavor but increases the calorie count slightly.
Benefits of Key Ingredients
- Quinoa: This grain is gluten-free and full of protein. It keeps you full and satisfied.
- Dill: This herb has antioxidants and may help digestion. It adds a fresh taste.
- Lemon juice: High in vitamin C, it boosts your immune system and brightens flavors.
- Cherry tomatoes: Packed with vitamins A and C, they add sweetness and color.
- Cucumber: This veggie hydrates you and adds crunch. It’s low in calories and high in water.
Using these fresh, wholesome ingredients makes this salad a perfect choice for a light meal.
Step-by-Step Instructions
Cooking the Quinoa
To start, you need one cup of quinoa. Rinse it well under cold water. This step removes any bitter taste. Next, in a medium saucepan, add the rinsed quinoa and two cups of vegetable broth. You can use water if you prefer a lighter flavor. Heat the mixture on medium-high until it boils. Once it boils, lower the heat to a gentle simmer. Cover the saucepan and let it cook for 15 to 20 minutes. The quinoa will become fluffy, and most of the broth will absorb. After cooking, remove it from heat and let it cool for a few minutes.
Preparing the Vegetables
While the quinoa cools, it’s time to prep the veggies. Grab a large mixing bowl. Add one cup of halved cherry tomatoes, a diced cucumber, and a finely chopped red onion. I love adding fresh dill, so toss in a quarter cup of chopped dill. If you want a richer taste, crumble in a quarter cup of feta cheese. This adds a creamy texture that pairs well with the other ingredients.
Making the Dressing
Now, let’s create a zesty dressing. In a small bowl, whisk together a quarter cup of extra virgin olive oil and three tablespoons of fresh lemon juice. Add salt and pepper to taste. This dressing brings all the flavors together. I recommend tasting it before mixing it into the salad. You can adjust the salt or lemon juice based on your preference.
Combining Ingredients
Once the quinoa has cooled slightly, fluff it with a fork. Add the quinoa to the bowl with the vegetables. Drizzle the dressing over the mixture. Gently toss everything together until all the ingredients are well-coated. Taste your salad to see if it needs more seasoning. For the best flavor, cover the bowl with plastic wrap and refrigerate for at least 30 minutes. This allows the flavors to blend beautifully. Enjoy your fresh and healthy Lemon Dill Quinoa Salad!
Tips & Tricks
Perfecting Quinoa Texture
To make fluffy quinoa, rinse it well before cooking. This removes the bitter coating called saponin. Use two parts liquid to one part quinoa. For a rich taste, use vegetable broth instead of water. Cook the quinoa until it absorbs the liquid and looks fluffy. Let it cool before mixing it into your salad. This keeps it from clumping together.
Using Fresh Herbs
Fresh herbs make this salad shine. I love using fresh dill for its bright flavor. Chop the dill finely for the best taste. You can also mix in parsley or mint for a twist. Always add herbs just before serving to keep them fresh. This simple step boosts the taste and makes your salad look vibrant.
Flavor Enhancements
To elevate the flavor, use high-quality olive oil. A splash of lemon juice adds zing. Taste your salad before serving; adjust salt, pepper, or lemon juice as needed. If you want a creamier texture, add crumbled feta cheese. For extra crunch, toss in nuts or seeds. These small changes can turn a good salad into a great one!
Variations
Adding Protein Options
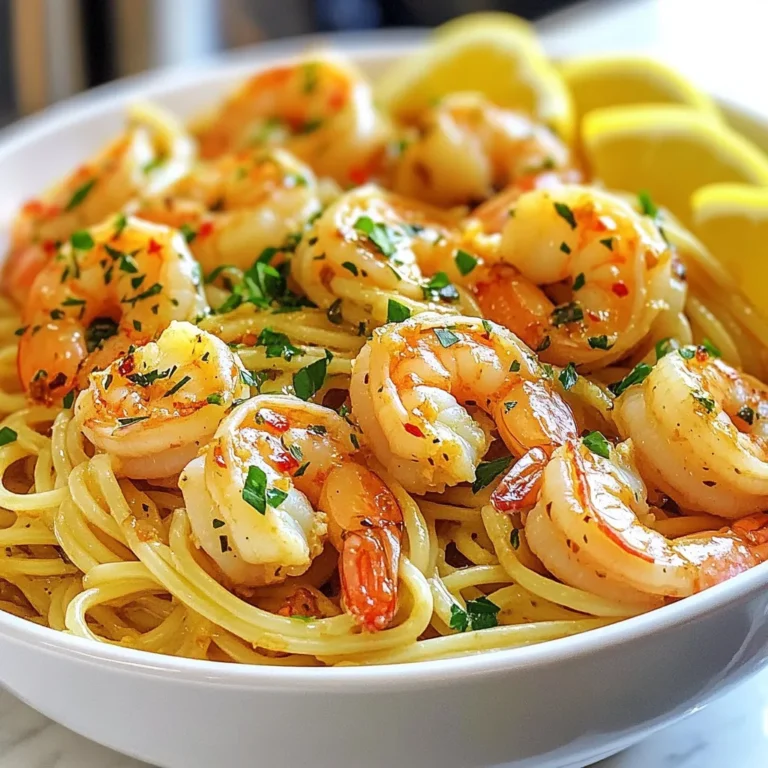
Want to boost your Lemon Dill Quinoa Salad? Add protein! You can mix in cooked chicken, shrimp, or chickpeas. Each of these adds flavor and makes the salad heartier. If you want a quick option, canned chickpeas work great. Just rinse them and toss them in. For a warm touch, grill some chicken or shrimp and slice them before adding to the salad.
Vegan and Vegetarian Adaptations
This salad is easy to adapt for vegans and vegetarians. Just skip the feta cheese or replace it with a vegan alternative. Nutritional yeast is a good option for a cheesy flavor without dairy. You can also add some avocado for creaminess. This keeps the salad rich and satisfying while still being plant-based.
Seasonal Vegetable Swaps
Using seasonal vegetables can keep your salad fresh and exciting. In spring, try adding asparagus or peas. In summer, bell peppers and zucchini are great. In fall, roasted sweet potatoes add a warm touch. For winter, you can toss in some shredded carrots or Brussels sprouts. These swaps not only change the taste but also bring different colors to your plate.
Storage Info
How to Properly Store Leftovers
To keep your Lemon Dill Quinoa Salad fresh, store it in an airtight container. Make sure to let it cool first. Once it’s cool, add it to the container and seal it tightly. This helps keep the flavors intact. If you have extra dressing, store it separately. This way, the salad won’t get soggy.
Shelf Life and Reheating Tips
When stored correctly, the salad lasts up to three days in the fridge. I recommend eating it cold, as it tastes best that way. If you want to reheat, use a microwave but only for a short time. Heat in 20-second intervals to avoid overcooking the quinoa. Remember, reheating may change the texture a bit.
Serving Suggestions for Meal Prep
This salad is perfect for meal prep. You can pack it in individual containers for easy lunches. Pair it with grilled chicken or fish for protein. It also makes a great side dish for barbecues or picnics. Garnish with extra dill or lemon wedges before serving for a fresh touch.
FAQs
How can I make this salad gluten-free?
To make Lemon Dill Quinoa Salad gluten-free, use quinoa as your base. Quinoa is naturally gluten-free. Always check for cross-contamination if you buy pre-packaged quinoa. Also, ensure your vegetable broth is gluten-free. Most brands are safe, but a quick check will ease your mind.
Can I use different grains besides quinoa?
Yes, you can use other grains like rice, bulgur, or farro. Each grain adds a unique flavor and texture. For a lighter option, try using cauliflower rice. Just note that cooking times will vary based on the grain you choose. Adjust your method and enjoy a new twist on this salad.
What are some good pairings for Lemon Dill Quinoa Salad?
This salad pairs well with grilled chicken, fish, or shrimp. It also works great as a side dish for roasted vegetables. You can serve it with a light yogurt dressing or a simple vinaigrette. For a complete meal, add some chickpeas or beans for extra protein.
This blog post covered the key ingredients for a tasty Lemon Dill Quinoa Salad. We discussed how to cook quinoa, prepare veggies, and make a simple dressing. Tips on perfecting texture and enhancing flavor can make a difference. You can also add protein, adapt for vegan diets, or change veggies by the season. Proper storage helps keep leftovers fresh too. Overall, this salad is flexible, nutritious, and easy to make. Enjoy experimenting with your version!
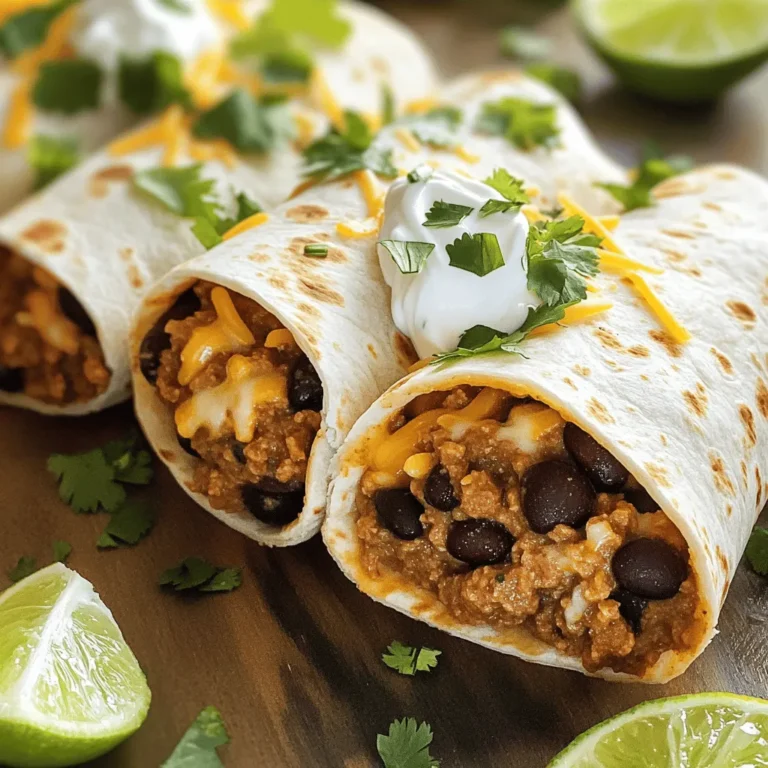
. It takes about 20 minutes to cook garlic butter steak bites. You spend 10 minutes prepping the ingredients and another 10 minutes cooking them. This quick cook time makes it easy to enjoy a tasty meal in no time. Yes, you can use other cuts of steak. Ribeye, filet mignon, or flank steak work well. Just remember to adjust the cooking time based on the cut you choose. Each cut has its own flavor and texture, so pick one you like best. You can serve garlic butter steak bites with various sides. Here are some great options: - Creamy mashed potatoes - Sautéed vegetables like green beans or broccoli - Fresh salad with light dressing - Crispy garlic bread These sides add flavor and balance to your meal. You can also use toothpicks for easy serving at parties or gatherings. For more ideas, check out the Full Recipe for garlic butter steak bites. It offers tips on presentation and other serving suggestions. In this post, we covered how to make garlic butter steak bites using simple ingredients. You learned about the key steps, from preparing the steak to combining it with garlic butter. We also shared tips for cooking and presented flavor variations to try. Finally, we discussed storage tricks and answered common questions. Keep this recipe handy for a quick and tasty meal. Enjoy your cooking and the delicious bites you create!](https://dishtreats.com/wp-content/uploads/2025/06/daf37226-e56f-491f-87e9-6665894a306e-768x768.webp)
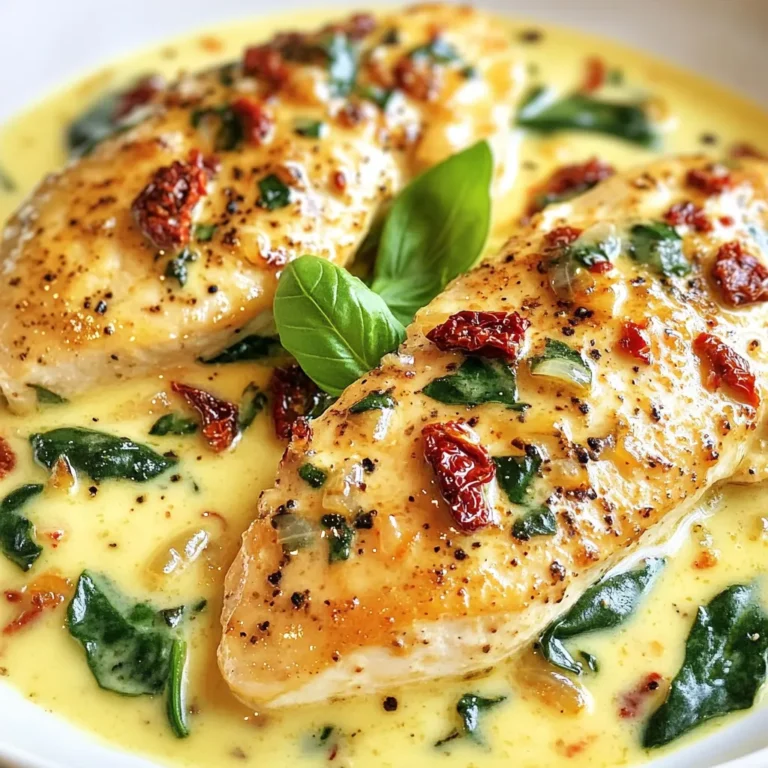
![- 4 boneless, skinless chicken thighs - 2 cups long-grain rice - 4 tablespoons unsalted butter, divided - 5 cloves garlic, finely minced - 1 medium onion, finely chopped - 1 teaspoon dried oregano - 1 teaspoon paprika - Salt and freshly ground black pepper, to taste - 3 cups chicken broth - 1 cup frozen peas - Fresh parsley, chopped (for garnish) When I prepare Garlic Butter Chicken and Rice, I love the way the flavors mix. The chicken thighs bring a juicy texture. Long-grain rice soaks up all the savory chicken broth. Unsalted butter adds a rich taste. Aromatics play a big role here. Garlic cloves and onion give a sweet aroma. Dried oregano and paprika add warmth and depth. I always use fresh black pepper and salt to make the dish pop. For a splash of color, I toss in frozen peas. They keep their bright green shade when cooked. Fresh parsley adds a nice finish. It makes the dish look inviting and fresh. If you want to try this dish, check the Full Recipe for all the steps! You'll enjoy making it, and even more, eating it. 1. Start by melting 2 tablespoons of butter in a large skillet over medium heat. This will create a rich base for your dish. 2. Once the butter melts, add the chopped onion. Sauté it for about 5 minutes until it turns soft and fragrant. 3. Next, add 5 cloves of minced garlic to the skillet. Cook it for 1 minute, just until the garlic smells good but isn’t browned. 4. While the onion and garlic are cooking, season 4 chicken thighs on both sides. Use 1 teaspoon of oregano, 1 teaspoon of paprika, salt, and pepper. This will add a lot of flavor. 5. Move the onion and garlic to one side of the skillet. Place the seasoned chicken thighs in the center. Cook each side for 6-7 minutes until they turn golden brown. Once done, take the chicken out and set it aside. 1. In the same skillet, add the remaining 2 tablespoons of butter. Let it melt completely. 2. Now, stir in 2 cups of long-grain rice. Toast the rice for 2-3 minutes, stirring often. This step brings out the nutty flavor. 3. Pour 3 cups of chicken broth over the toasted rice. Gently stir to coat all the grains. Increase the heat to bring the mixture to a boil. 1. Once the broth is boiling, lower the heat to a simmer. Nestle the cooked chicken thighs on top of the rice. Cover the skillet with a lid and let it cook for 15-20 minutes. The rice should absorb most of the broth and become tender. 2. For the last 5 minutes of cooking, sprinkle 1 cup of frozen peas directly over the rice. Do not stir. This will keep the peas bright and fresh. 3. After cooking, remove the skillet from the heat. Leave it covered for an extra 5 minutes. This helps the rice fluff up nicely. 4. Finally, use a fork to fluff the rice and mix in the peas. Serve warm, with fresh parsley on top for color and flavor. This simple process makes Garlic Butter Chicken and Rice a fun and tasty comfort meal. For the complete recipe, check out the [Full Recipe]. To boost the flavor of your garlic butter chicken and rice, consider adding fresh herbs. Thyme, rosemary, or basil can bring new notes to the dish. You can also mix in some red pepper flakes for a little heat. Adjust the spices to fit your taste. If you like it spicy, add more paprika or even cayenne pepper. Remember, always taste as you go to find your perfect balance. Sautéing is key for great flavor. Start with a medium heat to avoid burning the garlic and onions. Stir them often to help them cook evenly. When cooking the chicken, ensure it's golden and cooked through. Use a meat thermometer to check the internal temperature. It should reach 165°F (75°C) for safe eating. This way, you get juicy chicken every time. For a beautiful presentation, serve your garlic butter chicken and rice on a large platter. Sprinkle fresh parsley on top for a pop of color. You can also add lemon wedges on the side. This adds a zesty touch when served. Pair your meal with a simple green salad or steamed vegetables. For drinks, try a light white wine or sparkling water with lemon. Enjoy your delicious creation! You can find the full recipe [here](#). {{image_4}} You can make this dish lighter by swapping rice for cauliflower rice. Cauliflower rice offers a low-carb option that still tastes great. It cooks quickly and absorbs flavors well. Using skinless chicken breasts instead of thighs is another healthy choice. Breasts have less fat but still provide protein. Spice things up by adding cayenne pepper for heat. A pinch can really enhance the dish. You can also try Italian seasoning for a different twist. Adding veggies like bell peppers or carrots boosts nutrition and color. They add crunch and sweetness that pairs well with garlic butter. If you need gluten-free options, use gluten-free chicken broth. It keeps the dish flavorful while meeting dietary needs. For those avoiding dairy, there are great butter substitutes. Look for dairy-free spreads made from plant oils. They work well in this recipe without losing taste. To keep your Garlic Butter Chicken and Rice fresh, store any leftovers in airtight containers. This helps lock in the flavor and moisture. Make sure to let the dish cool down before sealing it up. For longer storage, you can freeze it. Divide the dish into smaller portions to make thawing easier later. When it's time to reheat, use a skillet or a microwave. If using a skillet, add a splash of chicken broth to keep it moist. Heat it over low to medium heat, stirring gently. In the microwave, cover the dish with a damp paper towel. This keeps moisture in and avoids a dry result. Remember, you want your chicken and rice to stay tender. In the fridge, your Garlic Butter Chicken and Rice lasts about 3 to 4 days. Always check for signs before eating. Look for any off smells or changes in color. If it smells funny or looks slimy, it’s best to toss it. Always trust your senses to keep your meals safe and tasty. To amp up the flavor, try adding fresh herbs like thyme or rosemary. You can also mix in spices such as garlic powder or onion powder for extra depth. A splash of lemon juice at the end brightens the dish. For a spicy kick, consider adding crushed red pepper flakes. These little changes can make a big taste difference. Yes, you can! To adapt this recipe, first, brown the chicken thighs in a skillet. This step gives great flavor. Then, place the chicken, onions, garlic, and rice into the slow cooker. Add chicken broth and spices. Cook on low for 4-6 hours. Check the rice for doneness. Slow cooking makes this dish very tender and delicious. This dish pairs well with a side of steamed vegetables like broccoli or green beans. A fresh salad with vinaigrette is also nice. For drinks, consider serving iced tea or a light white wine. These choices balance the rich flavors of the chicken and rice. Absolutely! You can make this dish ahead of time. Store the chicken and rice in separate containers to keep them fresh. It lasts up to four days in the fridge. When ready to eat, simply reheat in the microwave or on the stovetop. This makes it a perfect option for busy weekdays. For the full recipe, check out the link above. This article guides you through making Garlic Butter Chicken and Rice. You learned about key ingredients like chicken thighs, long-grain rice, and garlic. I shared easy steps for cooking flavorful meals, plus tips to enhance taste and presentation. In conclusion, this dish is tasty and versatile. You can adjust it to fit your diet or mood. Enjoy experimenting with flavors and make it your own! Happy cooking!](https://dishtreats.com/wp-content/uploads/2025/05/2b69aced-7351-4258-8c9e-dc4a3c9f0304-768x768.webp)