Spicy Chipotle Chicken Quesadillas Flavorful Treat
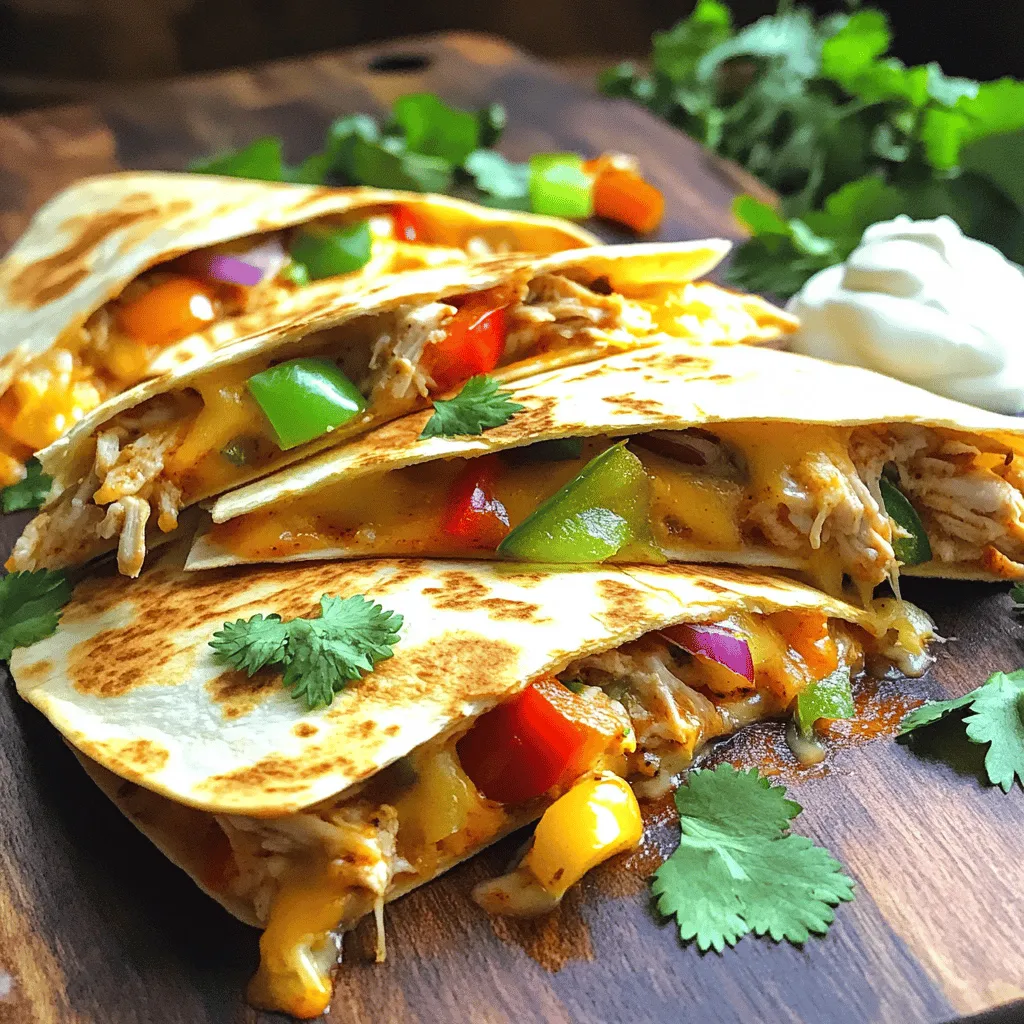
Craving a bold, flavorful treat? Look no further! My Spicy Chipotle Chicken Quesadillas bring a delicious kick to your plate. With tender chicken, zesty chipotle, and gooey cheese, each bite is a burst of flavor. Plus, they’re easy to make and perfect for any meal. Let’s dive into the ingredients and steps to create this spicy delight that will impress your friends and family!
Ingredients
List of Ingredients
- 2 cups shredded cooked chicken
- 1 tablespoon minced chipotle pepper in adobo sauce
- 1 cup shredded Monterey Jack cheese
- 1 cup shredded cheddar cheese
- 1/2 cup bell peppers, thinly sliced
- 1/4 cup finely chopped red onion
- 4 large flour tortillas
- 2 tablespoons olive oil (divided)
- 1 teaspoon garlic powder
- 1 teaspoon ground cumin
- Salt and black pepper to taste
- Optional garnishes
Making spicy chipotle chicken quesadillas is easy and fun. I love using shredded cooked chicken because it saves time. You can use leftover chicken or even a store-bought rotisserie chicken. The chipotle pepper in adobo sauce adds a smoky heat. Adjust the amount based on your spice level.
For the cheese, Monterey Jack melts beautifully, while cheddar brings flavor. I like to mix both for a creamy texture. The bell peppers add color and crunch. You can use any color you like.
Don’t forget the red onion! It gives a sweet bite that pairs well with the spices. Flour tortillas are my go-to because they hold everything together. The olive oil helps the quesadillas get crispy.
Seasoning is important. Garlic powder and ground cumin add depth to the filling. Always taste and adjust salt and black pepper to your liking.Enjoy the process of making these delicious quesadillas.
Step-by-Step Instructions
Preparation Steps
- Combine the chicken with chipotle pepper and seasonings.
In a large bowl, mix the shredded chicken with minced chipotle pepper, garlic powder, ground cumin, salt, and pepper. Make sure each piece of chicken gets coated well. This mix gives your quesadillas a spicy kick.
- Sauté bell peppers and onions.
Heat 1 tablespoon of olive oil in a large skillet on medium heat. Add the thinly sliced bell peppers and chopped red onion. Stir them for about 3-4 minutes until they soften and turn a bit golden. This step adds a nice sweetness to balance the spice.
- Assemble the quesadillas.
In the same skillet, lay one tortilla flat. Sprinkle half of it with Monterey Jack and cheddar cheese. Add half of the spicy chicken mixture on top. Next, add the sautéed bell peppers and onions. Top with a little more cheese. This extra cheese helps keep everything together when you fold the tortilla.
Cooking Process
- Cook the quesadillas on medium heat.
Fold the tortilla in half and press gently to seal it. Cook each side for about 3-4 minutes. Keep an eye on them to ensure they don’t burn. The goal is to get them golden brown and crispy.
- Monitor for golden brown texture.
You want the outside to be crunchy while the inside melts perfectly. If one side looks ready, flip it carefully using a spatula.
- Rest and slice before serving.
After cooking, let the quesadillas sit for about a minute on a cutting board. This resting time helps the cheese firm up a bit. Then, slice them into wedges for easy serving. Enjoy your spicy chipotle chicken quesadillas warm, maybe with some sour cream on the side!
Tips & Tricks
Cooking Tips
- Ensuring even cooking of the quesadillas: To cook your quesadillas evenly, use medium heat. This allows the tortillas to brown without burning. Flip them gently with a spatula for uniform color.
- Preventing filling from spilling out: Place just enough filling in the center. Leave space at the edges when folding. Press the edges down lightly to seal. This helps keep all the tasty bits inside.
- Choosing the right tortilla: Use large flour tortillas for best results. They provide flexibility and hold the filling well. Avoid thin tortillas, as they may tear during cooking.
Flavor Enhancements
- Adding spices for extra heat: For more spice, add cayenne pepper or crushed red pepper flakes. Mix these into the chicken before cooking. This boosts the heat and flavor of your quesadillas.
- Incorporating additional ingredients like avocado or corn: Adding fresh avocado slices brings creaminess. Corn adds a sweet crunch. Mix these with your filling for a tasty twist. You can also experiment with black beans for added protein.

Variations
Ingredient Swaps
You can switch up the protein in this recipe. Try using beef or shrimp for a different taste. These proteins bring their unique flavors and textures. If you want a plant-based option, use black beans or grilled vegetables. Both choices provide great taste without meat.
Serving Suggestions
Pair your spicy chipotle chicken quesadillas with sides that enhance their flavor. Guacamole adds a creamy texture that balances the spice. Fresh salsa, with its crispness and tang, makes a perfect match too.
For drinks, try serving these quesadillas with sparkling water or a light beer. Both can help cool your taste buds from the heat. You can also enjoy them with a fruity mocktail for a fun twist. These pairings will elevate your dining experience and keep everyone happy.
Storage Info
Refrigeration
To keep your spicy chipotle chicken quesadillas fresh, store leftovers in the fridge. Place them in a tight container to avoid drying out. I suggest using glass or plastic containers with a secure lid. This helps keep them fresh for up to three days. If you want to keep them longer, consider freezing instead.
Freezing Instructions
You can freeze both uncooked and cooked quesadillas. For uncooked ones, wrap each quesadilla in plastic wrap. Place them in a freezer bag and remove as much air as possible. Cooked quesadillas can also freeze well. Let them cool first, then wrap and bag them like the uncooked ones.
When you are ready to eat, thaw quesadillas in the fridge overnight. To reheat, place them in a hot skillet. Cook for about 3-4 minutes per side until hot and crispy. This method keeps them tasty and fresh.
FAQs
Common Questions
How spicy are chipotle peppers?
Chipotle peppers have a smoky flavor and medium heat. They rate around 2,500 to 8,000 on the Scoville scale. This means they can be spicy, but not overwhelming. If you like heat, use more. If you prefer mild, use less.
Can I use different types of cheese?
Yes, you can use many types of cheese. Monterey Jack and cheddar melt well. You might try pepper jack for extra spice or mozzarella for a gooey texture. Feel free to mix and match your favorites.
What’s the best way to reheat quesadillas?
To reheat quesadillas, use a skillet. Heat it over medium heat. Place the quesadilla in the skillet and cook for 2-3 minutes on each side. This method keeps the tortilla crispy and the cheese melted.
Cooking and Preparation Inquiries
How long do quesadillas take to cook?
Quesadillas usually take about 6-8 minutes to cook. You need 3-4 minutes on each side. Look for a golden brown color and melted cheese to know they are ready.
Can I make quesadillas in advance?
Yes, you can make quesadillas in advance. Cook them, let them cool, and then store them in the fridge. Reheat them later in a skillet for best results.
Ingredient and Substitution Questions
What can I substitute for chicken?
You can use many options instead of chicken. Try shredded beef or pulled pork for a different flavor. For a vegetarian option, use black beans or sautéed mushrooms.
Are there gluten-free tortillas available?
Yes, many stores sell gluten-free tortillas. Look for options made from corn or other gluten-free grains. Always check the label to ensure they meet your dietary needs.
We explored how to make delicious quesadillas with simple ingredients. You learned the steps for preparation and cooking, along with helpful tips. Variations let you get creative with flavors and ingredients. We also covered how to store leftovers and answered common questions.
In the end, quesadillas are fun and easy to make. Whether you try classic or new flavors, enjoy each tasty bite!

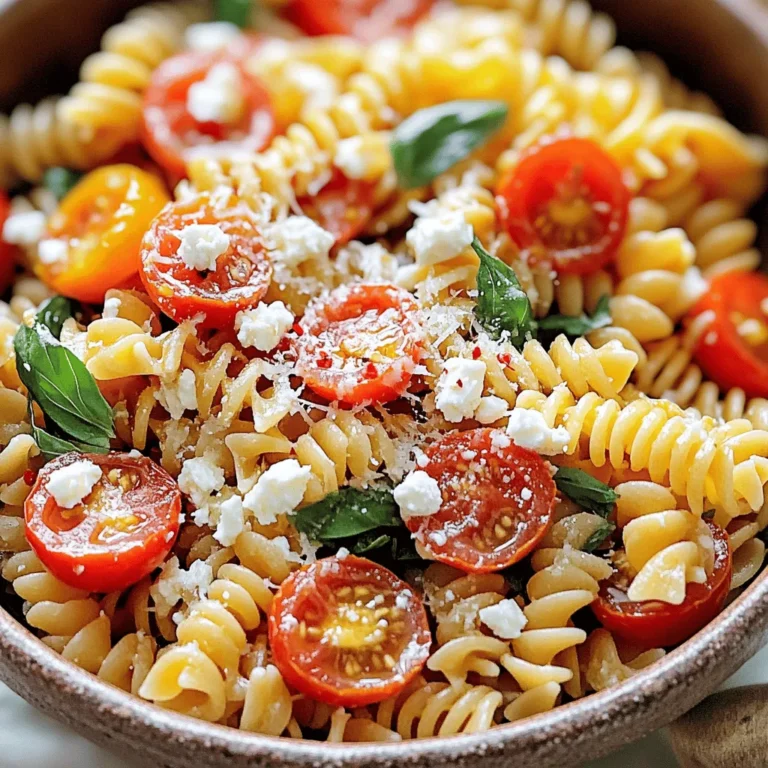
![- 1 French baguette, cut into 1/2-inch thick slices - 4 ripe tomatoes, diced into small pieces - 1 cup fresh basil leaves, roughly chopped - 2 cloves garlic, finely minced - 3 tablespoons extra-virgin olive oil - 1 tablespoon balsamic vinegar - Salt and freshly cracked black pepper, to taste - Fresh mozzarella balls, halved (optional) When making tomato basil bruschetta, fresh ingredients matter. Ripe tomatoes burst with flavor. Look for bright color and a firm touch. Fresh basil should smell sweet and aromatic. It adds a lovely green touch to the dish. To enhance flavor, consider adding: - A pinch of red pepper flakes for heat. - A sprinkle of dried oregano for depth. - A dash of lemon zest for brightness. These small additions can elevate your bruschetta, making it more exciting and unique. How to choose ripe tomatoes: Select tomatoes that are firm, smooth, and free of blemishes. They should feel slightly heavy for their size. A sweet smell is a good sign of ripeness. Choosing the best basil: Look for bright green leaves without brown spots. Fresh basil should feel soft and fragrant. Avoid wilted or discolored leaves. This will ensure your bruschetta is fresh and flavorful. For the full recipe, check out [Full Recipe]. It will guide you through each step to create this fresh and flavorful delight! - Preheat the oven to 400°F (200°C). - Arrange baguette slices on a baking sheet in a single layer. - Brush both sides of each slice with olive oil for best toasting. - Toast the bread for 5-7 minutes until golden. Watch closely to avoid burning. - In a bowl, combine diced tomatoes, chopped basil, minced garlic, olive oil, balsamic vinegar, salt, and pepper. - Mix well to blend all the flavors together for the best taste. - Generously pile the tomato basil mixture onto each slice of toasted bread. - For a delicious twist, add one half of a fresh mozzarella ball on top of each bruschetta. - Serve immediately to enjoy the crunchy texture and fresh flavors! You can find the [Full Recipe] for a complete guide to this delightful dish. To keep your bread from getting soggy, toast it well. Brush both sides of each slice with olive oil. This helps create a barrier against moisture. Bake them until they are golden and crisp. Serve your bruschetta right after making it. This keeps the bread crunchy and the topping fresh. Letting it sit too long can cause sogginess. So, plan to serve it quickly after assembly for the best taste. You can add a variety of toppings to your bruschetta. Try adding olives or capers for a salty kick. A sprinkle of feta cheese can also add a creamy touch. If you like heat, consider diced jalapeños. To infuse extra flavor, marinate your tomatoes. Mix them with olive oil, balsamic vinegar, and a pinch of salt before adding to your bread. This gives a burst of taste with every bite. Arrange your bruschetta on a serving platter. Keep them in a neat row for a clean look. You can stack them or place them in a circle for flair. For garnishing, add fresh basil leaves on top. This adds color and enhances the dish's aroma. A light drizzle of balsamic reduction can elevate the look, too. It makes your bruschetta not only tasty but also beautiful. {{image_4}} You can switch up the bread for bruschetta. Try using sourdough or ciabatta. Both add a unique crunch. You can also use gluten-free bread for a lighter option. For toppings, think seasonal. In summer, ripe peaches or heirloom tomatoes shine. In fall, try roasted butternut squash or figs. Want to mix it up? Add avocado to your bruschetta for creaminess. It pairs well with tomatoes. You can also try strawberries for a sweet twist. Adding roasted vegetables gives depth. Bell peppers or zucchini can bring a savory note. Bruschetta is not just Italian. In Italy, you might find toppings like prosciutto or different cheeses. Adding spices like za'atar or harissa gives it an international flair. Each region has its own style. Embrace the flavors of the world in your bruschetta! To keep your bruschetta fresh, store it properly. You should separate the bread and topping. Place the bread in an airtight container. This helps it stay crisp. For the tomato mixture, use a different container. Glass or plastic works well. Both should be stored in the fridge. Consume leftovers within two days for the best taste. When reheating bruschetta, avoid sogginess. The oven is best for this. Preheat your oven to 350°F (175°C). Place the toasted bread on a baking sheet. Heat for about 5 minutes. This keeps the crunch. You can use a microwave, but it makes the bread soft. If you must use the microwave, heat it for only 10-15 seconds. You can freeze bruschetta, but it changes the texture. It's best to freeze the bread alone. Once cooled, place the slices in a freezer bag. Remove as much air as possible before sealing. For the topping, freeze it in a separate container. To thaw, leave it in the fridge overnight. Reheat the bread in the oven for the best results. Enjoy this fresh and flavorful delight! Traditional bruschetta is a simple Italian dish. It features grilled bread topped with fresh ingredients. The classic topping includes tomatoes, garlic, basil, and olive oil. This dish highlights ripe tomatoes and bright flavors. It is often enjoyed as an appetizer or snack. Yes, you can prepare bruschetta ahead of time. You can make the tomato mixture a few hours before serving. Just keep it in the fridge to maintain freshness. However, do not assemble it too early. The bread can get soggy if topped too soon. Bruschetta is not gluten-free if made with traditional bread. However, you can use gluten-free bread as a substitute. This way, you can enjoy the same delicious flavors without gluten. Always check the labels to ensure all ingredients are gluten-free. Making bruschetta vegan is easy! Just skip any cheese toppings, like mozzarella. Use a mix of tomatoes, basil, garlic, olive oil, and vinegar. This simple recipe is full of flavor and perfect for everyone. Serve bruschetta fresh from the oven for the best taste. Arrange it on a beautiful platter to impress your guests. Garnish with extra basil for color. You can also drizzle balsamic reduction for a touch of sweetness. For detailed instructions on making this delightful dish, check out the [Full Recipe]. Bruschetta is a simple and tasty dish made with fresh ingredients. We covered the best ingredients and how to prepare them. I shared tips for toasting bread and mixing flavors. You learned how to serve and store bruschetta, plus creative variations to try. Enjoy making this dish for your next gathering. With fresh ingredients and great flavors, it’s sure to impress!](https://dishtreats.com/wp-content/uploads/2025/06/57f66ce1-94e1-4d75-a2ed-e361941a89c2-768x768.webp)
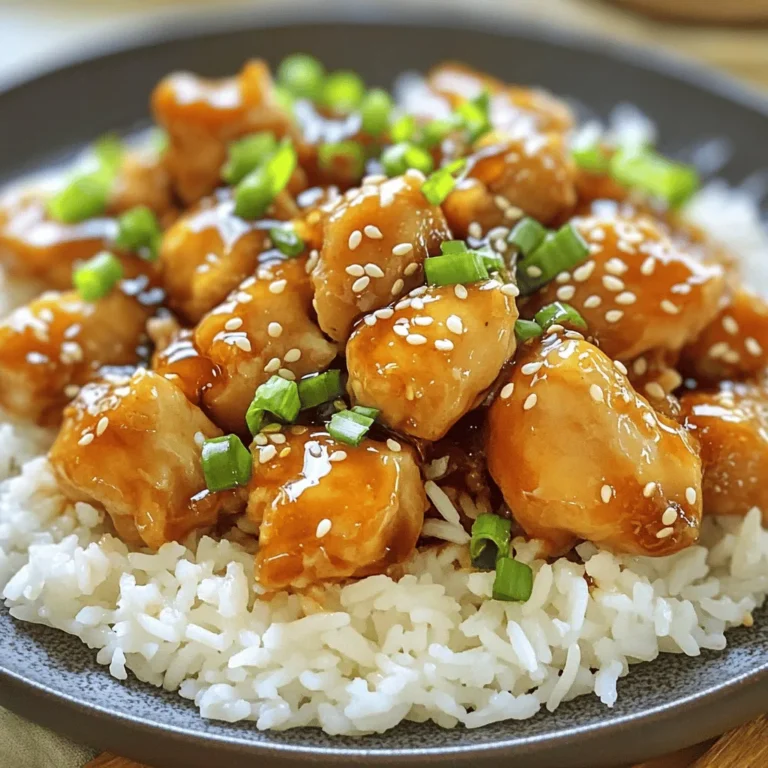
![To make the best creamy buffalo chicken dip, you need the following key ingredients: - 2 cups shredded cooked chicken - 1/2 cup cream cheese, softened to room temperature - 1/2 cup sour cream - 1/2 cup plain Greek yogurt - 1/2 cup buffalo sauce (adjust based on desired heat level) - 1 cup shredded sharp cheddar cheese These ingredients create a rich and creamy base that is sure to please any crowd. The chicken adds protein and heartiness, while the cream cheese, sour cream, and Greek yogurt provide a smooth texture. Buffalo sauce gives it that spicy kick, and the sharp cheddar cheese adds a wonderful flavor. You can also enhance your dip with these optional ingredients for extra flavor: - 1/2 teaspoon garlic powder - 1/2 teaspoon onion powder - 1 tablespoon fresh chives, finely chopped (plus additional for garnishing) Garlic powder and onion powder add depth to the dip's flavor profile. Fresh chives bring a pop of color and a mild onion taste. Feel free to add your favorite seasonings to make it truly yours. For the full recipe, check out [Full Recipe]. To start, we need to mix the creamy base. In a large mixing bowl, combine the softened cream cheese, sour cream, and Greek yogurt. Use a hand mixer or spatula to blend until smooth. Make sure there are no lumps. This creamy base will give the dip its rich texture. Next, we add the chicken and buffalo sauce. Fold in the shredded cooked chicken and buffalo sauce gently. Add garlic powder, onion powder, salt, and pepper. Mix until everything is well combined. The buffalo sauce gives this dip its signature kick. Adjust the sauce to suit your taste. Now, we prepare to bake the dip. Spoon the creamy chicken mixture into a medium-sized baking dish. Spread it out evenly. For a cheesy finish, sprinkle some reserved cheddar cheese on top. Preheat your oven to 350°F (175°C). Place the baking dish in the oven and bake for about 20 minutes. The dip should be bubbling and the top lightly golden. After baking, let the dip cool for about 5 minutes. This helps prevent burns when serving. Garnish with fresh chopped chives for a pop of color. For dipping, I recommend using tortilla chips, crunchy celery sticks, or sweet carrot sticks. These dippers complement the creamy dip perfectly. Enjoy this dish at your next gathering or game day! For the complete recipe, check out the [Full Recipe]. To get the perfect creaminess, blend the cream cheese, sour cream, and Greek yogurt well. Use a hand mixer for a smooth texture. This step ensures your dip is rich and velvety. If it feels too thick, add a splash of buffalo sauce to loosen it up. When it comes to heat, buffalo sauce is your friend. Start with half a cup, then taste. If you want more heat, add a little more sauce. Remember, you can always add, but you can't take away! For mixing, I recommend a sturdy mixing bowl and a hand mixer. This combination makes it easy to achieve a smooth mix. If you prefer, a spatula works just as well. For baking, use a medium-sized baking dish. A glass or ceramic dish helps the dip bake evenly. You might also want a cookie sheet underneath for easy handling. Pair your dip with tortilla chips for crunch. Fresh celery and carrot sticks add a great veggie option. You can even set up a fun dip station with various dippers. Try serving the dip in individual ramekins for a party. It makes each serving special and easy to grab. A wooden cutting board adds a rustic touch, making it look even more inviting! {{image_4}} You can easily make this dip fit your needs. For a gluten-free option, use gluten-free buffalo sauce. Check labels to ensure all ingredients are safe. You can also swap regular sour cream with a gluten-free version. If you're watching carbs, try using cream cheese and Greek yogurt as they are lower in carbs. You can reduce the amount of buffalo sauce or serve with veggies instead of chips. Celery sticks and carrot sticks are great low-carb dippers! Want to shake things up? Add a twist with different cheeses. Blue cheese adds a bold flavor that many love. You can also use mozzarella or pepper jack for a creamy texture and a kick. Incorporate extra spices, like smoked paprika or cayenne, to enhance the flavor. Adding diced bell peppers or jalapeños gives it a crunchy texture. These simple changes make your dip unique and fun! No oven? No problem! You can make this dip in a slow cooker. Just mix all ingredients and cook on low for 2-3 hours. Stir occasionally for a creamy result. If you have an air fryer, you can use it too! Place the dip in a heat-safe dish and cook at 350°F for about 15-20 minutes. This method gives it a crispy top while keeping the inside gooey. For the full recipe, check out the link. To keep your creamy buffalo chicken dip fresh, store it in an airtight container. Make sure to let it cool completely before sealing. This helps lock in flavors. Place the container in the fridge. Your dip can last up to 3 days this way. If you have more leftovers, you can freeze it. Use freezer-safe bags or containers. Just be sure to remove as much air as possible. When properly stored, it can last up to 3 months in the freezer. When it comes time to enjoy your dip again, reheating it is key. The best method is to use the oven. Preheat the oven to 350°F (175°C). Place the dip in an oven-safe dish and cover it with foil. Heat for about 15-20 minutes. This keeps the dip creamy and prevents it from drying out. You can use the microwave if you're short on time. Place a portion in a microwave-safe bowl. Heat in 30-second bursts, stirring in between. This method may change the texture a bit, but it still tastes great. In the fridge, your dip stays fresh for about 3 days. After that, the flavor and texture may change. Signs that your dip has gone bad include an off smell, discoloration, or separation. If you see any of these signs, it's best to throw it away. Always trust your senses! For the full recipe, check out the Buffalo Bliss Chicken Dip section above. Can I make this dip ahead of time? Yes, you can prepare this dip ahead of time. Mix all the ingredients and store it in the fridge. Bake it just before serving. This makes it easy for parties. Is it possible to use canned chicken instead of shredded? Yes, you can use canned chicken. It saves time and is easy to mix in. Just drain and shred the chicken before adding it to the dip. The dip has about 300 calories per serving. Each serving is roughly 1/2 cup. If you want to lower calories, use low-fat cream cheese or Greek yogurt. This gives you a tasty dip without adding too many calories. Creamy Buffalo Chicken Dip is great for game day, parties, or family gatherings. It’s a crowd-pleaser! Pair it with cold drinks like beer or soda. You can also serve it with fresh veggies and chips for extra crunch. This article covered how to make creamy buffalo chicken dip, from ingredients to storage. We explored main and optional ingredients, easy step-by-step instructions, tips for a perfect dip, and variations. In the end, making this dip is all about fun and flavor. Enjoy experimenting with ingredients and serving ideas. Whether for game day or a gathering, this dip will impress your guests!](https://dishtreats.com/wp-content/uploads/2025/07/05957703-937f-462f-adea-92812be79973-768x768.webp)