Classic Wedge Salad Flavorful and Refreshing Choice
Looking for a salad that’s both tasty and refreshing? The Classic Wedge Salad is your answer! With crisp lettuce, vibrant tomatoes, and rich blue cheese, it’s a delightful choice for any meal. In this post, I’ll show you how to make this iconic dish, along with helpful tips for customizing it. Get ready to impress your guests with a colorful and flavorful salad that’s sure to please!
Ingredients
List of Ingredients
- 1 large head of iceberg lettuce
- 1 cup cherry tomatoes
- ½ cup red onion
- ½ cup blue cheese crumbles
- ½ cup buttermilk dressing
- ¼ cup crispy fried onions
- Salt and pepper
- Fresh chives
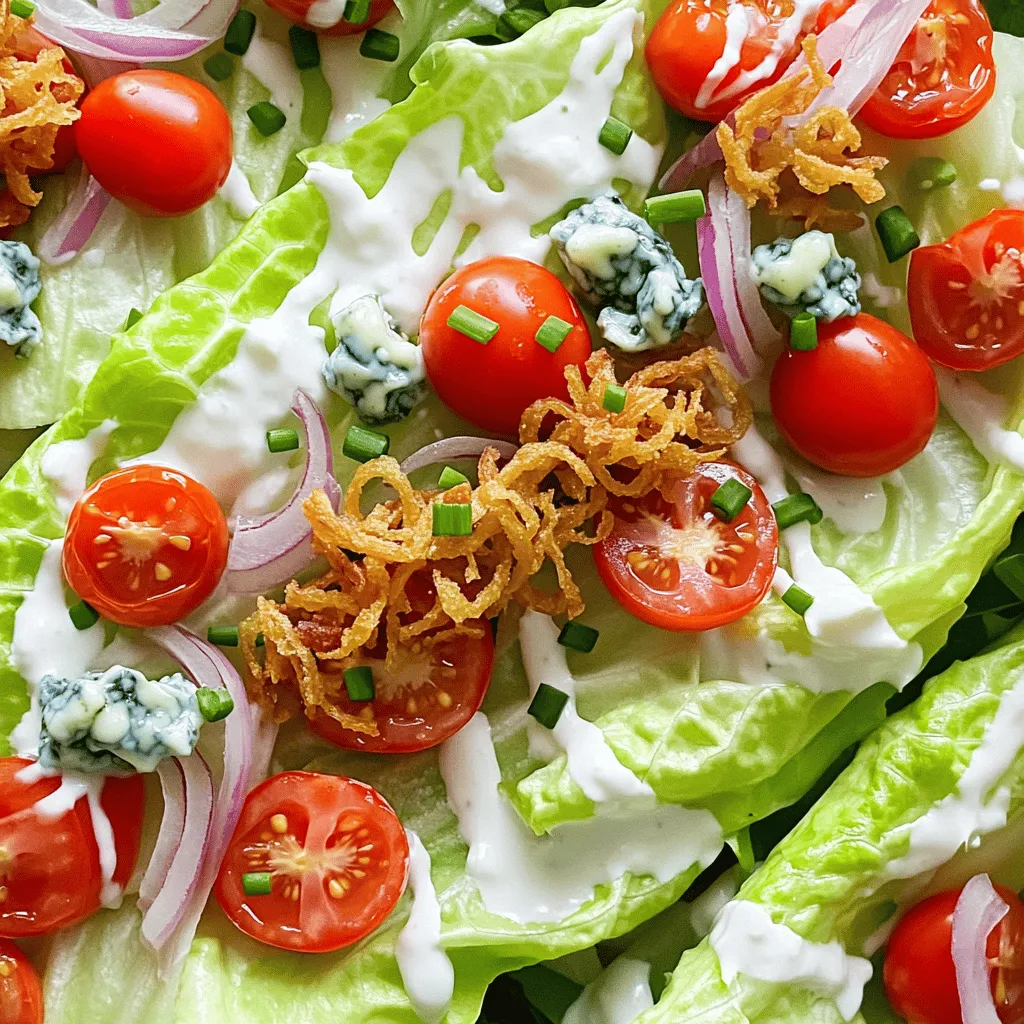
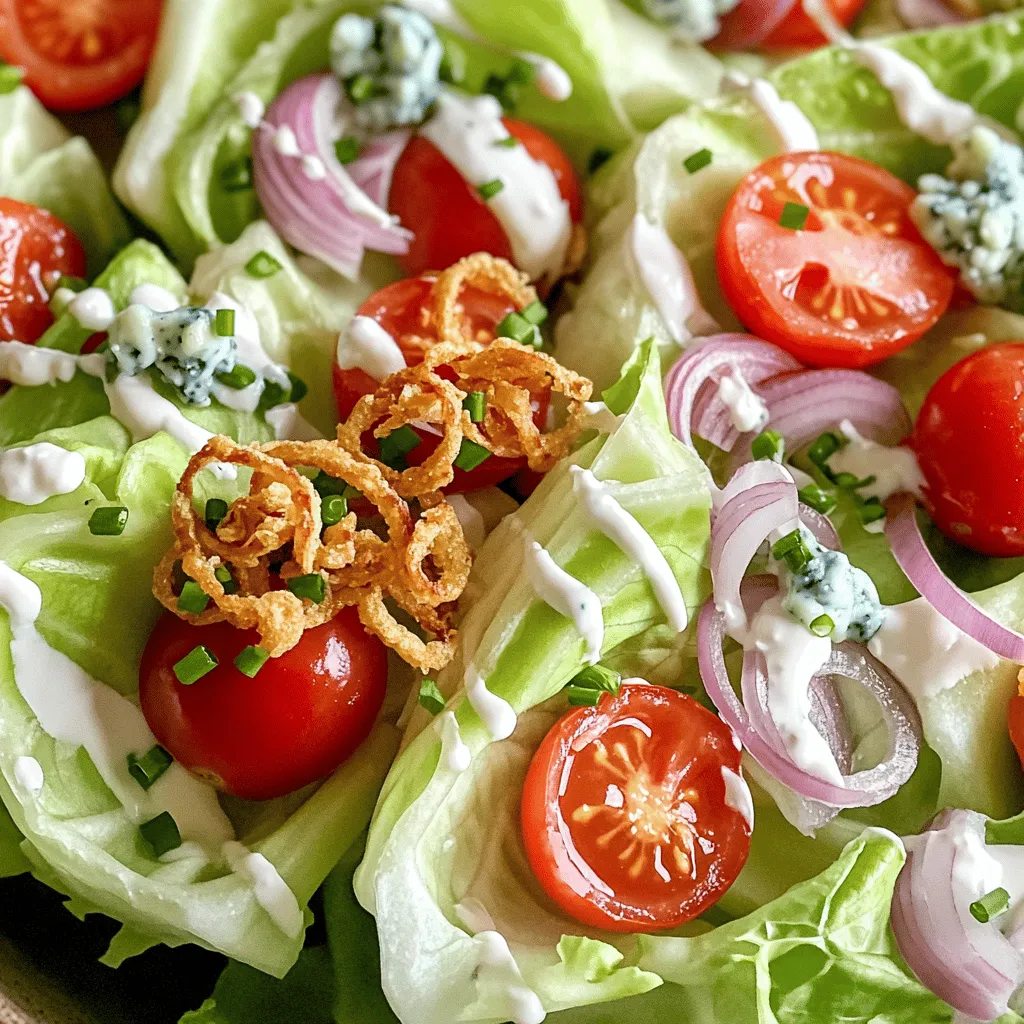
The classic wedge salad brings a crisp texture and fresh taste. To make it, you need a few key ingredients that work together to create a delightful dish. You start with crunchy iceberg lettuce, which forms the base of your salad. The tomatoes add a sweet burst, while the red onion gives a sharp crunch. Blue cheese crumbles bring a rich flavor, and buttermilk dressing adds creaminess. The crispy fried onions add a fun crunch on top, and fresh chives finish it off with a pop of color.
Ingredient Substitutions
If you want to switch things up, there are many options. You can try ranch or Caesar dressing instead of buttermilk dressing for a different taste. Feta or goat cheese can replace blue cheese for a milder flavor. For a lighter salad, use Greek yogurt instead of buttermilk dressing. You can also skip the crispy fried onions if you prefer something lighter. Use toasted nuts for crunch instead.
Nutritional Information
This salad is light and tasty. Each serving has about 150 calories. It’s a great choice for gluten-free and vegetarian diets. The fresh veggies provide vitamins and minerals, making this dish not only delicious but also healthy. You can enjoy it as a side dish or a light meal.
Step-by-Step Instructions
Preparing the Lettuce
To start, wash the head of iceberg lettuce. Rinse it under cool running water. This step removes dirt and debris. After washing, pat the lettuce dry with a clean kitchen towel. Now, carefully cut the lettuce into four equal wedges. Make sure to slice from the top to the base. Place the wedges on a serving platter with the cut sides facing up. This makes them look nice and fresh.
Preparing the Toppings
Next, let’s prepare the toppings. Take a medium mixing bowl and add the halved cherry tomatoes. Then, add the thinly sliced red onion. Season this mixture with a pinch of salt and some freshly ground black pepper. Toss the ingredients gently to mix them well. Allow the flavors to blend for a few minutes. This will enhance the taste and make them more flavorful.
Assembling the Salad
Now, it’s time to assemble the salad. Start with each lettuce wedge and drizzle buttermilk dressing over the top. Make sure some dressing seeps into the layers of the lettuce. This adds a lot of flavor. Next, spoon the cherry tomato and red onion mixture evenly on each wedge. Aim for a colorful topping that looks great. Sprinkle blue cheese crumbles over the top for a rich flavor. Finally, add crispy fried onions for some crunch. For a finishing touch, garnish with finely chopped fresh chives. They add color and flavor.
Tips & Tricks
Presentation Tips
To make your wedge salad pop, focus on color and height. Use a large white plate to let the greens shine. Arrange the wedges so they stand upright, cut side up, for a dramatic look. Top each wedge with a mix of cherry tomatoes and red onions. This adds color and makes it more appealing. For a restaurant-style finish, sprinkle fresh chives on top. You can also add a drizzle of extra dressing around the plate for flair.
Flavor Enhancements
Want to take your salad up a notch? Add crispy bacon bits for a savory crunch. You can also toss in some sliced cucumbers for a refreshing bite. If you like heat, try adding jalapeños or a sprinkle of red pepper flakes. Balancing flavors is key. Use salt and pepper wisely, and taste as you go. The right seasoning will elevate your salad and make it more enjoyable.
Serving Size Adjustments
When hosting a large gathering, you can easily scale the recipe. Just use more heads of lettuce and triple the toppings. Each wedge can be a serving, making it easy to portion. For smaller meals, cut the recipe in half. Serve smaller wedges for a lighter option. This way, everyone can enjoy a taste without filling up too quickly.
Variations
Different Dressings
You can switch up the dressing to change the flavor. A tangy ranch dressing adds zest. For a creamy touch, try a garlic aioli. You can also mix Greek yogurt with herbs for a healthier option. Each dressing brings a unique taste to your classic wedge salad.
- Buttermilk Dressing: Creamy and tangy, perfect for classic flavors.
- Ranch Dressing: Rich and herby, adds a bold kick.
- Greek Yogurt Dressing: Light and fresh, with a hint of tang.
- Garlic Aioli: Creamy with a garlic punch, great for bold flavors.
Seasonal Wedge Salad Ideas
Seasonal ingredients can elevate your wedge salad. In summer, add fresh berries for sweetness. In fall, roasted butternut squash gives warmth and color. Try adding citrus segments in winter for a fresh burst. Each season offers a chance to be creative and celebrate local produce.
- Summer Salad: Add strawberries and a light vinaigrette.
- Fall Salad: Incorporate roasted pumpkin and pecans.
- Winter Salad: Use citrus fruits like oranges and grapefruits.
- Spring Salad: Top with radishes and fresh herbs.
Cuisine Influences
Let your taste buds travel by adding global flavors. A Mediterranean twist may include feta cheese and olives. For a Mexican flair, sprinkle some chili powder and add avocado. Each culture offers spices and flavors to enhance your salad.
- Mediterranean Wedge: Use feta, olives, and a lemon vinaigrette.
- Mexican Wedge: Add avocado, cilantro, and lime.
- Asian Wedge: Use sesame dressing and top with sliced almonds.
- Indian Wedge: Add curry powder to the dressing for warmth.
Storage Info
How to Store Leftovers
To keep your wedge salad fresh, store it in an airtight container. Place the salad in the fridge as soon as possible. This will help lock in flavors and keep it crisp. It’s best to eat leftovers within three days to enjoy the best taste and texture.
Reheating Guidelines
Wedge salad is best served cold, so reheating is not safe or recommended. Instead, get creative with leftovers. You can chop the salad and mix it into a wrap or use it as a topping for grilled chicken. This way, you avoid waste and create a new dish!
Freezing Considerations
Freezing wedge salad isn’t ideal. Lettuce will lose its crispness when thawed. However, you can freeze some components. For example, blue cheese crumbles can freeze well. Just place them in a freezer bag, and they will last up to three months. When ready to use, thaw them in the fridge overnight.
FAQs
What is a classic wedge salad?
A classic wedge salad features crisp iceberg lettuce cut into triangles. It often includes bright red cherry tomatoes, crunchy red onions, and creamy blue cheese. The salad is usually topped with a rich buttermilk dressing. This dish is cool, crisp, and very refreshing. It pairs well with many meals.
Can I prepare this salad in advance?
Yes, you can prep parts of the salad ahead. Wash and cut the lettuce a few hours before serving. Keep it in a sealed container in the fridge. You can also mix the cherry tomatoes and onions in advance. Just add the dressing right before serving to keep it fresh.
What can I serve with wedge salad?
Wedge salad goes well with many dishes. You can serve it with grilled chicken or steak for a filling meal. It also pairs nicely with a warm soup, like tomato or potato leek. For a lighter option, serve it with a side of roasted vegetables. Enjoy your wedge salad with these tasty pairings!
In this blog post, we covered the classic wedge salad, focusing on its simple ingredients and assembly. From fresh lettuce to tasty toppings, every part creates a delightful dish. I shared tips for presentation, flavor, and variations to elevate your salad game. Remember, you can adjust ingredients to fit your needs and experiment with seasonal flavors. With these details, you can enjoy a delicious wedge salad at any gathering. Embrace creativity and have fun making it your own!