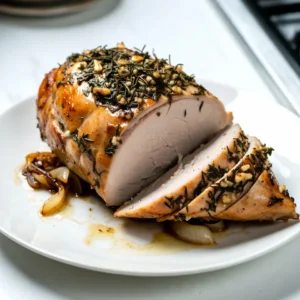
Garlic Herb Roasted Turkey Breast Juicy and Flavorful


If you want a turkey dish that’s juicy and packed with flavor, you’ve come to the right place! In this post, I’ll guide you through making a mouthwatering Garlic Herb Roasted Turkey Breast. You’ll learn about the best ingredients, step-by-step instructions, and essential tips to nail your turkey. Whether it’s for a holiday feast or a cozy dinner, this recipe guarantees success. Let’s dive into the delicious details!
Why I Love This Recipe
- Delicious Flavor Combination: The garlic, herbs, and lemon create a mouthwatering medley that elevates the turkey breast to a whole new level.
- Moist and Juicy: Using chicken broth in the roasting pan ensures that the turkey remains moist and flavorful throughout the cooking process.
- Easy Preparation: This recipe requires minimal effort and is perfect for both novice and experienced cooks looking to impress.
- Perfect for Any Occasion: Whether it’s a holiday feast or a casual family dinner, this turkey breast is a versatile dish that fits any gathering.
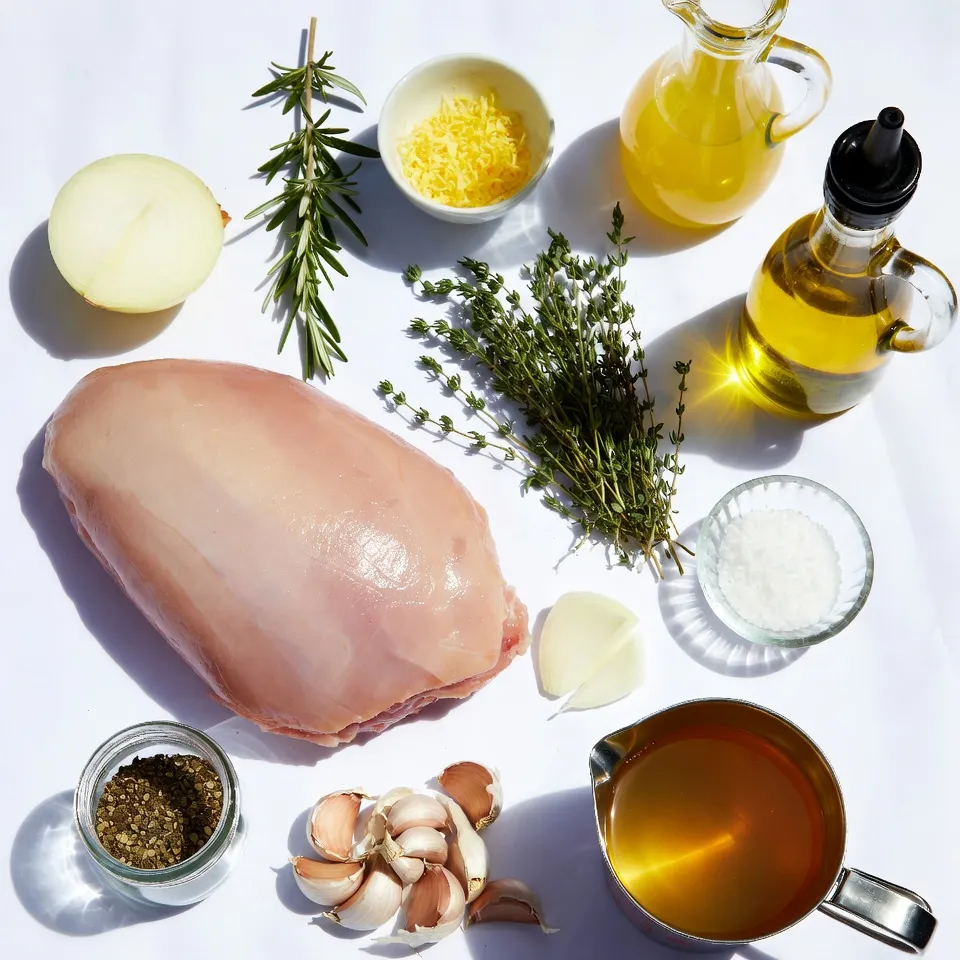
Ingredients
Main Ingredients for Garlic Herb Roasted Turkey Breast
- 1 boneless turkey breast (approximately 3-4 pounds)
- 5 cloves garlic, minced
- 1/4 cup fresh rosemary, finely chopped
- 1/4 cup fresh thyme, finely chopped
- 1/4 cup extra virgin olive oil
- 2 teaspoons kosher salt
- 1 teaspoon black pepper
- 1 tablespoon lemon zest (from about 1 lemon)
- 1 tablespoon fresh lemon juice
- 1 medium onion, quartered
- 2 cups low-sodium chicken broth
The turkey breast is the star of this dish. Choose a good-sized, boneless turkey breast for even cooking. Fresh herbs bring out the flavor. They add depth and aroma to every bite. Garlic adds a nice kick that pairs well with the herbs. The lemon zest and juice brighten the dish. They add a hint of tartness that balances the rich flavors.
Cooking Essentials
To make this tasty dish, you need a few basics:
- Roasting pan
- Medium bowl
- Paper towels
- Basting brush
The roasting pan holds the turkey and broth. A medium bowl is for mixing the herb paste. Paper towels help dry the turkey. A basting brush is great for adding juices during cooking. Each tool makes cooking easier and more fun.
Optional Garnishes and Sides
You can enhance your meal with some fun sides and garnishes:
- Fresh rosemary sprigs
- Fresh thyme sprigs
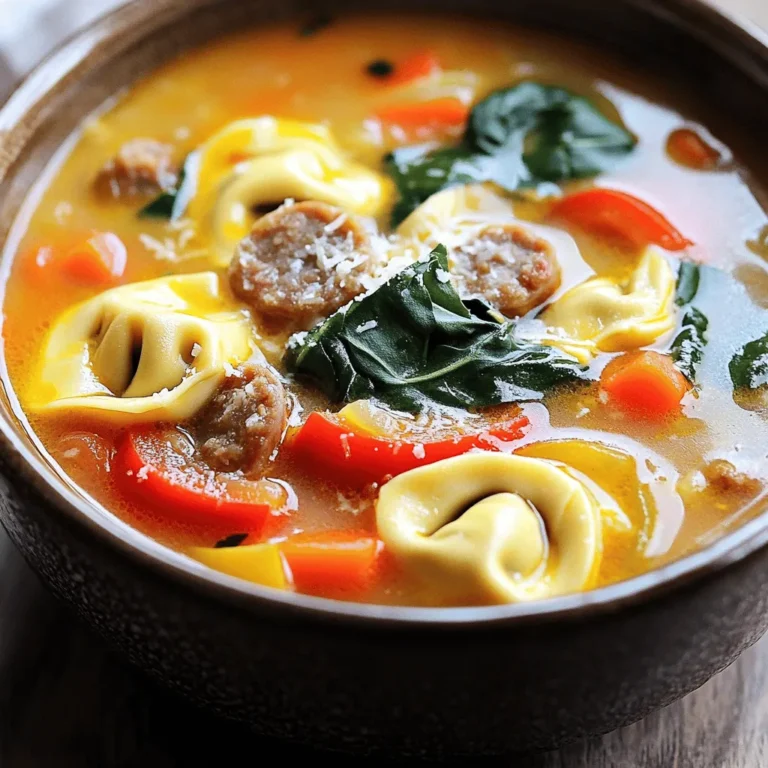
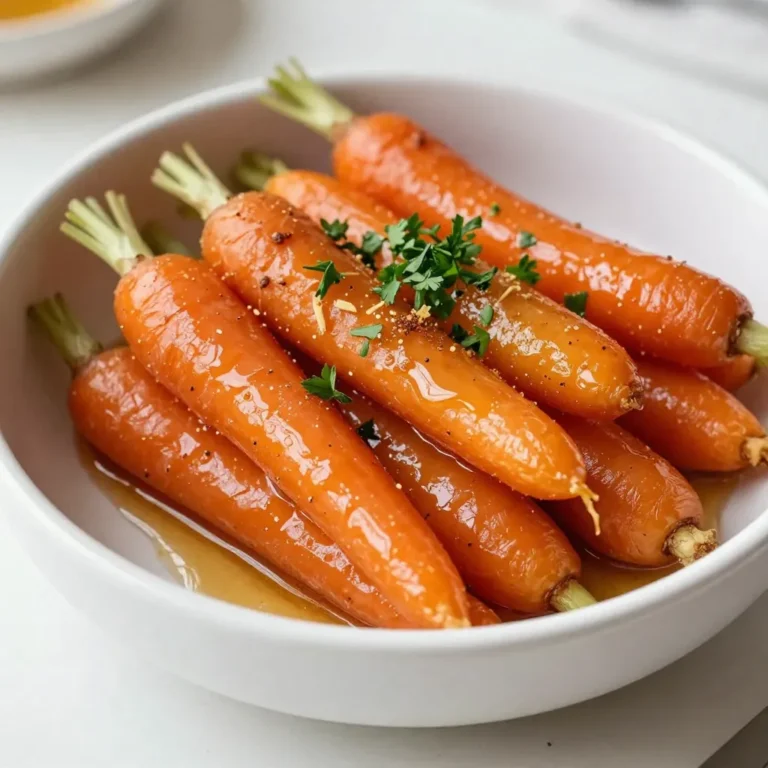
- Roasted vegetables (carrots, potatoes, or Brussels sprouts)
- A light salad with lemon vinaigrette
Fresh herbs as a garnish add a nice touch. Roasted veggies bring color and nutrition to your plate. A light salad can balance the richness of the turkey. These options make your meal more inviting and enjoyable.
Step-by-Step Instructions
Preheat the Oven
Set your oven to 375°F (190°C). Preheating helps the turkey cook evenly.
Prepare the Herb Paste
In a medium bowl, mix together:
- 5 cloves garlic, minced
- 1/4 cup fresh rosemary, finely chopped
- 1/4 cup fresh thyme, finely chopped
- 1/4 cup extra virgin olive oil
- 2 teaspoons kosher salt
- 1 teaspoon black pepper
- 1 tablespoon lemon zest
- 1 tablespoon fresh lemon juice
This herb paste adds great flavor and aroma to your turkey.
Prep the Turkey Breast
Pat the turkey breast dry with paper towels. Gently loosen the skin from the breast. Be careful not to detach it fully. This step creates pockets for the herb paste.
Apply the Herb Paste
Take half of the herb paste and spread it under the loosened skin. Make sure to cover the turkey evenly. Use the rest of the paste to coat the outside of the breast. Rub it in well for the best flavor.
Set Up the Roasting Pan
Place quartered onion at the bottom of a large roasting pan. Set the seasoned turkey breast on top of the onions. Pour 2 cups of low-sodium chicken broth into the pan. This keeps the turkey moist while it cooks.
Roast the Turkey
Put the roasting pan in the preheated oven. Roast the turkey for about 1.5 to 2 hours. The internal temperature should reach 165°F (74°C) when done. Baste the turkey with pan juices every 30 minutes. This helps create a golden crust.
Let it Rest
After roasting, remove the turkey from the oven. Let it rest for 15-20 minutes before slicing. This resting time helps keep the juices inside.
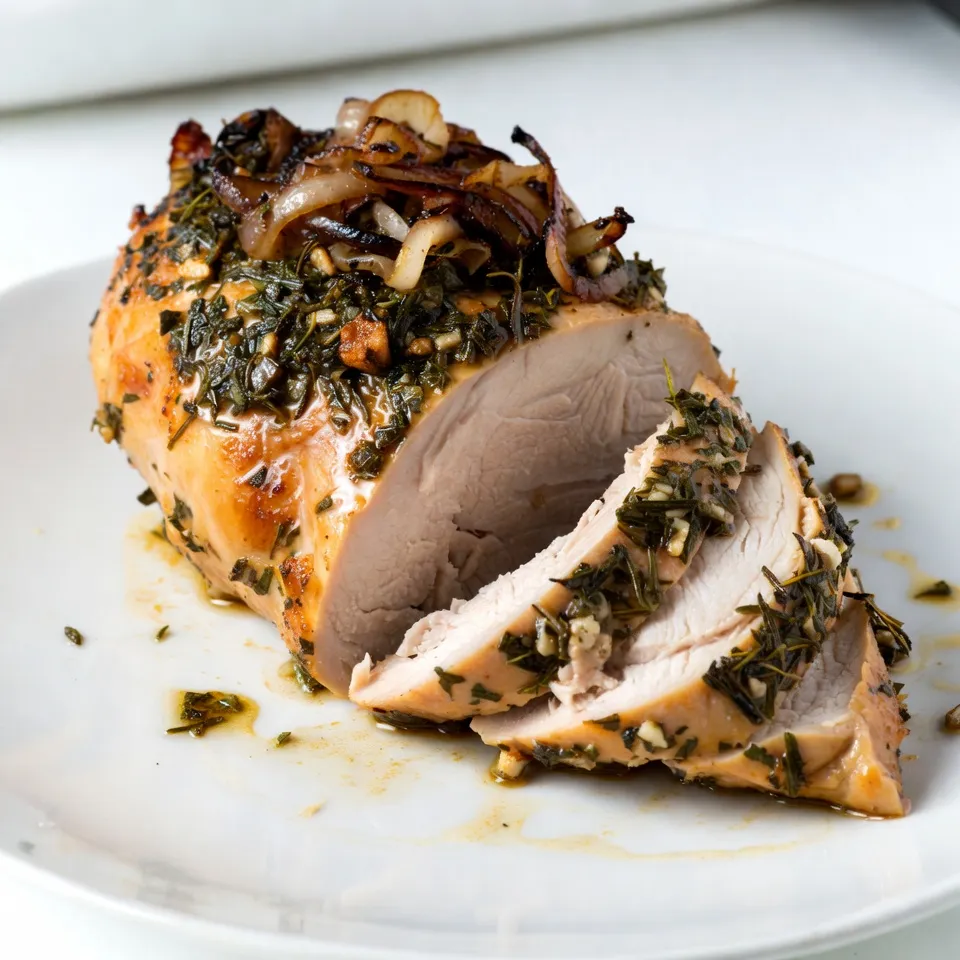
Serve
Slice the turkey breast and plate it nicely. Drizzle pan juices over the slices for extra flavor and moisture. Enjoy your meal!
Tips & Tricks
How to Ensure Moisture and Flavor
To keep your turkey breast juicy, use a few key methods. First, always pat the turkey dry with paper towels. Moist skin will not crisp up. Next, loosen the skin gently before adding the herb paste. This allows the flavors to seep in.
Basting is another great way to add moisture. Every 30 minutes, spoon some pan juices over the turkey. This keeps the meat moist and adds flavor. Finally, let the turkey rest after roasting. This helps the juices settle back in the meat, making each slice tender.
Essential Cooking Tools for Perfect Roasting
Having the right tools makes cooking easier. Here are some must-have items:
- Roasting pan: A sturdy pan holds the turkey and collects juices.
- Meat thermometer: Use this to check the turkey’s internal temperature.
- Basting brush: This helps you apply the pan juices evenly.
- Sharp knife: A good knife makes slicing easy and clean.
These tools will help you achieve the best results.
Best Practices for Turkey Preparation
Preparation is key to a great turkey. Start by removing any packaging and giblets. Rinse the turkey under cold water and pat it dry. This helps the skin crisp up when cooking.
Make sure to season well. The herb paste is vital for flavor. Apply it under the skin and on the outside. This ensures every bite is tasty. Lastly, always let the turkey rest after cooking. This step is crucial for juicy slices. Enjoy your delicious creation!
Pro Tips
- Use Fresh Herbs: Fresh herbs provide a more vibrant flavor compared to dried ones. Always opt for fresh rosemary and thyme for the best results.
- Let It Rest: Allow the turkey to rest for 15-20 minutes after roasting. This helps the juices redistribute, making the meat tender and moist.
- Baste Frequently: Basting the turkey every 30 minutes with the pan juices enhances flavor and helps develop a beautiful golden crust.
- Check the Temperature: Use a meat thermometer to ensure the turkey reaches an internal temperature of 165°F (74°C) for safe consumption.
Variations
Herb Swaps and Additions
You can easily change the herbs in this turkey recipe. If you love basil, swap it for thyme. Oregano also works well. Fresh parsley adds a bright taste. You can even mix herbs to create your own flavor. Try adding sage for a warm, earthy note.
Cooking Method Alternatives
You have options for cooking this turkey breast. A slow cooker is great for tender meat. Cook it on low for 6 to 8 hours. This method keeps it moist and flavorful. If it’s grilling season, you can grill the turkey. Use indirect heat, and cook it until it’s done. This gives a smoky flavor that’s delicious.
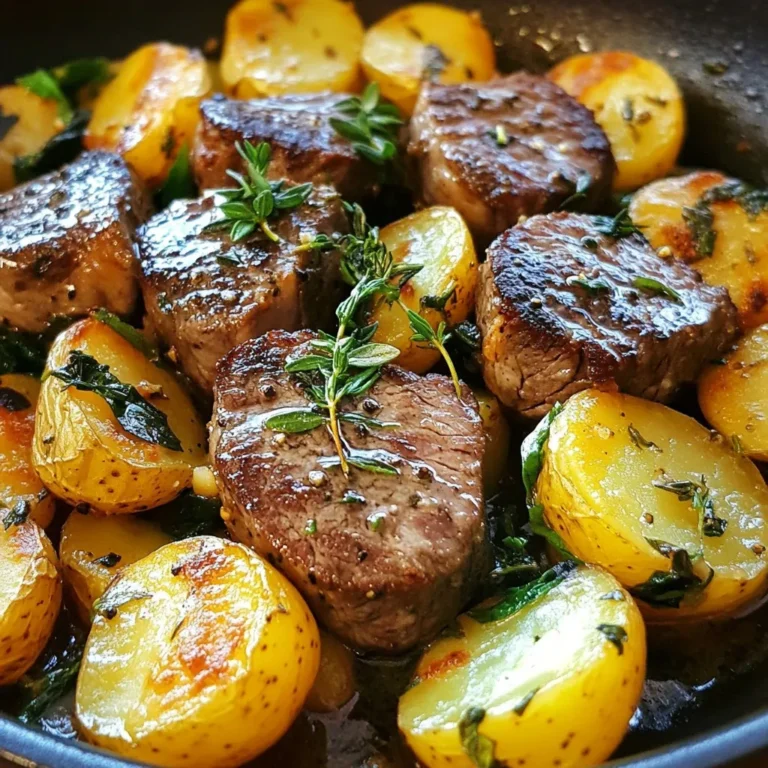
Side Dishes that Complement Garlic Herb Turkey
Pair this turkey with sides that enhance its flavors. Roasted vegetables like carrots and Brussels sprouts are perfect. They add color and nutrition. Mashed potatoes with garlic or cream complement the turkey well. A fresh salad with lemon vinaigrette brightens the meal. Don’t forget crusty bread to soak up the tasty juices!
Storage Info
How to Store Leftover Turkey
To store leftover turkey, let it cool first. Slice the turkey into pieces for easy storage. Place the slices in an airtight container. This keeps the turkey fresh and prevents it from drying out. You can also wrap the turkey tightly in plastic wrap. Store it in the fridge for up to three days. Make sure to label the container with the date. This way, you remember when you made it.
Freezing Instructions for Turkey
If you want to keep the turkey longer, freezing is a great option. Wrap the turkey slices in plastic wrap first. Then, place them in a freezer bag. Remove as much air as possible to prevent freezer burn. Store the turkey in the freezer for up to three months. When you’re ready to enjoy it, simply thaw it in the fridge overnight. This keeps the turkey juicy and delicious.
Reheating Tips for Best Results
Reheating turkey can be tricky. To keep it moist, use the oven. Preheat the oven to 325°F (163°C). Place the turkey slices in a baking dish. Add a splash of chicken broth or water to the dish. Cover it tightly with foil. Heat the turkey for about 20 minutes or until warm. This method keeps the turkey tender and full of flavor. For a quick option, you can use the microwave. Just cover the turkey and heat in short bursts. Always check that it’s warm throughout before eating.
FAQs
What is the best internal temperature for turkey breast?
The best internal temperature for turkey breast is 165°F (74°C). This ensures the turkey is cooked fully and is safe to eat. Use a meat thermometer to check the thickest part of the breast. This step is key to juicy, flavorful turkey.
Can I use frozen turkey breast for this recipe?
Yes, you can use frozen turkey breast. However, it’s best to thaw it first. Thawing in the fridge overnight is safe and effective. This way, the turkey cooks evenly and absorbs the herb flavors well.
How long can I keep leftovers in the fridge?
You can keep leftovers in the fridge for 3 to 4 days. Store them in an airtight container to maintain freshness. If you want to keep them longer, consider freezing. Leftover turkey can last up to 4 months in the freezer.
Can I use dried herbs instead of fresh?
Yes, you can use dried herbs instead of fresh. However, use less than you would with fresh herbs. For example, use about one-third of the amount. Dried herbs are more concentrated. This will still give you a great flavor in your turkey.
Making garlic herb roasted turkey breast is easy and tasty. We covered the key ingredients, step-by-step cooking instructions, and helpful tips. You learned how to enhance flavor, use alternatives, and store leftovers effectively. This dish can please any crowd and is great for many meals. Remember, the right herbs and cooking methods make all the difference. Enjoy cooking and sharing this meal with other
Garlic Herb Roasted Turkey Breast
Ingredients
- 1 each boneless turkey breast (approximately 3-4 pounds)
- 5 cloves garlic, minced
- 1 cup fresh rosemary, finely chopped
- 1 cup fresh thyme, finely chopped
- 1 cup extra virgin olive oil
- 2 teaspoons kosher salt
- 1 teaspoon black pepper
- 1 tablespoon lemon zest (from about 1 lemon)
- 1 tablespoon fresh lemon juice
- 1 medium onion, quartered
- 2 cups low-sodium chicken broth
Instructions
- Preheat the Oven: Set your oven to 375°F (190°C) so it's ready for roasting.
- Prepare the Herb Paste: In a medium bowl, mix together the minced garlic, chopped rosemary, thyme, olive oil, kosher salt, black pepper, lemon zest, and lemon juice.
- Prepare the Turkey Breast: Use paper towels to thoroughly pat the turkey breast dry. Gently loosen the skin from the breast.
- Apply the Herb Paste: Take about half of the prepared herb paste and carefully spread it under the loosened skin of the turkey. Use the remaining paste to coat the outside of the turkey breast.
- Set Up the Roasting Pan: Arrange the quartered onion at the bottom of a large roasting pan. Place the seasoned turkey breast on top of the onions. Pour the chicken broth into the bottom of the pan.
- Roast the Turkey: Place the roasting pan in the preheated oven and let the turkey roast for approximately 1.5 to 2 hours. Check the internal temperature—it should reach 165°F (74°C). Baste the turkey with the pan juices every 30 minutes.
- Let it Rest: Once the turkey reaches the desired temperature, remove it from the oven. Allow it to rest for 15-20 minutes before slicing.
- Serve: Slice the turkey breast and plate it attractively. Drizzle the pan juices over the slices.


![To make Blueberry Lemon Breakfast Quinoa, you will need the following ingredients: - 1 cup quinoa, thoroughly rinsed - 2 cups almond milk (or your preferred milk) - 1 cup fresh blueberries (or frozen if fresh are not available) - Zest of 1 lemon - Juice of 1 large lemon - 2 tablespoons pure maple syrup (or honey for sweetness) - 1 teaspoon pure vanilla extract - 1/2 teaspoon ground cinnamon - A pinch of salt - Optional toppings: sliced almonds, extra blueberries, or a generous dollop of Greek yogurt Choose bright blueberries with no wrinkles. Look for firm berries, as they taste best. For lemons, pick ones that feel heavy. They should have a smooth, shiny skin. This shows they are juicy. When choosing quinoa, look for a grain that is clean and free of debris. If you need a non-dairy milk, try oat milk or coconut milk. Both have nice flavors. For sweeteners, you can use agave syrup or brown sugar. Adjust the amount to your taste. If you want to skip the sweetener, ripe bananas work great too. You can mash them and mix them in! Start by rinsing 1 cup of quinoa under cold water. This helps remove any bitter taste. Use a fine mesh sieve for best results. This step is key for a great flavor. Next, gather a medium saucepan. Add the rinsed quinoa to the saucepan. Pour in 2 cups of almond milk and a pinch of salt. This combination makes the quinoa creamy and rich. Place the saucepan over medium heat. Bring the mixture to a gentle boil. Watch it carefully; it can boil over quickly. Once it boils, reduce the heat to low. Cover the saucepan with a lid. Let it simmer for about 15 minutes. The quinoa will absorb most of the liquid during this time. When the quinoa is tender, remove it from heat. Allow it to sit for 5 more minutes. This helps steam the quinoa and makes it fluffy. After 5 minutes, uncover the saucepan. Use a fork to fluff the quinoa gently. This step adds air and lightness. Now, it’s time to mix in the flavors. Add the lemon zest and juice. Pour in 2 tablespoons of maple syrup, 1 teaspoon of vanilla extract, and 1/2 teaspoon of cinnamon. Stir well to combine everything. Finally, fold in the blueberries gently. Reserve some blueberries for garnishing if you like. Serve warm in bowls, and enjoy your Blueberry Lemon Breakfast Quinoa! For the full recipe, check out the details above. To get the best quinoa texture, rinse it well before cooking. This removes the bitter coating called saponin. Use two cups of liquid for every cup of quinoa. This ratio helps the quinoa absorb enough moisture. Cook it on low heat after boiling. Let it simmer for about 15 minutes. After that, let it steam for 5 more minutes. This step makes the quinoa fluffy and light. Fluff it gently with a fork at the end. This adds air and prevents clumping. Adding lemon zest brings a bright flavor. You can also try a pinch of nutmeg for warmth. Cinnamon adds a lovely spice that pairs well with blueberries. If you want more sweetness, add a little more maple syrup. For a kick, a dash of ginger powder can elevate the taste. Don’t hesitate to experiment with these flavors. Each adds its unique touch to your breakfast. This recipe serves four people. Each person gets a warm bowl full of deliciousness. For presentation, use colorful bowls that catch the eye. Top with fresh blueberries and sliced almonds. A dollop of Greek yogurt adds creaminess and visual appeal. You can also drizzle extra maple syrup for shine. Garnish with lemon wedges and mint for a refreshing look. This makes breakfast not only tasty but also beautiful. {{image_4}} You can mix in other fruits to change the flavor. Try strawberries, raspberries, or bananas. Each fruit adds its own taste. For a tropical twist, add diced mango or pineapple. These fruits work well with the lemon and blueberry. You can even use dried fruits like cranberries or apricots for a chewy texture. Just remember to adjust the sweetener if needed. Adding nuts or seeds makes the dish crunchy. Try sliced almonds, walnuts, or pecans. They add a nice contrast to the soft quinoa. You can also use seeds like chia or flaxseeds. These seeds give extra fiber and healthy fats. Toss them in right before serving for a fresh crunch. This recipe is already vegan if you use plant-based milk. To ensure it’s gluten-free, check the quinoa package. Some brands process quinoa with gluten grains. Always read labels closely. You can substitute maple syrup with agave nectar for a different sweet flavor. This breakfast fits many dietary needs, making it a great choice for everyone. For the Full Recipe, refer to earlier sections. To keep your Blueberry Lemon Breakfast Quinoa fresh, store it in an airtight container. Let the quinoa cool to room temperature before sealing it. This helps prevent moisture build-up. Place it in the fridge if you plan to eat it within a few days. When you’re ready to enjoy your quinoa again, reheat it on the stove or in the microwave. If using the stove, add a splash of almond milk to keep it moist. Stir often over low heat until warmed through. In the microwave, heat it in short bursts, stirring in between, to avoid hot spots. Your quinoa can last up to five days in the fridge. For meal prep, consider making a larger batch. You can portion it out for quick breakfasts. Store portions in single-serving containers for easy grab-and-go meals. This way, you always have a tasty and healthy breakfast on hand. For the full recipe, check out the [Full Recipe]. Yes, quinoa is a very healthy choice for breakfast. It has lots of protein and fiber. This helps keep you full longer. Quinoa also has vitamins and minerals like magnesium and iron. These nutrients are great for your body. Eating quinoa can boost your energy and help you stay focused all morning. Yes, you can use frozen blueberries. They work well in your breakfast quinoa. Frozen blueberries are picked at their peak ripeness, so they still have great flavor. Just add them straight to your cooked quinoa. There is no need to thaw them first. This makes preparation easier and faster. You can easily prepare this dish ahead of time. Cook the quinoa and mix in the other ingredients. Let it cool and then store it in an airtight container. Keep it in the fridge for up to four days. When you are ready to eat, just reheat it in the microwave. You may want to add a splash of milk to keep it creamy. For the full recipe, check out the details above. In this blog post, I covered the key ingredients for making Blueberry Lemon Breakfast Quinoa. You learned how to select fresh items and swap non-dairy options. I guided you through easy preparation and cooking steps for perfect quinoa. Remember the tips to enhance flavor with spices and zest. Explore variations by adding your favorite fruits and toppings. Lastly, I shared storage tips for leftovers to keep your meals fresh. Now you can enjoy a healthy, delicious breakfast with ease.](https://dishtreats.com/wp-content/uploads/2025/07/a7a4f1ef-75d1-48e3-91fc-d5884226b8fe-768x768.webp)